Love this? Save it for later!
Share the inspiration with your friends
“You’re not actually going to serve that store-bought salsa, are you?” My brother-in-law Mike stood in my kitchen doorway, holding a bag of tortilla chips like it was evidence in a crime. It was the morning of the championship game, and I had just pulled a massive tray of seasoned ground beef from the oven. The smell of cumin and smoked paprika had drifted all the way from the kitchen to the front door. Mike was right, honestly — I had been planning to just dump some jarred salsa into a bowl and call it a day. But standing there, with the sizzle of that beef still crackling in the pan, I realized this game day snack deserved more. It deserved a whole loaded nacho bar with ground beef.
That was three years ago, and I haven’t watched a big game the same way since. The easy loaded nacho bar with ground beef became our non-negotiable tradition. Friends text me days before kickoff asking if I’m “doing the thing” again. And every time, I laugh — because who knew that a pile of chips and some well-spiced meat could turn into the centerpiece of the whole party?
This isn’t just another nacho recipe. It’s a build-your-own situation where everyone wins. The beef stays juicy, the cheese melts into every crevice, and the toppings? Let’s just say there’s a reason people hover around the kitchen island instead of the TV. If you’re hosting a crowd and want something that feels impressive without making you sweat, this is it.
Why You’ll Love This Recipe
I’ve tested this easy loaded nacho bar with ground beef at more game day gatherings than I can count. Each time, I tweaked something — the spice level, the cheese ratio, the way I layer the chips. After years of trial and error (and a few sad, soggy nacho disasters), I landed on this version. And honestly? It’s the one I keep coming back to.
- Quick & Easy: From start to table in under 30 minutes. The beef comes together fast while you prep the toppings. Perfect for when guests show up early or hunger hits during halftime.
- Simple Ingredients: Ground beef, tortilla chips, cheese, and a handful of pantry spices. No fancy grocery runs required — you probably have most of this already.
- Perfect for Game Day: This nacho bar feeds a crowd with zero fuss. Set it out and let people build their own plates. No plating, no stress.
- Crowd-Pleaser: I’ve watched picky eaters go back for thirds. Kids love it. Adults love it. Even my dad, who swears by his classic smoked brisket, admitted this nacho bar stole the show one Sunday.
- Unbelievably Delicious: The beef is seasoned just right — smoky, savory, with a little kick. The cheese gets bubbly and golden. Every bite has crunch, warmth, and flavor.
What makes this recipe different from the rest? It’s the layering. Most people just dump everything on a tray and hope for the best. But I’ve learned that the order matters — chips, then cheese, then beef, then more cheese — so every chip gets coated. And the toppings bar? That’s where the magic happens. Everyone gets exactly what they want.
This is the kind of recipe that makes you close your eyes after the first bite. It’s comfort food at its finest — fast, forgiving, and absolutely packed with flavor. Perfect for game day, but honest? I make it on random Tuesdays too.
What Ingredients You Will Need
This easy loaded nacho bar with ground beef uses simple, everyday ingredients that come together to create something seriously satisfying. Most of these are pantry staples, and the ones that aren’t are easy to find at any grocery store. Here’s what you’ll need:
For the Seasoned Ground Beef
- 1 lb ground beef (80/20 works best — enough fat for flavor, not so much that it gets greasy)
- 1 tablespoon olive oil (for browning the meat)
- 1 small yellow onion, finely diced (adds sweetness and depth)
- 3 cloves garlic, minced (fresh is best, but jarred works in a pinch)
- 1 tablespoon chili powder (use your favorite brand — I like Gebhardt for a mild, earthy heat)
- 1 teaspoon smoked paprika (this gives the beef that subtle campfire flavor)
- 1 teaspoon ground cumin (warm and earthy — essential for that taco-style taste)
- ½ teaspoon garlic powder (not the same as fresh garlic, I know, but it rounds everything out)
- ½ teaspoon onion powder
- ½ teaspoon salt (plus more to taste)
- ¼ teaspoon black pepper
- ¼ teaspoon cayenne pepper (optional — skip if you’re feeding kids or spice-sensitive folks)
- ½ cup beef broth (keeps the meat moist and helps the seasoning stick)
- 1 tablespoon tomato paste (adds richness and a tiny bit of sweetness)
For the Nacho Base

- 1 large bag (13-16 oz) restaurant-style tortilla chips (the sturdy kind — thin chips will break under the toppings)
- 3 cups shredded Mexican blend cheese (or use a mix of cheddar and Monterey Jack)
- 1 cup shredded pepper jack cheese (for a little heat — totally optional but highly recommended)
For the Toppings Bar (choose your favorites)
- 1 cup sour cream
- 1 cup fresh pico de gallo or salsa
- 1 cup guacamole (store-bought is fine, but homemade always hits different)
- 1 can (15 oz) black beans, drained and rinsed (adds fiber and heartiness)
- 1 cup canned corn kernels, drained
- ½ cup pickled jalapeños (for the spice lovers)
- ½ cup sliced black olives
- ¼ cup fresh cilantro, chopped
- 2 green onions, sliced
- 1 lime, cut into wedges
- Hot sauce (set out a few varieties — Cholula, Tapatío, and something smoky like Chipotle Tabasco)
Ingredient Tips: For the best texture, shred your own cheese from a block. Pre-shredded cheese has anti-caking agents that prevent it from melting as smoothly. I learned this the hard way after a few gluey nacho situations. Also, if you’re feeding a crowd that includes vegetarians, set aside some black beans and corn as a meat-free option — it works beautifully.
Equipment Needed
You don’t need a ton of fancy gear to pull off this easy loaded nacho bar with ground beef. Here’s what I use:
- Large skillet or cast-iron pan (for browning the beef — cast iron gives the best sear, but a nonstick skillet works fine)
- Wooden spoon or spatula (for breaking up the meat as it cooks)
- Large rimmed baking sheet (half-sheet size is perfect — about 18×13 inches)
- Parchment paper or aluminum foil (for easy cleanup — trust me on this one)
- Small bowls or ramekins (for holding all the toppings — I use a mix of ceramic and glass)
- Cheese grater (if you’re shredding your own cheese, which you should)
- Cutting board and knife (for dicing onions, slicing jalapeños, and chopping cilantro)
- Measuring spoons (for the spice blend)
- Oven mitts (that baking sheet gets hot)
Budget-Friendly Alternatives: No baking sheet? Use a large oven-safe skillet or even a disposable aluminum pan from the grocery store. No cast iron? Any heavy-bottomed pan will do. The key is even heat distribution, not fancy cookware.
Maintenance Tip: If you use a cast-iron pan for the beef, clean it gently with hot water and a stiff brush — no soap. Dry it thoroughly and rub a thin layer of oil inside to keep it seasoned. My grandmother’s cast iron is still going strong after 50 years of this kind of care.
Preparation Method
Making this easy loaded nacho bar with ground beef is straightforward, but the order of operations matters. Follow these steps, and you’ll have a tray of nachos that disappears in minutes.
Step 1: Preheat and Prep
Preheat your oven to 400°F (200°C). Line your baking sheet with parchment paper or aluminum foil — this makes cleanup so much easier. While the oven heats, dice your onion, mince the garlic, and shred your cheese if you’re doing it yourself. Set everything within arm’s reach.
Step 2: Cook the Ground Beef
Heat 1 tablespoon of olive oil in a large skillet over medium-high heat. Add the diced onion and cook for 2-3 minutes until it’s soft and translucent. Add the ground beef, breaking it apart with a wooden spoon. Cook for 5-6 minutes, stirring occasionally, until the meat is browned and no longer pink. Drain off any excess fat — I usually tilt the pan and spoon it out, leaving about a tablespoon behind for flavor.
Add the minced garlic and cook for 30 seconds until fragrant. Then stir in the chili powder, smoked paprika, cumin, garlic powder, onion powder, salt, black pepper, and cayenne (if using). Cook for 1 minute until the spices are toasted and smell amazing. Add the tomato paste and beef broth, stirring to combine. Let it simmer for 2-3 minutes until the liquid thickens slightly and coats the meat. Taste and adjust seasoning — I usually add a pinch more salt here.
Step 3: Layer the Nachos
Spread half the tortilla chips in an even layer on the prepared baking sheet. Sprinkle half the shredded Mexican blend cheese and half the pepper jack over the chips. Spoon half the seasoned ground beef evenly over the cheese. Repeat with the remaining chips, cheese, and beef. This double-layering technique is the secret — every chip gets some beef and cheesy goodness.
Step 4: Bake to Perfection
Place the baking sheet in the preheated oven and bake for 8-10 minutes, until the cheese is fully melted and bubbly. Keep an eye on it — ovens vary, and you don’t want the edges of the chips to burn. The cheese should be gooey and golden in spots. If you want a little color on top, switch the oven to broil for the last 1-2 minutes. Watch it like a hawk during broiling — it goes from perfect to burnt fast.
Step 5: Add Fresh Toppings
Remove the baking sheet from the oven and let it cool for 2 minutes. This brief rest prevents the fresh toppings from wilting immediately. Then scatter the black beans, corn, pickled jalapeños, and black olives over the hot nachos. Drizzle with sour cream, pico de gallo, and guacamole. Sprinkle with fresh cilantro and green onions. Squeeze a lime wedge or two over the top for brightness.
Step 6: Serve Immediately
Set the baking sheet on a trivet in the center of the table. Arrange the remaining toppings in small bowls around it so people can customize their plates. Serve with extra hot sauce and lime wedges on the side. The nachos are best eaten within 10 minutes of coming out of the oven — after that, the chips start to soften. But honestly, in my house, they never last that long.
Sensory Cues: When the beef is done, it should look dark and glossy, with the seasoning clinging to every crumb. The nachos coming out of the oven should smell like a warm hug — smoky, cheesy, and a little spicy. The cheese should stretch when you pull a chip away from the pile. That’s how you know you’ve done it right.
Cooking Tips & Techniques
After making this easy loaded nacho bar with ground beef more times than I can count, I’ve picked up a few tricks that make a real difference. Here’s what I wish someone had told me earlier:
Don’t Skip the Double Layer. I know it’s tempting to just dump everything on top and call it a day. But layering the chips, cheese, and beef twice ensures every chip gets some love. The chips on the bottom still get coated in melted cheese and seasoned beef. No dry, naked chips hiding underneath.
Use Sturdy Chips. Thin tortilla chips crumble under the weight of the toppings. Go for restaurant-style or thick-cut chips. I’ve tested this with several brands, and the sturdier the chip, the better the nacho experience. You want chips that can hold their own.
Shred Your Own Cheese. I mentioned this earlier, but it bears repeating. Pre-shredded cheese has cellulose and other anti-caking agents that prevent smooth melting. Shredding a block of cheddar and Monterey Jack takes two minutes and makes a noticeable difference. The cheese melts into a cohesive, stretchy blanket instead of a grainy mess.
Drain the Beef Well. Too much grease in the beef makes the chips soggy. After browning, tilt the pan and spoon off the excess fat. Leave just enough to keep the meat moist. This simple step separates good nachos from great nachos.
Watch the Oven Like a Hawk. Nachos go from perfect to burnt in about 90 seconds. Set a timer for 8 minutes, then check. If the cheese isn’t fully melted, give it another 2 minutes. If you’re broiling at the end, don’t walk away. I learned this the hard way when I ruined a tray of nachos answering the door for a pizza delivery — ironic, I know.
One Mistake I Made: The first time I made this for a crowd, I loaded all the toppings — including sour cream and guacamole — onto the tray before baking. The result was a sad, watery mess. Fresh toppings go on after baking. Always. The heat from the nachos will warm them slightly without turning them into soup.
Variations & Adaptations
This easy loaded nacho bar with ground beef is endlessly customizable. Here are some variations I’ve tried and loved:
Chicken Nacho Bar: Swap the ground beef for shredded rotisserie chicken. Toss the chicken with the same spice blend and a splash of chicken broth. It’s lighter but just as flavorful. I’ve done this for friends who don’t eat red meat, and it’s always a hit.
Vegetarian Nacho Bar: Skip the meat entirely and double up on black beans, corn, and sautéed bell peppers. Add a can of refried beans spread across the chips before layering. You won’t miss the meat — the beans and cheese are hearty enough to satisfy.
Spicy Lover’s Nacho Bar: Use hot Italian sausage instead of ground beef. Add extra jalapeños — both pickled and fresh. Drizzle with a spicy crema made from sour cream and chipotle peppers in adobo. My brother-in-law Mike requests this version every time.
Breakfast Nacho Bar: This is a game-changer for brunch. Use the same seasoned beef, but top the nachos with scrambled eggs, crumbled bacon, and a drizzle of queso. Serve with salsa verde. I made this for a Sunday morning gathering once, and people still talk about it.
Sheet Pan Nacho Bar for a Crowd: Double all the ingredients and use two baking sheets. Bake them simultaneously on the upper and lower oven racks, swapping halfway through. This feeds 12-15 people easily. Perfect for Super Bowl parties or family reunions.
Dietary Adaptations: For a gluten-free version, just check your tortilla chip label — most are naturally gluten-free. For a dairy-free version, use vegan cheese shreds and dairy-free sour cream. I’ve tested both, and while the texture is slightly different, the flavor still delivers.
Serving & Storage Suggestions
This easy loaded nacho bar with ground beef is best served fresh from the oven, but here’s how to handle leftovers and make-ahead situations:
Serving Temperature: Serve the nachos hot, straight from the oven. The cheese should be bubbly and stretchy. Set the baking sheet on a trivet or cutting board in the center of the table. Let everyone grab a plate and build their own pile.
Presentation Ideas: Arrange the toppings in small bowls or ramekins around the baking sheet. Use different colors for visual appeal — the green of the cilantro and jalapeños against the red of the pico de gallo and the white of the sour cream. It looks like a party on the table.
Complementary Dishes: Serve the nachos alongside a fresh Waldorf salad for a crunchy, refreshing contrast. Or pair with a cold cucumber soup for a light starter. For drinks, I love a cold Mexican lager or a spicy margarita.
Storage Instructions: Nachos are best eaten immediately, but if you have leftovers, store them in an airtight container in the refrigerator for up to 2 days. The chips will soften, but the flavor is still good. To reheat, spread the nachos on a baking sheet and warm them in a 350°F oven for 5-7 minutes. Avoid the microwave — it turns the chips into sad, chewy discs.
Make-Ahead Tips: You can prep the seasoned ground beef up to 3 days in advance. Store it in an airtight container in the fridge. When you’re ready to assemble, reheat the beef in a skillet with a splash of broth to loosen it up. You can also shred the cheese and chop the toppings ahead of time. Assemble and bake just before serving.
Flavor Development: The seasoned beef actually tastes better the next day. The spices meld together overnight, creating a deeper, more complex flavor. If you’re planning ahead, make the beef a day in advance. Your future self will thank you.
Nutritional Information & Benefits
This easy loaded nacho bar with ground beef is indulgent, but it also has some surprising nutritional benefits. Here’s a rough breakdown per serving (about 1/8 of the tray, without extra toppings):
- Calories: ~450-500
- Protein: 25g (from the beef and cheese)
- Fat: 28g (mostly from cheese and beef — use leaner beef if you want to cut this)
- Carbohydrates: 35g (from chips and vegetables)
- Fiber: 4g (from beans, corn, and fresh veggies)
- Calcium: 25% of daily value (from cheese)
- Iron: 15% of daily value (from beef)
Health Benefits: Ground beef is a great source of high-quality protein and iron, which supports energy levels and healthy blood. The black beans and corn add fiber and complex carbohydrates for sustained energy. The fresh toppings — tomatoes, onions, cilantro, and lime — provide vitamins C and A, plus antioxidants. Even the jalapeños have capsaicin, which can boost metabolism and reduce inflammation.
Dietary Considerations: This recipe is naturally gluten-free if you use certified gluten-free tortilla chips. For a lower-carb version, serve the seasoned beef and toppings over a bed of lettuce or cauliflower rice instead of chips. For a lower-fat version, use 90/10 ground beef and reduced-fat cheese. The flavor is still great — just slightly less decadent.
Potential Allergens: This recipe contains dairy (cheese, sour cream). It may also contain gluten depending on the chips you use. Check labels if you’re serving someone with celiac disease or a dairy allergy. The vegetarian version with vegan cheese is a safe alternative.
I’m not a nutritionist, but I believe in balance. This nacho bar is a treat — perfect for game day, parties, or any day you want to feel a little celebratory. Pair it with a big green salad or some fresh fruit for a more balanced meal.
Conclusion
This easy loaded nacho bar with ground beef has become more than just a recipe in my house. It’s the thing we make when friends come over. It’s the dish that gets passed around during timeouts. It’s the meal that turns a regular Sunday into something special. And honestly? It’s the easiest way I know to make a crowd happy without spending hours in the kitchen.
The beauty of this nacho bar is that it’s yours to play with. Swap the beef for chicken. Load up on extra jalapeños. Skip the olives if you’re not a fan. Add a drizzle of chipotle crema or a sprinkle of cotija cheese. There’s no wrong way to build your plate. That’s the whole point.
I’d love to hear how yours turns out. Did you add something unexpected? Did someone at your party request the recipe? Drop a comment below and let me know. And if you’re looking for more game day inspiration, check out my classic steakhouse salad bar or my dad’s legendary secret marinade for grilling. Here’s to good food, good company, and the kind of meals that make you want to linger at the table a little longer.
Now go make some nachos. Your game day crew will thank you.
Frequently Asked Questions
Can I make this nacho bar ahead of time?
You can prep the seasoned ground beef up to 3 days in advance and store it in the fridge. Shred the cheese and chop the toppings ahead of time too. But assemble and bake the nachos just before serving — the chips get soggy if they sit too long with the toppings.
What’s the best cheese for nachos?
A mix of sharp cheddar and Monterey Jack is classic. I also love adding pepper jack for a little heat. Shred your own cheese from a block — it melts so much better than the pre-shredded bags.
How do I keep the nachos from getting soggy?
Drain the beef well after browning, and don’t overload the chips with wet toppings like salsa or sour cream before baking. Add those fresh toppings after the nachos come out of the oven. Also, use sturdy restaurant-style chips — they hold up better.
Can I make this vegetarian?
Absolutely. Skip the ground beef and double up on black beans, corn, and sautéed bell peppers. Spread a layer of refried beans on the chips before adding the cheese. It’s hearty, satisfying, and full of flavor.
How do I reheat leftover nachos?
The best way is in the oven. Spread the leftovers on a baking sheet and warm them at 350°F for 5-7 minutes. The microwave makes the chips chewy and sad. If you’re in a hurry, an air fryer at 350°F for 3-4 minutes works great too.
Pin This Recipe!
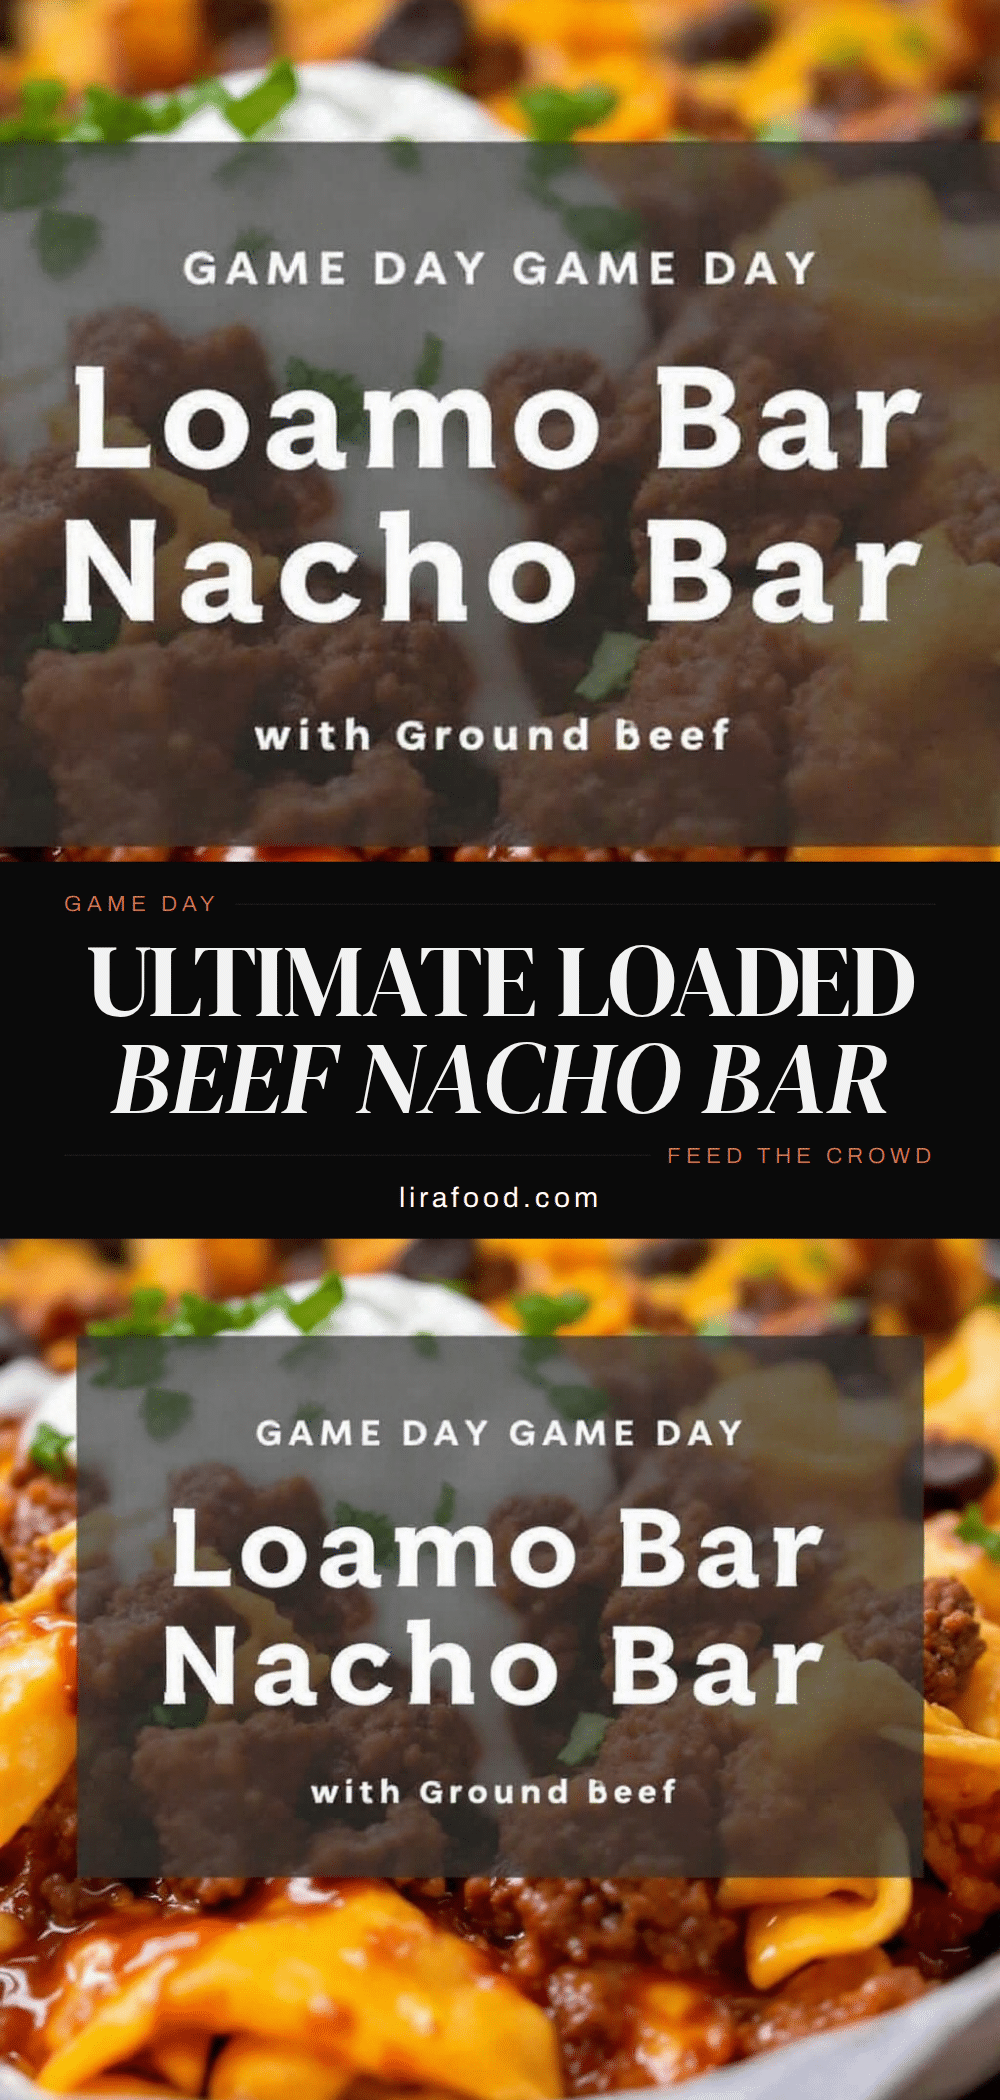
Best Easy Loaded Nacho Bar with Ground Beef

A build-your-own nacho bar featuring seasoned ground beef, melted cheese, and a variety of fresh toppings. Perfect for game day or any gathering, this recipe is quick, easy, and a guaranteed crowd-pleaser.
- Prep Time: 15 minutes
- Cook Time: 20 minutes
- Total Time: 35 minutes
- Yield: 8 servings 1x
- Category: Main Course
- Cuisine: Mexican-American
Ingredients
- 1 lb ground beef (80/20)
- 1 tablespoon olive oil
- 1 small yellow onion, finely diced
- 3 cloves garlic, minced
- 1 tablespoon chili powder
- 1 teaspoon smoked paprika
- 1 teaspoon ground cumin
- ½ teaspoon garlic powder
- ½ teaspoon onion powder
- ½ teaspoon salt
- ¼ teaspoon black pepper
- ¼ teaspoon cayenne pepper (optional)
- ½ cup beef broth
- 1 tablespoon tomato paste
- 1 large bag (13–16 oz) restaurant-style tortilla chips
- 3 cups shredded Mexican blend cheese
- 1 cup shredded pepper jack cheese
- 1 cup sour cream
- 1 cup fresh pico de gallo or salsa
- 1 cup guacamole
- 1 can (15 oz) black beans, drained and rinsed
- 1 cup canned corn kernels, drained
- ½ cup pickled jalapeños
- ½ cup sliced black olives
- ¼ cup fresh cilantro, chopped
- 2 green onions, sliced
- 1 lime, cut into wedges
- Hot sauce (such as Cholula, Tapatío, or Chipotle Tabasco)
Instructions
- Preheat oven to 400°F (200°C). Line a large rimmed baking sheet with parchment paper or aluminum foil.
- Heat olive oil in a large skillet over medium-high heat. Add diced onion and cook for 2-3 minutes until soft and translucent.
- Add ground beef, breaking it apart with a wooden spoon. Cook for 5-6 minutes until browned and no longer pink. Drain excess fat, leaving about 1 tablespoon.
- Add minced garlic and cook for 30 seconds until fragrant. Stir in chili powder, smoked paprika, cumin, garlic powder, onion powder, salt, black pepper, and cayenne (if using). Cook for 1 minute until spices are toasted.
- Add tomato paste and beef broth, stirring to combine. Simmer for 2-3 minutes until liquid thickens and coats the meat. Adjust seasoning to taste.
- Spread half the tortilla chips in an even layer on the prepared baking sheet. Sprinkle half the Mexican blend cheese and half the pepper jack over the chips. Spoon half the seasoned ground beef evenly over the cheese.
- Repeat with remaining chips, cheese, and beef to create a double layer.
- Bake for 8-10 minutes until cheese is fully melted and bubbly. For extra color, broil for 1-2 minutes, watching carefully to prevent burning.
- Remove from oven and let cool for 2 minutes. Scatter black beans, corn, pickled jalapeños, and black olives over the hot nachos.
- Drizzle with sour cream, pico de gallo, and guacamole. Sprinkle with fresh cilantro and green onions. Squeeze lime wedges over the top.
- Serve immediately, with extra toppings and hot sauce on the side.
Notes
For best results, shred your own cheese from a block to avoid anti-caking agents. Use sturdy restaurant-style chips to prevent sogginess. Drain beef well after browning. Add fresh toppings after baking to avoid a watery mess. Leftovers can be stored in an airtight container in the refrigerator for up to 2 days; reheat in a 350°F oven for 5-7 minutes.
Nutrition
- Serving Size: 1/8 of tray (without
- Calories: 475
- Sugar: 3
- Sodium: 800
- Fat: 28
- Saturated Fat: 12
- Carbohydrates: 35
- Fiber: 4
- Protein: 25
Keywords: nachos, ground beef, game day, party food, loaded nachos, easy recipe


