Love this? Save it for later!
Share the inspiration with your friends
I want sticky, sweet, savory chicken thighs right now and I have everything except patience for a complicated cleanup. That’s the honest truth of how this Easy One-Pan Honey Garlic Chicken Thighs recipe came to be—born from a Tuesday night craving and a sink full of dirty dishes I had zero intention of adding to.
The honey in the cupboard was almost empty, just enough for one good drizzle. The garlic was starting to sprout tiny green shoots, which honestly felt like it was begging to be used. And there they were, four bone-in, skin-on chicken thighs sitting in the fridge, looking back at me with that “cook me or lose me” energy. I grabbed my heaviest skillet, the one I’ve had for years that’s finally developed that perfect non-stick seasoning, and I just started throwing things in.
No marinating overnight. No separate bowls for sauce. No transferring things between pans. Just one skillet, a handful of pantry staples, and the kind of cooking that feels more like instinct than following rules. The garlic hit the hot oil first, because that smell is basically the official scent of “dinner’s going to be good.” Then the chicken went in, skin-side down, and that sizzle—honestly, that’s the sound of a bad day turning around.
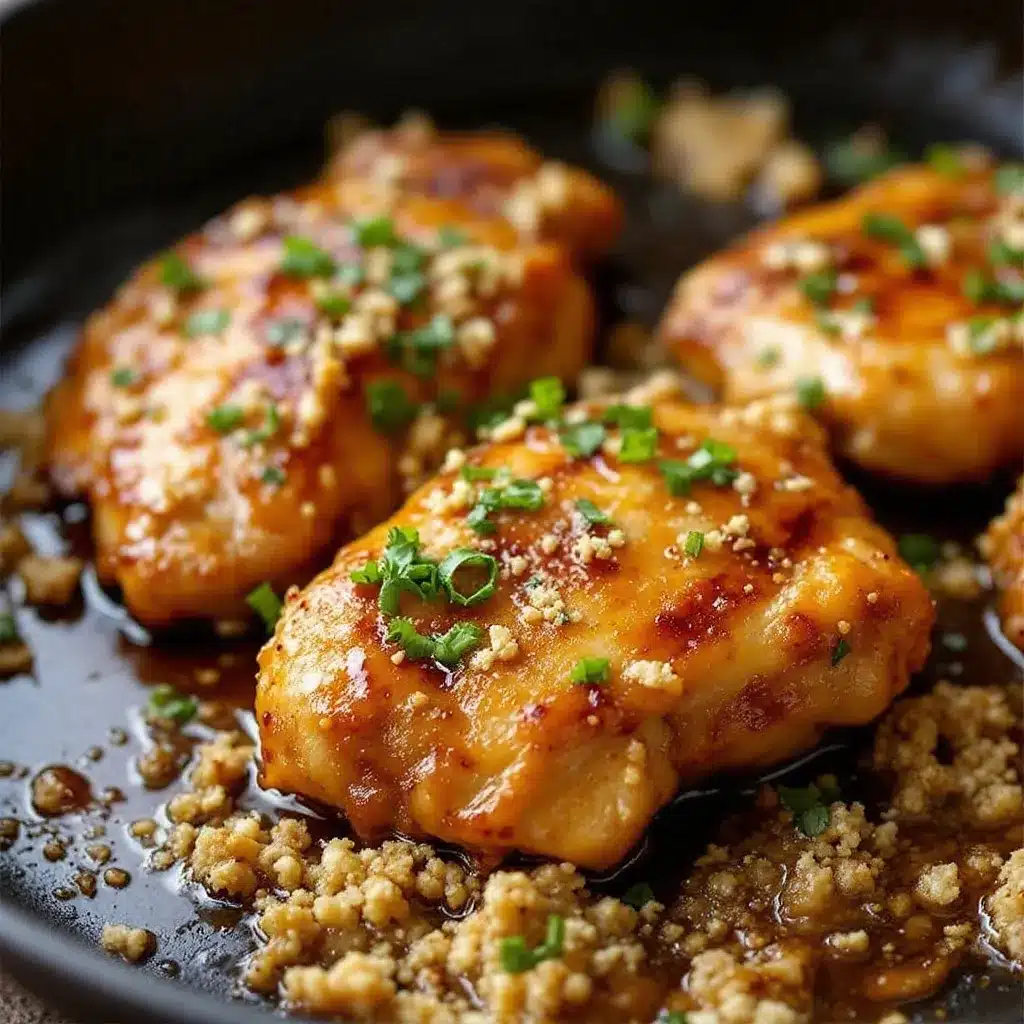
Twenty minutes later, I was standing over the stove eating a piece straight from the pan, burning my tongue slightly, not caring at all. The skin had turned into this crackly, caramelized armor, and underneath, the meat was so tender it practically fell off the bone with a fork. The sauce had reduced to this glossy, sticky coating that clung to every bite like it knew exactly what it was doing.
This is one of those recipes that feels like it shouldn’t work as well as it does. Simple ingredients, one pan, minimal effort—and somehow it delivers the kind of meal that makes you close your eyes after the first bite. That’s the recipe I’m sharing with you today.
Why You’ll Love This Recipe
Let me tell you why this Easy One-Pan Honey Garlic Chicken Thighs recipe has earned a permanent spot in my weekly dinner rotation. I’ve tested it more times than I care to count, tweaking the honey-to-soy-sauce ratio, adjusting the cooking time, and even burning a batch or two in the name of research. What I landed on is the version I genuinely believe is the best.
- One-Pan Wonder: This isn’t just a catchy title. You use one skillet from start to finish. That means less time washing dishes and more time actually enjoying your meal. For busy weeknights, this is a game-changer.
- Simple Pantry Ingredients: Honey, soy sauce, garlic, chicken thighs—chances are you have most of these already. No fancy grocery store trips required. No obscure ingredients you’ll use once and forget about.
- Perfect for Busy Weeknights: From start to table in about 35 minutes. That’s faster than takeout delivery, and honestly, it tastes better.
- Crowd-Pleaser Every Time: I’ve served this to picky eaters, dinner guests, and my own family. The combination of sweet honey and savory garlic is universally loved. Kids devour it. Adults ask for seconds.
- Incredible Texture: The skin gets perfectly crispy while the meat stays juicy and tender. That sticky, glossy sauce is the kind of thing you’ll want to lick off your fingers (no judgment here).
What makes this recipe different from all the other honey garlic chicken recipes out there? It’s the technique. I don’t just dump everything in the pan and hope for the best. I sear the chicken skin-side down first to render that fat and create a crispy base. Then I remove the chicken, build the sauce in the same pan (picking up all those browned bits), and return the chicken to finish cooking. That extra step makes all the difference between good chicken and unforgettable chicken.
This is the kind of meal that feels special without being complicated. It’s comfort food that comes together fast, using ingredients you already have, in a way that makes you look like you tried way harder than you actually did. And honestly, isn’t that the best kind of recipe?
What Ingredients You Will Need
This recipe uses simple, everyday ingredients that work together to create something truly special. Here’s what you’ll need:
For the Chicken
- 4 bone-in, skin-on chicken thighs (about 1.5 to 2 pounds total) — The bone keeps the meat moist during cooking, and the skin gets wonderfully crispy. You can use boneless thighs, but reduce cooking time by about 5-7 minutes.
- 1 tablespoon olive oil (or any neutral oil with a high smoke point like avocado or grapeseed)
- Salt and freshly ground black pepper — Don’t skimp here. Season the chicken generously on both sides.
For the Honey Garlic Sauce
- 1/3 cup honey — Use a good quality honey for the best flavor. I prefer a mild, floral honey like clover or orange blossom. If your honey is crystallized, microwave it for 10-15 seconds to loosen it up.
- 4 cloves garlic, minced — Fresh garlic is non-negotiable here. The pre-minced stuff in a jar just doesn’t have the same punch. Use a microplane for super fine garlic that melts into the sauce.
- 3 tablespoons low-sodium soy sauce — Low-sodium is important because the sauce reduces and concentrates. Regular soy sauce can make it too salty. For a gluten-free option, use tamari or coconut aminos.
- 1 tablespoon rice vinegar — This adds a subtle acidity that balances the sweetness of the honey. Apple cider vinegar works in a pinch.
- 1 teaspoon sesame oil (optional but recommended) — Adds a lovely nutty depth that takes the sauce to another level.
- 1/2 teaspoon red pepper flakes (optional) — For a touch of heat. I add this about half the time, depending on my mood.
- 2 tablespoons unsalted butter, cut into small pieces — This gets stirred in at the end to give the sauce a silky, luxurious finish. Don’t skip it.
For Garnish (Optional but Highly Recommended)
- Fresh parsley or cilantro, chopped — Adds color and freshness.
- Toasted sesame seeds — For that classic Asian-inspired look.
- Thinly sliced green onions — Adds a mild onion bite that cuts through the richness.
Ingredient Selection Tips
When choosing chicken thighs, look for ones that are plump and have the skin still attached. The skin should be intact without any tears. If you can, buy air-chilled chicken—it has better texture and flavor than water-chilled options. I personally prefer organic, free-range chicken thighs when they’re on sale, but conventional works just fine.
For the honey, I recommend trying a local honey if you can find one. Not only does it support local beekeepers, but it also has a more complex flavor than mass-produced honey. That said, any honey you have in your pantry will work beautifully.
Equipment Needed
The beauty of this recipe is that you don’t need much. Here’s what you’ll need:
- A large oven-safe skillet (12-inch cast iron or stainless steel is ideal) — Cast iron gives you the best sear and heat retention. If you don’t have oven-safe, you can transfer the chicken to a baking dish after searing.
- Tongs — For flipping the chicken without piercing the skin.
- A sharp knife and cutting board — For mincing the garlic.
- Measuring spoons — For the sauce ingredients.
- A small whisk or fork — For mixing the sauce.
- A meat thermometer (optional but recommended) — Chicken is done at 165°F (74°C) in the thickest part. This takes the guesswork out.
If you don’t have a cast iron skillet, don’t worry. Any heavy-bottomed oven-safe pan will work. I’ve made this in a stainless steel skillet and even a non-stick pan (though you won’t get as good a sear). My personal favorite is my well-seasoned 12-inch cast iron—it’s been with me for years and just keeps getting better.
Preparation Method
Let’s get cooking. This Easy One-Pan Honey Garlic Chicken Thighs recipe comes together in about 35 minutes, and most of that is hands-off cooking time.
- Preheat your oven to 400°F (200°C). Position the rack in the middle of the oven. If you’re using a convection oven, reduce the temperature by 25°F.
- Prepare the chicken. Pat the chicken thighs dry with paper towels. This is crucial—dry skin equals crispy skin. Season generously on both sides with salt and pepper. Don’t be shy here. Let the chicken sit at room temperature for about 10 minutes while you prep the other ingredients.
- Make the sauce. In a small bowl, whisk together the honey, minced garlic, soy sauce, rice vinegar, sesame oil (if using), and red pepper flakes (if using). Set aside. The sauce should be well combined and slightly thick from the honey.
- Sear the chicken. Heat your oven-safe skillet over medium-high heat. Add the olive oil and swirl to coat. When the oil is shimmering (but not smoking), place the chicken thighs skin-side down in the skillet. Be careful not to overcrowd—if your pan is too small, work in batches. Let the chicken cook undisturbed for 5-6 minutes. You’ll know it’s ready to flip when the skin is deep golden brown and releases easily from the pan. If it sticks, give it another minute.
- Flip and sear the other side. Using tongs, flip the chicken thighs over. Cook for another 3-4 minutes until the second side is browned. Remove the chicken to a plate. Don’t worry if it’s not cooked through yet—it will finish in the oven.
- Build the sauce. Pour off all but about 1 tablespoon of the rendered fat from the skillet (save that liquid gold for roasting vegetables later!). Reduce the heat to medium. Pour the honey garlic sauce into the hot skillet. It will sizzle and bubble immediately. Use a wooden spoon or spatula to scrape up all those browned bits from the bottom of the pan—that’s pure flavor. Let the sauce simmer for 1-2 minutes until it thickens slightly and becomes fragrant.
- Return the chicken to the pan. Place the chicken thighs back in the skillet, skin-side up. Spoon some of the sauce over the top of each piece. Don’t submerge the skin—you want it to stay crispy in the oven.
- Bake. Transfer the skillet to the preheated oven. Bake for 15-20 minutes, or until the internal temperature of the thickest part of the thigh reaches 165°F (74°C). The sauce will bubble and reduce further, creating that sticky, glossy coating.
- Finish with butter. Remove the skillet from the oven. Carefully transfer the chicken to a serving platter. Place the skillet back on the stovetop over low heat. Whisk in the butter pieces one at a time until the sauce is smooth and glossy. This only takes about a minute. Taste and adjust seasoning—add a pinch more salt or a splash more vinegar if needed.
- Serve immediately. Spoon the sauce over the chicken. Garnish with fresh parsley, sesame seeds, and green onions if desired. Serve with rice, roasted vegetables, or a simple green salad to soak up every last drop of that sauce.
Pro Tips for Perfect Results
- Don’t move the chicken while searing. Let it sit and develop that golden crust. Moving it too early will tear the skin.
- If your sauce is too thin after baking, simmer it on the stovetop for a few minutes to reduce. If it’s too thick, add a splash of chicken broth or water.
- For extra crispy skin, finish the chicken under the broiler for 1-2 minutes after baking. Watch it closely—it can go from perfect to burnt in seconds.
- Let the chicken rest for 5 minutes before serving. This allows the juices to redistribute throughout the meat.
Cooking Tips & Techniques
Over the many times I’ve made this Easy One-Pan Honey Garlic Chicken Thighs, I’ve learned a few things the hard way. Let me save you from my mistakes.
The Pat-Dry Rule
I cannot stress this enough—pat those chicken thighs dry. I once skipped this step because I was in a hurry, and the skin came out sad and soggy instead of crispy and crackly. Moisture is the enemy of a good sear. Use paper towels and really get in there.
The Hot Pan Test
Before you add the oil, test if your pan is hot enough by flicking a drop of water onto it. If it sizzles and evaporates immediately, you’re good to go. If it just sits there, wait another minute. I’ve ruined more sears by being impatient than by any other mistake.
Don’t Crowd the Pan
If your skillet isn’t big enough for all four thighs without touching, sear them in two batches. Overcrowding lowers the pan temperature and steams the chicken instead of searing it. Trust me, it’s worth the extra few minutes.
The Sauce Consistency Test
The sauce should coat the back of a spoon when it’s done. If it’s still runny after baking, give it a few more minutes on the stovetop. If it’s too thick, thin it with a splash of broth. The perfect sauce is glossy, sticky, and clings to the chicken like it’s meant to be there.
Timing and Multitasking
While the chicken is searing, prep your garnishes and set the table. While it’s baking, make your rice or vegetables. This recipe is designed to let you do other things while it cooks. Use that time wisely.
Variations & Adaptations
One of the best things about this Easy One-Pan Honey Garlic Chicken Thighs recipe is how versatile it is. Here are some of my favorite variations:
Spicy Honey Garlic Chicken
Add 1-2 teaspoons of sriracha or gochujang to the sauce for a fiery kick. I love this version when I’m craving something with more heat. The honey balances the spice beautifully.
Lemon Honey Garlic Chicken
Add the zest of one lemon and 2 tablespoons of fresh lemon juice to the sauce. The citrus brightens everything up and adds a fresh, summery note. This is my go-to version in the spring.
Herb-Infused Version
Add 2-3 sprigs of fresh thyme or rosemary to the pan while baking. The herbs infuse the sauce with an earthy, aromatic flavor that pairs beautifully with the honey and garlic.
Dietary Adaptations
- Gluten-Free: Use tamari or coconut aminos instead of soy sauce. Everything else is naturally gluten-free.
- Low-Sugar: Substitute the honey with a sugar-free honey alternative or use only 2 tablespoons of honey and add an extra tablespoon of soy sauce for balance.
- Dairy-Free: Skip the butter at the end or use a dairy-free butter alternative. The sauce will still be delicious, just slightly less glossy.
Different Cooking Methods
- Stovetop Only: After adding the sauce and returning the chicken to the pan, cover and simmer on low for 15-20 minutes until cooked through. The skin won’t be as crispy, but it’s still delicious.
- Grill: Sear the chicken on a hot grill for 4-5 minutes per side, then move to indirect heat and brush with the sauce. Grill for another 10-15 minutes until cooked through.
- Air Fryer: Sear the chicken in a skillet first, then transfer to the air fryer at 375°F (190°C) for 10-12 minutes, brushing with sauce halfway through.
Serving & Storage Suggestions
How to Serve
This chicken is best served hot, straight from the pan. Spoon that glorious sauce over everything. The sticky, glossy coating is the star of the show.
What to Serve With It
- Steamed jasmine rice or coconut rice — Perfect for soaking up the sauce.
- Roasted vegetables like broccoli, asparagus, or green beans. Toss them in the rendered chicken fat before roasting for extra flavor.
- A simple cucumber salad with rice vinegar and sesame oil for a refreshing contrast.
- Steamed bok choy or sautéed spinach for a light, healthy side.
- Warm crusty bread to mop up every last drop of sauce.
Storage Instructions
Store leftover chicken in an airtight container in the refrigerator for up to 4 days. The sauce will continue to thicken as it cools, which is totally normal.
Reheating Methods
- Oven: Reheat in a 350°F (175°C) oven for 10-15 minutes, covered with foil to prevent drying out.
- Stovetop: Reheat in a skillet over medium-low heat with a splash of water or chicken broth to loosen the sauce.
- Microwave: Quick and easy, but the skin won’t be crispy. Heat in 30-second intervals until warmed through.
Freezing Instructions
This chicken freezes beautifully. Place cooled chicken and sauce in a freezer-safe container or bag. Freeze for up to 3 months. Thaw overnight in the refrigerator before reheating.
How Flavors Develop Over Time
Honestly, this chicken might even be better the next day. The flavors meld together overnight, and the sauce seeps deeper into the meat. I’ve been known to make a double batch just so I can have leftovers for lunch the next day.
Nutritional Information & Benefits
Here’s the approximate nutritional breakdown per serving (one chicken thigh with sauce):
- Calories: 380-420
- Protein: 28-32g
- Fat: 22-26g
- Carbohydrates: 18-22g
- Fiber: 0g
- Sugar: 16-18g
Health Benefits
- Chicken thighs are rich in protein, iron, and B vitamins. They’re more flavorful and forgiving than chicken breasts, and they contain healthy fats that help you feel satisfied.
- Garlic is packed with antioxidants and has anti-inflammatory properties. Plus, it’s great for your immune system.
- Honey contains natural antioxidants and has antibacterial properties. It’s a better alternative to refined sugar.
Dietary Considerations
This recipe is naturally gluten-free (with tamari), dairy-free (without the butter), and can be made low-sugar with a honey alternative. It contains soy (if using soy sauce) and is not suitable for vegan diets.
FAQs
Can I use boneless, skinless chicken thighs?
Yes, you can. Reduce the cooking time by about 5-7 minutes since boneless thighs cook faster. The skin won’t be an issue, but you’ll miss out on that crispy texture. If using boneless, I recommend searing them well on both sides for color and flavor.
Why is my sauce too thin?
Your sauce might be too thin if you added too much liquid or didn’t let it reduce enough. Try simmering it on the stovetop for a few extra minutes after removing the chicken. If it’s still thin, you can mix 1 teaspoon of cornstarch with 2 teaspoons of cold water and stir it into the simmering sauce to thicken it.
Can I make this recipe ahead of time?
Absolutely. You can prepare the sauce up to 3 days in advance and store it in the refrigerator. You can also sear the chicken earlier in the day and refrigerate it until you’re ready to bake. Just add a few extra minutes to the baking time since the chicken will be cold.
How do I prevent the honey from burning?
Honey can burn if the heat is too high or if it cooks for too long. Keep the heat at medium or medium-low when making the sauce, and don’t leave it unattended. The oven temperature of 400°F is high enough to caramelize the honey but not high enough to burn it, as long as you watch the cooking time.
Can I double this recipe?
Yes, but you’ll need a larger skillet or work in batches. If your pan is too crowded, the chicken will steam instead of sear. I recommend using two skillets or cooking in batches and combining everything in a baking dish for the oven step.
Conclusion
This Easy One-Pan Honey Garlic Chicken Thighs recipe is the kind of meal that makes weeknight dinners feel special without any of the stress. It’s simple enough for a Tuesday night but impressive enough for company. The combination of crispy skin, tender meat, and that sticky-sweet-savory sauce is honestly unbeatable.
I love this recipe because it reminds me that cooking doesn’t have to be complicated to be incredible. Sometimes the best meals come from the simplest ingredients, thrown together in one pan, with a little bit of patience and a lot of love. It’s the kind of food that brings people to the table and keeps them there, reaching for seconds.
If you make this recipe, I’d love to hear how it turns out. Leave a comment below and let me know if you tried any variations or if this becomes a regular in your dinner rotation. And if you’re looking for more easy weeknight dinners, you might also enjoy this juicy Italian dressing chicken or this classic chicken pot pie for those cozy nights in.
Happy cooking, friends. Go make that one-pan magic happen.
Pin This Recipe!
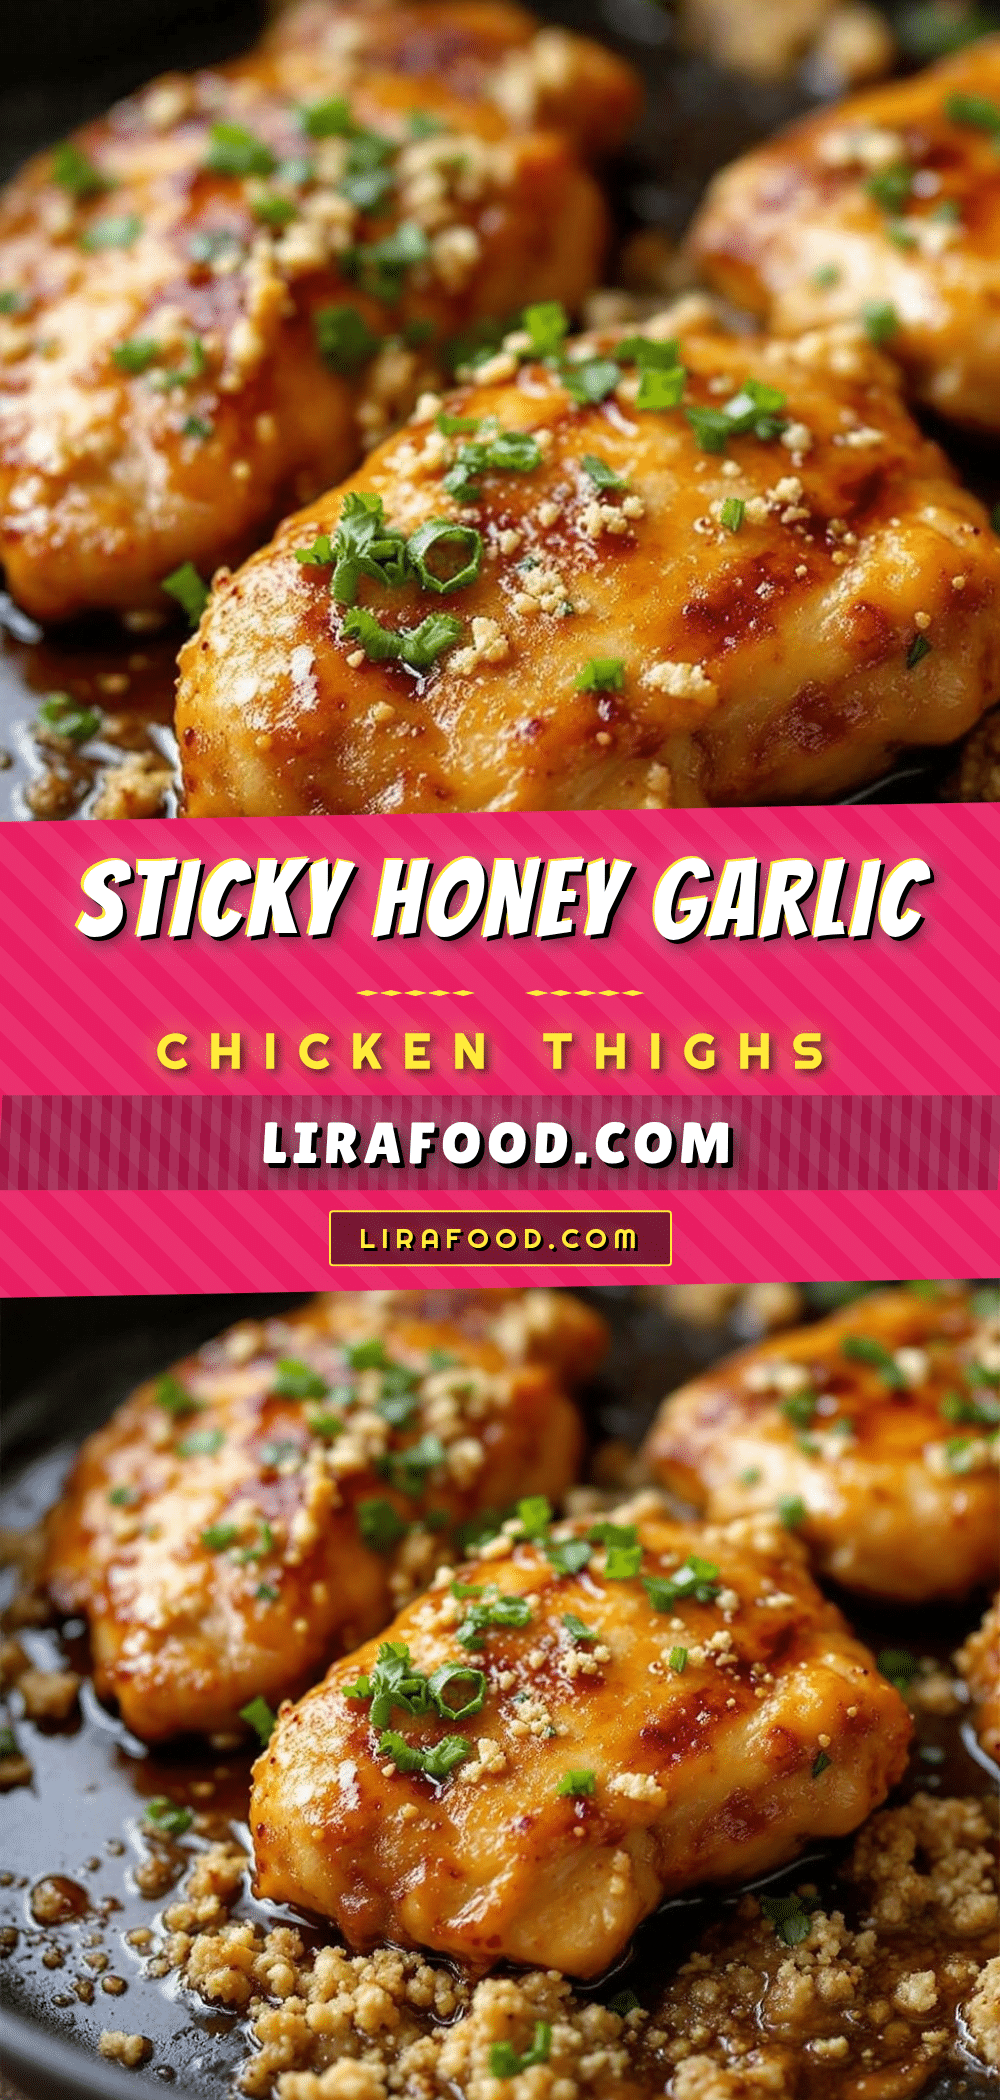
Easy One-Pan Honey Garlic Chicken Thighs

Sticky, sweet, and savory chicken thighs cooked in one skillet with a honey garlic sauce. Perfect for busy weeknights, this recipe delivers crispy skin and tender meat with minimal cleanup.
- Prep Time: 10 minutes
- Cook Time: 25 minutes
- Total Time: 35 minutes
- Yield: 4 servings 1x
- Category: Main Course
- Cuisine: American
Ingredients
- 4 bone-in, skin-on chicken thighs (about 1.5 to 2 pounds total)
- 1 tablespoon olive oil
- Salt and freshly ground black pepper, to taste
- 1/3 cup honey
- 4 cloves garlic, minced
- 3 tablespoons low-sodium soy sauce
- 1 tablespoon rice vinegar
- 1 teaspoon sesame oil (optional)
- 1/2 teaspoon red pepper flakes (optional)
- 2 tablespoons unsalted butter, cut into small pieces
- Fresh parsley or cilantro, chopped (for garnish, optional)
- Toasted sesame seeds (for garnish, optional)
- Thinly sliced green onions (for garnish, optional)
Instructions
- Preheat your oven to 400°F (200°C). Position the rack in the middle of the oven.
- Pat the chicken thighs dry with paper towels. Season generously on both sides with salt and pepper. Let sit at room temperature for about 10 minutes.
- In a small bowl, whisk together the honey, minced garlic, soy sauce, rice vinegar, sesame oil (if using), and red pepper flakes (if using). Set aside.
- Heat an oven-safe skillet over medium-high heat. Add the olive oil and swirl to coat. When the oil is shimmering, place the chicken thighs skin-side down in the skillet. Cook undisturbed for 5-6 minutes until the skin is deep golden brown and releases easily.
- Flip the chicken thighs using tongs. Cook for another 3-4 minutes until the second side is browned. Remove the chicken to a plate.
- Pour off all but about 1 tablespoon of the rendered fat from the skillet. Reduce heat to medium. Pour the honey garlic sauce into the hot skillet. Scrape up any browned bits from the bottom. Let the sauce simmer for 1-2 minutes until it thickens slightly.
- Return the chicken to the skillet, skin-side up. Spoon some sauce over each piece.
- Transfer the skillet to the preheated oven. Bake for 15-20 minutes, or until the internal temperature of the thickest part of the thigh reaches 165°F (74°C).
- Remove the skillet from the oven. Transfer the chicken to a serving platter. Place the skillet back on the stovetop over low heat. Whisk in the butter pieces one at a time until the sauce is smooth and glossy.
- Serve immediately. Spoon the sauce over the chicken. Garnish with fresh parsley, sesame seeds, and green onions if desired.
Notes
Pat chicken thighs dry for crispy skin. Don’t move chicken while searing. For extra crispy skin, finish under broiler for 1-2 minutes. Let chicken rest 5 minutes before serving. Sauce can be thinned with broth if too thick.
Nutrition
- Serving Size: 1 chicken thigh with
- Calories: 400
- Sugar: 17
- Sodium: 600
- Fat: 24
- Saturated Fat: 8
- Carbohydrates: 20
- Protein: 30
Keywords: honey garlic chicken, one-pan chicken, chicken thighs, easy weeknight dinner, sticky chicken, skillet chicken


