Love this? Save it for later!
Share the inspiration with your friends
That was my dad’s advice the first time I tried to make a caramel sauce that didn’t turn into a brick or separate into a greasy mess. He was standing in our cramped kitchen, watching me stir the bubbling pot with the intensity of a bomb disposal expert. I was twenty-two, convinced I could handle dessert, but he knew better. He’d seen me burn sugar before, and he wasn’t about to let me ruin his favorite time of year. That moment changed how I approach every sweet thing I cook. It taught me patience. It taught me that the best flavors aren’t rushed. And it led directly to the recipe I’m sharing with you today.
There’s a specific magic that happens in late October when the air gets crisp and the apples start falling from the trees. You know the feeling. The world slows down a bit, and suddenly, every meal feels like an occasion. I’ve made dozens of apple crisps over the years. Some were good. Some were great. But this Best Ever Salted Caramel Apple Crisp? It’s different. It’s the kind of dessert that makes you close your eyes after the first bite and forget about the dishes waiting in the sink. The combination of tart, soft apples with a buttery, oat-studded topping and that rich, salty-sweet caramel drizzle is just next-level comfort food.
I remember the first time I served this to a group of friends. They were loud, laughing, and definitely expecting something standard. Maybe a pie? A cobbler? When I pulled this out of the oven, the smell alone stopped the conversation. Everyone reached for a spoon before I could even grab plates. One friend, Sarah, actually said, “Is this allowed to be this good?” I just smiled and poured them each a glass of the warm vanilla milk we made earlier. It wasn’t just a dessert; it was a memory in the making. That’s why I love cooking. It’s not about the food. It’s about the moments you create around it. And honestly, this recipe is my best attempt at capturing that feeling.
Why You’ll Love This Recipe
Let’s be real for a second. There are a million apple crisp recipes out there. So why should you care about this one? Well, first off, I’ve tested this thing more times than I care to admit. I wanted a topping that was crunchy but not hard enough to chip a tooth, and a caramel layer that was pourable but not runny. It’s a delicate balance, but I think I finally nailed it. This isn’t just another version; it’s the version I come back to when I need a hug in food form.
- Quick & Easy: You might think making homemade salted caramel is a nightmare. It’s not. Once you get the hang of it, it takes less than 20 minutes. This makes the whole dessert come together in under an hour, perfect for those busy weeknights when you want something special but don’t have all day.
- Simple Ingredients: You likely have most of this in your pantry already. Butter, sugar, cream, oats, flour, apples. No fancy grocery trips needed. Just good, wholesome stuff that tastes like home.
- Perfect for Autumn Gatherings: Whether it’s a small family dinner or a big potluck, this dish travels well and looks impressive. It’s the centerpiece of any fall table.
- Crowd-Pleaser: Kids love the sweetness. Adults love the hint of salt. It’s universally loved, which means less stress for you as the cook.
- Unbelievably Delicious: The texture combo is everything. You get the soft, spiced apples, the crunchy crumble, and the liquid gold caramel. It’s soul-soothing satisfaction in a bowl.
What makes this different from the rest is the attention to detail in the caramel. I use a blend of brown and white sugar for depth, and a pinch of sea salt at the end to cut through the sweetness. It’s a technique I learned from watching professional chefs, but I’ve simplified it so anyone can do it. This recipe isn’t just good; it’s the kind that makes you want to save a spot on the blog for next year. It’s comfort food reimagined—faster, easier, but with the same soul-soothing satisfaction you crave.
What Ingredients You Will Need
This recipe uses simple, wholesome ingredients to deliver bold flavor and satisfying texture without the fuss. The key here is quality. Since there are only a few components, each one needs to shine. I prefer using fresh, crisp apples that hold their shape, and good-quality unsalted butter for the topping. You can find all of this at your local grocery store, and I’ve included some tips below to help you choose the best options.
- For the Apple Filling:
- 6-7 large apples: I recommend a mix of Granny Smith and Honeycrisp. Granny Smiths provide the tartness and structure, while Honeycrisps add sweetness and juiciness. Avoid Red Delicious; they get mushy and bland.
- 1/2 cup granulated sugar: Adjust based on how sweet your apples are. Taste them first!
- 1 teaspoon cinnamon: Use ground cinnamon for a warm, familiar flavor.
- 1/4 teaspoon nutmeg: Just a pinch adds depth. Don’t overdo it.
- 1 tablespoon lemon juice: This keeps the apples from browning and adds a bright contrast to the sweet caramel.
- 2 tablespoons cornstarch: This thickens the juices so you don’t end up with a soupy bottom.
- For the Salted Caramel Sauce:
- 1 cup granulated sugar: White sugar melts cleanly for a smooth base.
- 1/2 cup unsalted butter: Cut into cubes. I like using European-style butter like Kerrygold for richness.
- 1/2 cup heavy cream: Room temperature is best to prevent the caramel from seizing up.
- 1/2 teaspoon sea salt: Flaky sea salt on top is optional but highly recommended for that gourmet touch.
- For the Oat Crumble Topping:
- 1 cup all-purpose flour: Gives structure to the crumble.
- 1 cup old-fashioned rolled oats: Use gluten-free oats if needed for dietary restrictions.
- 3/4 cup brown sugar: Packed. This adds a molasses-like richness.
- 1 cup unsalted butter: Cold and cubed. This is crucial for creating those distinct, crunchy chunks.
- 1/2 teaspoon cinnamon: To tie the topping to the filling.
For the apples, look for firm varieties that won’t disintegrate in the oven. If you’re in a pinch, you can substitute the heavy cream in the caramel with full-fat coconut milk for a dairy-free option, though the texture will be slightly different. The butter in the topping is non-negotiable for flavor, but you can use a high-quality plant-based butter if necessary.
Equipment Needed
You don’t need a fancy kitchen to make this. A standard 9×13 inch baking dish is perfect. I use a ceramic one because it heats evenly and looks pretty going from oven to table. If you don’t have one, a glass Pyrex dish works just as well, though it might take a minute longer to bake.
For the caramel, a medium-sized saucepan with a heavy bottom is essential. Thin pans can cause the sugar to burn unevenly. I’ve ruined a few cheap pans before, so invest in a decent one if you cook caramel often. A wooden spoon or a heat-proof silicone spatula is your best friend here. You need something sturdy to stir the boiling sugar.
A large mixing bowl and a pastry cutter (or your clean hands) are needed for the crumble. I actually prefer using my hands for the topping. It’s faster, and you can feel when the butter is properly incorporated. Just make sure your hands are clean! Finally, a whisk is needed for the caramel to emulsify the cream and butter smoothly. Keep it simple, keep it clean, and you’ll be fine.
Preparation Method
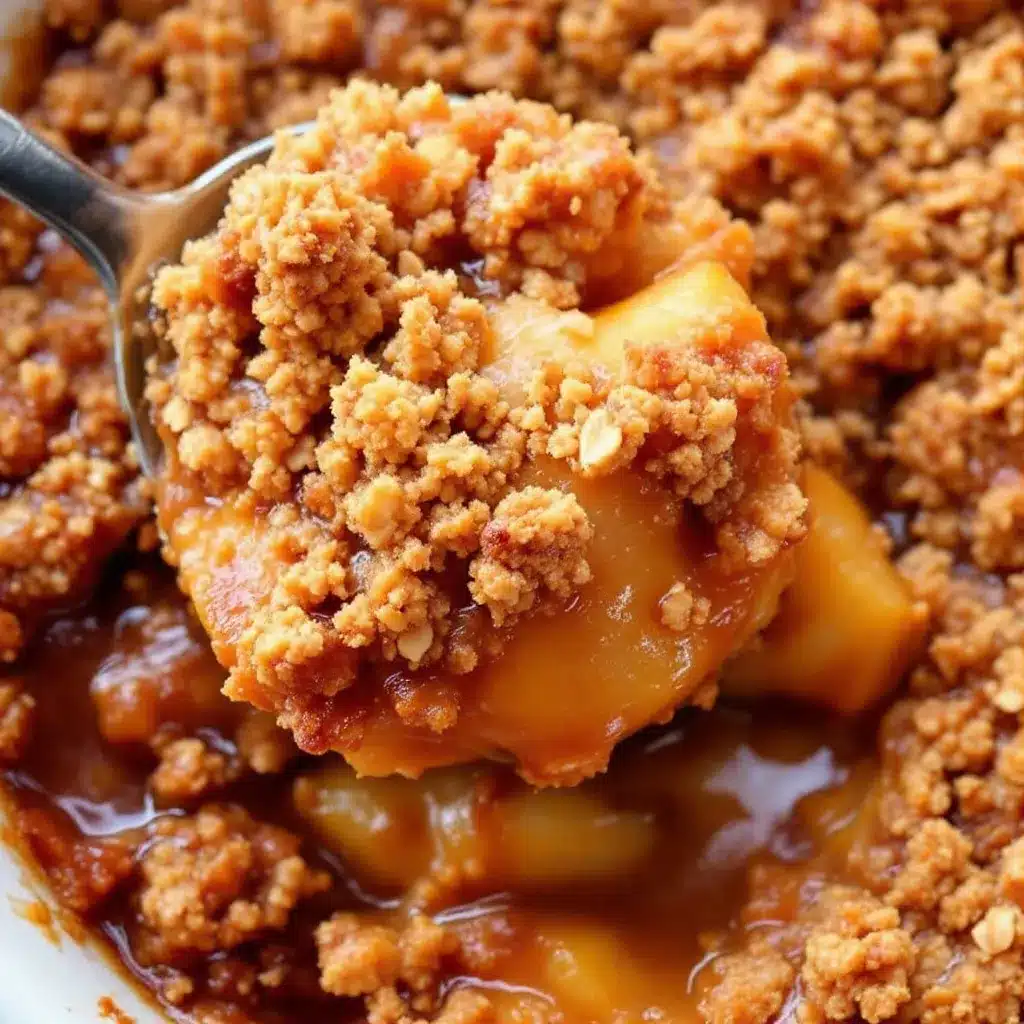
Step 1: Prep the Apples (15 minutes)
Start by peeling, coring, and slicing your apples. Aim for uniform slices about 1/4 inch thick. This ensures they cook evenly. Place them in a large bowl. Sprinkle with the granulated sugar, cinnamon, nutmeg, lemon juice, and cornstarch. Toss everything together until the apples are well-coated. The cornstarch will look white and powdery at first, but that’s normal. Pour this mixture into your 9×13 baking dish and spread it out evenly. Set aside while you make the caramel.
Step 2: Make the Salted Caramel (20 minutes)
This is the part where you need to pay attention. Pour the 1 cup of granulated sugar into your heavy-bottomed saucepan over medium heat. Do not stir. Let it melt. You can swirl the pan gently if needed, but don’t use a spoon yet. The sugar will turn into a liquid and then start to brown. Watch it closely. When it reaches a deep amber color (about 5-7 minutes), remove it from the heat immediately. It will keep cooking from the residual heat.
Carefully add the cubed butter. It will bubble up violently, so stand back. Stir until the butter is melted. Then, slowly pour in the heavy cream while whisking constantly. The mixture will bubble up again. Keep whisking until smooth. Stir in the sea salt. Pour the caramel into a heat-proof bowl or jug. You’ll use half of it now, and save the rest for drizzling later.
Step 3: Assemble and Bake (45-50 minutes)
Preheat your oven to 350°F (175°C). Pour half of the warm salted caramel over the apple mixture in the baking dish. Gently stir to combine, ensuring the apples are coated in the sauce. Now, make the topping. In a large bowl, mix the flour, oats, brown sugar, and cinnamon. Add the cold, cubed butter. Use a pastry cutter or your fingers to work the butter into the dry ingredients until you have large, uneven clumps. It shouldn’t be a paste; it should be crumbly. Sprinkle this topping evenly over the apples. Bake for 45-50 minutes, or until the topping is golden brown and the filling is bubbling around the edges.
Step 4: Cool and Serve
Let the crisp cool for at least 15 minutes before serving. This allows the caramel to thicken slightly so it’s not a mess. Drizzle the remaining salted caramel over the top just before serving. Add a pinch of flaky sea salt if you want that extra kick.
Cooking Tips & Techniques
One common mistake people make with caramel is stirring it too much while the sugar is melting. This causes crystallization, which can make your caramel grainy. Let it sit. Trust the process. If you see any crystals forming on the side of the pan, brush them down with a wet pastry brush. It sounds like a pro trick, but it’s really just basic chemistry.
Another tip: make sure your cream is at room temperature. If you add cold cream to hot caramel, it can seize up and become lumpy. I usually take the cream out of the fridge about 30 minutes before I start cooking. If you forget, you can warm it slightly in the microwave, but don’t boil it.
For the crumble, the texture of the butter matters. It needs to be cold. If it’s warm, it will melt into the flour instead of creating those nice, distinct chunks. I keep my butter in the fridge until the very last second. Also, don’t be afraid to use your hands. It’s messy, but it’s the most effective way to get that perfect crumbly texture. I learned this from my grandma, who always said, “Your fingers know what the spoon doesn’t.”
Timing is everything. If your apples are very juicy, you might need to add an extra 5 minutes to the baking time. If they’re dry, it might take less. Keep an eye on the bubbling. You want to see those bubbles breaking the surface of the caramel. That’s your sign that it’s done.
Variations & Adaptations
This recipe is a canvas. You can paint it however you like. For a gluten-free version, simply swap the all-purpose flour for a 1:1 gluten-free baking flour and use certified gluten-free oats. The texture will be slightly different but still delicious.
If you want to add some crunch, toss in 1/2 cup of chopped pecans or walnuts into the crumble topping. They pair beautifully with the caramel and apples. For a different flavor profile, try adding a pinch of cardamom or ginger to the apple filling. It adds a nice warmth that complements the cinnamon.
You can also use other fruits. Pears work just as well as apples. Or try a mix of apples and peaches in the summer. I even tried it with rhubarb once, and it was surprisingly good, though it needed a bit more sugar. For a dairy-free option, use coconut oil instead of butter in the topping and coconut cream in the caramel. It won’t be exactly the same, but it’s a viable alternative for those with allergies.
One of my personal favorites is adding a layer of cream cheese to the bottom before the apples. It adds a tangy contrast that cuts through the sweetness. Just mix 4 ounces of cream cheese with 1 tablespoon of sugar and spread it on the bottom of the dish. It’s a game-changer.
Serving & Storage Suggestions
Serve this warm. Ideally, straight out of the oven, but let it cool for those 15 minutes. It pairs wonderfully with a scoop of vanilla ice cream or a dollop of whipped cream. I also love it with a glass of the cozy warm vanilla milk I mentioned earlier. It’s a perfect pairing for autumn evenings.
Store leftovers in an airtight container in the refrigerator for up to 3 days. The crumble topping might soften in the fridge, but you can revive it by baking the leftovers in the oven at 350°F for 10 minutes. This will crisp up the topping again. You can also freeze the unbaked crisp for up to 3 months. Just thaw it in the fridge overnight before baking.
The flavors actually develop over time. The caramel soaks into the apples and the crumble, making it even more flavorful on the second day. It’s rare that leftovers last that long in my house, but if they do, you’ll be rewarded.
Nutritional Information & Benefits
This dessert is indulgent, but it’s also made with real ingredients. Apples are a great source of fiber and vitamin C. The oats provide complex carbohydrates and more fiber. The caramel adds sugar and fat, so enjoy in moderation. Each serving has approximately 450 calories, with 20g of fat, 65g of carbohydrates, and 5g of protein. It’s not exactly a health food, but it’s a treat that uses whole foods as its base. For those with dietary restrictions, the gluten-free and dairy-free adaptations make it accessible to more people. Just remember, balance is key.
Conclusion
This Best Ever Salted Caramel Apple Crisp is more than just a recipe. It’s a reminder to slow down and enjoy the simple things. The smell of baking apples, the sound of bubbling caramel, the warmth of the oven. It’s all part of the experience. I hope you try this recipe and make it your own. Add your favorite nuts, swap the fruit, or just enjoy it as is. It’s a dish that brings people together, and that’s what cooking is all about.
Let me know how it turns out for you. Did you add pecans? Did you burn the caramel? (Don’t worry, it happens.) Share your stories in the comments below. And if you make this, don’t forget to tag me on social media. I love seeing your creations. Happy baking, and enjoy every bite.
Frequently Asked Questions
Can I use frozen apples for this recipe?
Yes, you can, but you’ll need to thaw them first and drain the excess liquid. Frozen apples tend to be softer and can make the crisp watery if you don’t remove the juice. Fresh apples are always better for texture, but frozen works in a pinch.
How do I fix a grainy caramel?
If your caramel turns grainy, it’s usually because sugar crystals formed. To fix it, add a splash of water and heat it gently while stirring until the crystals dissolve. Next time, avoid stirring the melting sugar and brush down the sides of the pan.
Can I make the caramel ahead of time?
Absolutely. You can make the caramel up to a week in advance. Store it in an airtight jar in the pantry. Reheat it gently in the microwave or on the stove before using. It will thicken as it cools, so don’t worry if it looks solid in the jar.
What is the best apple for baking?
Granny Smith and Honeycrisp are my top choices. They hold their shape well and offer a good balance of sweet and tart. Other good options include Fuji, Braeburn, and Jonagold.
Can I substitute brown sugar with white sugar in the topping?
You can, but brown sugar adds moisture and a molasses flavor that complements the caramel. If you use white sugar, the topping will be crisper but less rich. I recommend sticking with brown sugar for the best flavor.
Pin This Recipe!
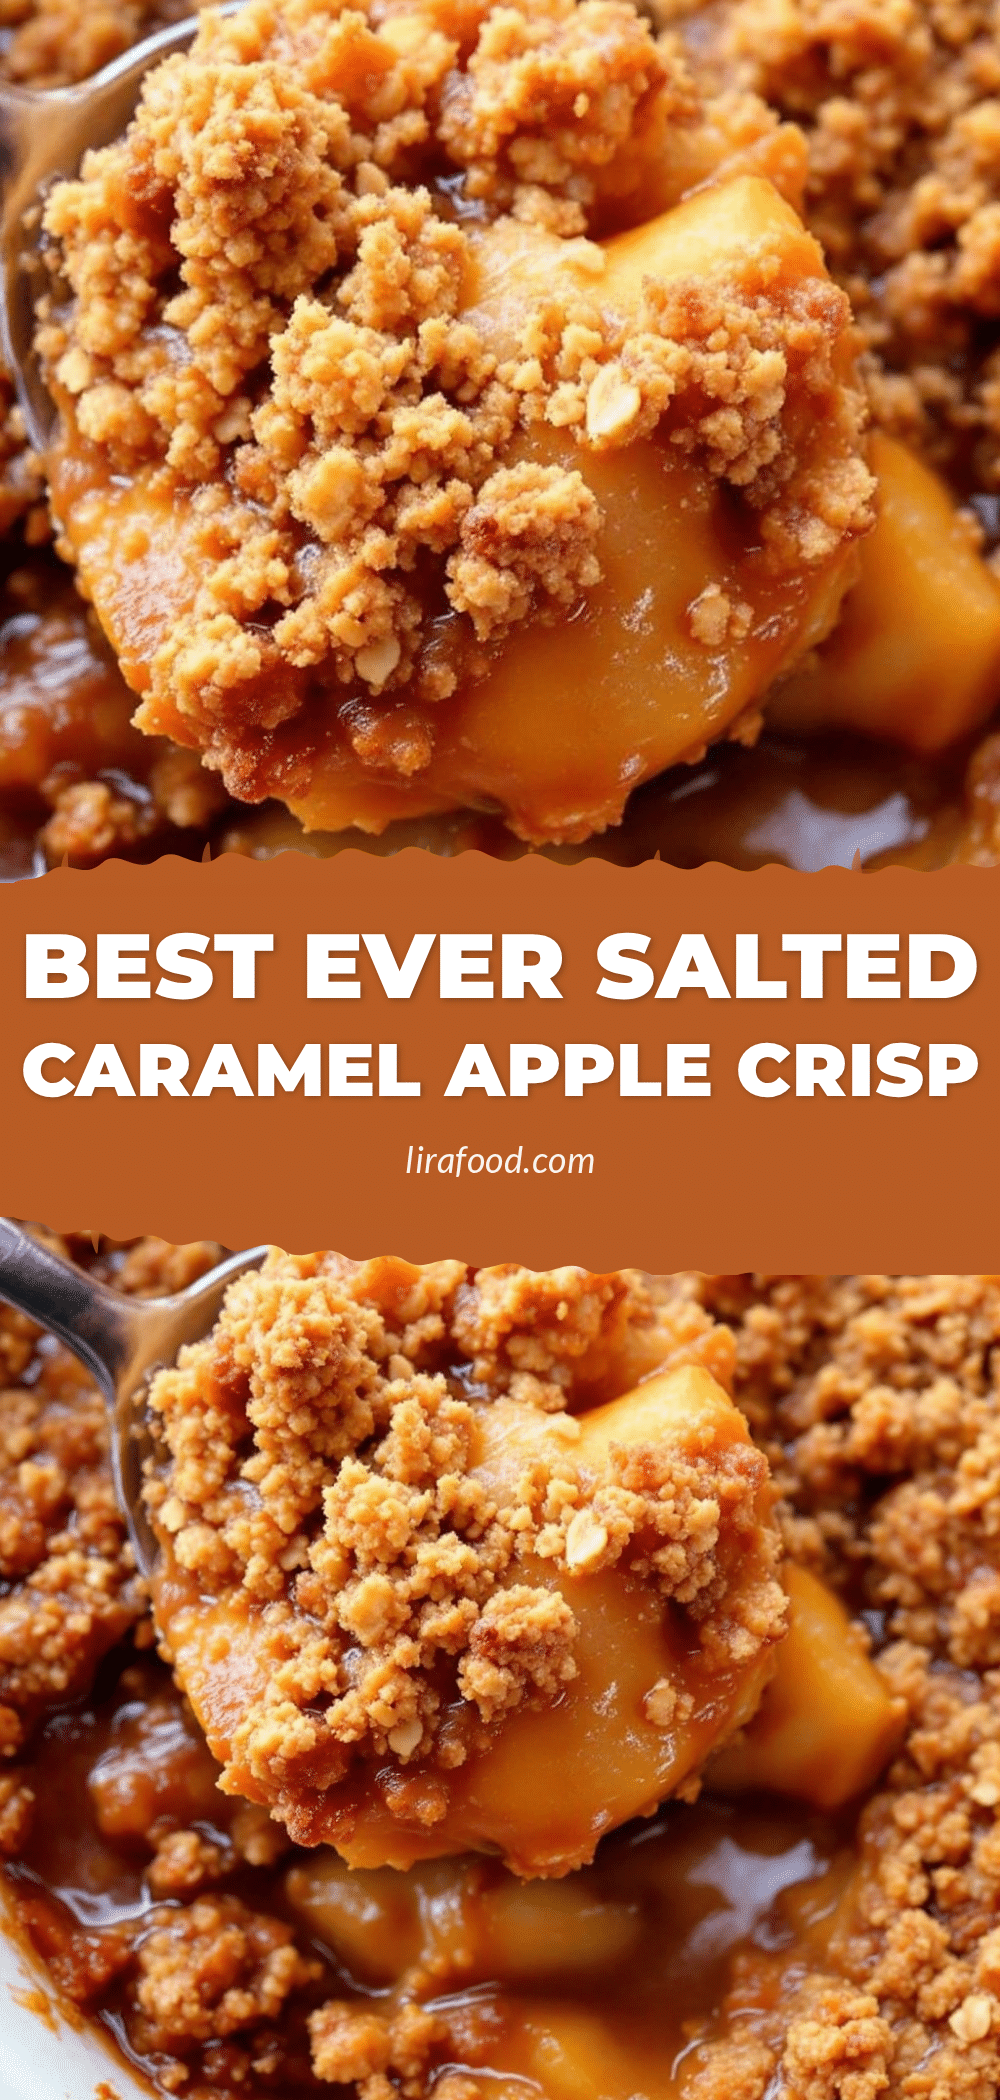
Best Ever Salted Caramel Apple Crisp: Easy Fall Dessert

A comforting fall dessert featuring tart, soft apples, a buttery oat-studded crumble topping, and a rich, homemade salted caramel sauce. This recipe balances sweet and salty flavors for a crowd-pleasing treat.
- Prep Time: 15 minutes
- Cook Time: 45-50 minutes
- Total Time: 1 hour 5 minutes
- Yield: 8 servings 1x
- Category: Dessert
- Cuisine: American
Ingredients
- 6–7 large apples (mix of Granny Smith and Honeycrisp), peeled, cored, and sliced
- 1/2 cup granulated sugar
- 1 teaspoon ground cinnamon
- 1/4 teaspoon nutmeg
- 1 tablespoon lemon juice
- 2 tablespoons cornstarch
- 1 cup granulated sugar (for caramel)
- 1/2 cup unsalted butter, cut into cubes (for caramel)
- 1/2 cup heavy cream, room temperature (for caramel)
- 1/2 teaspoon sea salt (for caramel)
- 1 cup all-purpose flour
- 1 cup old-fashioned rolled oats
- 3/4 cup brown sugar, packed
- 1 cup unsalted butter, cold and cubed (for topping)
- 1/2 teaspoon cinnamon (for topping)
Instructions
- Preheat oven to 350°F (175°C).
- In a large bowl, toss sliced apples with granulated sugar, cinnamon, nutmeg, lemon juice, and cornstarch until well coated.
- Spread the apple mixture evenly into a 9×13 inch baking dish.
- Pour 1 cup of granulated sugar into a heavy-bottomed saucepan over medium heat. Let it melt without stirring until it reaches a deep amber color (5-7 minutes).
- Remove from heat and carefully add cubed butter, stirring until melted. Slowly pour in heavy cream while whisking constantly until smooth. Stir in sea salt.
- Pour half of the warm caramel over the apples in the baking dish and gently stir to coat.
- In a separate bowl, mix flour, oats, brown sugar, and cinnamon. Add cold cubed butter and work it in with a pastry cutter or hands until large, uneven clumps form.
- Sprinkle the crumble topping evenly over the apples.
- Bake for 45-50 minutes until the topping is golden brown and the filling is bubbling.
- Let cool for at least 15 minutes before serving. Drizzle with remaining caramel and sprinkle with flaky sea salt if desired.
Notes
Ensure cream is at room temperature to prevent caramel from seizing. Use cold butter for the topping to create distinct crunchy chunks. If apples are very juicy, bake for an extra 5 minutes. Leftovers can be stored in the fridge for 3 days or frozen unbaked for 3 months.
Nutrition
- Serving Size: 1 slice
- Calories: 450
- Sugar: 45
- Sodium: 250
- Fat: 20
- Saturated Fat: 12
- Carbohydrates: 65
- Fiber: 4
- Protein: 5
Keywords: apple crisp, salted caramel, fall dessert, oat crumble, homemade caramel, easy dessert, autumn recipes


