Love this? Save it for later!
Share the inspiration with your friends
My aunt Linda said that to me last year while standing over the counter, knife in hand, staring at my classic pumpkin pie like it was a math problem she couldn’t solve. It wasn’t meant to be mean, really. Linda has always been the type to cut corners if it means she can sit down sooner. But that moment stuck with me. I realized that while traditional pumpkin pie is iconic, it’s also a lot of work for a crust that gets soggy and a filling that sometimes splits. So, I decided to change the game. I wanted something that tasted like the best parts of autumn but without the hassle of a deep-dish pan or a rolling pin. That conversation led directly to the Best Ever Maple Pumpkin Pie Bars with Pecan Crust. Honestly, they are the kind of dessert that makes you close your eyes after the first bite. It’s comfort food reimagined—healthier, faster, but with the same soul-soothing satisfaction. If you’ve ever struggled with a perfect pumpkin pie, these bars are your new best friend. They hold their shape, they’re incredibly rich, and that pecan crust? It adds a crunch you never knew you needed. You’ll find yourself making them for everything from holiday dinners to random Tuesday cravings. And if you need a break from baking, try this flavorful maple bacon donut next time you want something sweet but different.
Why You’ll Love This Recipe
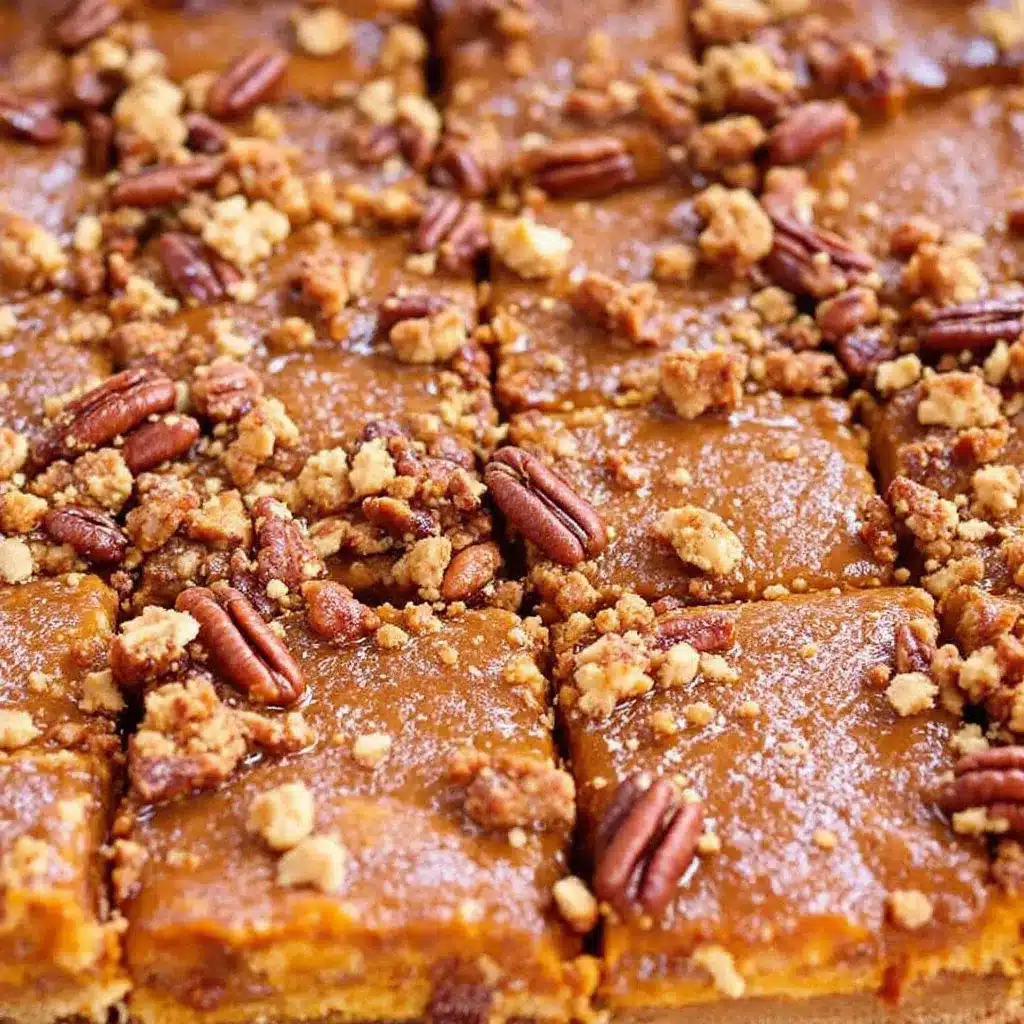
Let’s be honest here. Making a whole pumpkin pie is a commitment. You have to blind bake the crust, worry about the filling bubbling over, and then hope it sets properly. With these bars, you skip all that drama. This recipe is designed for real life, where you might have kids running around or guests arriving unexpectedly. The best part is the texture contrast. You get the creamy, spiced pumpkin center layered over a buttery, toasted pecan crust. It’s like eating the best part of a pecan pie and the best part of a pumpkin pie in one bite. I’ve tested this recipe dozens of times, tweaking the spice ratios and the sweetness levels, and I’m confident this is the ultimate version. It’s not just good—it’s the kind of dessert that disappears in minutes.
- Quick & Easy: Comes together in under an hour of prep time, perfect for busy weeknights or last-minute cravings. No rolling pins required.
- Simple Ingredients: No fancy grocery trips needed; you likely already have pumpkin puree, maple syrup, and pecans in your pantry.
- Perfect for Potlucks: Cut into squares, they travel better than a whole pie and don’t require a serving spoon that might break.
- Crowd-Pleaser: Always gets rave reviews from kids and adults alike. Even the picky eaters who usually avoid “vegetable” desserts love these.
- Unbelievably Delicious: The texture and flavor combo is next-level comfort food. The maple in the crust adds a depth that regular sugar just can’t match.
What makes this recipe different is the crust. Instead of a standard graham cracker or flour crust, we use crushed pecans mixed with butter and a touch of maple syrup. This creates a chewy, nutty base that holds up against the moist pumpkin filling. It’s a creative twist that elevates the whole experience without adding extra complexity. Whether you are a seasoned baker or just starting out, this recipe is forgiving and reliable.
What Ingredients You Will Need
This recipe uses simple, wholesome ingredients to deliver bold flavor and satisfying texture without the fuss. You don’t need any obscure spices or hard-to-find items. The magic here comes from the quality of the few ingredients you do use. Since the flavor profile is so distinct, using high-quality maple syrup and fresh spices makes a huge difference. I recommend using pure maple syrup rather than pancake syrup, which is full of corn syrup and artificial flavoring. Also, make sure your pumpkin puree is 100% pure pumpkin, not pumpkin pie filling, which already has sugar and spices added.
For the Pecan Crust
- 1 cup pecans: Finely chopped or pulsed in a food processor. Look for fresh, unsalted pecans for the best flavor. Rancid nuts will ruin the taste.
- 1/2 cup all-purpose flour: This helps bind the nuts together so the crust holds its shape when sliced.
- 1/3 cup pure maple syrup: Adds sweetness and a chewy texture. (use Grade A or B, whatever you have)
- 1/4 cup unsalted butter: Melted. (adds richness)
- 1/4 teaspoon salt: To balance the sweetness.
For the Pumpkin Filling
- 1 can (15 oz) pumpkin puree: Make sure it is pure pumpkin, not pie filling. (I recommend Libby’s for consistent texture)
- 1 can (14 oz) sweetened condensed milk: This is the key to the creamy, custard-like texture. Do not skip this or substitute with milk, or it won’t set.
- 2 large eggs: Room temperature. (helps bind the filling)
- 1/2 teaspoon cinnamon: Ground cinnamon is standard, but if you have fresh ground, use it.
- 1/4 teaspoon nutmeg: Freshly grated is best, but pre-ground works fine.
- 1/4 teaspoon ginger: Adds a little heat and complexity.
- 1/4 teaspoon cloves: Just a pinch. It’s a strong spice, so don’t overdo it.
- 1/2 teaspoon vanilla extract: For that warm, aromatic finish.
- 1/2 teaspoon salt: Essential to bring out the flavors.
If you need a gluten-free option, you can swap the all-purpose flour in the crust for a 1:1 gluten-free baking flour blend. For a dairy-free version, you can use dairy-free sweetened condensed milk, though the texture might be slightly less firm. In summer, you could even swap the pecans for walnuts if you prefer a different nutty profile.
Equipment Needed
You don’t need a lot of fancy tools for this recipe. A standard 9×13 inch baking dish is perfect. I prefer glass or ceramic dishes because they distribute heat evenly, but metal works too. You’ll need a food processor or a rolling pin to crush the pecans. If you don’t have a food processor, put the pecans in a ziplock bag and crush them with a rolling pin until they are finely ground. A whisk is all you need for mixing the filling. Make sure your baking dish is greased lightly, though the butter in the crust usually prevents sticking. I also recommend a cooling rack. Letting the bars cool completely is crucial for clean cuts, so having a place to rest the dish is helpful. If you’re on a budget, any basic 9×13 pan will do; you don’t need a fancy springform pan for this.
Preparation Method
Getting started is straightforward. First, preheat your oven to 350°F (175°C). Grease your 9×13 inch baking dish with non-stick spray or a little butter. This ensures the bars release easily later.
- Prepare the Crust: In a food processor, pulse the pecans until they are finely chopped. Be careful not to over-process them into butter; you want small bits, not oil. If you don’t have a processor, crush them in a bag with a rolling pin. Transfer the pecans to a mixing bowl. Add the flour, maple syrup, melted butter, and salt. Stir until the mixture looks like wet sand and holds together when pinched. Press this mixture firmly into the bottom of your prepared baking dish. Use the bottom of a measuring cup to pack it down tight. This step is important so the crust doesn’t crumble when you cut it. Bake the crust for 10 minutes. This pre-baking step helps it stay crisp against the moist filling.
- Mix the Filling: While the crust bakes, whisk the eggs in a large bowl until they are smooth. Add the pumpkin puree and mix until combined. Then, pour in the sweetened condensed milk. Whisk vigorously until the mixture is completely smooth and no lumps remain. This takes about a minute. Add the cinnamon, nutmeg, ginger, cloves, vanilla, and salt. Whisk again to incorporate all the spices. The mixture should be a vibrant orange color and smell amazing.
- Combine and Bake: Remove the crust from the oven. Pour the pumpkin filling over the hot crust. Spread it out evenly with a spatula. Place the dish back in the oven and bake for 30-35 minutes. You want the edges to be set and slightly jiggly in the center. Do not overbake, or the filling will crack. A toothpick inserted near the center should come out clean or with just a few moist crumbs.
- Cool and Cut: Let the bars cool in the pan on a wire rack for at least 30 minutes. They will continue to set as they cool. If you try to cut them while they are hot, they will be mushy. For clean cuts, let them cool completely, or even chill them in the fridge for an hour. Cut into squares or rectangles using a sharp knife.
If the edges start browning too quickly, you can cover them loosely with foil after 20 minutes. Trust your eyes more than the timer. The texture should be creamy and dense, not runny.
Cooking Tips & Techniques
I learned the hard way that rushing the cooling process is the biggest mistake you can make. I once tried to cut a bar five minutes after taking it out of the oven, and it was a complete mess. The filling was still liquid, and the crust fell apart. Let it cool! Also, make sure your eggs are at room temperature. Cold eggs can sometimes cause the condensed milk to seize slightly, leading to a grainy texture. Whisking everything together well is key. Don’t just stir; really whisk it out. For the crust, pressing it down firmly is non-negotiable. If it’s loose, the bars will crumble. If you want a extra crunchy crust, you can toast the pecans in a dry pan for 2-3 minutes before mixing them with the butter. This brings out their natural oils and flavor. Another tip: if your filling looks a bit thin before baking, don’t panic. It will thicken up significantly as it cools. Just make sure it’s not watery; if it is, check your pumpkin puree for added liquid.
Variations & Adaptations
One of the best things about these bars is how easy they are to adapt. For a spicier kick, add a pinch of cayenne pepper to the filling. It sounds weird, but it pairs beautifully with the maple and pumpkin. If you want a cheesecake vibe, you can add 8 ounces of cream cheese to the filling, softened, and mix it in with the pumpkin. This makes them richer and tangier. For a nut-free version, you can substitute the pecans with crushed graham crackers or almond flour, though the texture will change. If you are avoiding gluten, use gluten-free flour and make sure your oats (if adding) are certified gluten-free. I also like to add a layer of caramel sauce drizzled over the crust before adding the pumpkin filling for an extra decadent treat. You can also swap the pecans for walnuts or pecan halves pressed into the top for a more rustic look.
Serving & Storage Suggestions
These bars are best served at room temperature, though I know some people prefer them chilled. They pair wonderfully with a cup of hot coffee or tea. For a complete dessert, serve them with a dollop of whipped cream or a scoop of vanilla ice cream. If you want to keep them fresh, store them in an airtight container in the refrigerator for up to 5 days. They actually taste even better the next day as the flavors meld together. You can also freeze them. Wrap individual squares in plastic wrap and place them in a freezer-safe bag for up to 3 months. Thaw them in the fridge overnight before serving. Reheating is optional, but a 10-second zap in the microwave can make the filling soft and warm again.
Nutritional Information & Benefits
While these bars are a treat, they do offer some nutritional benefits. Pumpkin is rich in vitamin A, fiber, and antioxidants. Pecans provide healthy monounsaturated fats, protein, and minerals like magnesium and zinc. Maple syrup contains antioxidants and minerals like manganese and zinc, though it is still a sugar. Each bar contains approximately 250-300 calories, depending on size. They are not gluten-free unless you use gluten-free flour, and they contain dairy and nuts. For those watching sugar intake, you can reduce the maple syrup in the crust by half, though it may affect the binding. Overall, they are a balanced dessert option compared to heavy cream-based pies.
Conclusion
The Best Ever Maple Pumpkin Pie Bars with Pecan Crust are a game-changer for anyone who loves fall flavors but hates the hassle of pie. They are easy to make, delicious to eat, and perfect for sharing. I hope you try this recipe and make it your new holiday tradition. Feel free to customize it with your favorite spices or toppings. If you make them, I’d love to hear how they turned out. Leave a comment below with your thoughts or share a photo! Thanks for reading, and happy baking.
FAQs
Can I use pumpkin pie filling instead of pure pumpkin puree?
No, you should not use pumpkin pie filling. It already contains sugar and spices, which will throw off the balance of sweetness and flavor in the bars. Stick to 100% pure pumpkin puree.
Why did my pumpkin bars crack on top?
Cracking usually happens if the bars are overbaked. The filling is done when the edges are set and the center is slightly jiggly. If you bake it until the center is firm, it will likely crack as it cools. Also, overmixing the eggs can incorporate too much air, leading to cracks.
Can I make these bars ahead of time?
Yes, these bars actually taste better the next day. You can make them 1-2 days in advance and store them in the fridge. They hold their shape well and are easy to transport.
What can I use instead of pecans?
You can use walnuts, almonds, or even hazelnuts. If you have a nut allergy, you can use crushed graham crackers or gluten-free oats for the crust.
How do I store leftover bars?
Store them in an airtight container in the refrigerator for up to 5 days. You can also freeze them for up to 3 months. Wrap individual squares in plastic wrap to prevent freezer burn.
Pin This Recipe!
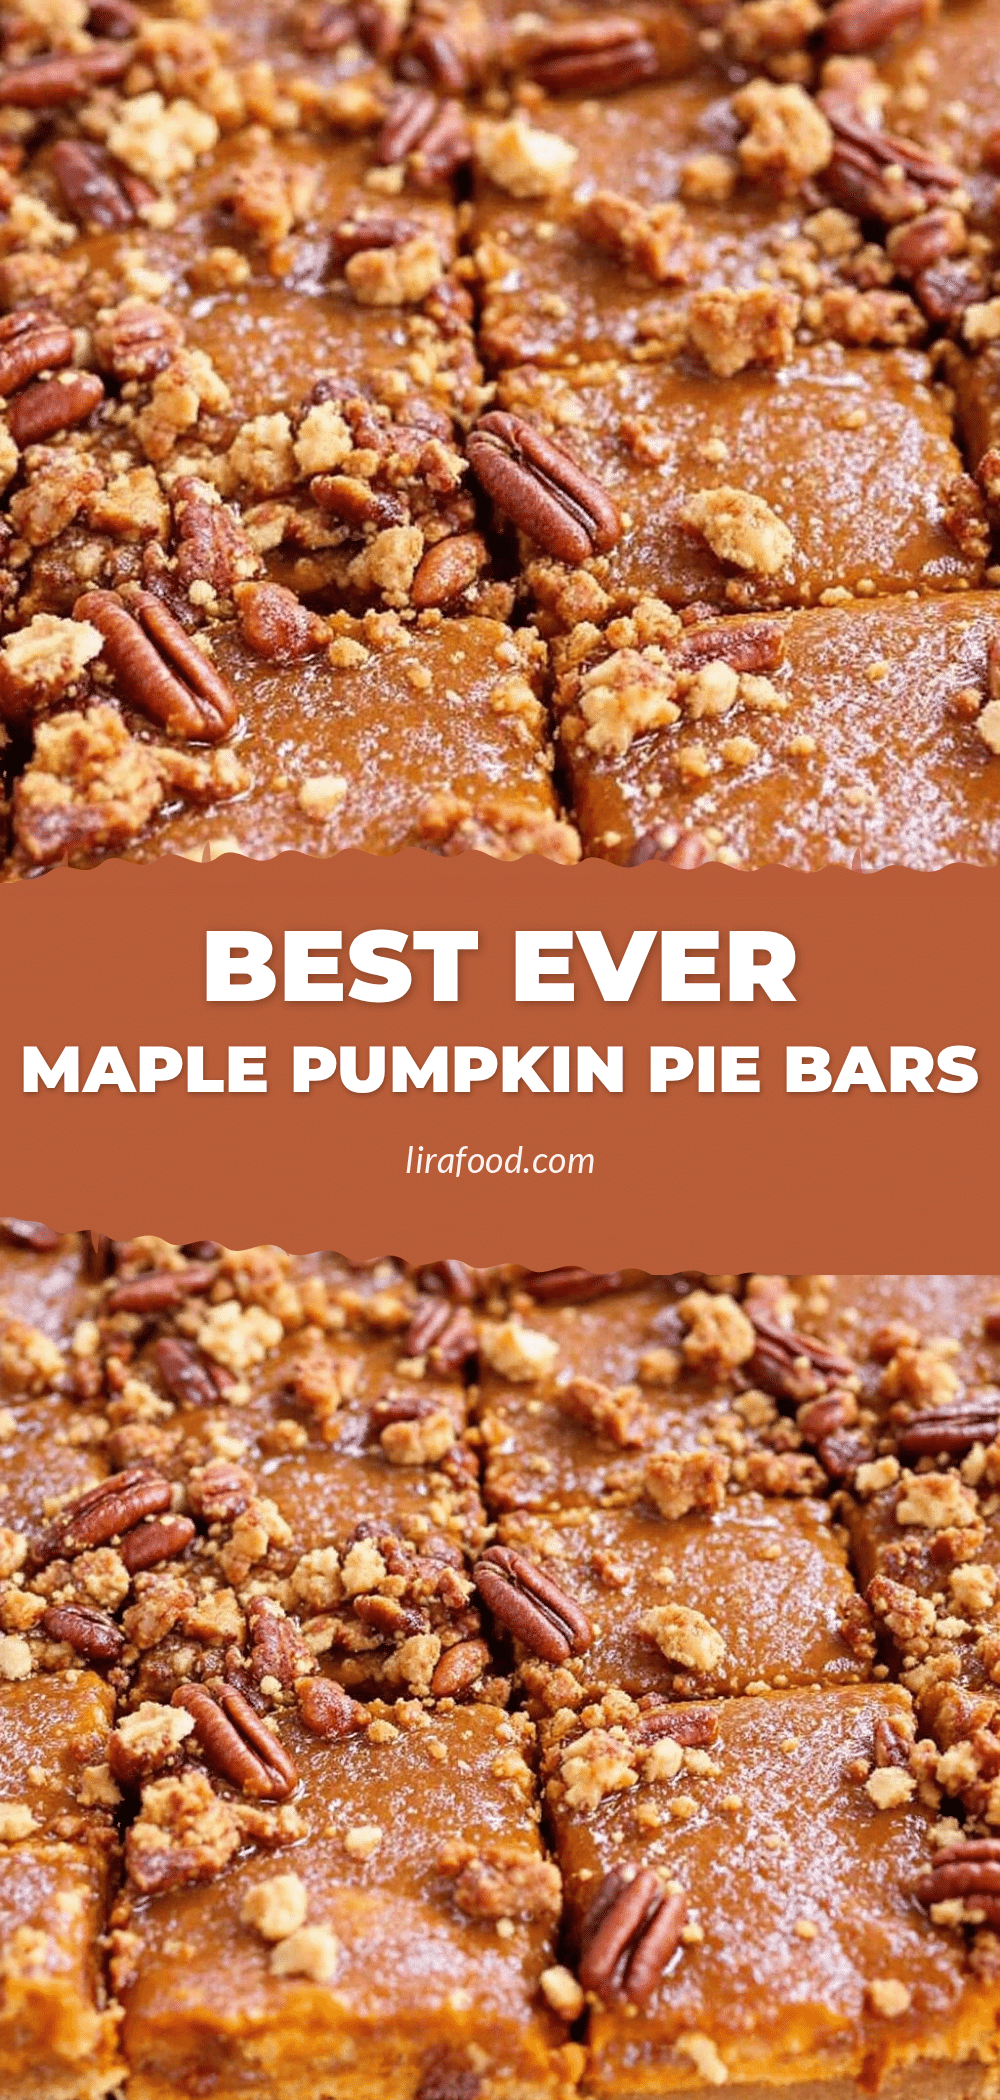
Best Ever Maple Pumpkin Pie Bars: Easy Pecan Crust Recipe
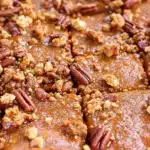
These Maple Pumpkin Pie Bars feature a creamy, spiced pumpkin filling layered over a buttery, toasted pecan crust. They offer the comfort of pumpkin pie with the ease of bar cookies, making them perfect for holidays or weeknight cravings.
- Prep Time: 15 minutes
- Cook Time: 45 minutes
- Total Time: 1 hour
- Yield: 12 servings 1x
- Category: Dessert
- Cuisine: American
Ingredients
- 1 cup pecans, finely chopped
- 1/2 cup all-purpose flour
- 1/3 cup pure maple syrup
- 1/4 cup unsalted butter, melted
- 1/4 teaspoon salt
- 1 can (15 oz) pumpkin puree
- 1 can (14 oz) sweetened condensed milk
- 2 large eggs, room temperature
- 1/2 teaspoon ground cinnamon
- 1/4 teaspoon ground nutmeg
- 1/4 teaspoon ground ginger
- 1/4 teaspoon ground cloves
- 1/2 teaspoon vanilla extract
- 1/2 teaspoon salt
Instructions
- Preheat oven to 350°F (175°C) and grease a 9×13 inch baking dish.
- Pulse pecans in a food processor until finely chopped (do not make butter). Transfer to a bowl.
- Add flour, maple syrup, melted butter, and 1/4 teaspoon salt to the pecans. Stir until mixture resembles wet sand.
- Press the crust mixture firmly into the bottom of the prepared baking dish. Bake for 10 minutes.
- While crust bakes, whisk eggs in a large bowl until smooth.
- Add pumpkin puree to eggs and mix until combined.
- Pour in sweetened condensed milk and whisk vigorously until smooth.
- Add cinnamon, nutmeg, ginger, cloves, vanilla, and 1/2 teaspoon salt. Whisk to incorporate.
- Remove crust from oven and pour pumpkin filling over the hot crust, spreading evenly.
- Bake for 30-35 minutes until edges are set and center is slightly jiggly.
- Cool in the pan on a wire rack for at least 30 minutes, or until completely cool/chilled before cutting into squares.
Notes
Ensure you use 100% pure pumpkin puree, not pumpkin pie filling. Let the bars cool completely before cutting to ensure clean slices and proper setting. For a gluten-free version, substitute all-purpose flour with a 1:1 gluten-free baking blend.
Nutrition
- Serving Size: 1 bar
- Calories: 275
- Sugar: 22
- Sodium: 180
- Fat: 18
- Saturated Fat: 6
- Carbohydrates: 28
- Fiber: 2
- Protein: 5
Keywords: pumpkin pie bars, maple pecan crust, fall dessert, easy pumpkin recipe, holiday baking, gluten-free option