Love this? Save it for later!
Share the inspiration with your friends
The doorbell rang at 4:15 PM on a Tuesday, and I froze. I hadn’t planned to see anyone. In fact, I had planned to sit on my couch in sweatpants and eat cereal straight from the box. But now, my neighbor’s kids were standing on the porch, looking hopeful, and my husband was already heading to the door with that “I’ll be right back” smile. I looked at my kitchen counter. It was a disaster zone of mail and keys, but the only food item worth mentioning was a bunch of blackened, bruised bananas sitting in the fruit bowl.
Let’s face it, I usually throw those away. They’re too mushy for eating raw, and I swear they turn my compost bin into a science experiment. But today, I didn’t have time to go to the store. I didn’t have time to raid the pantry for flour, sugar, and baking powder. I had three bananas, a bowl, and a desperate need to look like a functional adult who hosts people. So, I grabbed a mixing bowl and started throwing things in. Honestly, I didn’t even measure. I just mashed those bananas until they were a purple sludge and mixed in what I had.
I was worried it would taste like cardboard or raw egg. It didn’t. It tasted like comfort. It tasted like I actually had my life together. When the kids took their first bite, their eyes went wide. My husband came back in from answering the door, saw the empty plate, and asked for seconds before I even finished slicing the loaf. That was the moment I realized this easy one-bowl moist banana bread wasn’t just a backup plan. It was the best thing I made all week. I kept the recipe because it saves me on bad days, and honestly, it’s become my go-to when I have zero energy but want to feed people something warm and sweet.
Why You’ll Love This Easy One-Bowl Moist Banana Bread
This recipe isn’t just about convenience, though having everything in one bowl is a huge win for lazy cooks like me. It’s about reliability. I’ve tested this version dozens of times, tweaking the ratios until the texture was perfect. It’s moist without being soggy, sweet without being cloying, and it smells like a bakery without the smell of baking for hours. Here is why this loaf sticks around in my rotation:
- Quick & Easy: You can have this in the oven in under 10 minutes of active prep time. It’s perfect for those weeknights when you’re tired and just want a treat without the fuss.
- Simple Ingredients: You likely already have everything in your kitchen. No fancy grocery trips needed. If you have bananas, you have this recipe.
- Perfect for Breakfast or Snack: Great for grabbing a slice on the way out the door or enjoying with a cup of warm vanilla milk on a rainy afternoon.
- Crowd-Pleaser: It always gets rave reviews. Kids love the sweetness, and adults appreciate that it’s not overly heavy.
- Unbelievably Delicious: The texture is dense yet tender, with a crust that crackles slightly when you cut into it. It’s next-level comfort food.
What makes this different from other banana breads? Most recipes call for creaming butter and sugar separately, which takes time and creates extra dishes. This method skips that step entirely. By mixing the wet and dry ingredients directly into the mashed bananas, you retain more moisture and get a tighter, fudgier crumb. It’s not just another banana bread—it’s the one that actually stays moist for days. It’s the kind of loaf that makes you close your eyes after the first bite. It’s comfort food reimagined for the modern, busy kitchen.
What Ingredients You Will Need
This recipe uses simple, wholesome ingredients to deliver bold flavor and satisfying texture without the fuss. The key here is letting the bananas do the heavy lifting. They provide the sweetness, the moisture, and the structure, so you don’t need a lot of extra sugar or fat. Most of these items are pantry staples, and the bananas are usually just sitting on your counter waiting to be used.
- Ripe Bananas (3 large): The star of the show. Look for bananas with lots of brown spots or even black skins. The riper they are, the sweeter and more flavorful your bread will be. If they are green, they won’t be sweet enough.
- All-Purpose Flour (1 ½ cups): This provides the structure. I use standard all-purpose flour, but you can substitute with a 1:1 gluten-free flour blend if needed. Just make sure it has xanthan gum in it for best texture.
- Baking Soda (1 teaspoon): This is your leavening agent. It reacts with the acidity in the bananas to help the bread rise. Don’t skip this, or your bread will be dense as a brick.
- Salt (½ teaspoon): This might seem small, but salt is crucial. It balances the sweetness and makes the banana flavor pop. I use fine sea salt.
- Vanilla Extract (1 teaspoon): Adds that warm, aromatic depth. Use pure vanilla extract, not imitation flavoring, if you can find it. It makes a noticeable difference in the final taste.
- Butter or Oil (½ cup): I prefer melted unsalted butter for richness, but you can use neutral oil like canola or vegetable oil for a denser, moister crumb. Oil keeps it moist for longer, while butter gives a better flavor. For a dairy-free option, use coconut oil.
- Sugar (½ cup): I use granulated white sugar, but brown sugar works too if you want a deeper, caramel-like flavor. You don’t need a lot because the bananas are already sweet.
For the best results, make sure your bananas are truly ripe. If you find yourself with too many ripe bananas, freeze them in their peels until you’re ready to bake. Thaw them before peeling and mashing—they come out much easier that way.
Equipment Needed
You don’t need much for this recipe, which is the best part. A standard 9×5-inch loaf pan is all you really need. I recommend lining it with parchment paper for easy removal, but greasing it well with butter or non-stick spray works too. A large mixing bowl is essential—I use a wide one so the ingredients don’t fly out when I’m mashing. A potato masher or a sturdy fork works for mashing the bananas, though a blender makes it super smooth if you don’t mind a uniform texture. An oven thermometer is a good idea, too, because ovens can be unreliable. I also keep a wire cooling rack handy so the bread doesn’t get soggy from sitting on the hot pan.
Preparation Method
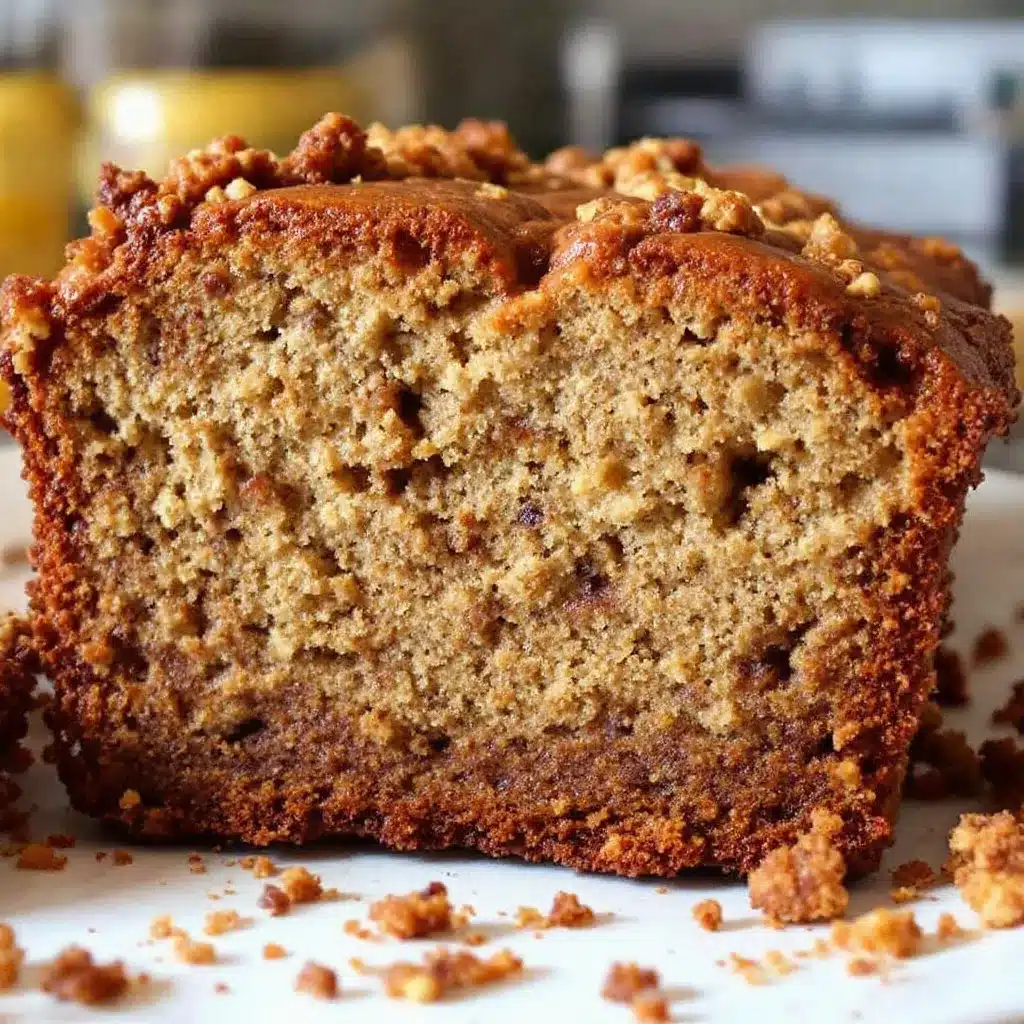
Making this easy one-bowl moist banana bread is incredibly straightforward. There is no creaming, no whipping, and no complicated steps. Just mix, pour, and bake. Here is exactly how to do it, step by step.
- Preheat your oven to 350°F (175°C). This takes about 10-15 minutes, so start this first. While it heats up, prep your loaf pan. Grease a 9×5-inch loaf pan generously with butter or cooking spray. If you have parchment paper, line the bottom and sides, leaving a little overhang on the long sides to use as handles later.
- Mash the bananas. Peel your three ripe bananas and place them in your large mixing bowl. Use a potato masher or a fork to mash them until they are mostly smooth with just a few small lumps. You want about 1 ½ cups of mashed banana. If you prefer a smoother bread, mash it until it’s almost liquid.
- Add the wet ingredients. Pour the melted butter (or oil) into the bowl with the bananas. Add the sugar and the vanilla extract. Stir this mixture vigorously with your spoon or whisk. The sugar might not dissolve completely right away, and that’s okay. The goal is to combine everything into a uniform, wet sludge.
- Add the dry ingredients. Sprinkle the baking soda and salt over the wet mixture. Then, add the flour. Do not overmix here. This is the most common mistake people make. Stir gently until the flour is just incorporated. You will see streaks of white flour at first. Stop mixing as soon as the last streak disappears. Overmixing develops gluten, which makes banana bread tough and chewy instead of tender.
- Pour into the pan. Scrape the batter into your prepared loaf pan. Use a spatula to spread it out evenly. The top will look thick and sticky. That is normal. If you want to add walnuts or chocolate chips, fold them in now or press them into the top of the batter.
- Bake the bread. Place the pan in the center of your preheated oven. Bake for 50-60 minutes. Around the 40-minute mark, check the bread. If the top is browning too quickly, tent it loosely with aluminum foil. The bread is done when a toothpick inserted into the center comes out clean or with just a few moist crumbs attached. It should not be wet batter.
- Cool the bread. Let the bread cool in the pan for 10 minutes. This allows it to set so it doesn’t fall apart when you move it. Then, lift it out using the parchment paper handles (or carefully turn it out) and place it on a wire rack to cool completely. This step is crucial for slicing cleanly.
Cooking Tips & Techniques
I’ve learned a few things the hard way when baking banana bread, so you don’t have to make the same mistakes. First, don’t trust your oven’s display. Ovens often run hot or cold. If your bread is burning on top but raw in the middle, your oven is likely too hot. Use an oven thermometer to check the actual temperature. Second, the “toothpick test” is your best friend, but don’t pull it out too early. Banana bread continues to cook from residual heat after you take it out of the oven. If the toothpick has wet batter on it, put it back in for 5 more minutes.
Another common issue is a sunken middle. This usually happens if the oven door is opened too early or if the batter is overmixed. Keep the door closed for the first 40 minutes of baking. Also, if you live at a high altitude, you might need to adjust your baking soda slightly, but for most of us, the standard amount works perfectly. Multitasking is easy here since the prep time is so short. While the bread is baking, you can clean your kitchen or set the table. Just remember that the bread needs to cool completely before slicing, or it will be gummy. Patience pays off with this one.
Variations & Adaptations
While the basic recipe is fantastic on its own, you can tweak it to suit your tastes or dietary needs. Here are a few variations I love:
- Gluten-Free Option: Swap the all-purpose flour for a high-quality gluten-free 1:1 baking flour. I recommend brands like King Arthur or Bob’s Red Mill. Add a teaspoon of xanthan gum if your blend doesn’t already have it. The texture will be slightly more delicate but still delicious.
- Vegan Version: Replace the butter with coconut oil or a neutral vegetable oil. Use a flax egg (1 tablespoon ground flaxseed mixed with 3 tablespoons water) instead of any eggs if the recipe called for them, though this specific recipe is naturally egg-free if you skip them entirely. Wait, this recipe is naturally egg-free? Yes! This is one of the best parts of the easy one-bowl moist banana bread—it’s naturally vegan if you use oil.
- Chocolate Chip Banana Bread: Fold in ½ cup of semi-sweet chocolate chips after the flour is mixed in. The chocolate melts into pockets of gooey goodness. It’s like dessert meets breakfast.
- Walnut or Pecan: Add ½ cup of chopped walnuts or pecans for a nice crunch. Toast the nuts in a dry pan for a few minutes before adding them to enhance their flavor.
- Spiced Version: Add a teaspoon of cinnamon and a pinch of nutmeg to the dry ingredients. This adds a warm, cozy flavor that pairs beautifully with the bananas.
One personal variation I try is adding a swirl of peanut butter into the batter before baking. It adds protein and a salty-sweet contrast that is addictive. Just drop spoonfuls of peanut butter on top and swirl it with a knife.
Serving & Storage Suggestions
This bread is best served warm, straight out of the oven, or at room temperature the next day. It pairs wonderfully with a cup of coffee or tea. If you want to feel fancy, serve it with a dollop of whipped cream or a slice of sharp cheddar cheese, which cuts through the sweetness. For storage, keep the loaf in an airtight container or wrap it tightly in plastic wrap and aluminum foil at room temperature for up to 3 days. It stays moist for days, which is rare for banana bread.
If you want to keep it longer, freeze it. Wrap the whole loaf or individual slices tightly in plastic wrap and then in foil. It will last in the freezer for up to 3 months. To reheat, simply thaw it at room temperature or warm it in the microwave for 30 seconds. The flavors actually develop and deepen after a day or two, making it even better on the second day. Just don’t let it sit out for a week, or it will turn into a science project.
Nutritional Information & Benefits
While this is a treat, it does have some nutritional benefits. Bananas are a great source of potassium, which is good for heart health and muscle function. They also provide vitamin B6 and vitamin C. Using ripe bananas means you can reduce the amount of added sugar, making it a slightly lighter option than many other quick breads. Each slice (assuming 8 slices) has approximately 200-250 calories, depending on the exact size of the bananas and the amount of butter or oil used. It is naturally gluten-free if you use GF flour, and it can be made dairy-free easily. However, be mindful of portion sizes, as it is still a calorie-dense food. I view it as a wholesome breakfast or snack rather than a heavy dessert.
Conclusion
There is something magical about a loaf of banana bread that smells like home. This easy one-bowl moist banana bread is my proof that you don’t need fancy ingredients or hours of time to make something special. It’s simple, forgiving, and delicious. I hope you try it and find it as useful in your kitchen as it has been in mine. Feel free to customize it with nuts, chocolate, or spices to make it your own. If you make this recipe, I’d love to hear how it turned out. Leave a comment below with your variations or just tell me if you liked it. Sharing recipes is what cooking is all about, so pass the loaf around and enjoy.
FAQs
Can I use frozen bananas for this recipe?
Yes! Frozen bananas are actually great for banana bread. Just thaw them completely before peeling and mashing. They tend to be softer and easier to mash, which works perfectly for this wet batter.
Why is my banana bread dry?
Dry banana bread usually means it was overbaked or you used under-ripe bananas. Make sure your bananas are very ripe with lots of brown spots. Also, check your oven temperature and start checking for doneness a few minutes earlier than the recipe suggests.
Can I make this in a muffin tin?
Absolutely. You can divide the batter into a greased muffin tin. Bake at 350°F for 20-25 minutes. They will make great portable snacks for lunchboxes or on-the-go breakfasts.
Do I need to add eggs?
This specific recipe is designed to be moist and tender without eggs, relying on the bananas and butter/oil for structure. If you prefer a cakier texture, you can add one egg, but it’s not necessary for the loaf to hold together.
How do I know when the bread is done?
Insert a toothpick into the center of the loaf. If it comes out clean or with just a few moist crumbs, it’s done. If there is wet batter on it, bake for another 5 minutes. The top should also be golden brown and spring back lightly when touched.
Pin This Recipe!
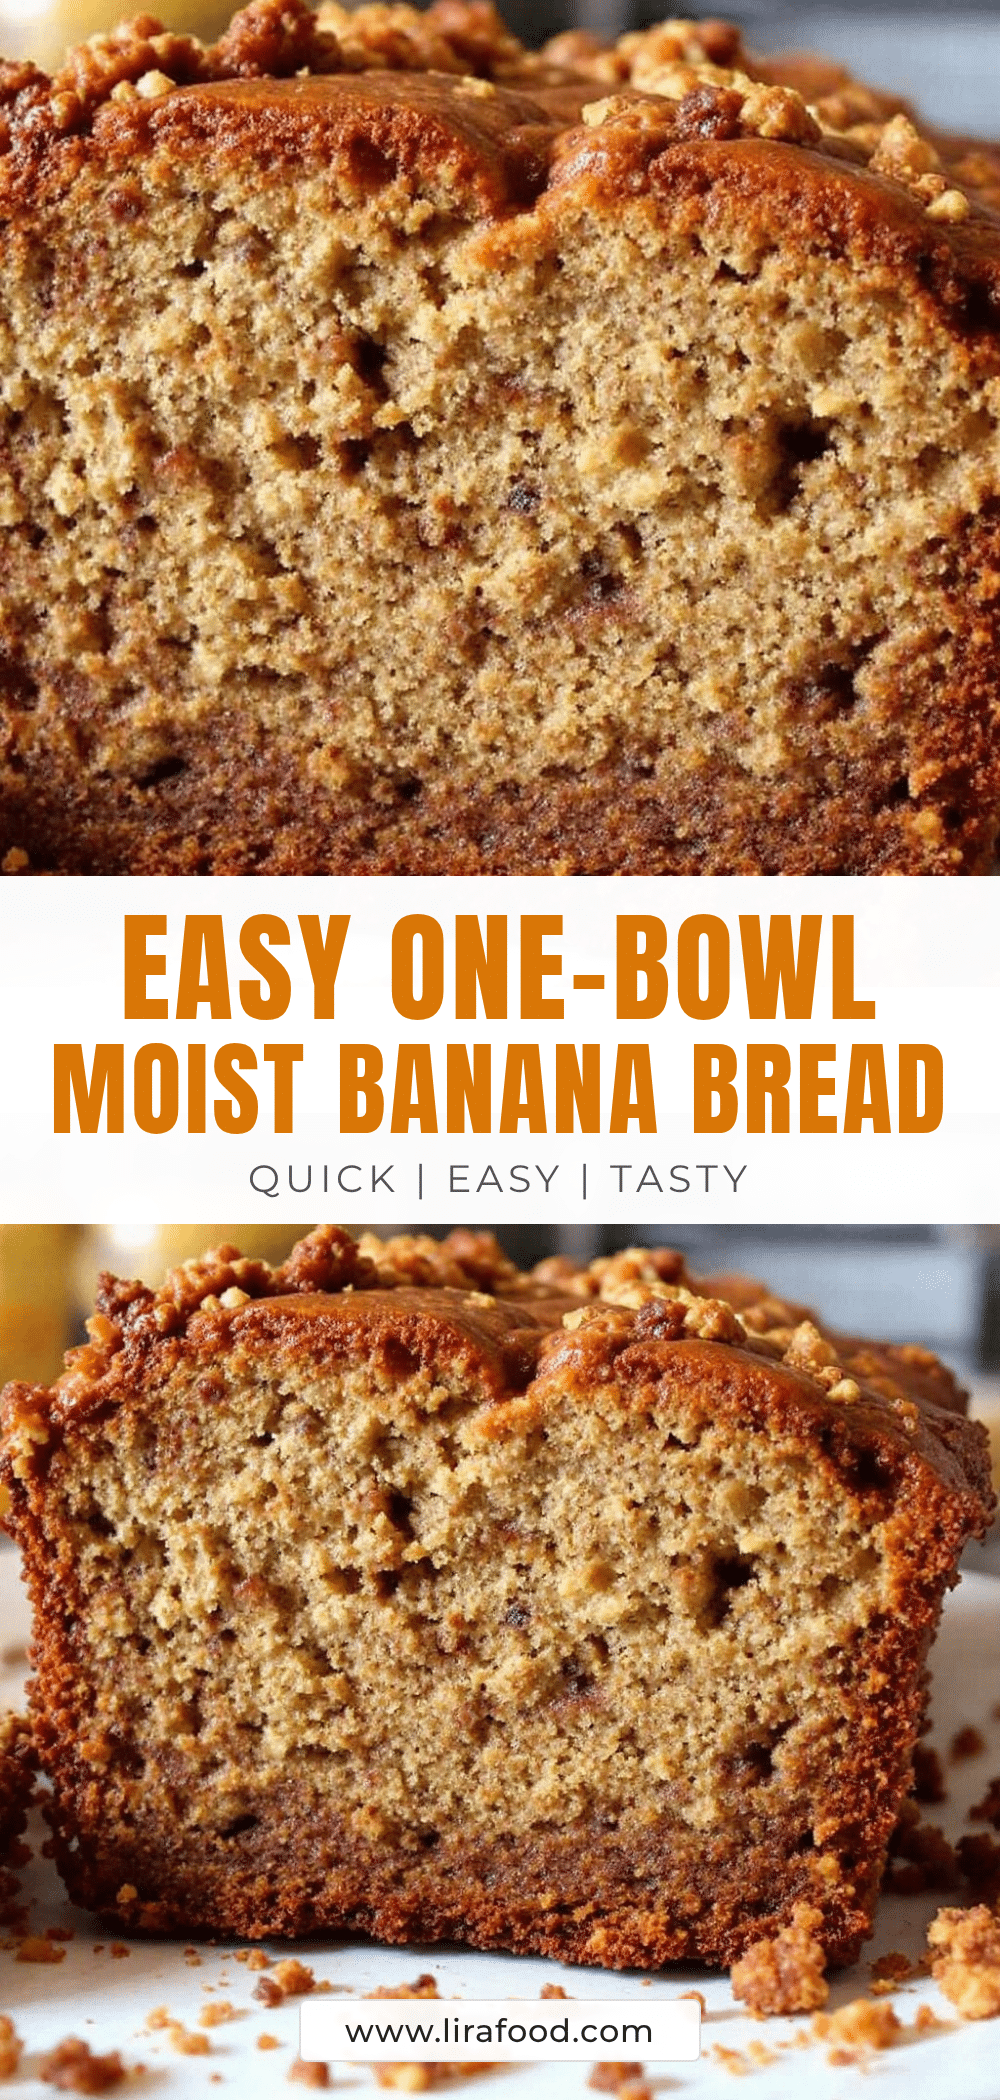
Easy One-Bowl Moist Banana Bread: Best 3-Ingredient Recipe
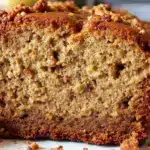
A simple, moist banana bread made in one bowl with minimal prep time. This reliable recipe uses ripe bananas as the base for sweetness and structure, resulting in a tender, fudgy loaf that stays fresh for days.
- Prep Time: 10 minutes
- Cook Time: 50-60 minutes
- Total Time: 1 hour 10 minutes
- Yield: 8 servings 1x
- Category: Dessert
- Cuisine: American
Ingredients
- 3 large ripe bananas
- 1 ½ cups all-purpose flour
- 1 teaspoon baking soda
- ½ teaspoon salt
- 1 teaspoon vanilla extract
- ½ cup melted unsalted butter or neutral oil
- ½ cup granulated white sugar
Instructions
- Preheat oven to 350°F (175°C). Grease a 9×5-inch loaf pan generously with butter or cooking spray, optionally lining with parchment paper.
- Peel bananas and mash them in a large mixing bowl until mostly smooth (about 1 ½ cups).
- Add melted butter (or oil), sugar, and vanilla extract to the mashed bananas. Stir vigorously until combined into a uniform wet sludge.
- Sprinkle baking soda and salt over the wet mixture, then add the flour. Stir gently until the flour is just incorporated; do not overmix.
- Pour batter into the prepared loaf pan and spread evenly. Add optional mix-ins like nuts or chocolate chips if desired.
- Bake for 50-60 minutes. Tent with foil if the top browns too quickly around the 40-minute mark. Test for doneness with a toothpick inserted into the center.
- Let the bread cool in the pan for 10 minutes, then transfer to a wire rack to cool completely before slicing.
Notes
Ensure bananas are very ripe with brown spots for maximum sweetness and moisture. Do not overmix the batter to avoid a tough texture. The bread continues to cook from residual heat after removal, so use the toothpick test carefully. Store in an airtight container at room temperature for up to 3 days or freeze for up to 3 months.
Nutrition
- Serving Size: 1 slice
- Calories: 200250
- Sugar: 18
- Sodium: 250
- Fat: 10
- Saturated Fat: 6
- Carbohydrates: 30
- Fiber: 2
- Protein: 3
Keywords: banana bread, easy recipe, one bowl, moist banana bread, quick bread, vegan option, gluten-free option, breakfast, snack