Love this? Save it for later!
Share the inspiration with your friends
Flour dusted across the counter and the clock ticking down to five minutes before the doorbell rings. I am staring at a bowl of chocolate ganache that has seized up into a gritty, lumpy mess. Panic sets in. The kids are dressed as ghosts, the neighbors are already outside, and I have nothing but a bag of cookie dough and a failing dessert strategy. This is the exact moment I created the spider web cookies that saved my sanity and won the neighborhood contest.
Honestly, I wasn’t trying to be a Halloween hero. I just wanted something fast, cheap, and weirdly impressive. The seized chocolate wasn’t a disaster; it was an opportunity. I grabbed a fork, dragged it through the thick chocolate, and suddenly, those ugly lumps looked like legs. They looked like webs. They looked like magic.
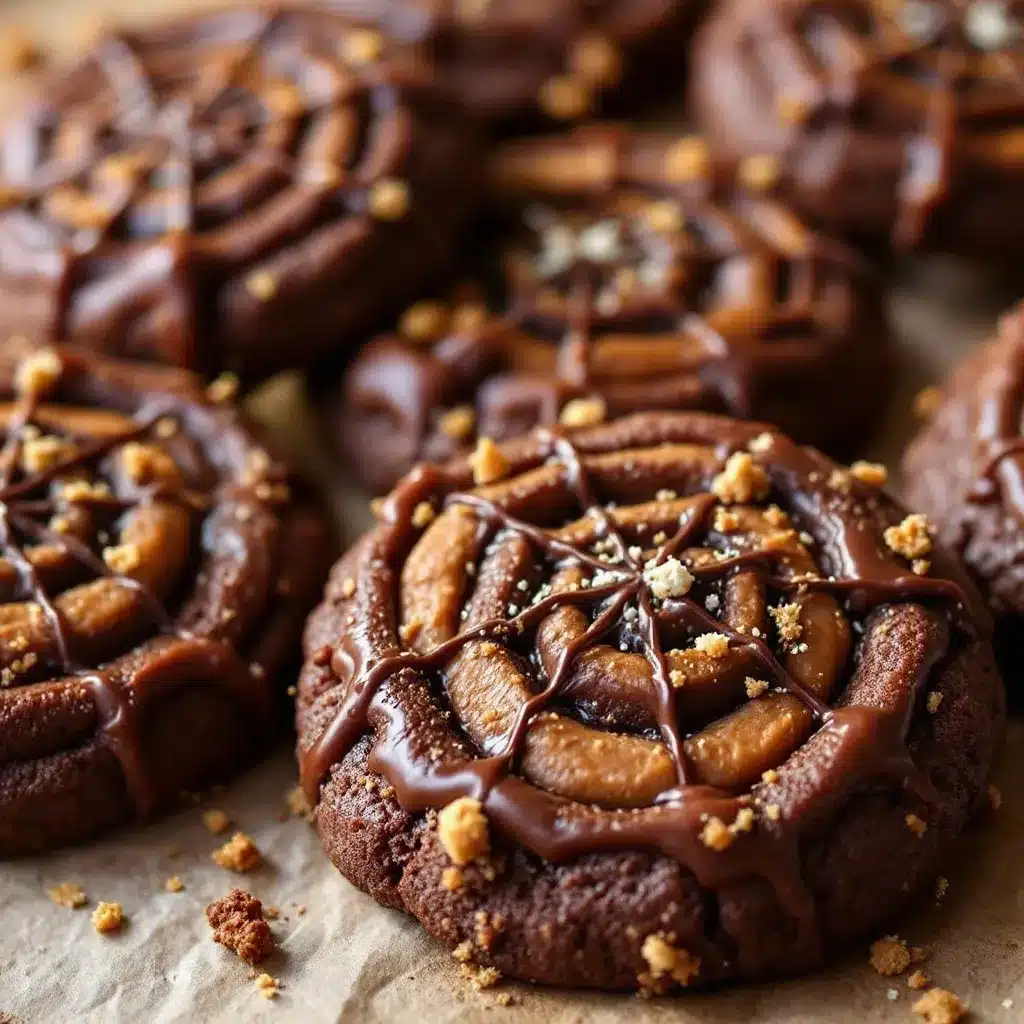
You know how sometimes you cook with your eyes closed because you are too stressed to see? That was me. But when I pulled the tray out, the contrast of the peanut butter dough against the black chocolate was striking. It was spooky, but in a delicious way. The texture was crunchy on the outside and soft in the middle.
I didn’t have time to perfect it. I just had to make it work. And somehow, that rushed, chaotic energy became the best part of the recipe. It’s not about being perfect. It’s about making something that looks like you spent hours when you actually spent twenty minutes.
That night, the kids didn’t care that the webs weren’t symmetrical. They cared that they were edible art. And I learned that the best recipes are often born from mistakes. This one stuck because it was real. It was messy. It was mine.
Why You’ll Love This Recipe
Let’s be real for a second. Most Halloween treats are either too sweet or too complicated. These cookies hit that sweet spot—pun intended. They are the kind of treat that makes you close your eyes after the first bite and just smile. It’s comfort food with a spooky twist, and it’s easier to make than you think.
Here is why this recipe has earned a permanent spot in my rotation:
- Quick & Easy: You can have these in the oven in under 30 minutes. Perfect for those last-minute trick-or-treaters or when you need a dessert to take to a party and don’t have time to bake from scratch.
- Simple Ingredients: No fancy grocery trips needed. You likely already have peanut butter, chocolate chips, and basic pantry staples. It’s a pantry-friendly recipe that feels fancy.
- Perfect for Halloween: Whether it’s a school party, a haunted house fundraiser, or just a cozy night in, these cookies fit the theme perfectly without requiring artistic skills.
- Crowd-Pleaser: Kids love the spooky look, and adults love the peanut butter-chocolate combo. It’s a classic pairing that never fails to get rave reviews.
- Unbelievably Delicious: The texture is next-level. You get the chew of the peanut butter cookie, the crunch of the fork drag, and the rich snap of the chocolate. It’s a sensory experience.
What makes this different from other spider web cookies? It’s the technique. Many recipes tell you to drizzle chocolate and use a toothpick. That often results in messy, broken webs. Using a fork creates thicker, more defined “legs” that hold their shape better. Also, the balance of salt in the peanut butter cuts through the sweetness of the chocolate, making it taste less like candy and more like a grown-up treat.
This isn’t just another version. It’s the version that works when you’re tired. It’s the version that tastes like home but looks like it came from a high-end bakery. It’s reliable, it’s fun, and it’s seriously good.
What Ingredients You Will Need
This recipe relies on a few key components to create that spooky web effect and a rich, chewy base. The beauty of these cookies is that they use simple, wholesome ingredients to deliver bold flavor without the fuss. You don’t need exotic spices or hard-to-find items.
Here is what you will need to gather:
- Unsalted Butter: Softened to room temperature. This helps the dough cream properly. I prefer European-style butter for a richer flavor, but standard grocery store brands work fine.
- Peanut Butter: Creamy, natural peanut butter is best. Avoid the ones with added hydrogenated oils if you can help it, as they can make the dough too dry. Look for a brand with just peanuts and salt. (Adds richness and binding).
- Granulated Sugar: White sugar helps create that crispy edge. Don’t skip this for brown sugar alone if you want the right texture.
- Brown Sugar: Packed brown sugar adds moisture and a hint of molasses flavor. It keeps the centers soft and chewy.
- Eggs: Large eggs, room temperature. These bind the dough and add structure. Two eggs are usually perfect for this batch size.
- Vanilla Extract: Pure vanilla extract is a must. Artificial flavoring can taste harsh when mixed with chocolate. (Adds depth of flavor).
- All-Purpose Flour: The base of the cookie. Measure it correctly to avoid dry cookies. Spoon and level method is best.
- Baking Soda: This helps the cookies spread and rise slightly. Make sure it’s not expired.
- Salt: A teaspoon of salt is crucial to balance the sweetness. It enhances the peanut butter flavor.
- Dark Chocolate Chips: Semi-sweet or dark chocolate chips work best for the webs. Milk chocolate can be too sweet and might not hold the fork lines as well. (Creates the web).
- White Chocolate Chips (Optional): For a contrast effect, some people use white chocolate for the webs, but dark chocolate looks more like a real spider web against the golden cookie.
If you need substitutions, you can use almond butter instead of peanut butter for a nut-free-friendly option (if allergies allow) or a different nut butter. For a gluten-free version, use a 1:1 gluten-free flour blend. In summer, you might find fresh peanuts, but roasted, unsalted peanuts chopped up could add a nice crunch if you want to mix them into the dough.
Equipment Needed
You don’t need a fancy kitchen to make these. Here is what you’ll actually use:
- Mixing Bowls: Two medium bowls. One for wet ingredients, one for dry.
- Electric Mixer: Hand mixer or stand mixer. Creaming the butter and sugar by hand is possible but takes arm strength. (Personal tip: I used to do this by hand until I bought a cheap hand mixer. Game changer.)
- Baking Sheets: Standard half-sheet pans. Line them with parchment paper for easy cleanup.
- Forks: Regular dinner forks work best. The tines create the perfect web lines. Avoid thin tea forks; they don’t drag the chocolate well.
- Microwave-Safe Bowl: For melting the chocolate chips. If you don’t have one, a glass measuring cup works.
- Cookie Scoop: Optional, but helpful for uniform sizes. A tablespoon works too.
Budget-friendly tip: You don’t need a stand mixer. A wooden spoon and some elbow grease will work. Just be patient when creaming the butter.
Preparation Method
Let’s get into the nitty-gritty. This process is straightforward, but timing matters.
Step 1: Prep the Dough
Preheat your oven to 350°F (175°C). Line two baking sheets with parchment paper. In a large bowl, cream together the softened butter, granulated sugar, and brown sugar. Beat on medium speed for about 2-3 minutes until the mixture is light and fluffy. This step takes time, so don’t rush it.
Add the eggs one at a time, beating well after each addition. Stir in the vanilla extract. In a separate bowl, whisk together the flour, baking soda, and salt. Gradually add the dry ingredients to the wet mixture. Mix on low speed just until combined. Do not overmix, or the cookies will be tough. Fold in the peanut butter last. The dough should be thick and slightly sticky.
Step 2: Form the Cookies
Scoop the dough into balls, about 1.5 tablespoons each. Roll them between your palms to smooth out any cracks. Place them on the baking sheets, spacing them about 2 inches apart. They will spread. Bake for 8-10 minutes. The edges should be golden, but the centers should still look slightly underbaked. This ensures a soft, chewy center. Remove from the oven and let them cool on the pan for 5 minutes. They are fragile when hot.
Step 3: Melt the Chocolate
While the cookies cool, melt the chocolate chips. Place them in a microwave-safe bowl. Heat in 30-second intervals, stirring between each interval. Stop when there are still a few small chips left and stir until smooth. Overheating chocolate makes it seize up, which we definitely don’t want (learned that the hard way, as you saw in the intro). Let the chocolate cool for 2-3 minutes. It should be thick but pourable.
Step 4: Create the Web
Drop a teaspoon of melted chocolate onto the center of each cooled cookie. Use the tines of a fork to drag lines out from the center to the edge. Then, drag concentric circles around the center. Don’t try to be perfect. Randomness looks more like a real web. If the chocolate gets too thick, microwave it for 5 more seconds.
Step 5: Set and Serve
Place the cookies in the refrigerator for 10 minutes to set the chocolate. Once set, they are ready to eat. Store in an airtight container.
Cooking Tips & Techniques
Here are some professional tricks to ensure success. First, room temperature ingredients are non-negotiable. Cold butter won’t cream properly, leading to dense cookies. Second, when melting chocolate, low and slow is the key. High heat burns chocolate quickly and ruins the texture.
A common mistake is using too much flour. Always spoon and level your flour. Packing it into the cup adds extra weight, resulting in dry, crumbly cookies. Another tip: if your kitchen is warm, chill the dough balls for 10 minutes before baking. This helps them hold their shape longer in the oven.
I once tried to make these with white chocolate only. It looked pretty but tasted too sweet. The dark chocolate provides a bitter contrast that balances the peanut butter. Also, don’t skip the salt. It wakes up the peanut flavor. If you use salted peanut butter, reduce the added salt in the dough by half.
Multitasking is your friend here. Start the chocolate melting while the cookies are in the oven. But watch it like a hawk. Chocolate goes from melted to burnt in seconds. Have a damp cloth nearby to stop the cooking process if needed.
Variations & Adaptations
This recipe is versatile. Here are a few ways to tweak it:
- Gluten-Free: Swap the all-purpose flour for a 1:1 gluten-free baking blend. The texture will be slightly more tender, which is nice.
- Nut-Free: Use sunflower seed butter or soy nut butter instead of peanut butter. It has a similar texture and holds up well in baking.
- Double Chocolate: Add mini chocolate chips to the dough itself for extra chocolatey bites. This makes it richer, so you might want to reduce the sugar slightly.
- Spooky Colors: Mix green or orange food coloring into the melted chocolate for a different Halloween vibe. Green looks like slime, which is fun for kids.
- Candy Top: After creating the web, press a candy eyeball into the center. It adds a cute, spooky touch. (I tried this last year, and the kids loved it.)
For dietary restrictions, you can use coconut oil instead of butter for a dairy-free option, but the texture will be softer. You may need to chill the dough longer before baking.
Serving & Storage Suggestions
Serve these cookies at room temperature for the best texture. The chocolate should be set but not hard. Pair them with a cold glass of milk or a warm cup of coffee. The contrast of hot coffee and cold cookie is amazing.
For storage, keep them in an airtight container at room temperature for up to 5 days. If your kitchen is humid, add a piece of bread to the container to keep them soft. For longer storage, freeze them in a single layer on a baking sheet, then transfer to a freezer bag. They last up to 3 months. Thaw at room temperature before serving.
The flavors develop over time. The peanut butter and chocolate meld together after a day, making the cookies taste even better on day two. Reheating is not recommended, as it will melt the chocolate web.
Nutritional Information & Benefits
These cookies are indulgent but offer some nutritional benefits. Peanut butter provides protein and healthy fats, which help keep you full. Dark chocolate contains antioxidants. Each cookie has approximately 180-200 calories, depending on size. They are not low-carb, but they are a satisfying treat in moderation.
For those with allergies, note that they contain peanuts and dairy. Use substitutions as mentioned in the variations section. Personally, I appreciate that they offer a bit of protein, making them a slightly better snack option than plain candy bars.
Conclusion
These Spooky Spider Web Chocolate Peanut Butter Cookies are more than just a Halloween treat. They are a testament to the fact that you don’t need to be a pro baker to make something amazing. They are easy, delicious, and fun to make with kids.
I hope you try this recipe. Feel free to customize it with different chocolates or add-ins. It’s your kitchen, your rules. I’d love to hear how yours turn out. Share your creations in the comments below, or tag me on social media. Let’s keep the baking fun going.
Happy baking, and happy Halloween!
FAQs
Can I use crunchy peanut butter?
Yes, crunchy peanut butter works well. It adds a nice texture contrast to the soft cookie. Just be aware that the dough might be slightly harder to roll into smooth balls.
Why did my chocolate seize up?
Chocolate seizes when it comes into contact with water or milk. Ensure your bowl and utensils are completely dry. Also, avoid overheating it in the microwave.
Can I make the dough ahead of time?
Yes, you can chill the dough balls in the refrigerator for up to 24 hours before baking. This actually helps the flavors meld. Just add 1-2 minutes to the baking time if baking from cold.
Do I have to use a fork for the web?
A fork is the easiest tool, but you can use a toothpick for a finer web. A fork creates thicker, more dramatic legs, which is often preferred for the “spooky” look.
Can I freeze these cookies?
Yes, freeze them after the chocolate has set. Place them in a single layer in a freezer-safe container. They will keep for up to 3 months. Thaw before serving.
Pin This Recipe!
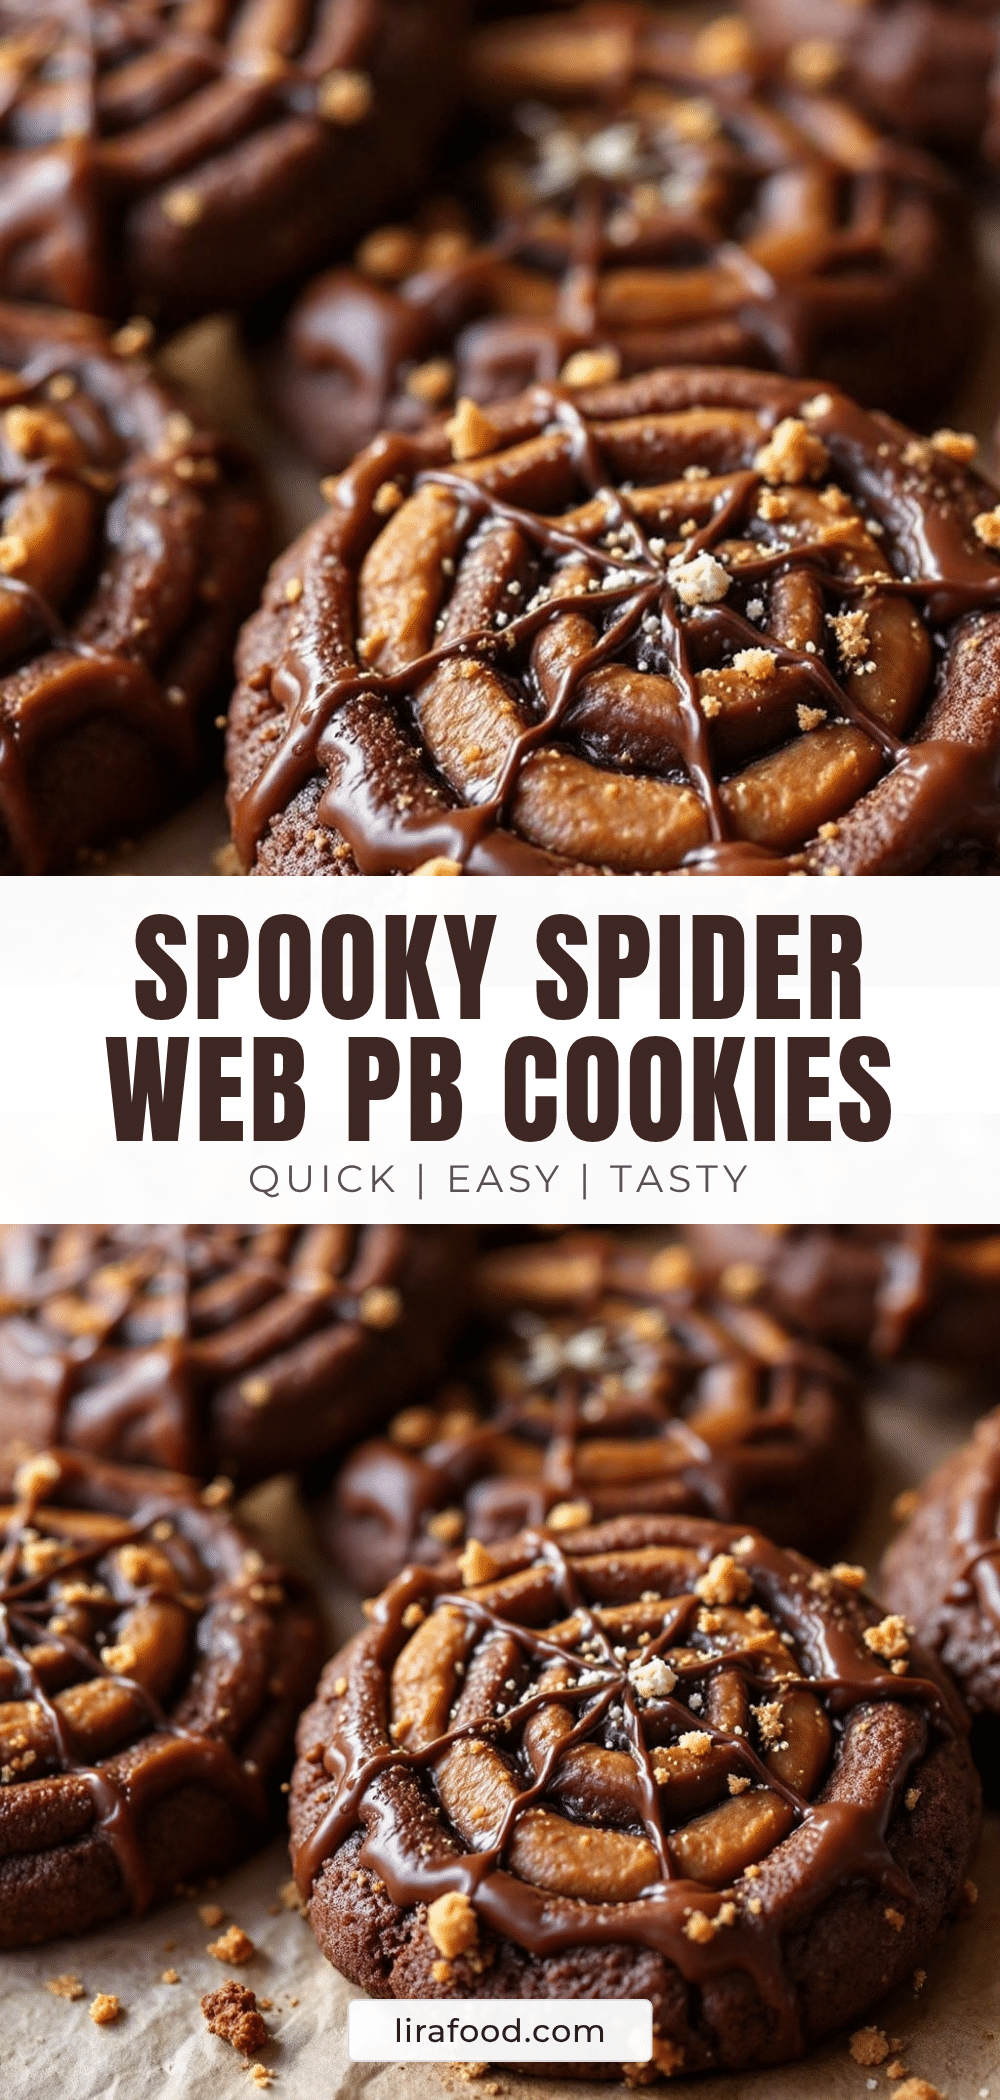
Spooky Spider Web Chocolate Peanut Butter Cookies

Easy, spooky Halloween cookies featuring a chewy peanut butter base topped with a fork-dragged chocolate web. Perfect for last-minute treats that look impressive but are quick to make.
- Prep Time: 15 minutes
- Cook Time: 10 minutes
- Total Time: 25 minutes
- Yield: 24 servings 1x
- Category: Dessert
- Cuisine: American
Ingredients
- 1 cup unsalted butter, softened to room temperature
- 1 cup creamy natural peanut butter
- 1 cup granulated sugar
- 1 cup packed brown sugar
- 2 large eggs, room temperature
- 1 tsp vanilla extract
- 2 1/2 cups all-purpose flour
- 1 tsp baking soda
- 1 tsp salt
- 1 cup dark chocolate chips (semi-sweet)
- Optional: White chocolate chips for contrast
Instructions
- Preheat oven to 350°F (175°C). Line two baking sheets with parchment paper.
- In a large bowl, cream together the softened butter, granulated sugar, and brown sugar for 2-3 minutes until light and fluffy.
- Add eggs one at a time, beating well after each addition. Stir in vanilla extract.
- In a separate bowl, whisk together flour, baking soda, and salt.
- Gradually add dry ingredients to the wet mixture on low speed until just combined. Do not overmix.
- Fold in the peanut butter last. The dough should be thick and slightly sticky.
- Scoop dough into 1.5 tablespoon balls, roll to smooth, and place on baking sheets 2 inches apart.
- Bake for 8-10 minutes until edges are golden but centers look slightly underbaked.
- Remove from oven and let cool on the pan for 5 minutes.
- While cookies cool, melt chocolate chips in a microwave-safe bowl in 30-second intervals, stirring until smooth. Let cool for 2-3 minutes.
- Drop a teaspoon of melted chocolate onto the center of each cooled cookie.
- Use the tines of a fork to drag lines from the center to the edge, then drag concentric circles around the center to create a web pattern.
- Refrigerate cookies for 10 minutes to set the chocolate before serving.
Notes
Ensure ingredients are at room temperature for proper creaming. Spoon and level flour to avoid dry cookies. If using salted peanut butter, reduce added salt in dough by half. Chocolate seizes if it touches water or is overheated; keep utensils dry and heat gently.
Nutrition
- Serving Size: 1 cookie
- Calories: 190
- Sugar: 16
- Sodium: 120
- Fat: 10
- Saturated Fat: 5
- Carbohydrates: 22
- Fiber: 1
- Protein: 4
Keywords: Halloween cookies, spider web cookies, peanut butter cookies, chocolate cookies, easy Halloween treats, spooky desserts, fall baking


