Love this? Save it for later!
Share the inspiration with your friends
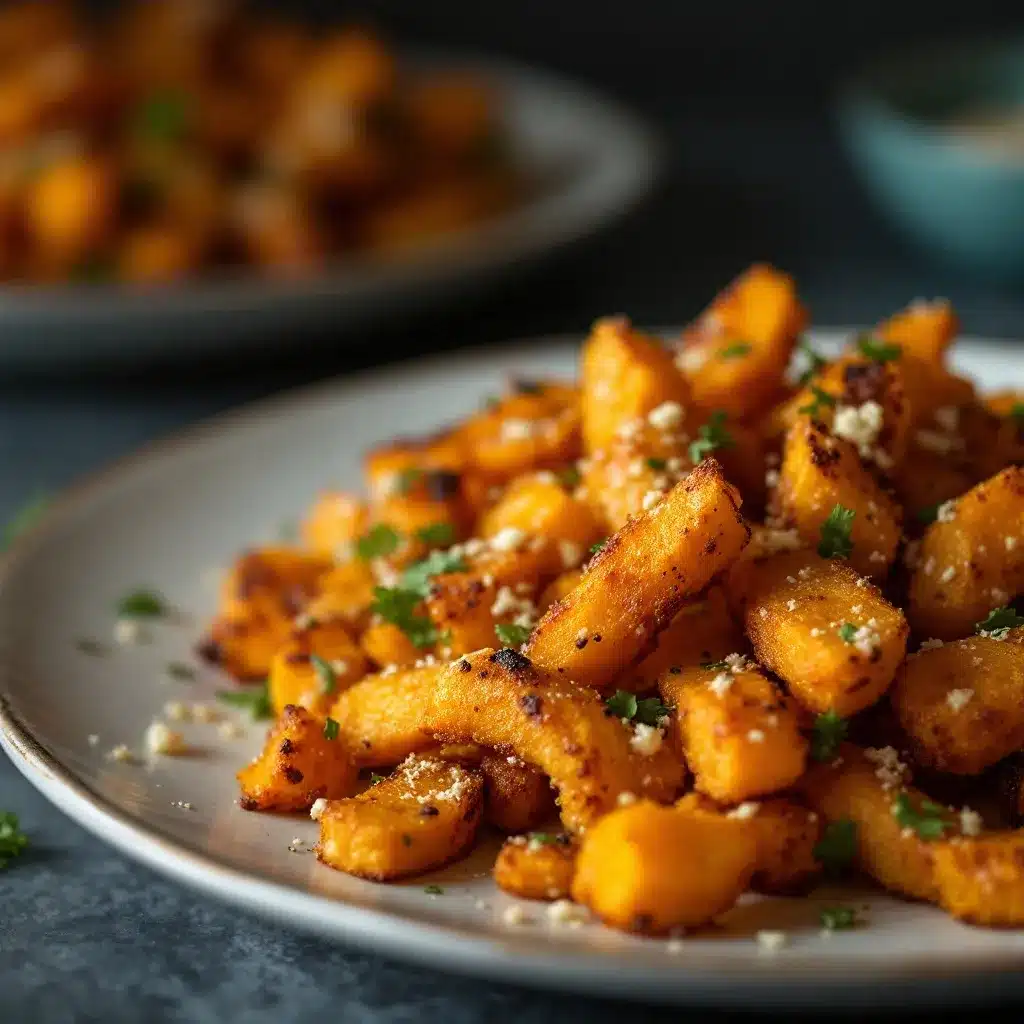
By the third time I made these crispy Parmesan butternut squash fries in one week, I started wondering if I had a problem. Or maybe, just maybe, I had finally cracked the code on getting a vegetable to taste this good without deep frying. The first batch came out okay—edible, but a little sad. The second batch was better, but still not quite there. By batch number three, something clicked. The edges were golden, the Parmesan had formed this almost lace-like crust, and the inside was tender without being mushy. I stood at the counter eating them straight off the baking sheet, and honestly, I didn’t even feel bad about it.
Here’s the thing about butternut squash fries—they want to be soggy. They hold onto moisture like it’s their job, and if you don’t handle them right, you end up with steamed squash sticks instead of crispy fries. I learned that the hard way (and then again the slightly-less-hard way). But once you know a few tricks—salting to draw out moisture, getting the oven hot enough, and yes, adding Parmesan—these fries become something you actually crave. Not just a healthy alternative to regular fries, but their own whole thing.
These fries have a way of making themselves at home next to almost anything. I’ve served them alongside a juicy rotisserie chicken on a busy Tuesday, and I’ve piled them on a plate with a cold cucumber soup on a hot afternoon. They don’t ask for much—just a hot oven and a little patience. And honestly, that’s the kind of recipe I keep coming back to.
Why You’ll Love This Recipe
I’ve tested this recipe more times than I care to admit, and here’s what I know for sure: these fries deliver on texture and flavor in a way that makes you forget they’re a vegetable. Here’s why they work:
- Actually crispy without frying: The combination of high heat, cornstarch, and Parmesan creates a crust that shatters when you bite into it. No soggy fries here.
- Simple ingredients you already have: Butternut squash, Parmesan, cornstarch, oil, and seasonings. That’s it. No weird specialty items.
- Perfect for fall gatherings: These show up on my Thanksgiving appetizer spread every year, and they disappear faster than the rolls.
- Kid-approved and adult-craved: My niece, who once declared all orange vegetables “suspicious,” ate an entire plate of these without comment. That’s a win.
- Baked, not greasy: You get that satisfying crunch without the heavy feeling that comes from deep frying. Your kitchen stays clean, too.
What sets this recipe apart from the dozens of others I’ve tried is the technique. Most recipes skip the salting step, and that’s where they lose the plot. Drawing out moisture before baking is non-negotiable if you want crispy results. And the Parmesan—not the pre-shredded stuff, but freshly grated—melts into the cornstarch coating to create a crust that’s almost cheesy-crunchy in the best way. This isn’t just another healthy swap recipe. It’s the version I’d serve to anyone who says they don’t like squash.
There’s something about watching someone take their first bite of these fries. The look of surprise, then pleasure, then reaching for another one without asking permission. That’s the kind of recipe this is. It doesn’t need a big introduction or a sales pitch. It just needs a hot oven and someone willing to give it a try.
What Ingredients You Will Need
This recipe uses simple, honest ingredients to create something that tastes far more complex than it should. Most of these are probably in your kitchen already, which makes this an easy last-minute side dish or snack.
- Butternut squash, 1 medium (about 2-2.5 pounds): Look for one that feels heavy for its size with firm, unblemished skin. The neck section gives you the straightest fries, but the bulbous end works too—just cut those pieces a little larger since they have more moisture. I’ve used pre-cut squash in a pinch, but whole squash stays fresher longer and lets you control the fry size.
- Freshly grated Parmesan cheese, ½ cup (50g): This is not the time for the green can. Freshly grated Parmesan from a block melts differently and creates that shatter-crust texture we’re after. Pecorino Romano works beautifully here too if you want a saltier, sharper flavor.
- Cornstarch, 2 tablespoons (16g): The secret weapon for crispy baked fries. Cornstarch absorbs surface moisture and helps the coating adhere. Arrowroot powder works as a substitute, but cornstarch gives the best crunch.
- Olive oil, 2 tablespoons (30ml): You need enough to coat the fries without drowning them. Avocado oil works great here too, especially if you’re baking at a higher temperature.
- Garlic powder, 1 teaspoon: Adds savory depth without the moisture of fresh garlic. Onion powder works in a pinch, but garlic powder is my go-to.
- Paprika, ½ teaspoon: Smoked paprika adds a lovely warmth, but sweet paprika keeps things mild. Both work—just pick your mood.
- Salt, 1 teaspoon (plus more for drawing out moisture): I use fine sea salt for the initial salting step and a flaky salt like Maldon for finishing. The two-step salting makes a real difference.
- Black pepper, ¼ teaspoon, freshly ground: Freshly ground pepper adds a subtle heat that plays nicely with the squash’s sweetness.
- Fresh parsley, 2 tablespoons, chopped (optional for garnish): Mostly for color, but the freshness does brighten things up. Skip it if you don’t have any on hand.
Ingredient notes and substitutions: If you’re avoiding dairy, nutritional yeast can replace the Parmesan, though the texture won’t be quite as crispy. For a gluten-free option, this recipe is already gluten-free as written—just double-check your cornstarch label. And if butternut squash isn’t available, sweet potato works almost identically with the same method. I’ve tested both, and the technique holds up beautifully.
I usually buy my Parmesan from the deli counter in a single block—it keeps for weeks in the fridge and grates much better than the pre-shredded bags. The pre-shredded stuff has anti-caking agents that prevent it from melting smoothly, and for this recipe, smooth melting is kind of the whole point.
Equipment Needed
You don’t need much fancy equipment here, which is part of why this recipe works so well for busy weeknights.
- Large baking sheet, 18×13 inches: A half-sheet pan is ideal. If your baking sheet is smaller, use two pans or work in batches—crowding the pan is the fastest way to soggy fries.
- Parchment paper or silicone baking mat: Parchment makes cleanup effortless and prevents sticking. Silicone mats work too, but parchment gives slightly crispier results because it doesn’t insulate as much.
- Sharp chef’s knife: Butternut squash is dense, and a dull knife is a recipe for frustration (and possibly injury). A good 8-inch chef’s knife makes quick work of it.
- Vegetable peeler: A Y-peeler is my preference—it glides over the squash’s curves more easily than a straight peeler.
- Large bowl: For tossing the fries with oil and seasonings. Any big mixing bowl works.
- Paper towels or clean kitchen towel: For patting the squash dry after salting. This step matters more than you’d think.
- Box grater or microplane: For grating the Parmesan. A microplane gives you that fluffy, melt-instant texture, but a box grater’s fine side works too.
- Cooling rack: Optional, but placing the baked fries on a cooling rack instead of a plate keeps them from steaming and getting soft. Worth it if you have one.
If you don’t have a cooling rack, no worries—just serve the fries immediately. They’re best straight from the oven anyway, and leftovers never crisp back up quite the same way.
Preparation Method
Let me walk you through this step by step. I’ve made this recipe enough times to know where things can go wrong, and I’ll point out those spots as we go.
- Preheat your oven to 425°F (220°C) with the rack in the middle position. Getting the oven properly hot before the fries go in is critical—a hot oven creates steam quickly, which helps the outside crisp before the inside turns to mush. Give it a full 20 minutes to preheat.
- Prepare the butternut squash. Cut off both ends of the squash with your sharp knife, then slice it in half where the narrow neck meets the wider bulb. Stand each piece on its flat end and peel off the skin with your vegetable peeler, working from top to bottom. Cut the neck into ½-inch thick planks, then slice those into ½-inch wide sticks. For the bulb end, cut it in half, scoop out the seeds with a spoon, then cut the flesh into similar-sized fries. Try to keep them uniform—thicker fries need more time, thinner ones burn faster. Aim for fry-shaped pieces about 3 inches long and ½ inch thick.
- Salt the squash to draw out moisture. Place the cut fries in a large bowl and sprinkle with 1 teaspoon of salt. Toss well, then let them sit for 20-30 minutes. You’ll see beads of moisture forming on the surface—that’s exactly what we want. This step is non-negotiable if you want crispy fries. I learned this the hard way after two batches of sad, limp squash sticks.
- Dry the fries thoroughly. After the salt has done its work, dump the fries into a colander and rinse them quickly with cold water to remove excess salt. Then spread them out on a clean kitchen towel or layers of paper towels. Pat them completely dry. This is another make-or-break moment—any remaining moisture will steam the fries instead of crisping them. Take your time here.
- Season the fries. Return the dried fries to the large bowl. Add the olive oil, cornstarch, garlic powder, paprika, and black pepper. Toss everything together with your hands until every fry is evenly coated. The cornstarch should look like a thin, even dusting—not clumpy or pasty. If it looks clumpy, your fries weren’t dry enough. Add the grated Parmesan and toss again gently to distribute.
- Arrange on the baking sheet. Line your baking sheet with parchment paper. Spread the fries in a single layer with space between each one. Crowding is the enemy of crispiness—if fries are touching, they’ll steam each other. Use two baking sheets if needed. I usually need two sheets for a full recipe.
- Bake for 20-25 minutes. Place the baking sheet in the preheated oven and bake for 10 minutes. Then remove the sheet, use a spatula to flip each fry carefully, and rotate the pan. Return to the oven for another 10-15 minutes. The fries are done when they’re golden brown on the outside and tender when pierced with a fork. Watch them closely in the last 5 minutes—Parmesan can go from golden to burnt very quickly.
- Cool slightly and serve. Let the fries rest on the baking sheet for 2-3 minutes before transferring them to a serving plate. The resting time lets the crust set. Sprinkle with a little flaky salt and fresh parsley if you’re using it. Serve immediately—these are best hot and fresh.
Visual cues to watch for: The fries should look dry and dusty after coating, not wet or shiny. During baking, the edges will turn deep golden brown while the centers stay tender. If you see dark spots forming on the Parmesan, that’s the cheese caramelizing—it’s delicious, but keep an eye on it so it doesn’t cross into burnt territory.
Cooking Tips & Techniques
Over the course of making these fries more times than I’d like to admit, I’ve picked up a few tricks that make the difference between good fries and great ones.
Don’t skip the salting step. I know it adds time. I know you’re hungry. But butternut squash holds more water than you think, and that water is the enemy of crispiness. The first time I made these, I was impatient and skipped this step. The result was edible but sad—soft, limp, and nothing like fries. The salting step pulls out enough moisture to let the outside get properly crunchy while the inside stays tender. It’s worth the extra 20 minutes, I promise.
Get your oven hot enough. 425°F is the sweet spot. Lower temperatures will dry out the fries before they crisp, and higher temperatures risk burning the Parmesan before the squash is cooked through. I’ve tested this at 400°F and 450°F, and 425°F consistently gives the best results. If your oven runs hot or cold (most do), consider getting an oven thermometer. They’re cheap and they save a lot of trial and error.
Flip carefully. The Parmesan coating can be delicate, especially in the first 10 minutes. Use a thin metal spatula and slide it gently under each fry. If the coating sticks to the parchment, give it another minute or two in the oven—it will release more easily once it’s fully set.
Work in batches if needed. I know it’s tempting to cram everything onto one sheet pan, but overcrowding leads to steaming, and steaming leads to soggy fries. If your fries are touching or overlapping, use two pans or bake in batches. The extra 10 minutes is worth the texture payoff.
Serve immediately. These fries are at their absolute best within 5 minutes of coming out of the oven. The crust is crispiest, the cheese is still warm and melty, and the inside is perfectly tender. They’ll still be good after 10 minutes, but after that, they start to soften. If you’re serving them as part of a larger meal, time them so they come out right when you’re ready to eat.
One mistake I made early on was using pre-shredded Parmesan. It seemed like a time-saver, but the anti-caking agents in pre-shredded cheese prevent it from melting properly. Instead of forming that beautiful, lacy crust, it just sat on top of the fries looking sad. Freshly grated Parmesan from a block is the way to go—it melts into the coating and creates that shatter-crisp texture you’re after.
Variations & Adaptations
This recipe is surprisingly flexible, and I’ve tried several variations that turned out great. Here are some of my favorites:
Spicy Southwest version: Add ½ teaspoon of cayenne pepper and 1 teaspoon of chili powder to the seasoning mix. Swap the Parmesan for Cotija cheese (or leave it out for a dairy-free option). Serve with a lime crema or ranch dressing for dipping. I made this version for a game day gathering, and it disappeared faster than the wings.
Herb and garlic version: Add 1 teaspoon of dried rosemary and 1 teaspoon of dried thyme to the cornstarch mixture. Use fresh garlic instead of garlic powder—mince 2 cloves very finely and toss with the oil before coating the fries. The fresh garlic adds a pungent kick that mellows beautifully in the oven. Just watch that it doesn’t burn in the last few minutes of baking.
Air fryer adaptation: If you have an air fryer, this recipe works beautifully. Preheat the air fryer to 400°F (200°C). Cook the fries in a single layer for 10-12 minutes, shaking the basket halfway through. You may need to work in batches depending on your air fryer size. The air fryer version is actually my preferred method when I’m only making a small batch—the circulating air creates an even crispier crust.
Sweet potato substitution: This method works almost identically with sweet potatoes. The main difference is that sweet potatoes have slightly less moisture, so you might need to reduce the baking time by 2-3 minutes. I’ve made both versions side by side, and honestly, I can’t pick a favorite. They’re both excellent in their own ways.
Dairy-free adaptation: Nutritional yeast is your friend here. Use 3 tablespoons of nutritional yeast in place of the Parmesan. The texture won’t be quite as crispy, but the flavor is remarkably similar—nutty, savory, and satisfying. I’ve served the dairy-free version to friends who didn’t even notice the difference.
If you’re feeling adventurous, try adding a tablespoon of everything bagel seasoning to the cornstarch mixture. The sesame seeds, poppy seeds, and garlic create an incredible crust. I stumbled on this combination by accident when I ran out of plain Parmesan and had to improvise. It’s been a regular in my rotation ever since.
Serving & Storage Suggestions
These fries are best served hot and fresh, but let’s talk about how to make the most of them.
Serving temperature and presentation: Serve these fries straight from the oven while the cheese is still warm and the crust is at its crispiest. Arrange them on a platter in a single layer—piling them up traps steam and softens the bottoms. A sprinkle of flaky salt and fresh parsley right before serving adds a nice finishing touch. For dipping, I love a simple creamy garlic aioli or a spicy sriracha mayo. They’re also fantastic with a side of warm marinara sauce for dipping.
What to serve alongside: These fries are versatile enough to go with almost anything. They’re a natural side for Italian dressing chicken or a simple roasted chicken. They also work beautifully as an appetizer before a hearty meal like oxtail stew. For a lighter meal, pair them with a fresh green salad or a bowl of cold cucumber soup. The contrast between hot, crispy fries and cool, creamy soup is honestly perfect.
Storage instructions: Leftover fries should be stored in an airtight container in the refrigerator for up to 3 days. But here’s the honest truth—they won’t be as good as fresh. The moisture from the squash migrates to the coating over time, and no amount of reheating will bring back that original crunch. If you must store them, spread them in a single layer on a plate (not stacked) to minimize moisture buildup.
Reheating methods: The oven is your best bet for reheating. Preheat to 400°F (200°C), spread the fries in a single layer on a baking sheet, and heat for 5-7 minutes until warmed through and re-crisped. The microwave will make them soft and sad—avoid it if you can. An air fryer works beautifully for reheating too, taking only 3-4 minutes at 375°F (190°C).
How flavors develop: These fries are definitely at their peak right after baking. Unlike soups or stews that improve overnight, the texture of these fries is best enjoyed fresh. That said, the seasoning flavors do meld nicely after a day in the fridge—the garlic and Parmesan become more pronounced. If you’re okay with softer fries, leftovers make a great addition to grain bowls or salads the next day.
Nutritional Information & Benefits
Here’s a rough nutritional breakdown for one serving (about ⅙ of the recipe, or roughly 10-12 fries):
- Calories: 175
- Total Fat: 8g
- Saturated Fat: 2.5g
- Cholesterol: 10mg
- Sodium: 420mg
- Total Carbohydrates: 22g
- Dietary Fiber: 4g
- Sugars: 4g
- Protein: 6g
- Vitamin A: 280% of Daily Value
- Vitamin C: 35% of Daily Value
- Calcium: 15% of Daily Value
- Iron: 8% of Daily Value
Health benefits of key ingredients: Butternut squash is packed with vitamin A (more than 200% of your daily needs in a single serving), which supports eye health and immune function. It’s also a great source of vitamin C, potassium, and fiber. The Parmesan adds protein and calcium, while the olive oil provides heart-healthy monounsaturated fats. Compared to traditional french fries, these have significantly less fat and fewer calories, plus they deliver actual nutritional value beyond just empty carbs.
Dietary considerations: This recipe is naturally gluten-free and can be made vegetarian (it already is). For a dairy-free version, substitute nutritional yeast for the Parmesan. For a lower-carb option, you can reduce the cornstarch to 1 tablespoon, though the fries won’t be quite as crispy. The recipe is relatively low in sugar, with only 4g per serving coming naturally from the squash.
Potential allergens: This recipe contains dairy (Parmesan cheese). It does not contain nuts, eggs, soy, or gluten as written. If you’re serving to someone with a dairy allergy, be sure to use the nutritional yeast substitution and check your cornstarch label for potential cross-contamination.
From a personal perspective, I love that this recipe lets me eat something that feels indulgent while actually getting a solid dose of vegetables. It’s not a health food by any stretch, but it’s a much better choice than traditional fries, and it doesn’t feel like a compromise.
Conclusion
These crispy Parmesan butternut squash fries have earned a permanent spot in my recipe rotation, and I think they’ll earn one in yours too. They’re the kind of recipe that makes you wonder why you ever bothered with regular fries—crispy, savory, satisfying, and surprisingly easy to pull together once you know the tricks.
The beauty of this recipe is how adaptable it is. You can spice it up, keep it simple, serve it with a fancy dipping sauce, or eat it straight off the baking sheet while standing at the counter (no judgment here). It works as a side dish, a snack, an appetizer, or even a light meal when paired with a salad or soup. However you choose to make it, I hope you’ll take the time to do the salting step and get the oven properly hot. Those small details make all the difference.
I’d love to hear how these turn out for you. Did you try a variation? Find a new favorite dipping sauce? Burn your first batch like I did? Drop a comment below and let me know—I read every single one, and your feedback helps me create better recipes for all of us. And if you’re looking for more cozy, vegetable-forward recipes, check out the leftovers soup or the grilled corn salad on the blog. Happy cooking, friends!
Frequently Asked Questions
Can I make these fries ahead of time for a party?
You can, but they’re best served fresh. If you need to prep ahead, cut the squash and store it in cold water in the fridge for up to 24 hours. Dry it thoroughly before coating and baking. The baked fries can be reheated in a 400°F oven for 5-7 minutes, but they won’t be quite as crispy as fresh.
Why did my fries come out soggy?
The most common reasons are skipping the salting step (which draws out moisture), not drying the fries thoroughly after salting, overcrowding the baking sheet, or not having the oven hot enough. Make sure your oven is fully preheated to 425°F and that your fries have space between them on the pan.
Can I use frozen butternut squash?
I don’t recommend it. Frozen squash releases a lot of water as it thaws, and that extra moisture makes it nearly impossible to get crispy results. Fresh squash is worth the extra effort here. If you’re short on time, look for pre-cut fresh squash in the produce section.
How do I keep the Parmesan from burning?
Watch the fries closely in the last 5 minutes of baking. If the Parmesan is browning too quickly, you can cover the pan loosely with foil for the remaining time. Using freshly grated Parmesan (not pre-shredded) also helps because it melts more evenly and doesn’t burn as easily.
Can I double this recipe?
Absolutely. Just make sure to use two baking sheets and rotate them halfway through baking. Don’t try to cram everything onto one pan—crowding will lead to soggy fries. You may need to add 2-3 minutes to the baking time if you’re doing a double batch.
Pin This Recipe!
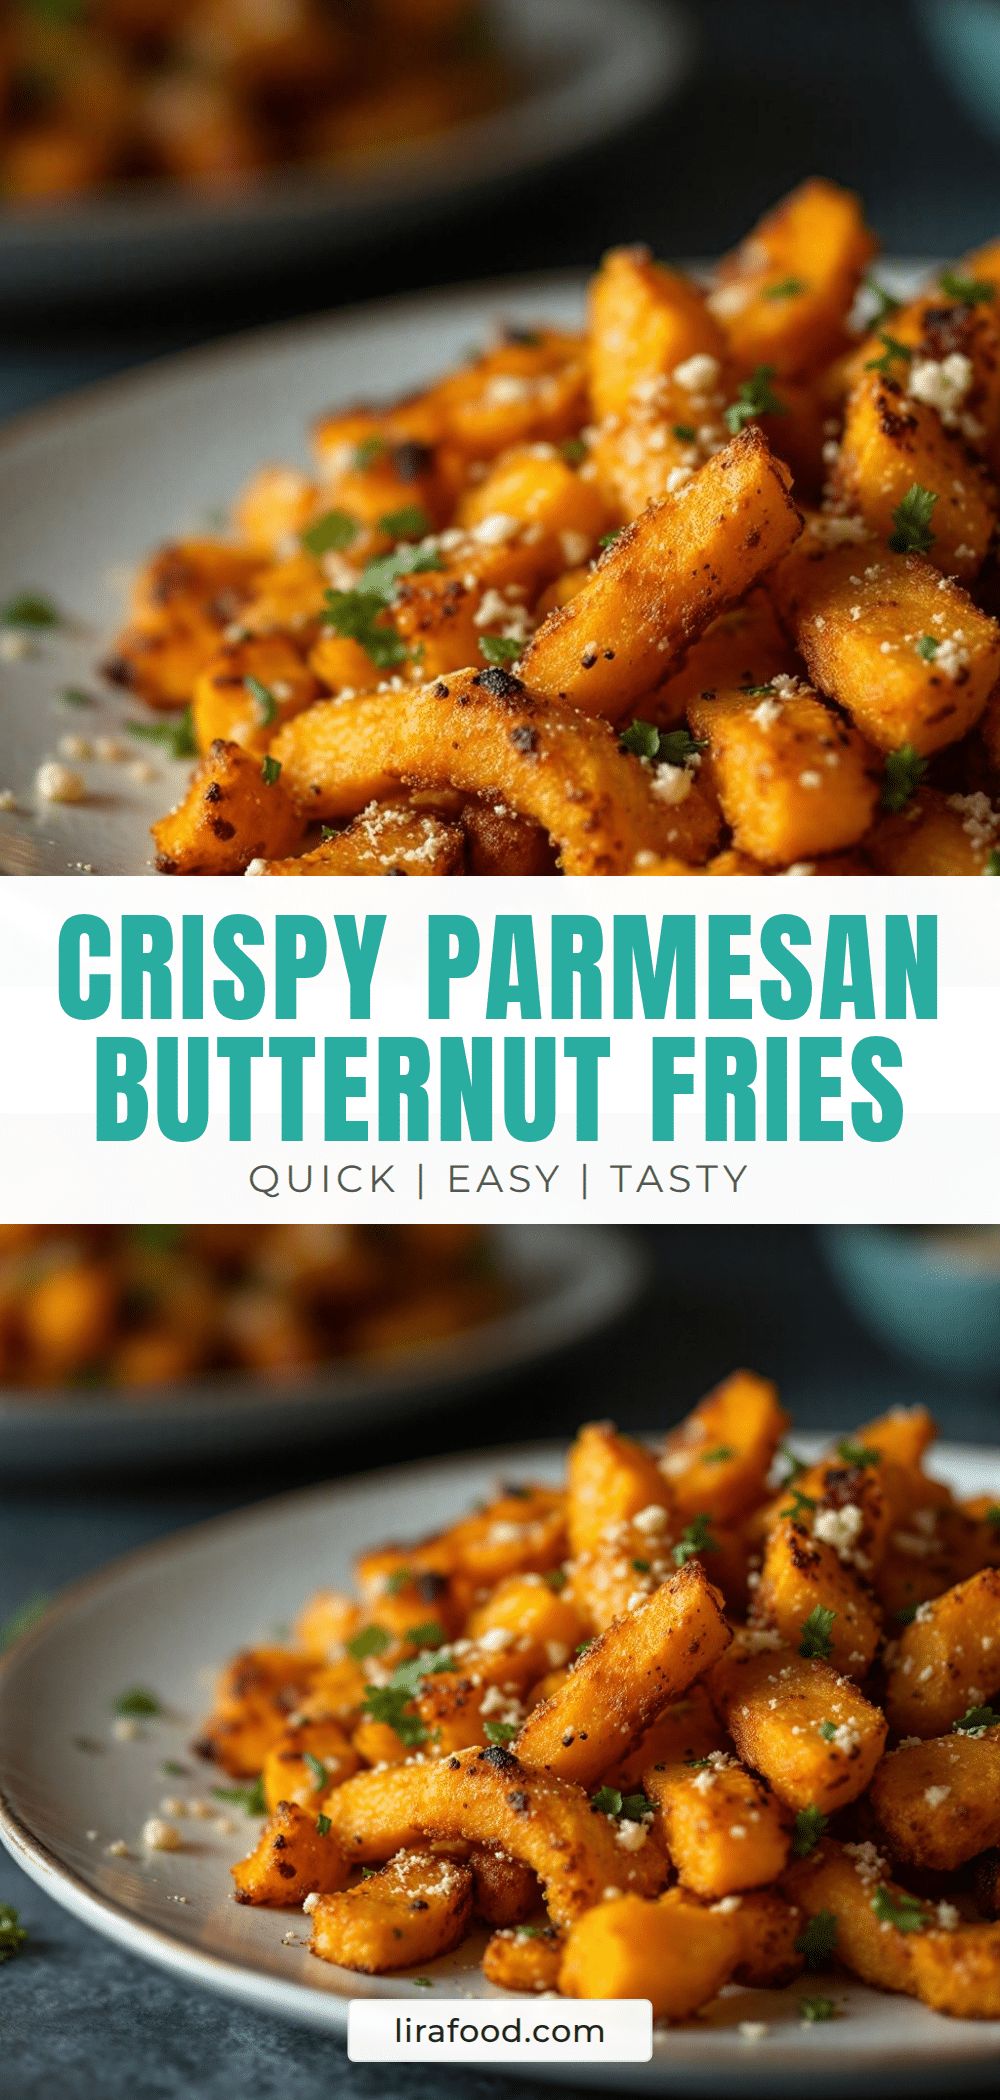
Crispy Parmesan Butternut Squash Fries: Easy Baked Recipe

These crispy Parmesan butternut squash fries are baked to golden perfection with a shatter-crisp crust and tender inside. A simple, healthy alternative to traditional fries that’s packed with flavor and easy to make.
- Prep Time: 30 minutes
- Cook Time: 25 minutes
- Total Time: 55 minutes
- Yield: 6 servings 1x
- Category: Side Dish
- Cuisine: American
Ingredients
- 1 medium butternut squash (about 2–2.5 pounds)
- ½ cup freshly grated Parmesan cheese (50g)
- 2 tablespoons cornstarch (16g)
- 2 tablespoons olive oil (30ml)
- 1 teaspoon garlic powder
- ½ teaspoon paprika
- 1 teaspoon salt (plus more for drawing out moisture)
- ¼ teaspoon freshly ground black pepper
- 2 tablespoons fresh parsley, chopped (optional for garnish)
Instructions
- Preheat your oven to 425°F (220°C) with the rack in the middle position. Give it a full 20 minutes to preheat.
- Prepare the butternut squash: Cut off both ends, slice in half where the narrow neck meets the wider bulb. Stand each piece on its flat end and peel off the skin. Cut the neck into ½-inch thick planks, then slice into ½-inch wide sticks. For the bulb end, cut in half, scoop out seeds, then cut into similar-sized fries. Aim for fry-shaped pieces about 3 inches long and ½ inch thick.
- Salt the squash to draw out moisture: Place cut fries in a large bowl and sprinkle with 1 teaspoon of salt. Toss well, then let sit for 20-30 minutes until beads of moisture form on the surface.
- Dry the fries thoroughly: After salting, dump fries into a colander and rinse quickly with cold water to remove excess salt. Spread them out on a clean kitchen towel or paper towels and pat completely dry.
- Season the fries: Return dried fries to the large bowl. Add olive oil, cornstarch, garlic powder, paprika, and black pepper. Toss with your hands until every fry is evenly coated. Add grated Parmesan and toss again gently to distribute.
- Arrange on the baking sheet: Line your baking sheet with parchment paper. Spread fries in a single layer with space between each one. Use two baking sheets if needed.
- Bake for 20-25 minutes: Bake for 10 minutes, then remove the sheet, flip each fry carefully with a spatula, and rotate the pan. Return to the oven for another 10-15 minutes until golden brown on the outside and tender when pierced with a fork.
- Cool slightly and serve: Let fries rest on the baking sheet for 2-3 minutes before transferring to a serving plate. Sprinkle with flaky salt and fresh parsley if using. Serve immediately.
Notes
Don’t skip the salting step—it draws out moisture for crispier fries. Use freshly grated Parmesan, not pre-shredded, for the best crust. Serve immediately for maximum crispiness. For air fryer adaptation, cook at 400°F for 10-12 minutes, shaking halfway through.
Nutrition
- Serving Size: About 10-12 fries
- Calories: 175
- Sugar: 4
- Sodium: 420
- Fat: 8
- Saturated Fat: 2.5
- Carbohydrates: 22
- Fiber: 4
- Protein: 6
Keywords: butternut squash fries, crispy baked fries, Parmesan squash fries, healthy fries, baked vegetable fries, fall side dish, gluten-free fries


