Love this? Save it for later!
Share the inspiration with your friends
Introduction
“You know that moment when you’re fiddling in the kitchen late at night, and suddenly, a craving hits that just won’t quit?” That was me last summer, around midnight, standing in my kitchen with only a half-empty carton of cream and a jar of vanilla extract. I hadn’t planned to make ice cream that night—I was just trying to salvage some leftover ingredients. But honestly, the way the cream thickened and the vanilla aroma filled the room felt like magic. It reminded me of those rare, slow moments when simple ingredients turn into something unforgettable.
What started as a quiet experiment quickly became my go-to summer dessert. The texture was silky, rich, and creamy—nothing like the store-bought stuff, and no fancy machine needed. Maybe you’ve been there: craving that perfect scoop of vanilla ice cream but not wanting to run to the store or fuss with complicated recipes. This creamy homemade vanilla ice cream recipe is exactly that kind of solution—easy, satisfying, and just the right amount of indulgent.
It wasn’t without its hiccups; at one point, I realized I forgot to chill the bowl, so the ice cream took a bit longer to set. But hey, that’s part of the fun, right? The end result was so worth it, I kept making it for friends and family, and it never failed to impress. So let me tell you, this recipe stayed with me because it’s all about simple ingredients, a little patience, and that dreamy vanilla flavor that never goes out of style.
Why You’ll Love This Recipe
This creamy homemade vanilla ice cream recipe is a keeper for so many reasons. Having tested countless versions over the years, I’ve found this one hits the sweet spot every time. Here’s why it might just become your favorite too:
- Quick & Easy: Comes together in just about 30 minutes of active prep, perfect for those last-minute dessert cravings or weekend treats.
- Simple Ingredients: No need for fancy or hard-to-find items—just classic cream, sugar, eggs, and real vanilla beans or extract.
- Perfect for Any Occasion: Whether you’re hosting a summer barbecue or just want a comforting scoop after dinner, this recipe fits the bill.
- Crowd-Pleaser: Kids, adults, picky eaters—everyone loves the smooth texture and familiar vanilla flavor.
- Unbelievably Delicious: The creamy texture combined with the rich vanilla notes makes this ice cream stand apart from the freezer aisle varieties.
What makes this recipe different? It’s all in the custard base. By gently cooking the cream and eggs together, you get that silky smooth texture without any graininess. Plus, I swear by using a high-quality vanilla bean when I can find it, but pure vanilla extract works wonders too. Honestly, this isn’t just another vanilla ice cream—it’s the kind that makes you close your eyes and savor every bite. It’s simple comfort food with soul and no fuss, making you feel like a kitchen pro without breaking a sweat.
What Ingredients You Will Need
This recipe uses simple, wholesome ingredients to deliver bold flavor and satisfying texture without the fuss. Most of these are pantry staples, and you might already have them on hand:
- Whole Milk (2 cups / 480 ml): The base of the custard, adding creaminess and body.
- Heavy Cream (2 cups / 480 ml): For that rich, silky texture—don’t skimp here!
- Granulated Sugar (¾ cup / 150 g): Sweetens the mixture just right without overpowering.
- Large Egg Yolks (5, room temperature): These give the ice cream its custard-like smoothness and depth.
- Vanilla Bean (1, split and scraped) or Pure Vanilla Extract (1 tablespoon): I recommend a Madagascar or Tahitian vanilla bean for the best aroma. If using extract, add it after cooking.
- Salt (a pinch): Balances and enhances the sweetness.
Ingredient Tips: For the vanilla bean, look for plump, moist pods. If you don’t have a bean, pure vanilla extract from a trusted brand like Nielsen-Massey works beautifully. For a dairy-free version, swap the milk and cream with coconut milk and coconut cream, but keep in mind the texture will be slightly different.
Equipment Needed
- Medium saucepan: To gently heat the milk, cream, and vanilla.
- Mixing bowls: For whisking the egg yolks and sugar.
- Whisk: Essential for blending the custard smoothly.
- Fine mesh sieve: To strain the custard and remove any cooked egg bits.
- Ice cream maker: While optional, it helps achieve the perfect creamy texture. If you don’t have one, no worries—I’ll share a no-machine method below.
- Thermometer (optional): Helpful for monitoring custard temperature (~170°F / 77°C is ideal).
If you’re on a budget, a simple whisk and bowl can do the trick, but a reliable ice cream maker like the Cuisinart or KitchenAid attachment makes the process faster and smoother. Keep your mixing bowls chilled in the fridge before use to speed up setting. Also, I learned the hard way that straining the custard is key—it catches little lumps that ruin the silky feel.
Preparation Method
- Heat the Milk, Cream, and Vanilla: In a medium saucepan, combine 2 cups (480 ml) whole milk, 2 cups (480 ml) heavy cream, and the scraped seeds plus pod of 1 vanilla bean (or 1 tablespoon vanilla extract added later). Warm gently over medium heat until the mixture just begins to steam and small bubbles appear around the edges—about 5 to 7 minutes. Do not let it boil. Remove from heat and let infuse for 15 minutes to deepen the vanilla flavor.
- Whisk Egg Yolks and Sugar: While the milk mixture infuses, whisk together 5 large egg yolks and ¾ cup (150 g) granulated sugar in a bowl until the mixture is pale and slightly thickened—about 2 to 3 minutes. This step is crucial for the custard’s smooth texture.
- Temper the Eggs: Slowly pour about half a cup of the warm milk mixture into the egg yolks while whisking constantly to gently raise their temperature without scrambling. Then, gradually add the rest of the warm milk mixture, continuing to whisk.
- Cook the Custard: Pour the mixture back into the saucepan. Cook over medium-low heat, stirring constantly with a wooden spoon or heatproof spatula, scraping the bottom and sides. Heat until the custard thickens slightly and coats the back of the spoon—approximately 170°F (77°C). Don’t rush or it might curdle! If you notice lumps, strain immediately through a fine mesh sieve.
- Chill the Custard: Remove from heat. If you used a vanilla bean pod, fish it out now. Stir in a pinch of salt and the vanilla extract if you didn’t add a bean. Let the custard cool to room temperature, then cover and refrigerate for at least 4 hours or overnight. This resting step is key for flavor development and proper texture.
- Churn and Freeze: Pour the chilled custard into your ice cream maker and churn according to the manufacturer’s instructions—usually about 20 to 30 minutes. For a no-machine method, pour the custard into a shallow container and freeze. Every 30 minutes, stir vigorously to break up ice crystals until creamy, about 3 to 4 hours.
- Set and Serve: Transfer the churned ice cream to an airtight container and freeze for another 2 hours to firm up before scooping.
Pro tip: Patience is your best friend here. Rushing the chilling or cooking steps can lead to grainy or icy ice cream. And yes, that half-melted scoop you sneak at midnight is totally allowed.
Cooking Tips & Techniques
Making creamy homemade vanilla ice cream can seem intimidating, but a few tricks can make all the difference. I learned early on that temperature control is everything. Cooking the custard slowly and stirring constantly prevents curdling and ensures a smooth base.
Don’t skip the tempering step—pouring hot milk directly into eggs will scramble them, and trust me, it’s not a fun cleanup. Also, always strain your custard after cooking; those tiny lumps will ruin the texture.
When churning, keep your freezer bowl really cold if using an ice cream maker. I keep mine in the freezer for at least 24 hours before starting. Without a machine, don’t forget to stir frequently during freezing to keep ice crystals at bay.
If your ice cream feels too hard straight from the freezer, let it sit at room temperature for 5 to 10 minutes before scooping—this softens it up nicely. And if you want to add mix-ins like chocolate chips or crushed cookies, fold them in during the last few minutes of churning for even distribution.
Variations & Adaptations
While classic vanilla is timeless, sometimes switching things up adds a fun twist. Here are a few ideas:
- Vegan/Dairy-Free: Use canned full-fat coconut milk and coconut cream instead of dairy. Add a little maple syrup or agave for sweetness. The texture will be slightly different but still delicious.
- Flavor Boost: Add a tablespoon of bourbon or rum for a boozy vanilla ice cream, perfect for adults.
- Seasonal Twist: Stir in fresh crushed berries or swirls of homemade fruit compote after churning for a fruity surprise.
- Spiced Vanilla: Infuse the milk mixture with a cinnamon stick or a few cardamom pods along with the vanilla bean for a warm, cozy note.
- My Go-To Variation: Once, I swapped half the sugar for honey and added a pinch of sea salt—honestly, it was next-level. The honey’s floral notes paired beautifully with the vanilla.
Feel free to experiment with your favorite flavors—you can’t go wrong as long as you keep the custard base silky.
Serving & Storage Suggestions
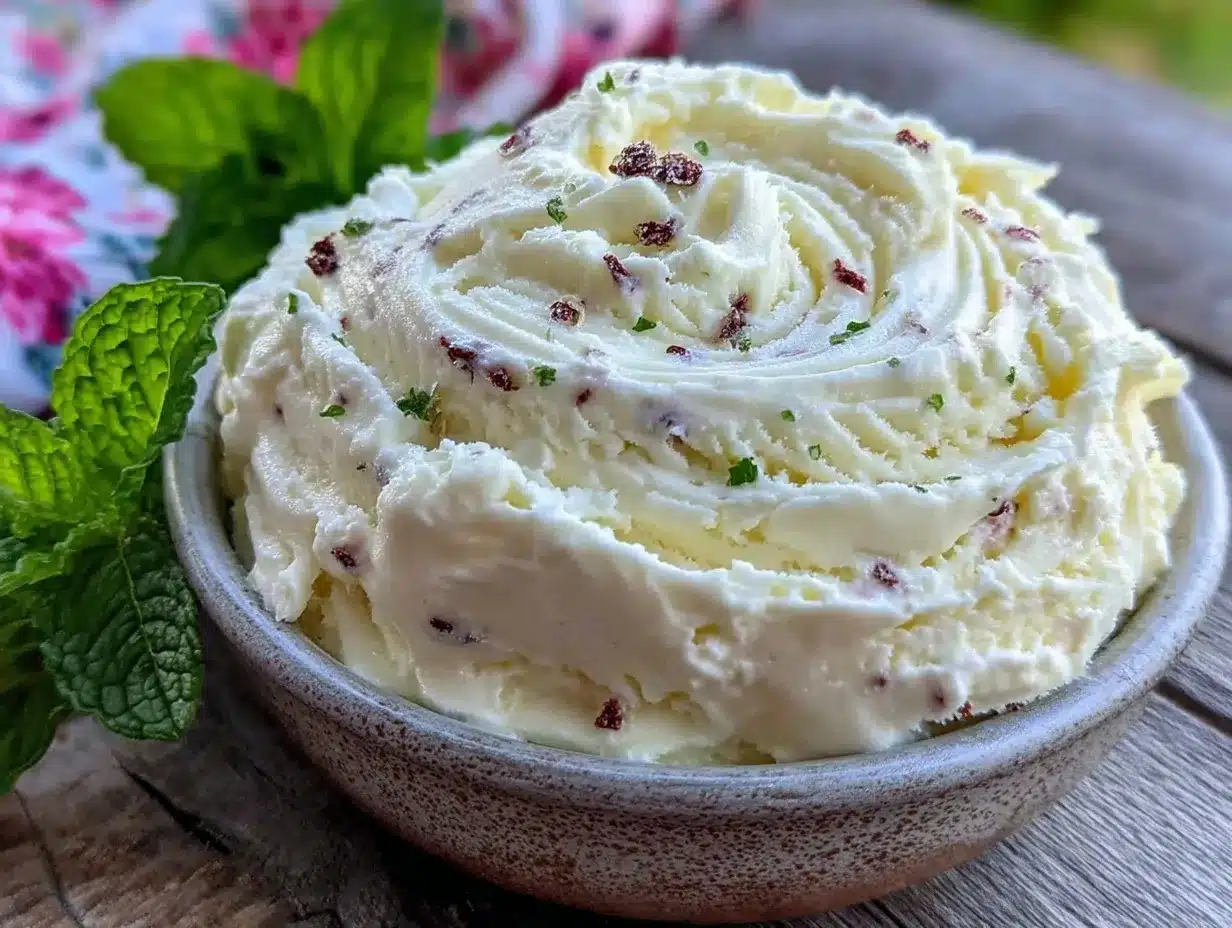
Serve your creamy homemade vanilla ice cream straight from the freezer, allowing it to soften just a bit for easier scooping. Presentation-wise, a simple bowl with a sprig of fresh mint, a drizzle of caramel sauce, or a handful of toasted nuts takes it up a notch.
This ice cream pairs beautifully with warm desserts like apple pie, chocolate brownies, or even a slice of crispy garlic chicken for a sweet and savory contrast if you’re feeling adventurous.
Store leftovers in an airtight container in the freezer. To avoid ice crystals, press a piece of parchment paper directly on the ice cream surface before sealing. It keeps for about 2 weeks at its best.
Reheat by letting the ice cream sit out for 5 to 10 minutes at room temperature. Flavors mellow and deepen after a day or two, so sometimes I make it ahead for get-togethers.
Nutritional Information & Benefits
This homemade vanilla ice cream offers a richer and more natural profile compared to many commercial brands. A typical serving (½ cup / 125 ml) contains approximately 250 calories, 14 grams of fat, 20 grams of carbohydrates, and 4 grams of protein.
The use of real eggs provides additional protein and essential vitamins, while natural vanilla offers antioxidant properties. Using whole, minimally processed ingredients means no artificial additives or preservatives, making it a cleaner treat.
If you’re watching carbs or dairy, consider the vegan coconut milk version or smaller portion sizes. This recipe can easily fit into a balanced lifestyle when enjoyed mindfully.
Conclusion
So there you have it—my creamy homemade vanilla ice cream recipe that’s easy, satisfying, and downright delicious. Whether you’re a seasoned home cook or just starting out, this recipe offers a straightforward way to enjoy that classic flavor with an extra silky texture. I love it because it reminds me that sometimes the simplest things—cream, eggs, sugar, and vanilla—come together to make magic.
Don’t be afraid to tweak it to your liking or add your own twist. I’d love to hear how you make it your own, so drop a comment or share your photos. Happy scooping, and here’s to many more sweet kitchen adventures!
Frequently Asked Questions (FAQs)
Can I make this vanilla ice cream without an ice cream maker?
Yes! Simply freeze the custard in a shallow container and stir vigorously every 30 minutes for about 3-4 hours to break up ice crystals. It’s a bit more hands-on but still gets you creamy results.
What’s the best way to store homemade ice cream?
Use an airtight container and press parchment paper on the surface before sealing. Store in the freezer for up to 2 weeks for best flavor and texture.
Can I use vanilla extract instead of a vanilla bean?
Absolutely. Use about 1 tablespoon of pure vanilla extract added after cooking the custard. While beans offer a richer flavor, extract is a great alternative.
Why do I need to temper the eggs?
Tempering slowly raises the temperature of the eggs without scrambling them, which keeps your custard smooth and silky.
Can this recipe be made dairy-free?
Yes. Swap the milk and cream with full-fat coconut milk and coconut cream for a delicious dairy-free version. The texture will be slightly different but still creamy.
Pin This Recipe!
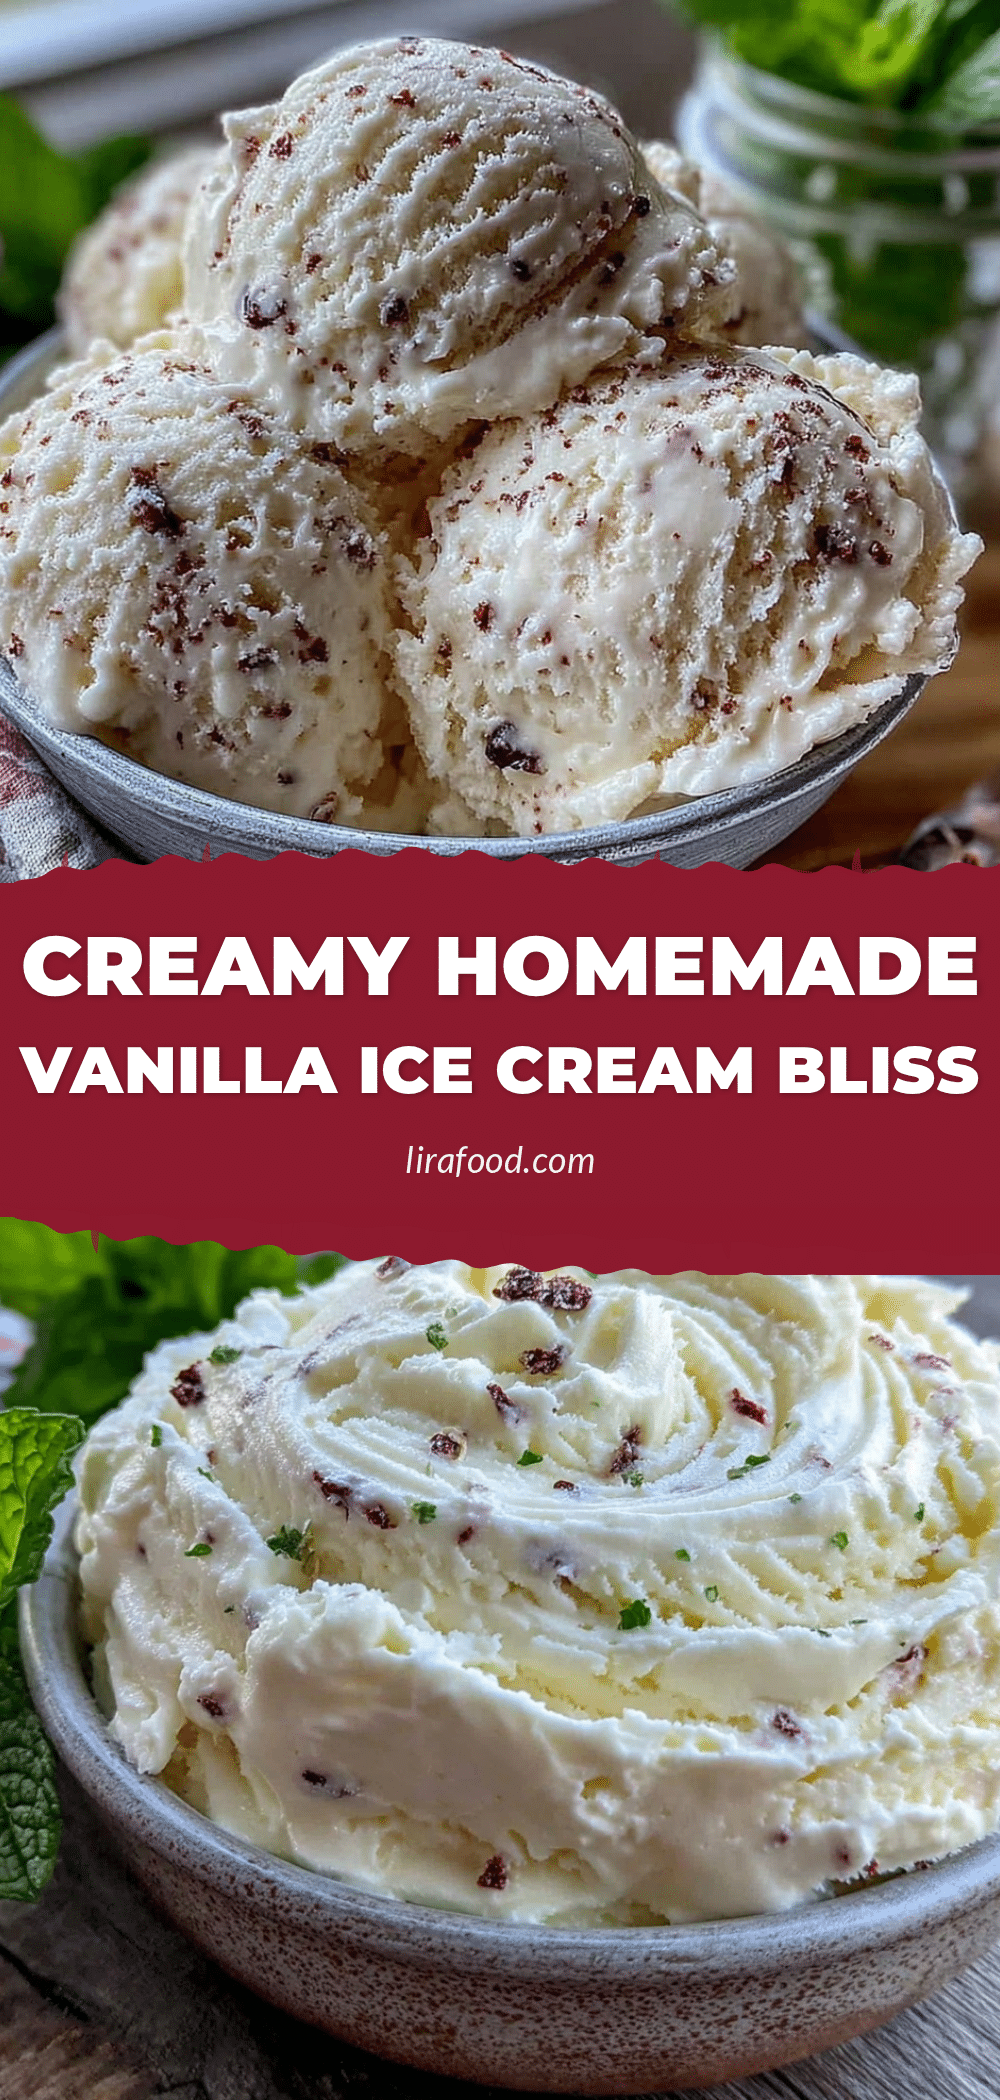
Creamy Homemade Vanilla Ice Cream
An easy, satisfying homemade vanilla ice cream recipe with a silky smooth custard base, no fancy machine needed, perfect for any occasion.
- Prep Time: 30 minutes
- Cook Time: 15 minutes
- Total Time: 5 hours 45 minutes
- Yield: 8 servings 1x
- Category: Dessert
- Cuisine: American
Ingredients
- 2 cups whole milk (480 ml)
- 2 cups heavy cream (480 ml)
- 3/4 cup granulated sugar (150 g)
- 5 large egg yolks, room temperature
- 1 vanilla bean, split and scraped, or 1 tablespoon pure vanilla extract
- Pinch of salt
Instructions
- In a medium saucepan, combine whole milk, heavy cream, and the scraped seeds plus pod of the vanilla bean (or add vanilla extract later). Warm gently over medium heat until the mixture just begins to steam and small bubbles appear around the edges, about 5 to 7 minutes. Do not boil. Remove from heat and let infuse for 15 minutes.
- While the milk mixture infuses, whisk together egg yolks and granulated sugar in a bowl until pale and slightly thickened, about 2 to 3 minutes.
- Slowly pour about half a cup of the warm milk mixture into the egg yolks while whisking constantly to temper the eggs. Gradually add the rest of the warm milk mixture, continuing to whisk.
- Pour the mixture back into the saucepan. Cook over medium-low heat, stirring constantly, until the custard thickens slightly and coats the back of a spoon, approximately 170°F (77°C). Strain immediately through a fine mesh sieve if lumps appear.
- Remove from heat. Remove vanilla bean pod if used. Stir in a pinch of salt and vanilla extract if not added earlier. Cool to room temperature, then cover and refrigerate for at least 4 hours or overnight.
- Pour the chilled custard into an ice cream maker and churn according to manufacturer’s instructions, about 20 to 30 minutes. For no-machine method, pour custard into a shallow container and freeze, stirring vigorously every 30 minutes for 3 to 4 hours until creamy.
- Transfer churned ice cream to an airtight container and freeze for another 2 hours to firm up before serving.
Notes
Keep mixing bowls chilled before use to speed up setting. Temper eggs slowly to avoid scrambling. Strain custard to remove lumps. For no-machine method, stir frozen custard every 30 minutes to prevent ice crystals. Let ice cream soften 5-10 minutes before scooping if too hard.
Nutrition
- Serving Size: 1/2 cup (125 ml)
- Calories: 250
- Sugar: 19
- Sodium: 40
- Fat: 14
- Saturated Fat: 9
- Carbohydrates: 20
- Protein: 4
Keywords: vanilla ice cream, homemade ice cream, creamy ice cream, easy dessert, custard ice cream, no machine ice cream