Love this? Save it for later!
Share the inspiration with your friends
I burned this cinnamon sugar apple fritter bread three times before I figured out why the middle stayed raw while the edges turned to charcoal. Not a little overdone—I’m talking smoke-alarm-going-off, why-did-I-invite-people-over burned. The first time I thought I’d misread the temperature. The second time I blamed my oven. The third time I just sat on my kitchen floor and stared at the mess, wondering why something that looked so simple kept kicking my butt.
Turns out, the problem wasn’t me (mostly). Apple fritter bread has this sneaky thing it does—the fruit releases moisture as it bakes, creating steam pockets that fool you into thinking the center is cooking when it’s actually just swimming. You pull it out golden and gorgeous, slice into it, and find a sad, doughy river running through the middle. I’ve been there. More times than I’d like to admit.
This version fixes all of that nonsense. We’re talking tender chunks of apple suspended in a buttery, cinnamon-swirled loaf with that signature fritter crunch on top. No raw centers. No burnt edges. Just the kind of bread that makes you stand at the counter eating slice after slice while pretending you’re only tasting it for quality control. (I see you. I’ve been you.)
So if you’ve ever wrestled with a quick bread that promised more than it delivered, stick around. This one actually works.
Why You’ll Love This Recipe
This isn’t just another apple bread floating around the internet. I’ve tested this thing six ways from Sunday—different apple varieties, different fat ratios, different resting times—so you don’t have to guess. Here’s what makes it worth your time:
- Quick & Easy: From bowl to oven in about 15 minutes. No yeast, no kneading, no waiting around for dough to rise. This is a whisk-and-pour situation, perfect for those mornings when you wake up craving something special but don’t want to spend all day in the kitchen.
- Simple Ingredients: You probably have most of this stuff already. Flour, sugar, butter, eggs, cinnamon—the usual suspects. The only thing you might need to grab is a couple of apples, which is hardly a hardship in fall (or honestly, any time of year).
- Perfect for Fall Baking: This bread screams autumn. It’s the kind of thing you bake when the leaves start turning and you suddenly need everything to taste like cinnamon and apples. Great for Thanksgiving brunch, cozy weekend mornings, or just because it’s Tuesday and you deserve a treat.
- Crowd-Pleaser: I brought this to a potluck once and watched three different people ask for the recipe before I’d even finished my first cup of coffee. Kids love it. Adults love it. Even my friend who “doesn’t really like baked fruit” ate two slices and asked if there was more.
- Unbelievably Delicious: The texture is what gets you. That crunchy cinnamon-sugar top gives way to a tender, moist crumb studded with soft apple pieces. Every bite has a little bit of everything—crunch, softness, sweetness, warmth. It’s comfort food in loaf form.
What makes this recipe different from all the others? Two things. First, I pre-cook the apples just slightly before adding them to the batter. This releases some of their moisture early so you don’t end up with that dreaded soggy streak in the middle of your loaf. Second, I layer the batter and cinnamon sugar in the pan instead of just mixing everything together. That creates those gorgeous swirls and a crunchy top that actually stays crunchy instead of dissolving into the bread. Small tweaks, huge difference.
This is the kind of bread that makes you close your eyes after the first bite. Not because it’s fancy or complicated—it’s not—but because it tastes like exactly what you wanted it to taste like. Simple, honest, and really, really good.
What Ingredients You Will Need
This recipe uses straightforward ingredients to deliver big flavor and perfect texture. Most of these are pantry staples, which is exactly how I like my baking projects. Let’s walk through what you’ll need and why each one matters.
For the Bread Batter
- All-purpose flour, 1 ½ cups (190g): Standard flour works perfectly here. No need for bread flour or cake flour—all-purpose gives the right structure without being too dense or too tender. Spoon and level your flour into the measuring cup for accuracy; scooping directly can pack it down and throw off your ratios.
- Granulated sugar, ⅔ cup (135g): Adds sweetness and helps create that tender crumb. I’ve tested this with coconut sugar and it works, but the texture is slightly denser and the flavor is more molasses-y. Stick with white sugar for the classic version.
- Light brown sugar, ⅓ cup (70g), packed: This adds moisture and a subtle caramel note that pairs beautifully with the apples. Don’t skip it—the combination of white and brown sugar is what gives this bread its depth of flavor.
- Unsalted butter, ½ cup (113g), melted and slightly cooled: Butter brings richness and flavor. I use unsalted so I can control the salt level. If you only have salted butter on hand, reduce the added salt to ¼ teaspoon.
- Large eggs, 2, room temperature: Eggs provide structure and help the bread rise. Room temperature eggs incorporate more evenly into the batter. If you forgot to take them out of the fridge ahead of time, place them in a bowl of warm water for 5 minutes.
- Buttermilk, ½ cup (120ml), room temperature: This is the secret to a tender crumb. The acid in buttermilk reacts with the baking soda to create lift while keeping the bread moist. No buttermilk? No problem—add 1 ½ teaspoons of lemon juice or white vinegar to regular milk and let it sit for 5 minutes.
- Vanilla extract, 1 teaspoon: Pure vanilla extract makes a difference here. Imitation vanilla works in a pinch, but the real stuff adds warmth and complexity that you’ll taste in every bite.
- Baking powder, 1 ½ teaspoons: The main leavening agent. Make sure yours isn’t expired—old baking powder won’t give you the rise you need.
- Baking soda, ½ teaspoon: Works with the buttermilk to create additional lift. Together, these two give you a perfectly domed loaf with a light texture.
- Salt, ½ teaspoon: Don’t skip this. Salt doesn’t make the bread salty—it enhances all the other flavors and balances the sweetness.
- Apples, 2 medium (about 300g), peeled and diced: You want about 2 cups of diced apples. I prefer Honeycrisp or Granny Smith for this recipe—Honeycrisp holds its shape well and adds natural sweetness, while Granny Smith provides a tart contrast to the sweet batter. Fuji and Braeburn also work great. Avoid Red Delicious; they get mealy when baked.
- Lemon juice, 1 tablespoon: Toss this with your diced apples to prevent browning and add a tiny bit of brightness. It also helps balance the sweetness.
For the Cinnamon Swirl & Topping
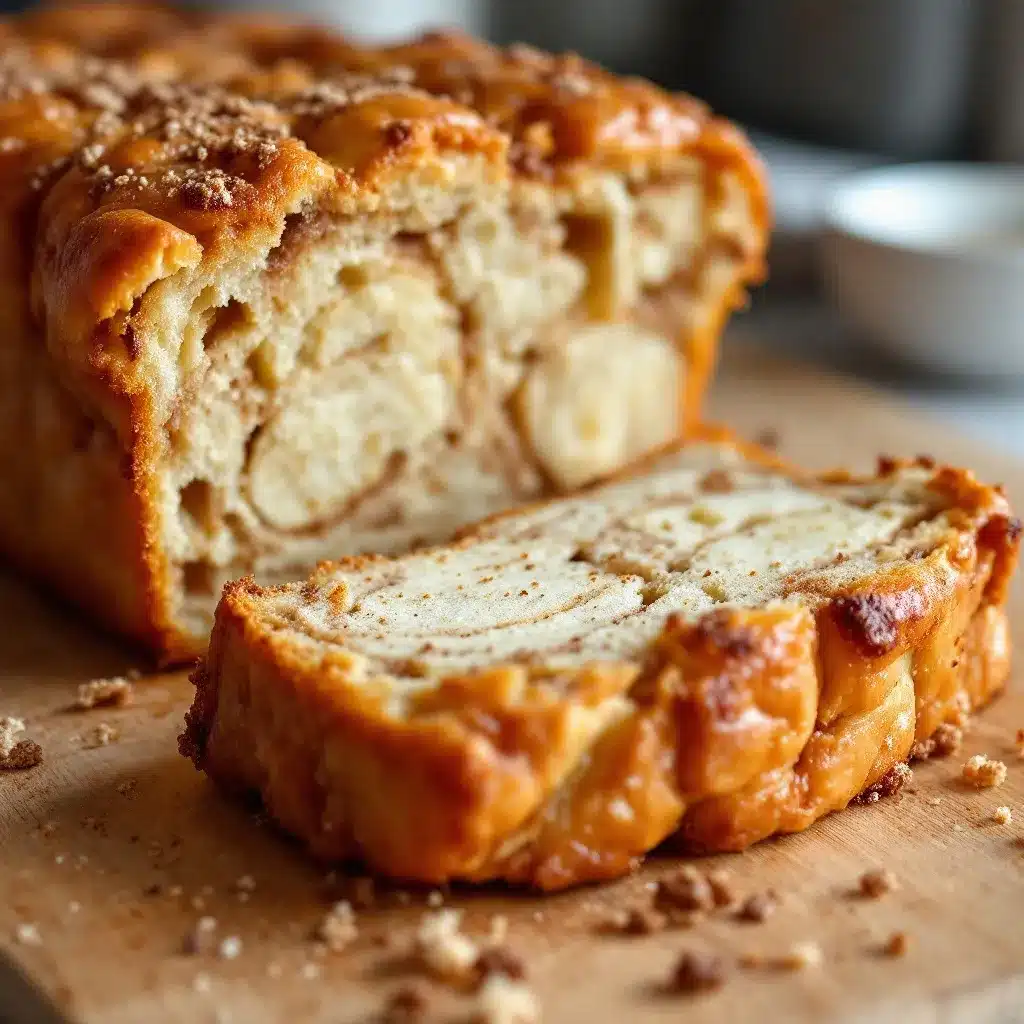
- Granulated sugar, ⅓ cup (70g): For the cinnamon mixture that gets layered into the batter and sprinkled on top.
- Ground cinnamon, 2 tablespoons: Yes, tablespoons. This bread means business. I recommend using a fresh jar of cinnamon—old cinnamon loses its punch and you’ll end up with a muted flavor. I’m partial to McCormick or Penzeys for quality.
- Unsalted butter, 2 tablespoons (28g), melted: Brushed on top before the final sprinkle of cinnamon sugar. This helps create that signature crunchy crust.
See? Nothing fancy here. Just good ingredients doing what they do best together.
Equipment Needed
You don’t need a professional bakery setup for this one. Here’s what you’ll actually use:
- 9×5-inch loaf pan: Standard size for quick breads. If your pan is glass or ceramic, you might need to add 5-10 minutes to the baking time since those materials conduct heat differently than metal. I prefer a light-colored metal pan for even browning.
- Parchment paper: Not strictly necessary, but it makes lifting the finished bread out of the pan so much easier. Cut a strip long enough to overhang the long sides of the pan by about 2 inches on each side.
- Two mixing bowls (medium and large): One for dry ingredients, one for wet. Nothing fancy—I use the same Pyrex bowls I’ve had for years.
- Whisk and rubber spatula: A whisk for combining dry ingredients and a spatula for folding everything together. Don’t use an electric mixer for this; you’ll overwork the batter and end up with a tough bread.
- Sharp knife and cutting board: For dicing those apples. A vegetable peeler helps too.
- Small saucepan: For that quick pre-cook of the apples. A skillet works just as well.
- Cooling rack: Essential for letting the bread cool evenly. If you leave it in the pan too long, the bottom will get soggy from trapped steam.
That’s it. If you’ve got these basics, you’re ready to go. No stand mixer required, no specialty pans, no gadgets you’ll use once and shove in the back of a cabinet.
Preparation Method
Let’s make some bread. I’ll walk you through every step so you know exactly what to look for.
- Preheat your oven to 350°F (175°C). Position the rack in the center of the oven. While it’s heating, line your 9×5-inch loaf pan with parchment paper, leaving overhang on the two long sides. Lightly spray the exposed ends with cooking spray or grease with butter.
- Prep the apples. Peel, core, and dice your apples into roughly ½-inch cubes. You want them small enough to distribute evenly through the batter but big enough that you’ll actually taste them in each bite. Toss the diced apples with 1 tablespoon of lemon juice in a small bowl and set aside.
- Quick-cook the apples. This step is non-negotiable if you want to avoid a soggy center. Heat a small saucepan over medium heat and add the apples with 1 tablespoon of water. Cook for 3-4 minutes, stirring occasionally, until the apples just start to soften and release some liquid. You’re not trying to make applesauce here—just take the raw edge off. Drain any excess liquid and let the apples cool while you prepare the batter. (I learned this trick after my third failed loaf, and honestly, it should be taught in baking school.)
- Mix the dry ingredients. In a medium bowl, whisk together 1 ½ cups all-purpose flour, 1 ½ teaspoons baking powder, ½ teaspoon baking soda, and ½ teaspoon salt. Set aside.
- Mix the wet ingredients. In a large bowl, whisk together ½ cup melted unsalted butter (cooled slightly), ⅔ cup granulated sugar, and ⅓ cup packed light brown sugar until smooth and well combined. Add 2 room-temperature eggs, one at a time, whisking well after each addition. Stir in 1 teaspoon vanilla extract. Pour in ½ cup room-temperature buttermilk and whisk until the mixture is uniform.
- Combine wet and dry. Pour the dry ingredients into the wet mixture. Use a rubber spatula to fold everything together gently. Stir just until you no longer see streaks of flour—a few small lumps are totally fine. Overmixing at this stage develops gluten and makes the bread tough. You want tender, not tough.
- Fold in the apples. Gently fold the pre-cooked, drained apples into the batter. Distribute them as evenly as you can without overworking the batter. The batter will be thick—that’s normal.
- Make the cinnamon sugar mixture. In a small bowl, combine ⅓ cup granulated sugar with 2 tablespoons ground cinnamon. Stir until well mixed.
- Layer the batter and cinnamon sugar. Spoon half of the batter into your prepared loaf pan and spread it into an even layer. Sprinkle about half of the cinnamon sugar mixture over the batter. Spoon the remaining batter on top and spread gently—try not to disturb the cinnamon layer too much. Sprinkle the remaining cinnamon sugar over the top. This layering technique creates those beautiful swirls and that signature crunchy top.
- Add the finishing touch. Melt 2 tablespoons of unsalted butter and drizzle it evenly over the top of the loaf. This helps the cinnamon sugar topping bake into a crisp, caramelized crust instead of staying dry and powdery.
- Bake. Place the pan in the preheated oven and bake for 50-60 minutes. At the 30-minute mark, check the top—if it’s browning too quickly, tent the pan loosely with aluminum foil. My oven runs hot, so I usually cover mine around the 35-minute mark. The bread is done when a toothpick inserted into the center comes out clean or with just a few moist crumbs. If you hit a pocket of apple, test in another spot.
- Cool properly. Let the bread cool in the pan on a wire rack for 15 minutes. Then use the parchment paper overhang to lift the bread out of the pan and transfer it directly to the wire rack. Let it cool completely before slicing—I know it’s hard to wait, but slicing too early will give you crumbly, falling-apart pieces. Trust me, I’ve ruined many a beautiful loaf by being impatient.
Your kitchen should smell like a cinnamon-scented dream right about now. The hardest part is waiting for it to cool. Go make a cup of coffee while you wait.
Cooking Tips & Techniques
After way too many trial-and-error batches, here’s what I’ve learned about making this bread work perfectly every time:
Don’t skip the apple pre-cook. I cannot stress this enough. Raw apples release moisture as they bake, and that moisture has nowhere to go in a loaf pan. The result is a wet, gummy streak through the center of your bread that no amount of extra baking time will fix. Cook them for just 3-4 minutes and drain off the liquid. Your bread will thank you.
Room temperature ingredients matter. Cold eggs and cold buttermilk will seize up your melted butter, leaving you with a lumpy batter that doesn’t bake evenly. Take everything out of the fridge 30 minutes before you start. If you forgot (I forget all the time), place the eggs in warm water for 5 minutes and microwave the buttermilk for 10-15 seconds until it’s no longer cold.
Check your oven temperature. Most home ovens run hotter or colder than the dial says. I learned this the hard way when my “350°F” oven was actually running at 375°F, which explains why my first few loaves were burnt on the outside and raw in the middle. An inexpensive oven thermometer is worth its weight in gold.
The toothpick test can lie. If your toothpick hits a piece of apple, it’ll come out wet even if the bread is fully baked. Test in at least two or three spots. Better yet, use an instant-read thermometer—the center of the bread should register 200-205°F when it’s done.
Let it cool completely. I know it’s torture. I know you want to slice into that warm, cinnamon-scented loaf the second it comes out of the oven. But if you do, the bread will crumble and the texture will be gummy. Give it at least an hour on the cooling rack. Use that time to make yourself a cup of tea or call your mom or whatever.
One more thing: If you’re making this in a humid environment, you might need to add an extra 5-10 minutes of baking time. Humidity affects how quickly moisture evaporates, and quick breads are especially sensitive to it. Trust your senses—if it smells done and looks done but the toothpick still comes out wet, give it more time.
Variations & Adaptations
This bread is pretty perfect as written, but I’m a firm believer that recipes should adapt to what you have on hand and what you’re craving. Here are some ways to make it your own:
Gluten-Free Version: Substitute the all-purpose flour with a 1:1 gluten-free baking flour blend. I’ve had good results with King Arthur Measure for Measure and Bob’s Red Mill 1-to-1. Add 1 teaspoon of xanthan gum if your blend doesn’t already include it. The texture will be slightly more delicate, so handle the batter gently and let the bread cool completely before slicing.
Dairy-Free Adaptation: Replace the butter with melted coconut oil or a plant-based butter alternative. Use unsweetened almond milk or oat milk mixed with 1 ½ teaspoons of lemon juice in place of buttermilk. The flavor changes slightly—coconut oil adds a subtle tropical note that actually works nicely with the cinnamon—but the texture stays remarkably similar.
Seasonal Fruit Swaps: This same base recipe works beautifully with other fruits. Try diced pears in the fall, fresh or frozen peaches in the summer, or even chopped plums when they’re in season. Adjust the sugar slightly based on the sweetness of your fruit—peaches need less sugar, while tart plums might need a bit more. If using frozen fruit, don’t thaw it first; just add it frozen and expect a slightly longer bake time.
Nutty Crunch Addition: Fold in ½ cup of chopped pecans or walnuts along with the apples. Toast them first in a dry skillet over medium heat for 3-4 minutes until fragrant—this brings out their oils and adds a deeper flavor. The nuts add wonderful texture and make the bread feel even more substantial.
Spice It Up: Not getting enough warmth from cinnamon alone? Add ½ teaspoon of nutmeg, ¼ teaspoon of ground ginger, and a pinch of cardamom to the flour mixture. This gives the bread a chai-like complexity that’s especially nice during the holiday season.
I once made a version with diced pear and a splash of bourbon in the batter (about 2 tablespoons, replacing some of the buttermilk). It was dangerously good and reminded me of the bourbon pecan chocolate layer cake I made last Thanksgiving. Sometimes the best recipes come from happy accidents.
Serving & Storage Suggestions
This bread is versatile enough for breakfast, brunch, dessert, or that 3 PM snack when you need something sweet to get through the rest of the afternoon.
Serving Temperature: Serve at room temperature for the best texture. If you want to warm individual slices, pop them in the microwave for 10-15 seconds or in a 300°F oven for about 5 minutes. A warm slice with a pat of butter melting into it is basically a hug in food form.
Presentation Ideas: Slice the bread into thick pieces (about 1 inch) and arrange them on a wooden board or pretty plate. Dust with a little powdered sugar for a bakery-style finish. Drizzle with a simple glaze made from ½ cup powdered sugar mixed with 1-2 tablespoons of milk or apple cider—the cider glaze adds another layer of apple flavor that’s just lovely.
What to Serve With It: A hot cup of coffee or spiced chai is the obvious choice, but don’t sleep on a cold glass of milk or a warm mug of apple cider. For a more indulgent treat, serve it alongside a scoop of vanilla ice cream or a dollop of whipped cream. If you’re feeling really extra, warm up some vanilla milk with cinnamon and honey for the coziest pairing imaginable.
Storage Instructions: Store the bread tightly wrapped in plastic wrap or in an airtight container at room temperature for up to 3 days. The cinnamon sugar topping will soften slightly over time, but the bread itself stays moist and delicious. Do not refrigerate—the cold temperature will dry it out and stale it faster.
Freezing Instructions: This bread freezes beautifully. Wrap the cooled loaf tightly in plastic wrap, then in a layer of aluminum foil. Freeze for up to 3 months. When you’re ready to enjoy it, thaw overnight in the refrigerator or at room temperature for a few hours. You can also freeze individual slices wrapped in plastic wrap and stored in a freezer bag—great for grabbing a quick breakfast on busy mornings.
Flavor Development: Honestly, this bread tastes even better on day two. The flavors have time to meld and mellow, and the texture settles into something perfectly tender. If you can resist eating the whole loaf on day one, you’re in for a treat on day two. (I rarely have the willpower, but I admire those who do.)
Nutritional Information & Benefits
Let’s be real—this is a treat, not a health food. But that doesn’t mean it can’t have some redeeming qualities. Here’s the breakdown per slice (based on 10 slices):
| Nutrient | Amount Per Slice |
|---|---|
| Calories | 285 |
| Total Fat | 12g |
| Saturated Fat | 7g |
| Cholesterol | 55mg |
| Sodium | 220mg |
| Total Carbohydrates | 42g |
| Dietary Fiber | 2g |
| Sugars | 26g |
| Protein | 4g |
The Good Stuff: Apples provide fiber and vitamin C, plus antioxidants like quercetin that support heart health. Cinnamon has anti-inflammatory properties and may help regulate blood sugar levels. The buttermilk adds calcium and probiotics (if you’re using real cultured buttermilk). And honestly, there’s something to be said for the mental health benefits of baking something beautiful and sharing it with people you love.
Dietary Considerations: This recipe contains gluten, dairy, and eggs. For gluten-free or dairy-free adaptations, check the variations section above. The bread is relatively low in added sugar compared to many bakery-style loaf cakes, and you can reduce the sugar by another tablespoon or two without significantly affecting the texture.
Allergen Note: If you’re serving this to a crowd, be aware that it contains common allergens. The nut variation obviously adds tree nuts, so skip that if allergies are a concern.
Look, I’m not saying this bread is a health food. But if you’re going to eat dessert for breakfast (which I fully support), there are worse ways to do it than with fruit and cinnamon.
Conclusion
This cinnamon sugar apple fritter bread is everything I want in a fall bake—simple enough for a Tuesday morning, impressive enough for a holiday brunch, and delicious enough that nobody will believe it came together in 15 minutes. The crunchy cinnamon top, the tender apple-studded crumb, the way your whole kitchen smells like a bakery while it’s baking—it’s the kind of recipe that becomes a staple.
I’ve made this loaf more times than I can count, and it still makes me happy every single time. That first slice, still warm, with butter melting into the crevices? Pure magic. And knowing that I finally figured out how to avoid that soggy center? That’s its own kind of victory.
I’d love to hear how yours turns out. Did you try a variation? Add nuts? Swap in pears? Leave a comment below and let me know—I read every single one, and I’m always looking for new ideas to test in my kitchen. And if you’re in the mood for more cozy baking, you might enjoy this sour cream coffee cake with walnut streusel or this classic banana pudding for another dose of comfort food done right.
Happy baking, friends. May your apples be tender, your cinnamon be fragrant, and your loaf come out perfectly every time.
Frequently Asked Questions
Can I use store-bought apple pie filling instead of fresh apples?
You can, but I wouldn’t recommend it. Canned pie filling is much sweeter and softer than fresh apples, and it’s already swimming in syrup. If you use it, reduce the sugar in the batter by at least ¼ cup and expect a denser, wetter loaf. Fresh apples really do give you the best texture and flavor here.
Why did my bread sink in the middle?
This usually happens for one of three reasons: the oven temperature was too low (invest in an oven thermometer), the batter was overmixed (which develops too much gluten), or the bread was underbaked. Make sure your oven is fully preheated, mix just until combined, and bake until a toothpick comes out clean or the internal temperature hits 200-205°F.
Can I make this into muffins instead of a loaf?
Absolutely. Grease a 12-cup muffin tin or line with paper liners. Fill each cup about ¾ full with batter and sprinkle the cinnamon sugar mixture on top. Bake at 350°F for 18-22 minutes, or until a toothpick inserted into the center of a muffin comes out clean. Check them early—muffins bake much faster than a loaf.
How do I get a taller loaf?
Make sure your baking powder and baking soda are fresh—they lose potency over time. Also, don’t open the oven door during the first 30 minutes of baking; the rush of cold air can cause the bread to collapse. Finally, make sure your pan is the right size. A 9×5-inch pan is standard, but if yours is slightly larger, the loaf will be shorter and wider.
Can I reduce the sugar in this recipe?
You can reduce the granulated sugar in the batter by up to ¼ cup without major texture issues. Don’t reduce the brown sugar—it adds moisture as well as sweetness. The cinnamon sugar topping is harder to reduce since you need enough to create that crunchy crust. If you’re watching your sugar intake, the gluten-free or dairy-free variations might be better options for you.
Pin This Recipe!
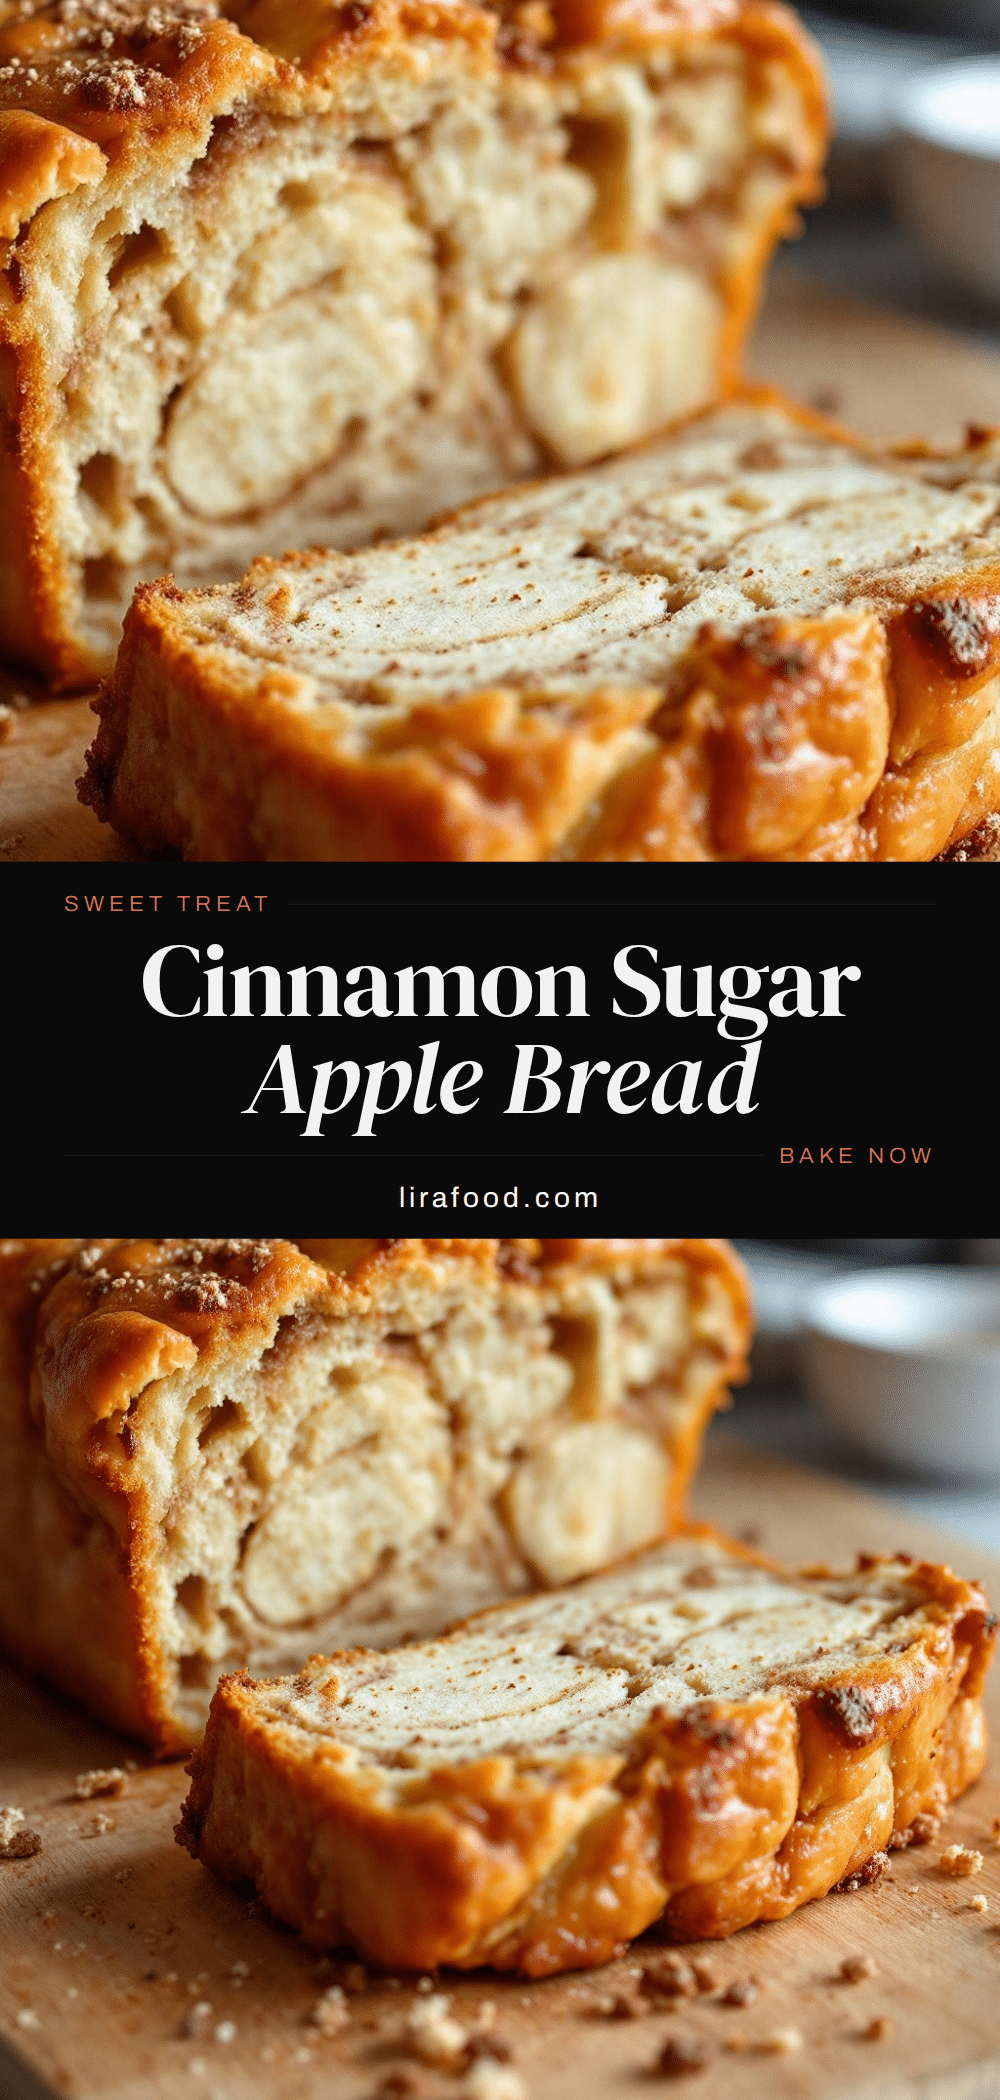
Easy Cinnamon Apple Fritter Bread: Best Homemade Recipe
This cinnamon sugar apple fritter bread features tender chunks of apple suspended in a buttery, cinnamon-swirled loaf with a signature fritter crunch on top. No raw centers, no burnt edges—just the perfect fall-inspired quick bread that comes together in 15 minutes.
- Prep Time: 15 minutes
- Cook Time: 55 minutes
- Total Time: 1 hour 10 minutes
- Yield: 10 servings 1x
- Category: Dessert
- Cuisine: American
Ingredients
- 1 ½ cups (190g) all-purpose flour
- ⅔ cup (135g) granulated sugar
- ⅓ cup (70g) light brown sugar, packed
- ½ cup (113g) unsalted butter, melted and slightly cooled
- 2 large eggs, room temperature
- ½ cup (120ml) buttermilk, room temperature
- 1 teaspoon vanilla extract
- 1 ½ teaspoons baking powder
- ½ teaspoon baking soda
- ½ teaspoon salt
- 2 medium apples (about 300g), peeled and diced (Honeycrisp or Granny Smith recommended)
- 1 tablespoon lemon juice
- ⅓ cup (70g) granulated sugar (for cinnamon swirl and topping)
- 2 tablespoons ground cinnamon
- 2 tablespoons (28g) unsalted butter, melted (for topping)
Instructions
- Preheat your oven to 350°F (175°C). Position the rack in the center of the oven. Line a 9×5-inch loaf pan with parchment paper, leaving overhang on the two long sides. Lightly spray the exposed ends with cooking spray or grease with butter.
- Peel, core, and dice the apples into roughly ½-inch cubes. Toss the diced apples with 1 tablespoon of lemon juice in a small bowl and set aside.
- Heat a small saucepan over medium heat and add the apples with 1 tablespoon of water. Cook for 3-4 minutes, stirring occasionally, until the apples just start to soften and release some liquid. Drain any excess liquid and let the apples cool.
- In a medium bowl, whisk together the all-purpose flour, baking powder, baking soda, and salt. Set aside.
- In a large bowl, whisk together the melted unsalted butter (cooled slightly), granulated sugar, and packed light brown sugar until smooth and well combined. Add the room-temperature eggs, one at a time, whisking well after each addition. Stir in the vanilla extract. Pour in the room-temperature buttermilk and whisk until the mixture is uniform.
- Pour the dry ingredients into the wet mixture. Use a rubber spatula to fold everything together gently. Stir just until no streaks of flour remain—a few small lumps are fine. Do not overmix.
- Gently fold the pre-cooked, drained apples into the batter until evenly distributed.
- In a small bowl, combine ⅓ cup granulated sugar with 2 tablespoons ground cinnamon. Stir until well mixed.
- Spoon half of the batter into the prepared loaf pan and spread it into an even layer. Sprinkle about half of the cinnamon sugar mixture over the batter. Spoon the remaining batter on top and spread gently. Sprinkle the remaining cinnamon sugar over the top.
- Melt 2 tablespoons of unsalted butter and drizzle it evenly over the top of the loaf.
- Bake for 50-60 minutes. At the 30-minute mark, check the top—if it’s browning too quickly, tent the pan loosely with aluminum foil. The bread is done when a toothpick inserted into the center comes out clean or with just a few moist crumbs, or when an instant-read thermometer registers 200-205°F.
- Let the bread cool in the pan on a wire rack for 15 minutes. Then use the parchment paper overhang to lift the bread out of the pan and transfer it directly to the wire rack. Let it cool completely before slicing.
Notes
Pre-cooking the apples is essential to avoid a soggy center. Room temperature ingredients matter for even mixing. Check oven temperature with an oven thermometer for accuracy. The toothpick test can be misleading if it hits a piece of apple; test in multiple spots or use an instant-read thermometer. Let the bread cool completely before slicing to prevent crumbling. Store tightly wrapped at room temperature for up to 3 days. Freezes well for up to 3 months.
Nutrition
- Serving Size: 1 slice
- Calories: 285
- Sugar: 26
- Sodium: 220
- Fat: 12
- Saturated Fat: 7
- Carbohydrates: 42
- Fiber: 2
- Protein: 4
Keywords: apple fritter bread, cinnamon apple bread, fall baking, quick bread, apple recipe, cinnamon sugar bread, homemade bread


