Love this? Save it for later!
Share the inspiration with your friends
I want to make Halloween treats but I don’t want to turn on my oven. That’s literally the thought that started this whole thing. It’s October 28th, I’ve got a classroom party to contribute to tomorrow morning, and the last thing I need is to be sweating over a hot oven while simultaneously trying to wrangle a toddler out of his costume before bedtime. The solution hit me somewhere between the cereal aisle and the marshmallow display at the grocery store. Rice Krispie treats. But not just any Rice Krispie treats. These needed to look like jack-o-lanterns. They needed to be easy enough that my four-year-old could help without me losing my mind. And honestly? They needed to be the kind of thing that makes other moms at the party ask, “Wait, you made those?” without me having to admit they took maybe twenty minutes of actual work.
I’ve made a lot of easy homemade treats over the years, but these Halloween Rice Krispie Jack-O-Lantern Treats hit a sweet spot. They’re cute without being fussy. They’re festive without requiring a trip to a specialty baking store. And they taste exactly like the gooey, buttery, marshmallowy squares we all grew up loving. The only difference is they’re shaped like little pumpkins with silly faces. That’s it. That’s the whole magic trick. And somehow, that small change makes kids absolutely lose their minds. I watched a room full of first-graders pass over store-bought cupcakes to grab one of these orange-faced guys. There’s something about food that looks like a character that just works.
So here’s the thing. This recipe isn’t complicated. You probably already know how to make Rice Krispie treats. What you might not know is how to shape them into pumpkins without getting marshmallow goo all over your hands, or how to get the faces to stay put instead of sliding off. I’ve tested this about six times now, and I’ve figured out the little tricks that make the difference between a treat that looks like a sad orange blob and one that actually looks like a jack-o-lantern. Let me show you what I learned.
Why You’ll Love This Recipe
These Easy Halloween Rice Krispie Jack-O-Lantern Treats have become my go-to for every fall celebration, and here’s why they’ll become yours too. They solve the perennial problem of wanting to contribute something homemade to a party without spending hours in the kitchen. The whole process from start to finish takes about 25 minutes, and most of that is just waiting for the marshmallows to melt.
- No-Bake Magic: You don’t need to turn on your oven at all. This is stovetop-only, which means you can make these even on the hottest October day without heating up your whole kitchen. It also means they’re safe for kids to help with (under supervision, obviously, since melted marshmallows are basically edible lava).
- Simple Ingredients: Butter, marshmallows, Rice Krispies cereal, orange candy melts, and some black decorating gel. That’s it. You probably have half of these things in your pantry right now. No weird specialty items that you’ll use once and then let sit in the cabinet for three years.
- Perfect for Classroom Parties: These are nut-free (assuming you check your specific brand labels), they don’t require refrigeration, and they travel surprisingly well. I’ve transported a whole platter of them to school without a single face getting smudged. They’re also easy to make in big batches if you’re feeding a crowd.
- Crowd-Pleaser: I’ve yet to meet a kid who doesn’t love Rice Krispie treats. The jack-o-lantern shape just makes them more exciting. Even adults can’t resist grabbing one. I brought a batch to a Halloween potluck and they disappeared before the main course.
- Customizable: You can make these as simple or as elaborate as you want. Basic faces with black gel, or you can go all out with different expressions, colored frosting details, even little pretzel stem pieces. The base recipe stays the same, so you can adapt the decoration to your skill level and time available.
What really sets this recipe apart is the shaping technique. I tried rolling these by hand at first, and it was a sticky disaster. Then I tried pressing them into greased muffin tins, which worked okay but gave me weird flat-bottomed pumpkins. The method I’m sharing here uses plastic wrap to shape the treats into perfect pumpkin rounds without the marshmallow sticking to your fingers. It’s a small trick, but it makes a huge difference in the final look. These treats aren’t just delicious. They’re genuinely cute. The kind of cute that makes people take pictures before they eat them.
What Ingredients You Will Need
This recipe uses simple, pantry-friendly ingredients to create something that looks way more impressive than it actually is. The ingredients list is short, but each one plays an important role in getting the right texture and appearance.
For the Rice Krispie Treat Base
- 3 tablespoons unsalted butter (plus extra for greasing your hands and tools). I use salted butter sometimes in a pinch, but unsalted gives you more control over the overall saltiness. The butter adds richness and helps prevent the marshmallows from sticking to the pan.
- 10 ounces regular marshmallows (about one standard bag). Don’t use mini marshmallows for this. I know it’s tempting, but regular marshmallows melt more evenly and give you a better texture. Mini marshmallows tend to scorch before they’re fully melted. I learned this the hard way.
- 6 cups Rice Krispies cereal. Make sure you’re using fresh cereal. Stale cereal will give you soggy, sad treats. Give the box a little shake before you open it. If it sounds dusty instead of crisp, get a fresh box.
- 1/4 teaspoon vanilla extract (optional but recommended). This isn’t traditional, but I find it rounds out the flavor and makes the treats taste more like something from a bakery rather than just butter and sugar.
- Pinch of salt. This balances the sweetness and makes the marshmallow flavor pop. Don’t skip it.
For the Jack-O-Lantern Decoration
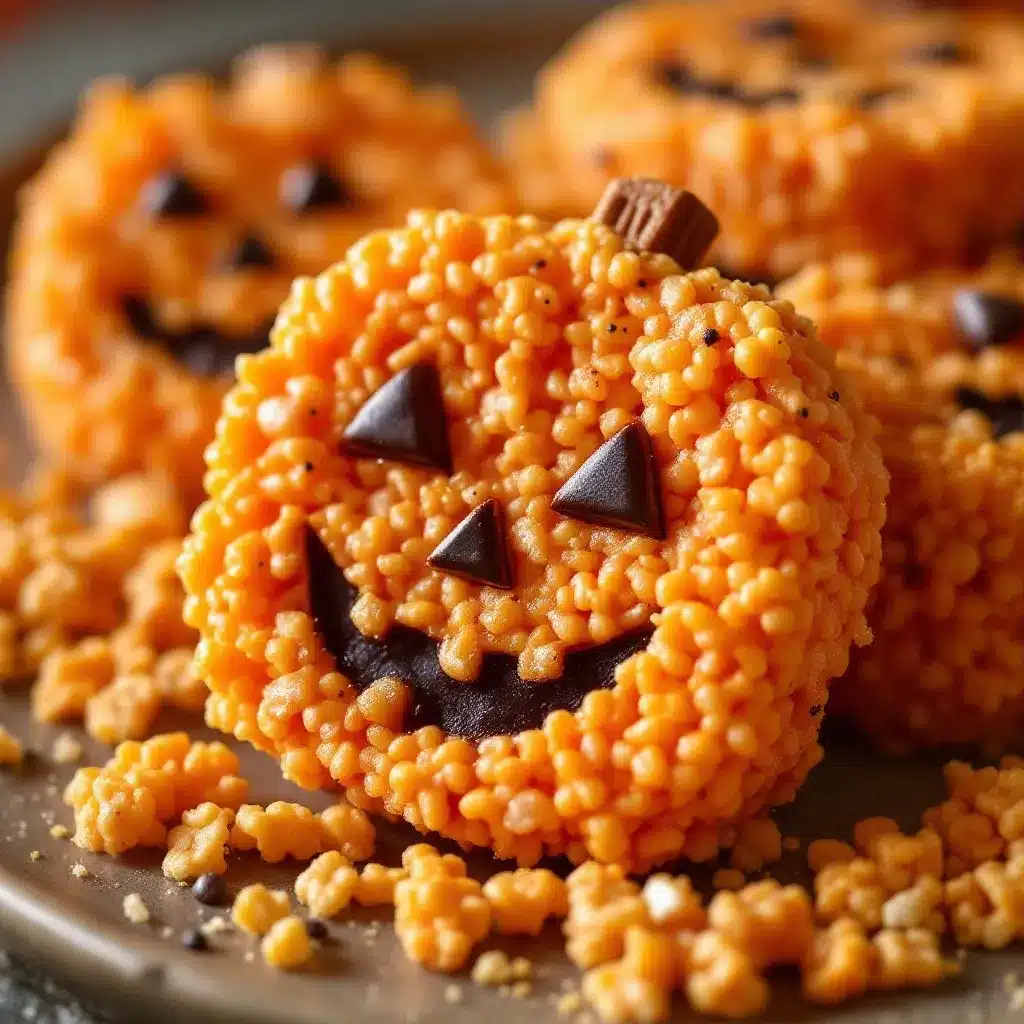
- 1 cup orange candy melts (or orange melting wafers). I prefer the Wilton brand for consistent melting, but any brand works. You can also use orange-tinted white chocolate if you prefer. The candy melts give a nice smooth coating that sets firmly without being too hard.
- 1 tablespoon coconut oil or vegetable shortening. This thins the candy melts to the right dipping consistency. Without it, the coating will be too thick and clumpy. Coconut oil adds a subtle flavor that actually pairs nicely with the marshmallow.
- Black decorating gel (one tube). This is for drawing the jack-o-lantern faces. You can use black frosting in a piping bag if you prefer, but the gel is easier to control and dries with a nice glossy finish. I like the Betty Crocker brand for this.
- Green candy melts or green frosting (optional, for stems). A little green detail on top makes them look more like actual pumpkins. Totally optional, but it adds a nice touch.
Ingredient Tips and Substitutions
If you need a dairy-free version, use vegan butter and dairy-free marshmallows (Dandies brand works great). The candy melts are typically dairy-free, but check the label to be sure. For a gluten-free option, Rice Krispies are naturally gluten-free, but some generic brands use malt flavoring that contains gluten. Check the box carefully. The name-brand Rice Krispies are safe. If you can’t find orange candy melts, you can tint white chocolate with oil-based orange food coloring. Just don’t use water-based coloring or your chocolate will seize up and turn into a grainy mess. I’ve done that. It’s not fixable.
Equipment Needed
You don’t need any fancy equipment for these treats. Here’s what you’ll need:
- Large saucepan or pot (at least 4-quart capacity). You need room to stir everything without spilling. A heavy-bottomed pan works best for even melting.
- Rubber spatula or wooden spoon. Silicone spatulas are ideal because they don’t scratch your pan and they scrape the sides clean. But a wooden spoon works fine too.
- 9×13 inch baking dish or sheet pan. You’ll use this as a work surface for shaping, not for baking. A sheet pan works better because it gives you more room to work.
- Plastic wrap. This is the secret to shaping without sticky hands. Don’t skip it.
- Parchment paper or wax paper. For setting the finished treats on while the coating hardens.
- Microwave-safe bowl (for melting the candy coating). You can use a double boiler if you prefer, but the microwave is faster and works just as well.
- Fork or dipping tool. For coating the treats in the orange candy. A regular dinner fork works perfectly.
- Small piping bag or zip-top bag (for the black gel if you want more control). Honestly, the tube applicator on most decorating gels works fine on its own.
I’ve made these with nothing more than a pot, a spatula, and some wax paper. The plastic wrap is the only non-negotiable item. Everything else you can improvise. If you don’t have a microwave for melting the candy, use a double boiler setup with a heatproof bowl over simmering water. Just make sure no water gets into the candy or it will seize up.
Preparation Method
Step 1: Prepare Your Workspace
Before you start melting anything, get your workspace ready. Line a sheet pan or large cutting board with parchment paper. Tear off a large sheet of plastic wrap and lay it flat on your counter. Grease your hands and the plastic wrap lightly with butter or cooking spray. This prep work matters because once the marshmallows are melted, you need to move fast. There’s no time to be hunting for supplies while your mixture cools and stiffens.
Step 2: Melt the Butter and Marshmallows
Place your large saucepan over low heat. Add the 3 tablespoons of butter and let it melt completely. Once the butter is melted, add the entire bag of marshmallows. Stir constantly with your rubber spatula. This is not a set-it-and-forget-it situation. Marshmallows scorch easily, and burnt marshmallow has a bitter, acrid taste that ruins the whole batch. Keep the heat low and keep stirring. The marshmallows will start to puff up and look like they’re not melting, but keep going. They’ll collapse into a smooth, glossy liquid after about 5-7 minutes. When they’re completely smooth, remove the pan from the heat and stir in the vanilla and pinch of salt.
Step 3: Add the Cereal
Pour the 6 cups of Rice Krispies into the pot with the melted marshmallow mixture. Fold everything together gently but thoroughly. You want every piece of cereal coated in marshmallow, but you don’t want to crush the cereal into little bits. Use a folding motion rather than stirring. It takes about 2 minutes of gentle folding to get everything evenly distributed. The mixture will be stiff and sticky. That’s exactly what you want.
Step 4: Shape the Treats
Here’s where the plastic wrap comes in. Scoop up a generous portion of the mixture, about the size of a tennis ball. Drop it onto the greased plastic wrap. Gather the corners of the plastic wrap together and twist them to form a pouch. Then squeeze and shape the mixture through the plastic into a round ball. The plastic wrap keeps your hands clean and prevents the sticky marshmallow from adhering to your fingers. Once you have a nice round shape, place it on the parchment-lined sheet pan. Repeat with the remaining mixture. This recipe makes about 12-14 good-sized pumpkin treats, depending on how big you make them. Let them cool completely at room temperature. This takes about 30 minutes. Don’t rush this step. If the treats are warm when you try to coat them, the candy coating will slide right off.
Step 5: Melt the Orange Coating
Place the orange candy melts in a microwave-safe bowl. Add the tablespoon of coconut oil. Microwave in 30-second intervals, stirring thoroughly after each interval. It usually takes about 90 seconds total. Stop microwaving when the candy is about 90% melted and stir until the residual heat melts the rest. Overheating candy melts is a common mistake. If they get too hot, they’ll become thick and grainy. The mixture should be smooth, fluid, and about the consistency of warm honey. If it seems too thick, add another teaspoon of coconut oil and stir.
Step 6: Dip and Coat
Line another sheet pan with fresh parchment paper. Take one cooled Rice Krispie ball and drop it into the melted orange coating. Use a fork to gently roll it around until it’s completely covered. Lift it out with the fork, letting the excess coating drip back into the bowl. Gently scrape the bottom of the fork against the edge of the bowl to remove extra coating. Then carefully slide the coated treat onto the parchment paper. Repeat with all the treats. If the coating starts to thicken as it cools, pop it back in the microwave for 15 seconds and stir. Let the coated treats set until the coating is firm to the touch, about 20 minutes at room temperature.
Step 7: Decorate the Faces
Once the orange coating is completely set, it’s time to make the jack-o-lantern faces. Use the black decorating gel to draw faces on each treat. Traditional jack-o-lantern faces work great: triangle eyes, a jagged smile, maybe a little nose. But you can get creative here. I’ve made happy faces, scary faces, silly faces with crooked smiles. Kids love picking their favorite expressions. If you’re using green frosting for stems, pipe a small green dot or line on top of each treat before the black gel dries. Let the decorations set for about 10 minutes before serving or storing.
Cooking Tips & Techniques
I’ve made more batches of these than I care to count, and I’ve made just about every mistake possible. Here’s what I’ve learned. The biggest issue people have is the texture of the Rice Krispie base. If your treats turn out rock hard, you overcooked the marshmallows. Keep the heat low and remove the pan from the stove the second the marshmallows are smooth. If they turn out too soft and crumbly, you didn’t use enough marshmallows or you added too much cereal. Measure carefully. Another common problem is the orange coating cracking or peeling off. This happens when the coating is too thick or when the treats aren’t completely cool before dipping. Let those treats sit until they’re room temperature all the way through. Patience pays off here.
Here’s a tip I learned from ruining a whole batch. When you’re dipping the treats, work quickly. The coating sets fast, and if you’re too slow, you’ll end up with thick, lumpy coats. Dip, lift, drip, set. That’s the rhythm. If you want a smoother finish, you can double-dip. Let the first coat set completely, then dip again. This gives a more even, professional look. It uses more candy melts though, so keep that in mind. For the faces, practice on a piece of parchment paper first if you’re nervous. The decorating gel isn’t forgiving. Once it’s on, it’s on. But honestly, imperfect faces have their own charm. Some of my best jack-o-lanterns have slightly crooked smiles. It makes them look more handmade and less factory-produced.
One more thing about timing. These treats are best made the day you plan to serve them. The Rice Krispie base stays soft for about 24 hours, then starts to get stale. The coating stays fine for several days, but the cereal texture deteriorates. If you need to prep ahead, make the Rice Krispie balls without the coating, store them in an airtight container, and dip them the morning of your event. That’s what I do for classroom parties. It splits the work into two manageable chunks and ensures the treats are at their peak freshness.
Variations & Adaptations
One of the best things about this recipe is how easy it is to change up. Here are some variations I’ve tried and loved.
Chocolate Pumpkin Treats: Instead of orange candy melts, use chocolate candy melts. Dip the treats in chocolate, then use orange and black frosting to draw pumpkin faces on top. The chocolate version tastes like a crispy chocolate marshmallow treat, and it’s a nice alternative if someone in your group isn’t a fan of the orange candy coating (which can be a little sweet for some adults).
Ghost Treats: Skip the orange coating entirely. Dip the Rice Krispie balls in white candy melts, then use black gel to draw ghost faces. Add a little dollop of white frosting on top for a ghostly peak. These are even easier than the pumpkins and they look adorable sitting next to the jack-o-lanterns on a platter.
Spider Treats: Make smaller Rice Krispie balls, dip them in black candy melts, and use black licorice strings or pretzel sticks for spider legs. Add candy eyes on top. These are a little more work because of the legs, but kids go absolutely wild for them. I made these for a Halloween party once and they were the first thing to disappear.
Gluten-Free Adaptation: Use gluten-free crispy rice cereal. The rest of the ingredients are naturally gluten-free as long as you check your marshmallow and candy melt labels. This version tastes identical to the original. I’ve served it to gluten-sensitive friends and they couldn’t tell the difference.
Mini Treats: Make smaller, bite-sized pumpkins by using a tablespoon measure to portion the Rice Krispie mixture. These are perfect for younger kids or for setting out as part of a dessert table. The dipping and decorating process is the same, just scaled down. Mini treats also set faster because they have less mass to cool.
Serving & Storage Suggestions
These treats are best served at room temperature. The coating is firm but gives way to the soft, chewy Rice Krispie center when you bite into them. If they’ve been refrigerated, let them sit out for about 15 minutes before serving. Cold candy coating can be hard and less pleasant to eat. For presentation, I like to arrange them on a platter lined with orange or black napkins. You can group them by face expression for a fun visual effect. Add a few candy pumpkins or fall leaves around the platter for extra decoration. They make a great centerpiece for a Halloween dessert table.
For storage, place the decorated treats in a single layer in an airtight container. Separate layers with parchment paper if you need to stack them. They’ll keep at room temperature for 2-3 days. Do not refrigerate them. The refrigerator dries out the marshmallow and makes the treats hard and stale. If you live in a humid climate, you might notice the coating getting slightly sticky after a day. That’s normal. Just pat them dry with a paper towel before serving. You can also freeze the undecorated Rice Krispie balls for up to a month. Wrap each ball tightly in plastic wrap, then place them in a freezer bag. Thaw at room temperature before dipping and decorating. The texture after freezing is surprisingly good. I’ve done this several times when I wanted to get ahead on party prep.
These treats pair beautifully with other Halloween classics. Serve them alongside a warm mug of spiced apple cider or a cozy warm vanilla milk drink for a cozy fall evening. They also work great as part of a larger dessert spread with classic homemade banana pudding or crispy fried Oreo funnel cake treats for a full-on indulgence night.
Nutritional Information & Benefits
Let’s be honest. These are treats, not health food. But here’s the nutritional breakdown so you know what you’re working with. Per serving (one jack-o-lantern treat), you’re looking at approximately 280 calories, 12 grams of fat, 42 grams of carbohydrates, and 2 grams of protein. The exact numbers vary based on your specific brands and how much coating you use. The Rice Krispie base is relatively low in fat compared to many baked goods, with most of the fat coming from the butter and the candy coating. The marshmallows and cereal provide quick energy from carbohydrates, which is why these are such a hit with active kids at parties.
On the plus side, Rice Krispies are fortified with iron and B vitamins, so you’re getting a small amount of those nutrients. The butter provides vitamin A. The coconut oil in the coating contains medium-chain triglycerides, which some research suggests may have health benefits. But really, these are a treat. They’re meant to be enjoyed in moderation as part of a balanced diet. If you’re looking for a slightly healthier version, you can reduce the amount of candy coating or skip it entirely and just decorate the plain Rice Krispie balls with frosting faces. The taste is still great, and you save about 100 calories per serving. For allergen considerations, these treats contain dairy (butter and possibly the candy melts) and are made with processed cereal. Check all labels if you’re serving someone with specific allergies.
Conclusion
These Easy Halloween Rice Krispie Jack-O-Lantern Treats have become a staple in our house every October. They’re the recipe I pull out when I want to contribute something to a party without spending hours in the kitchen. They’re the project I turn to when my kids want to help with Halloween preparations but aren’t ready for complicated baking. And honestly, they’re just fun. There’s something deeply satisfying about watching a pile of cereal and marshmallows turn into a tray of smiling pumpkin faces. It feels like a little bit of kitchen magic. The best part is watching people’s faces when they realize these are homemade. They expect something from a bakery or a store, and instead they get something made with actual butter and real marshmallows. That’s a win in my book.
I’d love to hear how yours turn out. Did you try different face expressions? Did your kids come up with their own variations? Drop a comment below and share your creations. Tag me in your photos if you post them on social media. I love seeing how different people make this recipe their own. And if you’re looking for more easy Halloween recipes, check out the perfect flag cake recipe for another fun celebration treat. Happy Halloween, and happy snacking!
Frequently Asked Questions
Can I make these treats ahead of time?
Yes, but with some caveats. You can make the Rice Krispie balls up to 2 days ahead and store them in an airtight container at room temperature. Wait to dip them in the orange coating until the day you plan to serve them. The coating stays fresh for about 24 hours, but the cereal texture starts to soften after that. For best results, treat this as a two-day project. Make the balls one day, dip and decorate the next.
Why did my orange coating crack?
Cracking usually happens for two reasons. Either the Rice Krispie balls weren’t completely cool when you dipped them, or the candy coating was overheated. Make sure the treats are room temperature all the way through before dipping. If the coating was too hot when you applied it, the temperature difference between the warm coating and the cool treat can cause cracking. Let the coating cool slightly after melting before you start dipping.
Can I use homemade marshmallows?
You can, but I don’t recommend it for this recipe. Homemade marshmallows have a different moisture content and melting behavior than commercial marshmallows. They tend to make the treats too soft and sticky. Commercial marshmallows are formulated specifically for this kind of application. Save your homemade marshmallows for s’mores or hot chocolate.
How do I prevent the treats from being too hard?
The key is not overcooking the marshmallows. Keep the heat on low and stir constantly. Remove the pan from the heat as soon as the marshmallows are smooth and fully melted. If you cook them too long, the sugar in the marshmallows starts to crystallize, which makes the final treats hard and brittle. Also, don’t pack the cereal too tightly when you’re shaping the balls. Gentle shaping gives you a softer, more pleasant texture.
Can I freeze these treats?
You can freeze the undecorated Rice Krispie balls for up to a month. Wrap each one tightly in plastic wrap, then place them in a freezer-safe bag. Thaw at room temperature before dipping in the coating. Do not freeze the finished decorated treats. The candy coating can develop condensation when thawing, which ruins the appearance and can make the treats soggy. Freeze the base, decorate fresh.
Pin This Recipe!
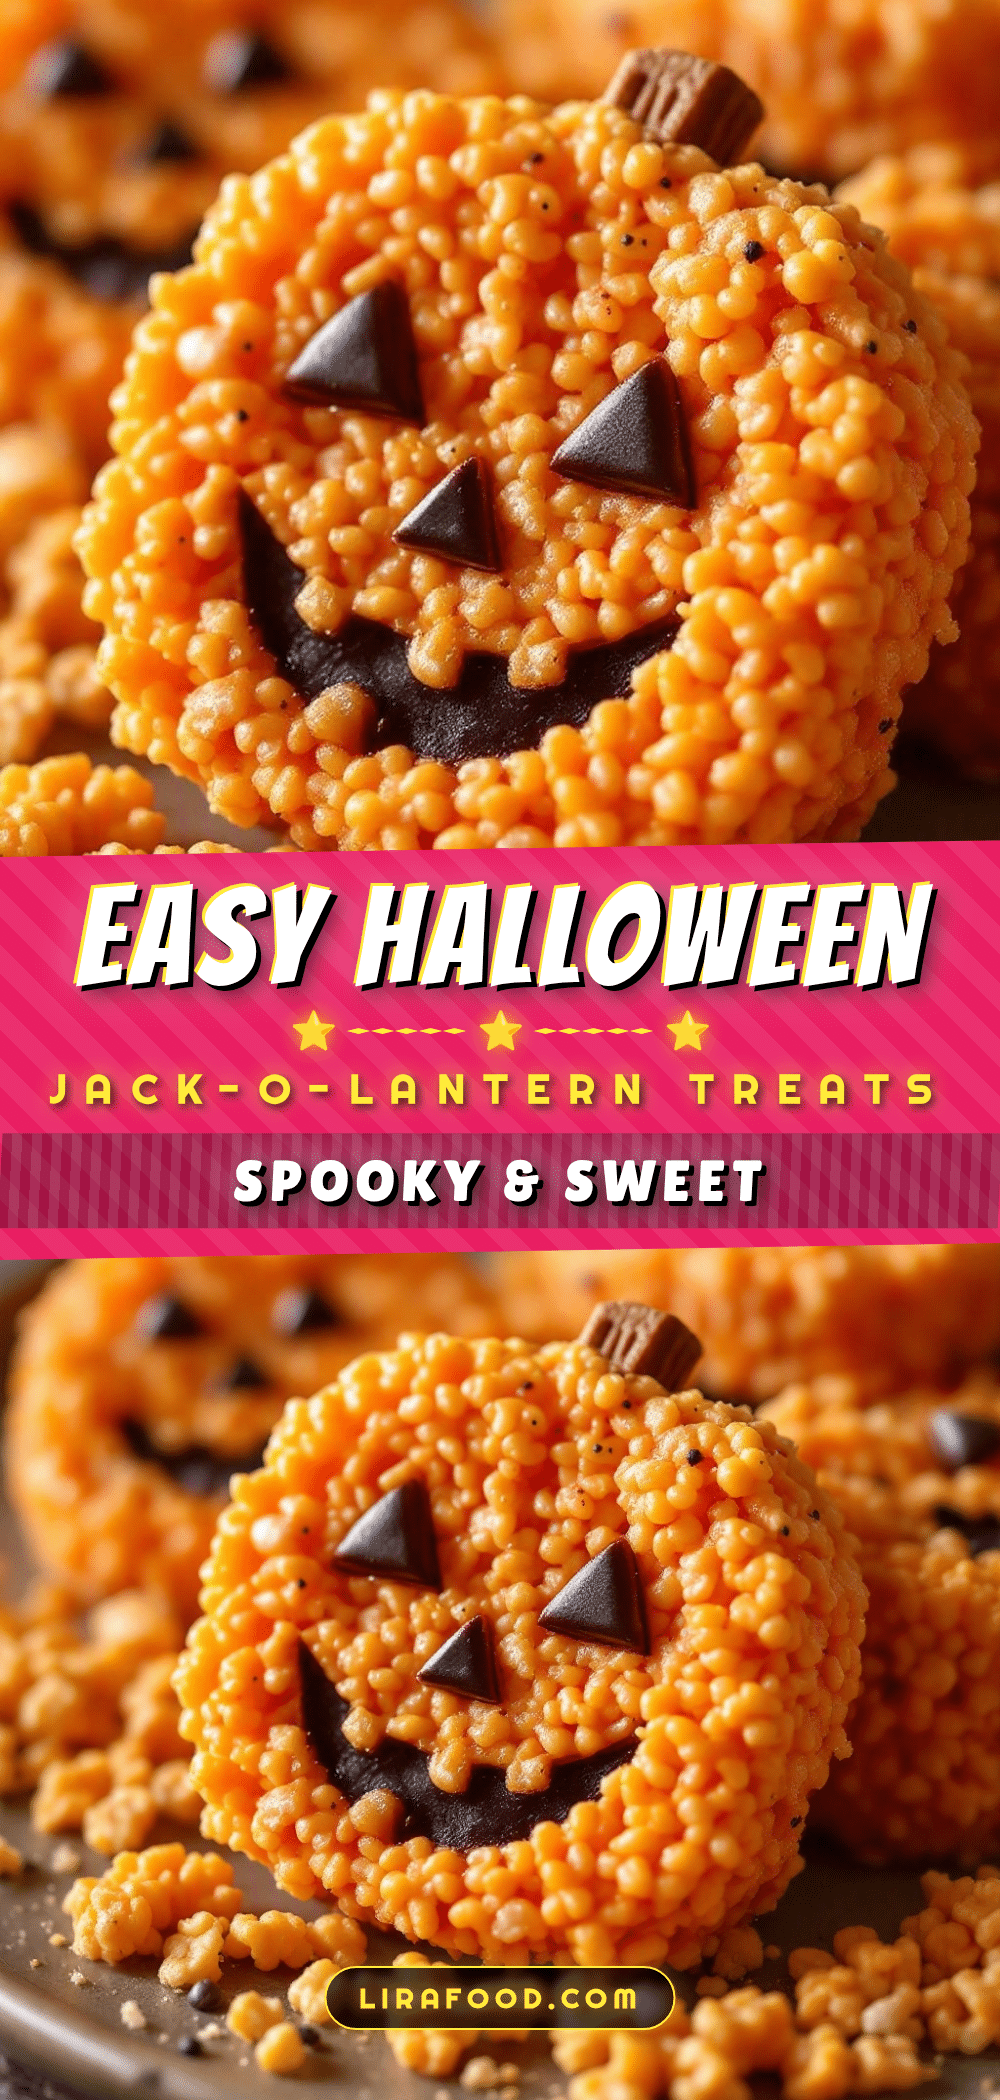
Easy Halloween Rice Krispie Jack-O-Lantern Treats

No-bake Halloween treats made with Rice Krispies, shaped like jack-o-lanterns and coated in orange candy melts. Perfect for classroom parties and quick to make with kids.
- Prep Time: 15 minutes
- Cook Time: 10 minutes
- Total Time: 25 minutes
- Yield: 12-14 servings 1x
- Category: Dessert
- Cuisine: American
Ingredients
- 3 tablespoons unsalted butter (plus extra for greasing)
- 10 ounces regular marshmallows (about 1 standard bag)
- 6 cups Rice Krispies cereal
- 1/4 teaspoon vanilla extract (optional)
- Pinch of salt
- 1 cup orange candy melts (or orange melting wafers)
- 1 tablespoon coconut oil or vegetable shortening
- Black decorating gel (1 tube)
- Green candy melts or green frosting (optional, for stems)
Instructions
- Prepare your workspace: Line a sheet pan with parchment paper. Tear off a large sheet of plastic wrap and lay it flat. Grease your hands and the plastic wrap lightly with butter or cooking spray.
- Melt the butter and marshmallows: In a large saucepan over low heat, melt 3 tablespoons of butter. Add the marshmallows and stir constantly until smooth and fully melted, about 5-7 minutes. Remove from heat and stir in vanilla and salt.
- Add the cereal: Pour in 6 cups of Rice Krispies and fold gently until every piece is coated. The mixture will be stiff and sticky.
- Shape the treats: Scoop up a tennis ball-sized portion of the mixture and place it on the greased plastic wrap. Gather the corners of the plastic wrap and twist to form a pouch. Squeeze and shape into a round ball. Place on the parchment-lined sheet pan. Repeat with remaining mixture to make 12-14 treats. Let cool completely at room temperature (about 30 minutes).
- Melt the orange coating: In a microwave-safe bowl, combine orange candy melts and coconut oil. Microwave in 30-second intervals, stirring after each, until smooth and fluid (about 90 seconds total).
- Dip and coat: Line another sheet pan with parchment. Drop a cooled Rice Krispie ball into the melted coating. Use a fork to roll it until completely covered. Lift out, let excess drip off, and place on parchment. Repeat with all treats. Let set until firm (about 20 minutes).
- Decorate the faces: Once the coating is set, use black decorating gel to draw jack-o-lantern faces (triangle eyes, jagged smile, etc.). Add green frosting stems if desired. Let decorations set for about 10 minutes before serving.
Notes
For best results, make the Rice Krispie balls ahead and dip the day of serving. Keep heat low when melting marshmallows to avoid scorching. Let treats cool completely before dipping to prevent coating from cracking. Store in an airtight container at room temperature for 2-3 days. Do not refrigerate.
Nutrition
- Serving Size: 1 jack-o-lantern tre
- Calories: 280
- Sugar: 24
- Sodium: 180
- Fat: 12
- Saturated Fat: 7
- Carbohydrates: 42
- Protein: 2
Keywords: Halloween treats, Rice Krispie treats, jack-o-lantern, no-bake, kid-friendly, classroom party, easy dessert


