Love this? Save it for later!
Share the inspiration with your friends
Seven times in two weeks, and I still wasn’t bored. That’s the number—seven—and the thing that changed was the dipping sauce. Ketchup one day, ranch the next, a tiny ramekin of leftover salsa on Wednesday. By Friday, I’d started cutting the tortillas into shapes with a little cookie cutter I found at the back of a drawer. The cheese was always the same, though. Sharp cheddar, shredded by hand because the pre-shredded stuff just doesn’t melt the same. And the look on my kid’s face when she opened her lunchbox and saw those little golden triangles? That never got old either.
This wasn’t some grand culinary project. It started because I was tired of the same old sandwich rotation, and honestly, I had a stack of tortillas threatening to go stale. You know how it is. You make one thing, and then you’re making it again because it worked, and then you’re tweaking it, and before you know it, you’ve got a system. A lunchbox system, no less, which feels like a small victory in the grand chaos of the school year.
These cheese quesadilla dippers are that system. They’re the reason I don’t dread packing lunch anymore, and the reason my daughter actually eats what I pack. It’s a simple thing, but it stuck.
Why You’ll Love This Recipe
Let’s be real—getting a kid to eat a packed lunch can feel like a negotiation you’re destined to lose. But these dippers? They’re a winner for both of you. They’re not just another sad sandwich; they’re fun, dippable, and secretly easy to make in bulk.
- Quick & Easy: From fridge to lunchbox in under 15 minutes. Seriously, you can make a batch while your coffee brews.
- Simple Ingredients: You probably have everything in your kitchen right now. Tortillas, cheese, a little butter or oil. That’s it.
- Perfect for Lunchboxes: They hold up well, don’t get soggy, and are naturally portion-controlled. No more coming home to an uneaten mess.
- Crowd-Pleaser: My kid’s friends have started asking for the “triangle things.” It’s a whole thing now.
- Unbelievably Delicious: The outside gets perfectly crispy, the inside is a gooey, salty dream. It’s comfort food in a lunchbox-sized package.
What makes this different from just making a regular quesadilla and cutting it up? It’s the technique. I cook them low and slow in a dry pan first to get the cheese perfectly melted without burning the tortilla, then crank the heat for a quick, buttery crisp. It’s a two-step process that makes all the difference. Plus, the dipper format—small strips or triangles—means they cool faster and are easier for little hands to handle. This isn’t just another version; it’s the best version for the lunchbox life.
What Ingredients You Will Need
This recipe uses the simplest of ingredients to deliver a result that feels way more complicated than it is. No fancy grocery trips needed—just a few pantry staples that come together for a lunchbox win.
- Flour Tortillas (8-inch): The foundation. I prefer medium-sized flour tortillas because they’re sturdy enough to hold the cheese but thin enough to get crispy. Look for ones that are pliable and not cracked. I’ve found that the store-brand ones work just as well as the fancy ones, honestly.
- Shredded Cheddar Cheese (1 cup / 120g): Sharp cheddar gives you the most flavor, but a Mexican blend or Monterey Jack works great too. Here’s the tip: shred your own cheese from a block. The pre-shredded bags have a coating that prevents it from melting into that perfect, gooey stretch. It takes an extra two minutes, and it’s worth it.
- Unsalted Butter (2 tablespoons / 28g): For that golden, crispy exterior. You can use salted butter, just skip adding any extra salt. I’ve also used a light brush of olive oil in a pinch, and it works, but butter gives that signature flavor and color.
- Optional: Dipping Sauce (your choice): This is where the fun begins. My daughter loves it with a simple side of classic salsa or a little ranch dressing. Sometimes I’ll pack a small container of sour cream or even some leftover maple syrup for a sweet-savory combo that’s surprisingly good.
That’s it. No secret ingredients, no complicated prep. Just three main components that come together to make something greater than the sum of their parts.
Equipment Needed
You don’t need a professional kitchen for this one. A few basic tools will get the job done perfectly.
- Non-Stick Skillet or Griddle (10-inch): This is your main tool. A good non-stick surface ensures the tortillas get crispy without sticking. I use my old cast iron griddle, but a regular non-stick pan works beautifully.
- Spatula: A thin, flexible spatula is best for flipping the quesadillas without tearing them. A fish spatula is my personal favorite.
- Sharp Knife or Pizza Cutter: For cutting the cooked quesadillas into dipper-sized strips or triangles. A pizza cutter makes it incredibly fast and gives clean edges.
- Cutting Board: A sturdy surface for cutting.
- Small Cookie Cutter (optional): If you want to get fancy and cut the dippers into fun shapes like stars or hearts. My daughter loves it when I do this for special occasions.
- Lunchbox Containers: Small, compartmentalized containers are perfect for keeping the dippers separate from the sauce so they stay crispy.
Preparation Method
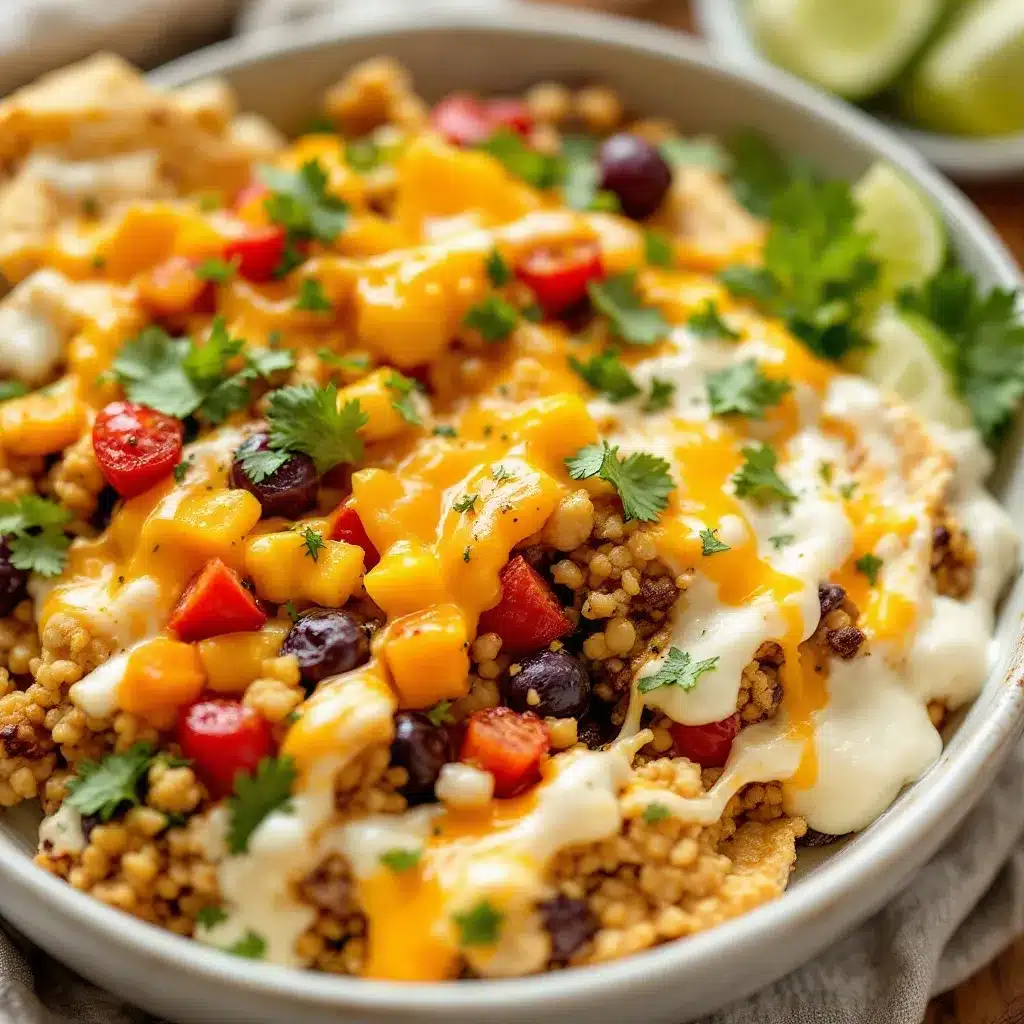
This is where the magic happens. Follow these steps, and you’ll have perfect dippers every single time.
- Prep Your Station (5 minutes): Shred your cheese if you haven’t already. You need about 1/4 cup (30g) of shredded cheese per quesadilla. Place a tortilla on your cutting board. Spread a thin, even layer of cheese over one half of the tortilla, leaving a small border around the edge. Don’t overfill, or it will ooze out during cooking.
- The Low and Slow Melt (2-3 minutes per side): Place a non-stick skillet over medium-low heat. Do NOT add any butter or oil yet. Place the quesadilla (folded over or flat, your choice) in the dry pan. Cook for 2-3 minutes. You want the cheese to start melting slowly without the tortilla browning too quickly. You’ll see the tortilla puff up slightly and the cheese become soft. Flip it carefully with your spatula and cook for another 2-3 minutes on the other side. The tortilla should be lightly toasted but still pale in spots.
- The Crisp Finish (1 minute per side): Now, turn the heat up to medium-high. Add a small pat of butter (about 1/2 tablespoon) to the pan and swirl it around. Place the quesadilla back in the pan. Cook for 45-60 seconds per side, until the bottom is a deep, even golden brown and beautifully crispy. The butter will sizzle and create that perfect, shatteringly crisp exterior. Don’t walk away—this happens fast!
- Cut and Cool (2 minutes): Transfer the cooked quesadilla to a cutting board. Let it rest for just one minute. This helps the cheese set slightly so it doesn’t all slide out when you cut it. Use a sharp knife or pizza cutter to slice it into strips (about 1-inch wide) or triangles. For lunchboxes, I find strips are easier for little fingers.
- Batch Cook for the Week (15 minutes total): Repeat steps 1-4 with the remaining tortillas and cheese. I usually make a batch of 4-6 at a time. Let them cool completely on a wire rack before packing them into lunchboxes or storing them. This prevents them from steaming and getting soggy.
Cooking Tips & Techniques
I learned these the hard way, so you don’t have to. Here’s what I wish I’d known from the start.
- The Dry Pan Secret: Don’t skip the first step of cooking them in a dry pan. I used to add butter right away, and the tortillas would brown before the cheese was fully melted. The low-and-slow dry cook ensures the cheese gets perfectly gooey without burning the outside.
- Don’t Overstuff: I know it’s tempting to pile on the cheese, but too much will cause it to leak out and burn on the pan. A thin, even layer is all you need. Think of it as a glue that holds the two sides of the tortilla together.
- Room Temperature Tortillas: Cold tortillas straight from the fridge are more likely to crack when you fold them. Let them sit on the counter for 10 minutes before you start. It makes a real difference.
- Let Them Rest: This is the hardest part for me, because I want to eat them immediately. But letting them rest for a minute after cooking allows the cheese to set just enough that it doesn’t turn into a molten lava situation when you cut it.
- Multitasking Strategy: While one quesadilla is doing its low-and-slow melt in the pan, I’m prepping the next one on the cutting board. This keeps the assembly line moving and makes the whole process take less than 15 minutes for a full batch.
Variations & Adaptations
This recipe is a fantastic base for experimentation. Here are a few ways I’ve adapted it for different moods and dietary needs.
- Dietary: Gluten-Free: Swap the flour tortillas for your favorite gluten-free variety. Corn tortillas work too, but they are smaller and more fragile. Just be extra gentle when flipping them.
- Flavor: The Protein Boost: Add a thin layer of shredded cooked chicken, black beans, or leftover taco meat before adding the cheese. My husband loves it with some shredded rotisserie chicken and a sprinkle of cumin.
- Vegetarian & Cheesy: Mix in some chopped spinach (frozen and squeezed dry works great) or finely diced bell peppers with the cheese. It adds color, nutrients, and a little extra flavor.
- Sweet Version: For a dessert-style dipper, use a flour tortilla, spread a thin layer of cream cheese, and add a sprinkle of cinnamon sugar. Cook it the same way and serve with a side of peach preserves for dipping. It’s a fun surprise in a lunchbox.
- Spice It Up: Add a pinch of chili powder or a few dashes of hot sauce to the cheese before cooking. For the grown-ups, a sprinkle of pickled jalapeños is fantastic.
Serving & Storage Suggestions
Getting these into a lunchbox is easy, but a few tricks make them even better.
- Serving Temperature: These are delicious warm, but they are equally good at room temperature. I usually make them the night before and let them cool completely before packing. They don’t need to be reheated—they’re perfect as is.
- Presentation: Pack the dippers in a separate compartment from the sauce to keep them from getting soggy. A small silicone muffin cup is perfect for holding a tablespoon of ranch or salsa. For a fun lunch, I sometimes cut them into star shapes using a cookie cutter.
- Storage: Store leftover dippers in an airtight container in the refrigerator for up to 4 days. Layer them between sheets of parchment paper so they don’t stick together.
- Reheating: The best way to reheat them is in a dry skillet over medium heat for about 30 seconds per side. This restores their crispiness. You can also use an air fryer at 350°F (175°C) for 2-3 minutes. The microwave works, but they will be soft, not crispy.
- Flavor Development: Honestly, these are best fresh. The crispiness does fade a bit after a day in the fridge, but they still taste great. The cheese flavor actually mellows and blends nicely overnight.
Nutritional Information & Benefits
While these are a treat, they’re a pretty balanced one for a lunchbox.
- Estimated Values (per 4 dipper strips, using 1 tortilla): Calories: 220-260, Fat: 14g, Carbohydrates: 18g, Protein: 10g, Fiber: 1g. These are estimates and will vary based on your specific ingredients.
- Health Benefits: Cheese is a great source of calcium and protein, which are essential for growing kids. The tortilla provides quick energy from carbohydrates. It’s a satisfying combination that keeps little bellies full.
- Dietary Considerations: This recipe can easily be made gluten-free. It is vegetarian as written. For a lower-fat option, use reduced-fat cheese and skip the butter, though you’ll lose some crispiness.
- Potential Allergens: This recipe contains dairy (cheese, butter) and gluten (tortillas). Always check your specific ingredient labels.
- My Perspective: I don’t stress about these being “perfectly healthy.” They’re a real food option that my kid actually eats, and that’s a win in my book. Pair them with some fruit and veggie sticks, and you’ve got a balanced meal.
Conclusion
These easy cheese quesadilla dippers have honestly changed our lunchbox game. They’re not fancy, they’re not complicated, but they are reliable. And when you’re packing lunches at 6:30 in the morning, reliable is a beautiful thing. The fact that they’re also delicious and fun to eat is just a bonus.
I hope you give them a try and make them your own. Maybe you’ll use a different cheese, or a fun dipping sauce, or cut them into dinosaur shapes. The best part is that they’re a blank canvas for your family’s tastes. I’d love to hear how they turn out for you! Drop a comment below and tell me what your favorite dipping sauce is, or share a photo of your own lunchbox creations. Happy cooking, and here’s to one less thing to worry about in the morning.
Frequently Asked Questions
Can I use corn tortillas instead of flour?
Yes, you can! Corn tortillas are smaller and more delicate, so they might be a bit trickier to flip. They also have a different, earthier flavor. They’re a great gluten-free option, but I find flour tortillas hold up better and get crispier for the “dipper” format.
How do I keep them from getting soggy in the lunchbox?
The key is to let them cool completely on a wire rack before packing them. Any trapped steam will make them soft. Also, always pack the dipping sauce in a separate, leak-proof container. A little silicone muffin cup works great for this.
Can I make a big batch and freeze them?
Absolutely. Cook them as directed, let them cool completely, then layer them in a freezer-safe bag or container with parchment paper between each layer. They’ll keep for up to 2 months. To reheat, pop them straight from the freezer into a hot skillet for a minute per side, or use an air fryer.
What are the best cheeses for melting?
Sharp cheddar is my go-to for flavor, but Monterey Jack, mozzarella, and a Mexican blend are all excellent melters. Avoid using pre-shredded cheese if you can, as the anti-caking coating prevents it from getting that perfect, gooey stretch.
My kid doesn’t like spicy food. Will these be too bland?
Not at all! This recipe is naturally mild and kid-friendly. The flavor comes from the rich, melted cheese and the crispy, buttery tortilla. If you want to add a little flavor without heat, try a sprinkle of garlic powder or a pinch of smoked paprika in the cheese.
Pin This Recipe!
Best Easy Cheese Quesadilla Dippers for Kids Lunchboxes

These cheese quesadilla dippers are a quick, easy, and kid-friendly lunchbox solution. Made with simple ingredients, they feature a perfectly crispy exterior and gooey melted cheese, perfect for dipping.
- Prep Time: 5 minutes
- Cook Time: 10 minutes
- Total Time: 15 minutes
- Yield: 4 servings 1x
- Category: Lunch
- Cuisine: Mexican-American
Ingredients
- 4 (8-inch) flour tortillas
- 1 cup (120g) shredded sharp cheddar cheese
- 2 tablespoons (28g) unsalted butter
- Optional: dipping sauce (salsa, ranch, sour cream, or maple syrup)
Instructions
- Prep your station: Shred cheese if needed. Place a tortilla on a cutting board and spread a thin, even layer of cheese (about 1/4 cup or 30g) over one half, leaving a small border.
- Low and slow melt: Place a non-stick skillet over medium-low heat. Do not add butter or oil. Place the quesadilla (folded or flat) in the dry pan. Cook for 2-3 minutes per side until cheese melts and tortilla is lightly toasted but pale in spots.
- Crisp finish: Turn heat to medium-high. Add a small pat of butter (about 1/2 tablespoon) to the pan and swirl. Place quesadilla back in pan. Cook for 45-60 seconds per side until deep golden brown and crispy.
- Cut and cool: Transfer to a cutting board. Let rest for 1 minute. Use a sharp knife or pizza cutter to slice into strips (about 1-inch wide) or triangles.
- Batch cook: Repeat with remaining tortillas and cheese. Let cool completely on a wire rack before packing or storing.
Notes
For best results, shred cheese from a block instead of using pre-shredded. Let tortillas come to room temperature before cooking to prevent cracking. Cool completely on a wire rack before packing to avoid sogginess. Store in an airtight container in the refrigerator for up to 4 days. Reheat in a dry skillet or air fryer for best crispiness.
Nutrition
- Serving Size: 4 dipper strips (1 t
- Calories: 240
- Sugar: 1
- Sodium: 380
- Fat: 14
- Saturated Fat: 8
- Carbohydrates: 18
- Fiber: 1
- Protein: 10
Keywords: cheese quesadilla dippers, lunchbox recipe, easy kid lunch, quick snack, crispy quesadilla


