Love this? Save it for later!
Share the inspiration with your friends
My Aunt Ruth called me on a Tuesday, three days before Rosh Hashanah. “I’m bringing dessert,” she announced, which was alarming because Aunt Ruth once brought a store-bought pie that still had the price sticker on the bottom. I told her not to worry, that I had it covered. Then I hung up and stared at my pantry. I had apples—a whole bag of Honeycrisps I’d bought on impulse at the farmer’s market. I had honey, a jar of the wildflower stuff my neighbor keeps trying to pawn off on everyone. And I had flour, eggs, butter. The usual suspects. But I needed something that felt special. Something that said “Happy New Year” without trying too hard. Something that would make Aunt Ruth forget about that pie.
I started mixing before I had a plan. That’s how this honey apple cake was born—not from a family recipe passed down through generations, but from a Tuesday afternoon panic and a fridge full of good intentions. The batter came together in one bowl, which felt like a small miracle. The apples got tossed with cinnamon and a little lemon juice, just enough to wake them up. And when I poured that honey into the batter—golden and thick and smelling like late summer—I knew I was onto something.
The cake came out of the oven looking like it belonged on a magazine cover. Golden brown on top, the apples peeking through like little promises. The honey gave it this deep, almost caramel-like sweetness that wasn’t cloying. And the texture—honestly, it was perfect. Moist but not dense, tender but not crumbly. I cut myself a slice while it was still warm, and that’s when I knew: this was the one. This was the cake I’d be making for every Rosh Hashanah from now on.
Why You’ll Love This Recipe
This honey apple cake isn’t just another holiday dessert. It’s the kind of recipe that earns a permanent spot in your rotation. Here’s why it works:
- One-Bowl Wonder: No stand mixer required, no creaming butter and sugar until your arm falls off. Just a bowl, a whisk, and about ten minutes of your time.
- Pantry-Friendly Ingredients: You probably have most of this stuff already. Honey, apples, flour, eggs, butter, sugar, cinnamon. Nothing weird or hard to find.
- Perfect for Rosh Hashanah: Apples and honey are traditional for the Jewish New Year, symbolizing a sweet year ahead. This cake brings them together in the most delicious way possible.
- Make-Ahead Magic: This cake actually gets better after a day or two. The flavors meld together, the honey sinks into everything, and it stays moist for days.
- Crowd-Pleasing Texture: The apples soften into little pockets of jammy sweetness while the cake stays light and tender. It’s comfort food in cake form.
What makes this version different from all the other honey apple cakes out there? It’s the technique. I use melted butter instead of creamed, which keeps the crumb tender without making it greasy. I also toss the apples in a bit of flour before folding them in—this prevents them from sinking to the bottom of the pan. And I use a combination of granulated sugar and brown sugar, which adds depth without overwhelming the honey.
This cake is the one that makes people close their eyes after the first bite. It’s the one that gets requested year after year. And it’s the one that made Aunt Ruth ask for the recipe—which, if you know Aunt Ruth, is basically a miracle.
What Ingredients You Will Need
This recipe uses simple, wholesome ingredients to deliver a cake that tastes anything but simple. Most of these are pantry staples, which makes this perfect for last-minute holiday prep.
For the Cake Batter
- 2 cups all-purpose flour (spooned and leveled—don’t scoop directly from the bag or you’ll end up with too much)
- 1 teaspoon baking powder (make sure it’s fresh; old baking powder won’t give you the rise you need)
- 1/2 teaspoon baking soda
- 1/2 teaspoon salt (I use fine sea salt; it dissolves more evenly)
- 1 teaspoon ground cinnamon (I prefer Vietnamese cinnamon for its stronger, sweeter flavor)
- 1/4 teaspoon ground nutmeg (freshly grated if you have it—it makes a difference)
- 1/2 cup unsalted butter, melted and slightly cooled (I use Kerrygold; the higher butterfat content gives a richer flavor)
- 3/4 cup honey (use a mild-flavored honey like clover or wildflower; strong honey like buckwheat can overpower the cake)
- 1/2 cup granulated sugar
- 1/4 cup packed brown sugar (light or dark works; dark gives more molasses flavor)
- 2 large eggs, at room temperature (if you forgot to take them out, soak them in warm water for 5 minutes)
- 1 teaspoon vanilla extract (pure, not imitation—trust me on this)
- 1/2 cup buttermilk, at room temperature (no buttermilk? add 1/2 tablespoon lemon juice to regular milk and let it sit 5 minutes)
For the Apples
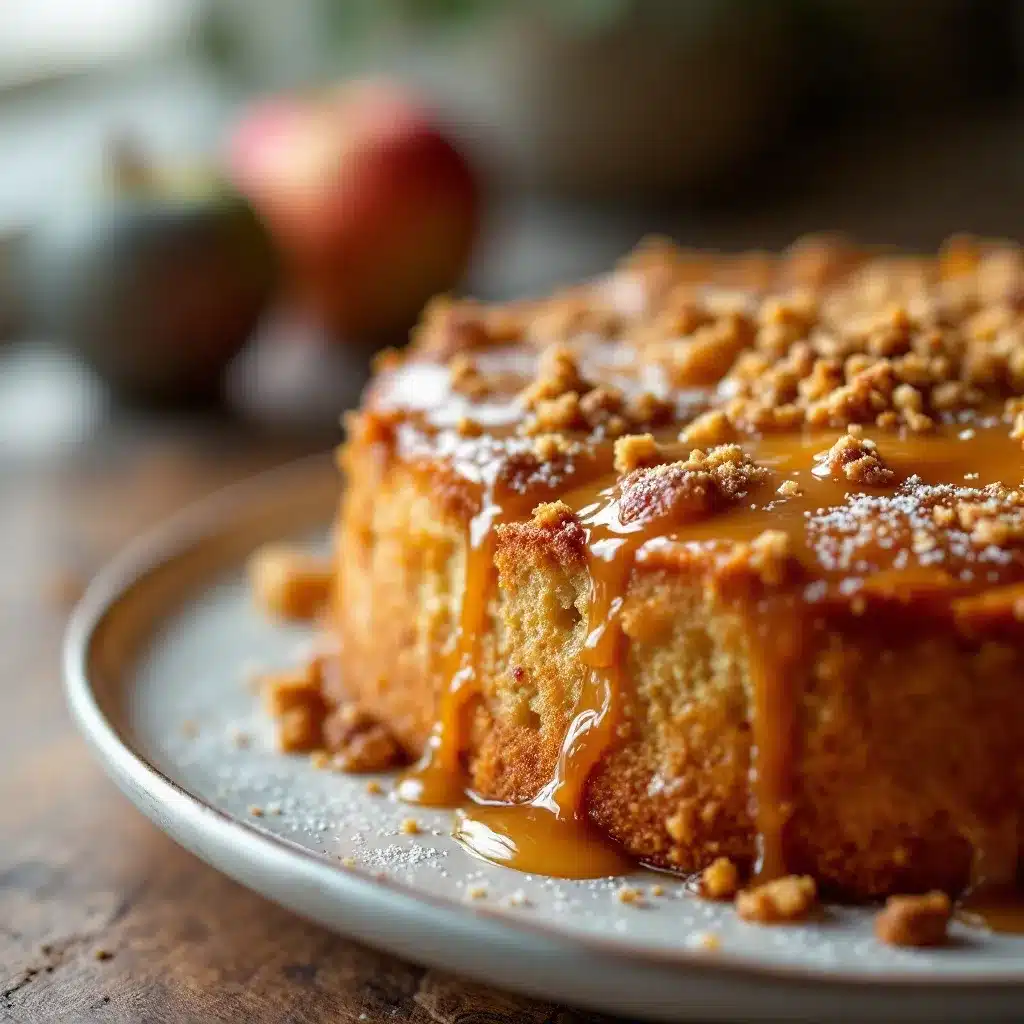
- 2 medium Honeycrisp apples (or Gala, Fuji, or Pink Lady—use firm, sweet apples that hold their shape during baking)
- 1 tablespoon lemon juice (fresh-squeezed is best; bottled works in a pinch)
- 1 tablespoon granulated sugar
- 1/2 teaspoon ground cinnamon
- 1 tablespoon all-purpose flour (this is the secret to keeping apples from sinking)
For the Topping (Optional but Recommended)
- 1 tablespoon honey, warmed slightly for brushing on top after baking
- Flaky sea salt (like Maldon—just a pinch on top before serving)
I always use Honeycrisp apples for this recipe because they hold their shape beautifully and don’t turn into mush. But if you have Gala or Fuji on hand, those work too. Just avoid Granny Smith—they’re too tart and can make the cake taste unbalanced. And please, please use real honey. The stuff in the plastic bear bottle won’t give you the same depth of flavor. I like to buy local honey when I can; it’s usually less processed and has a more complex flavor profile.
Equipment Needed
You don’t need a fully stocked bakery to make this cake. Here’s what you’ll actually use:
- 9-inch round cake pan (or a 9-inch springform pan if you want to release the sides for a cleaner look)
- Parchment paper (cut a circle for the bottom and grease the sides—this is non-negotiable for easy release)
- Large mixing bowl (any bowl works; I use a simple glass one)
- Whisk (for combining dry ingredients and mixing the batter)
- Rubber spatula (for folding in the apples without overmixing)
- Chef’s knife and cutting board (for dicing the apples)
- Measuring cups and spoons (use dry measures for flour and sugar, liquid measures for honey and buttermilk)
- Cooling rack (if you don’t have one, you can use the oven rack—just be careful)
I’ve made this cake in a standard 9-inch round pan and in a springform pan, and honestly, both work great. The springform gives you prettier slices because you can remove the sides completely. But if you only have a regular cake pan, line it well with parchment and you’ll be fine. I’ve also used a 9-inch square pan in a pinch—just reduce the baking time by about 5 minutes and keep an eye on it.
Preparation Method
- Preheat and prep. Preheat your oven to 350°F (175°C). Grease a 9-inch round cake pan with butter or nonstick spray, then line the bottom with a circle of parchment paper. Grease the parchment too, just to be safe. Set the pan aside.
- Prep the apples. Peel, core, and dice your apples into 1/2-inch cubes. You want them small enough to distribute evenly through the batter but big enough that you still get chunks of apple in every bite. Toss the diced apples with 1 tablespoon lemon juice, 1 tablespoon sugar, 1/2 teaspoon cinnamon, and 1 tablespoon flour. Set them aside while you make the batter. This little rest lets the apples absorb the flavors and the flour helps them stay suspended in the cake.
- Mix the dry ingredients. In a large bowl, whisk together 2 cups all-purpose flour, 1 teaspoon baking powder, 1/2 teaspoon baking soda, 1/2 teaspoon salt, 1 teaspoon cinnamon, and 1/4 teaspoon nutmeg. Whisk until everything is evenly distributed. This takes about 30 seconds.
- Combine the wet ingredients. In a separate medium bowl (or a large liquid measuring cup), whisk together 1/2 cup melted butter (cooled slightly so it doesn’t cook the eggs), 3/4 cup honey, 1/2 cup granulated sugar, 1/4 cup brown sugar, 2 eggs, 1 teaspoon vanilla, and 1/2 cup buttermilk. Whisk until smooth and well combined. The mixture should look golden and smell amazing already.
- Combine wet and dry. Pour the wet ingredients into the dry ingredients. Use a rubber spatula to fold everything together gently. Stir just until you no longer see streaks of flour—about 10 to 12 strokes. A few small lumps are fine. Overmixing will make the cake tough, so resist the urge to keep stirring.
- Fold in the apples. Add the prepared apples (including any juices that have accumulated in the bowl) to the batter. Fold gently with your spatula until the apples are evenly distributed. The batter will be thick, almost like a muffin batter. That’s exactly what you want.
- Bake the cake. Scrape the batter into your prepared pan and spread it evenly with the spatula. Bake at 350°F for 45 to 55 minutes, or until a toothpick inserted in the center comes out clean or with just a few moist crumbs. The top should be deep golden brown and the edges should be pulling away from the pan slightly. If the top is browning too quickly (after about 30 minutes), tent loosely with foil.
- Cool and finish. Let the cake cool in the pan for 15 minutes. Then run a knife around the edges, invert onto a cooling rack, and remove the parchment paper. Flip the cake right-side up onto another rack or a serving plate. While the cake is still warm, brush the top with 1 tablespoon of warm honey for a beautiful glossy finish. If you’re using flaky sea salt, sprinkle a tiny pinch over the top now.
- Slice and serve. Let the cake cool completely before slicing—about 2 hours. I know it’s tempting to cut into it while it’s warm, but it will slice much more cleanly when fully cooled. Use a serrated knife for the best results.
One thing I learned the hard way: don’t skip the parchment paper. The first time I made this cake, I thought I’d greased the pan well enough. I had to chisel the bottom layer off with a butter knife. Not my finest moment. Parchment paper is cheap insurance, and it makes cleanup infinitely easier.
Cooking Tips & Techniques
I’ve made this honey apple cake at least a dozen times, and I’ve made every mistake in the book so you don’t have to. Here’s what I’ve learned:
Room temperature ingredients matter. Cold eggs and cold buttermilk will seize up your melted butter and give you a dense, heavy cake. Set everything out on the counter about 30 minutes before you start baking. If you forget, place your eggs in a bowl of warm water for 5 minutes and microwave your buttermilk for 10 seconds.
Don’t overmix the batter. I cannot stress this enough. Once you add the wet ingredients to the dry, stir just until combined. Overmixing develops the gluten in the flour, which makes the cake tough and rubbery. You want tender, not tough. A few lumps are your friend.
Test for doneness properly. A toothpick inserted in the center should come out clean or with just a few moist crumbs. If it comes out with wet batter, the cake needs more time. If it comes out completely dry and the edges are dark, you’ve overbaked it. Start checking at 45 minutes, then every 3 to 5 minutes after that.
Let it cool completely. This is the hardest part for me because I love warm cake. But if you slice this cake while it’s still warm, it will crumble and fall apart. The structure needs time to set. I usually make this cake the day before I need it, which solves two problems: the cake cools completely, and the flavors have time to meld together overnight.
Use a kitchen scale if you have one. Measuring flour by volume can be inconsistent. One cup of flour can weigh anywhere from 120 to 150 grams depending on how you scoop it. For this recipe, 2 cups of flour should weigh about 240 grams. A scale takes the guesswork out of baking and gives you consistent results every time.
Variations & Adaptations
This cake is incredibly forgiving. Here are some ways to make it your own:
Gluten-Free Version: Substitute the all-purpose flour with a good 1:1 gluten-free baking flour blend (I like King Arthur Measure for Measure). Add 1/4 teaspoon xanthan gum if your blend doesn’t already include it. The texture will be slightly more delicate, but the flavor is still fantastic.
Dairy-Free Version: Use melted coconut oil or vegan butter instead of regular butter. Replace the buttermilk with 1/2 cup unsweetened almond milk mixed with 1/2 tablespoon lemon juice. The cake will be a touch less tender, but still delicious.
Spiced Variation: Add 1/2 teaspoon ground ginger, 1/4 teaspoon ground cloves, and a pinch of cardamom to the dry ingredients. This gives the cake a warm, chai-like flavor that’s beautiful for fall baking.
Nutty Addition: Fold in 1/2 cup toasted walnuts or pecans along with the apples. Toast them first in a dry pan over medium heat for 3 to 4 minutes until fragrant. This adds a lovely crunch and pairs beautifully with the honey.
Bundt Pan Version: Grease a 10-cup bundt pan thoroughly (use butter and flour, not just spray) and bake at 325°F for 55 to 65 minutes. The lower temperature and longer bake time help the center cook through without burning the edges. Let cool in the pan for 20 minutes before inverting.
I once made a version with pears instead of apples when I ran out of apples mid-recipe. It was honestly amazing—the pears got soft and almost buttery, and the honey complemented them perfectly. So if you’re feeling adventurous, swap in ripe but firm Bosc pears for the apples. You won’t regret it.
Serving & Storage Suggestions
This cake is beautiful on its own, but a few simple additions can make it feel extra special. Serve it at room temperature or slightly warm—I like to pop individual slices in the microwave for about 10 seconds to take the chill off. A dollop of lightly sweetened whipped cream or a scoop of vanilla ice cream turns it into a proper dessert. For Rosh Hashanah, I like to serve it with a drizzle of extra honey and a tiny sprinkle of flaky sea salt. The salt cuts through the sweetness and makes the honey flavor pop.
For a breakfast or brunch spread (yes, this cake is amazing with coffee), serve it plain or with a smear of salted butter. The butter melts into the warm cake and creates this incredible rich, creamy bite that’s hard to beat.
Storage: Store the cake tightly wrapped in plastic wrap or in an airtight container at room temperature for up to 3 days. Do not refrigerate—the cold will dry out the cake and make the apples weep. If you need to keep it longer, freeze it.
Freezing: Wrap the completely cooled cake (whole or in individual slices) tightly in plastic wrap, then in a layer of aluminum foil. Freeze for up to 3 months. To thaw, remove the foil and let the cake come to room temperature on the counter, still wrapped in plastic. This prevents condensation from making the top soggy.
Reheating: For individual slices, microwave for 10 to 15 seconds. For a whole cake, warm it in a 300°F oven for 10 to 15 minutes. The cake actually tastes better on day two—the honey sinks deeper into the crumb and the apple flavor becomes more pronounced. So don’t be afraid to make it a day ahead.
Nutritional Information & Benefits
Per slice (based on 10 servings): approximately 320 calories, 12g fat, 52g carbohydrates, 4g protein, 2g fiber, 28g sugar. This is a dessert, not a health food, but it does have some redeeming qualities.
Honey is a natural sweetener with antioxidant and antibacterial properties. It’s also a source of small amounts of vitamins and minerals like iron, zinc, and potassium. While it’s still sugar and should be enjoyed in moderation, it’s a more complex sweetener than refined white sugar.
Apples are packed with fiber, vitamin C, and various antioxidants. One medium apple contains about 4 grams of fiber, which is about 14% of the daily recommended intake. The fiber in apples helps with digestion and can help keep you feeling full.
This cake is nut-free as written, making it safe for most school and office events. It can easily be made gluten-free or dairy-free with the substitutions listed above. If you’re serving it for Rosh Hashanah, it’s naturally kosher when made with certified kosher ingredients.
I like to think of this cake as a “treat yourself” kind of dessert. It’s sweet enough to feel indulgent, but made with real ingredients that you can feel good about eating. Plus, the apples and honey are traditional for Rosh Hashanah, so there’s a beautiful symbolism baked right in.
Conclusion
This honey apple cake is the kind of recipe that becomes a tradition. It’s simple enough for a Tuesday night but special enough for a holiday table. The honey gives it a golden, almost floral sweetness, and the apples keep it moist and tender. Every time I make it, I’m reminded of that first panicked Tuesday afternoon—and how sometimes the best recipes come from the most unexpected places.
I’d love to hear how this cake turns out for you. Did you try any of the variations? Did Aunt Ruth approve? Drop a comment below and let me know. And if you’re looking for more holiday dessert inspiration, don’t miss my salted caramel whiskey bundt cake or this bourbon pecan chocolate layer cake—both are perfect for fall celebrations. For something a little different, try these classic German spice cookies or this grandma’s sour cream coffee cake with walnut streusel.
Happy baking, and may your new year be as sweet as this cake.
Frequently Asked Questions
Can I use a different type of apple?
Absolutely. Honeycrisp, Gala, Fuji, and Pink Lady all work well. Avoid Granny Smith apples—they’re too tart and can make the cake taste unbalanced. The key is to use firm, sweet apples that hold their shape during baking.
Can I make this cake ahead of time?
Yes, and I actually recommend it. This cake tastes better on day two—the honey sinks deeper into the crumb and the apple flavor becomes more pronounced. Store it tightly wrapped at room temperature for up to 3 days. Do not refrigerate.
Can I freeze this honey apple cake?
Yes. Wrap the completely cooled cake tightly in plastic wrap, then in aluminum foil. Freeze for up to 3 months. Thaw at room temperature while still wrapped in plastic to prevent condensation from making the top soggy.
Why did my apples sink to the bottom of the cake?
This usually happens for one of two reasons: the batter is too thin, or the apples weren’t coated in flour. Make sure you toss the diced apples with 1 tablespoon of flour before adding them to the batter. Also, your batter should be thick—like a muffin batter. If it’s too thin, the apples will sink.
Can I make this recipe without buttermilk?
Yes. Make a quick buttermilk substitute by adding 1/2 tablespoon of lemon juice or white vinegar to 1/2 cup of regular milk. Let it sit for 5 minutes until it thickens slightly. It works perfectly and the cake won’t taste any different.
Pin This Recipe!
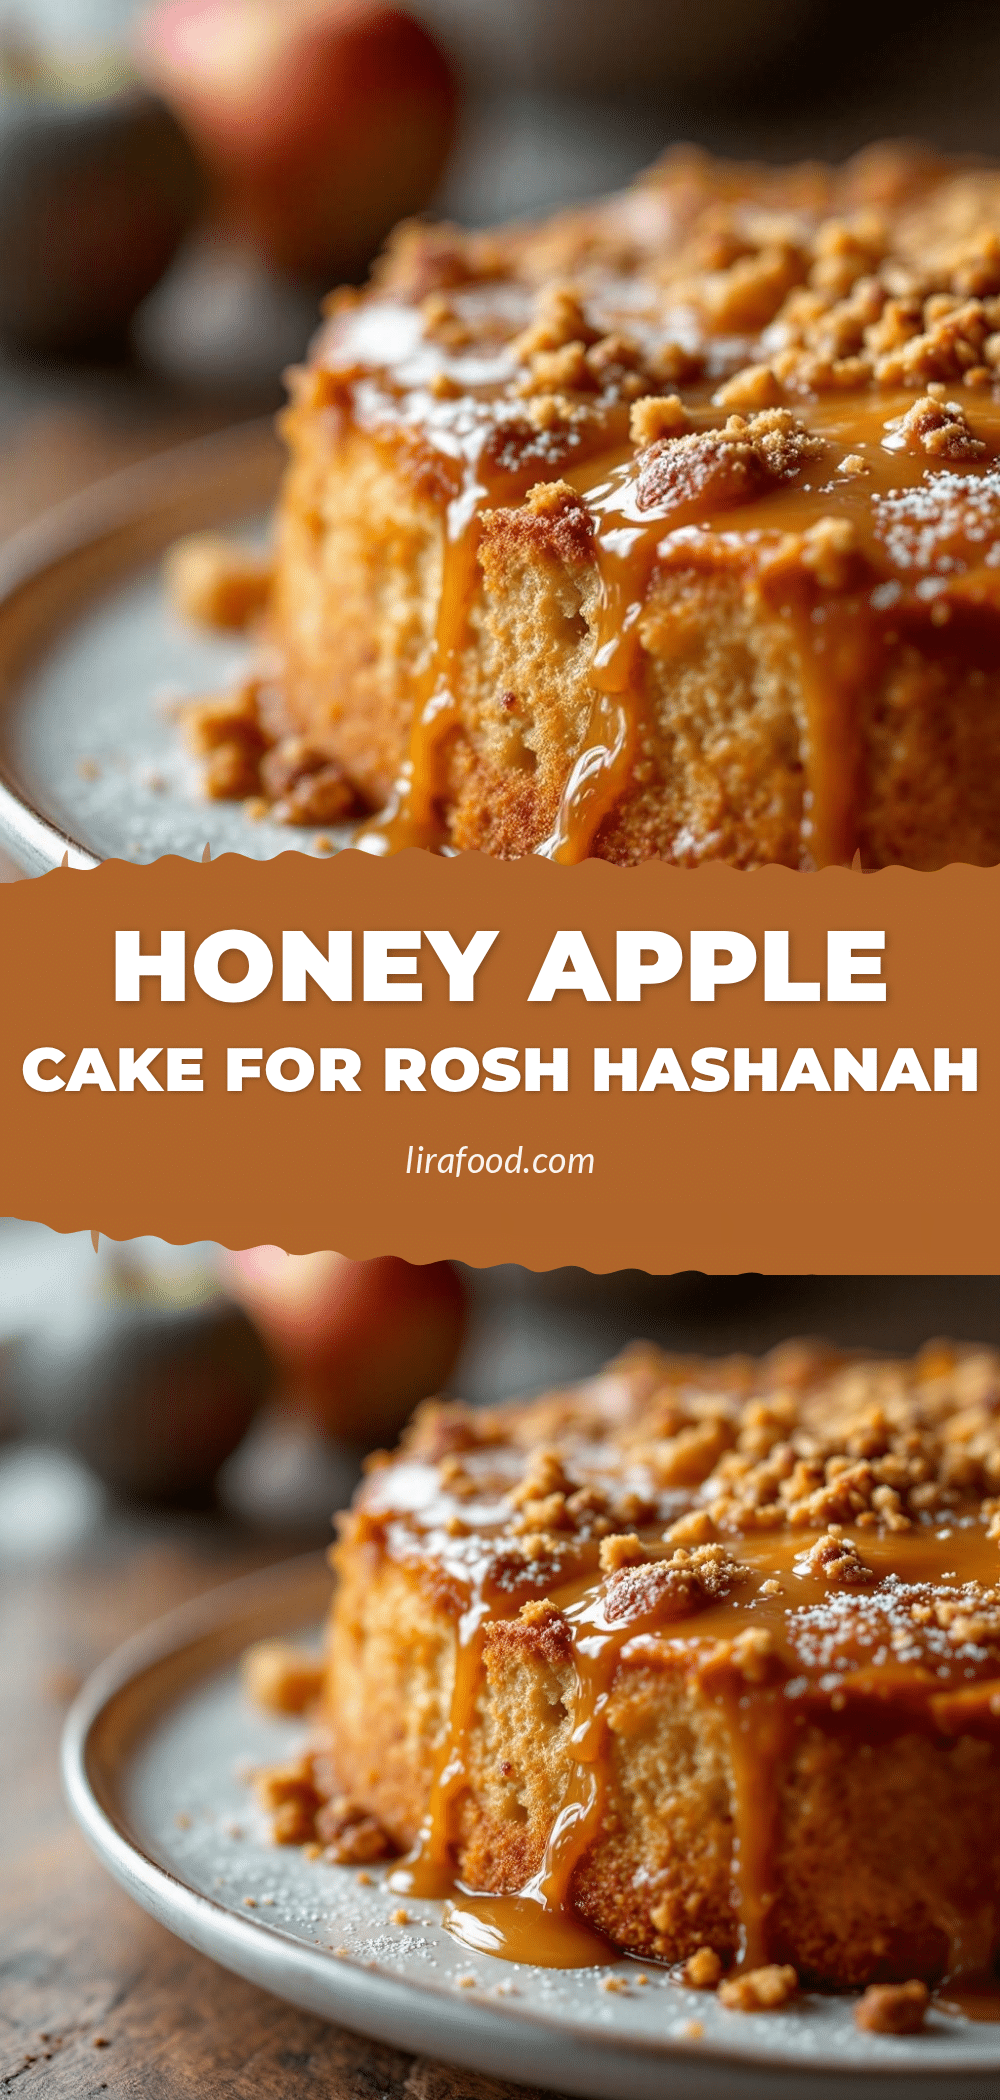
Best Honey Apple Cake for Rosh Hashanah (Easy Recipe)
This honey apple cake is a one-bowl wonder made with pantry-friendly ingredients, perfect for Rosh Hashanah or any fall celebration. The honey gives it a deep, caramel-like sweetness, and the apples soften into jammy pockets of flavor.
- Prep Time: 15 minutes
- Cook Time: 50 minutes
- Total Time: 1 hour 5 minutes
- Yield: 10 servings 1x
- Category: Dessert
- Cuisine: Jewish
Ingredients
- 2 cups all-purpose flour (spooned and leveled)
- 1 teaspoon baking powder
- 1/2 teaspoon baking soda
- 1/2 teaspoon fine sea salt
- 1 teaspoon ground cinnamon (preferably Vietnamese)
- 1/4 teaspoon ground nutmeg (freshly grated if possible)
- 1/2 cup unsalted butter, melted and slightly cooled
- 3/4 cup honey (mild-flavored like clover or wildflower)
- 1/2 cup granulated sugar
- 1/4 cup packed brown sugar (light or dark)
- 2 large eggs, at room temperature
- 1 teaspoon pure vanilla extract
- 1/2 cup buttermilk, at room temperature
- 2 medium Honeycrisp apples (or Gala, Fuji, Pink Lady), peeled, cored, and diced into 1/2-inch cubes
- 1 tablespoon lemon juice (fresh-squeezed)
- 1 tablespoon granulated sugar
- 1/2 teaspoon ground cinnamon
- 1 tablespoon all-purpose flour
- 1 tablespoon honey, warmed (for brushing on top)
- Flaky sea salt (like Maldon, for garnish, optional)
Instructions
- Preheat oven to 350°F (175°C). Grease a 9-inch round cake pan with butter or nonstick spray, line the bottom with parchment paper, and grease the parchment.
- Peel, core, and dice apples into 1/2-inch cubes. Toss with 1 tablespoon lemon juice, 1 tablespoon sugar, 1/2 teaspoon cinnamon, and 1 tablespoon flour. Set aside.
- In a large bowl, whisk together 2 cups flour, 1 teaspoon baking powder, 1/2 teaspoon baking soda, 1/2 teaspoon salt, 1 teaspoon cinnamon, and 1/4 teaspoon nutmeg.
- In a separate bowl, whisk together 1/2 cup melted butter, 3/4 cup honey, 1/2 cup granulated sugar, 1/4 cup brown sugar, 2 eggs, 1 teaspoon vanilla, and 1/2 cup buttermilk until smooth.
- Pour wet ingredients into dry ingredients. Fold gently with a rubber spatula until just combined (about 10-12 strokes). Do not overmix.
- Fold in the prepared apples (including any juices) until evenly distributed. Batter will be thick.
- Scrape batter into prepared pan and spread evenly. Bake for 45-55 minutes, until a toothpick inserted in center comes out clean or with a few moist crumbs. If top browns too quickly, tent with foil after 30 minutes.
- Cool in pan for 15 minutes. Run a knife around edges, invert onto a cooling rack, remove parchment, and flip right-side up. While still warm, brush top with 1 tablespoon warm honey. Sprinkle with flaky sea salt if desired.
- Cool completely (about 2 hours) before slicing with a serrated knife.
Notes
Room temperature ingredients are important for best texture. Do not overmix the batter. Let cake cool completely before slicing for clean cuts. Cake tastes even better on day two. Store at room temperature for up to 3 days; do not refrigerate. Freeze for up to 3 months.
Nutrition
- Serving Size: 1 slice
- Calories: 320
- Sugar: 28
- Sodium: 220
- Fat: 12
- Saturated Fat: 7
- Carbohydrates: 52
- Fiber: 2
- Protein: 4
Keywords: honey apple cake, Rosh Hashanah cake, apple cake, honey cake, easy cake recipe, fall dessert, one-bowl cake


