Love this? Save it for later!
Share the inspiration with your friends
My mother-in-law arrived at the kitchen door with a box of store-bought stuffing, looking like she had just won the lottery. She had forgotten her own contribution to the dinner party, but she thought the grocery store aisle would save the day. I looked at that dry, orange-tinted brick of processed bread cubes and felt my stomach tighten. There was no way I was letting that sit on the table next to the roast chicken. Honestly, it felt like a personal insult to the idea of home cooking.
I rushed to the pantry and pulled out the last loaf of gluten-free sourdough I had been saving for toast. It was already a day old, which was perfect for what I had in mind. The fridge had a head of celery, some fresh herbs, and a stick of butter that needed to be used. I didn’t have time to plan or search for new recipes. I just needed to make something that tasted like it came from a real kitchen.
While the onions sizzled in the pan, the house started to smell like actual food. My mother-in-law hovered by the counter, watching me chop the celery with a skeptical eye. She didn’t say anything, but I could tell she was wondering if I knew what I was doing. The gluten-free bread crumbled easily, absorbing the savory broth and herbs without turning into mush. It was a chaotic fifteen minutes of stirring and tasting.
When we finally plated the meal, she took a bite of the stuffing first. She chewed slowly, looking surprised. Then she took another bite, this time with the chicken. The crunch was audible, even across the table. It wasn’t just safe; it was better than the stuff she usually buys. That night, the recipe stopped being a backup plan and became a permanent fixture. It stuck because it proved that you don’t need wheat flour to get that deep, comforting flavor.
Why You’ll Love This Recipe
This crispy gluten-free herb stuffing with celery isn’t just a side dish; it is the kind of comfort food that makes you close your eyes after the first bite. I have tested dozens of gluten-free breads for this purpose, and most of them turn into soggy bricks or taste like cardboard. This version avoids those pitfalls by using a specific technique for drying the bread and toasting the herbs. It is the result of years of trial and error in my own kitchen, ensuring that every bite has the right texture.
- Quick & Easy: You can have this on the table in under 45 minutes. It is perfect for busy weeknights or those last-minute holiday dinners where you realize you forgot one key component.
- Simple Ingredients: You likely already have everything in your kitchen. There are no fancy grocery trips needed for obscure flours or strange additives. Just bread, butter, celery, and herbs.
- Perfect for Potlucks: It travels well and stays warm. It is a reliable dish to bring to gatherings where you don’t know what dietary restrictions your guests might have.
- Crowd-Pleaser: Even people who are not gluten-intolerated love this recipe. The texture is superior to many traditional stuffings that use white sandwich bread.
- Unbelievably Delicious: The combination of toasted herbs and crispy edges creates a next-level flavor profile. It is savory, aromatic, and deeply satisfying.
What makes this recipe different is the attention to the celery. Most people treat celery as an afterthought, but here it provides a crucial crunch and freshness that balances the richness of the butter. I also recommend using a sturdy gluten-free loaf rather than a soft, fresh one. This ensures the bread holds its structure. It is comfort food reimagined—faster, simpler, but with the same soul-soothing satisfaction you expect from a holiday meal.
What Ingredients You Will Need
This recipe uses simple, wholesome ingredients to deliver bold flavor and satisfying texture without the fuss. The key is finding a gluten-free bread that can stand up to the moisture of the broth without disintegrating. You want something with a bit of chew and structure. I usually look for loaves that list rice flour and potato starch high on the ingredient list, as these tend to toast better.
- Gluten-Free Bread: One loaf of gluten-free sourdough or rustic white bread. It should be day-old or toasted to remove moisture. (Look for brands like Udi’s or Dave’s Killer Bread Gluten-Free for best texture).
- Unsalted Butter: Half a cup. This provides the rich base for frying the aromatics. You can use olive oil for a dairy-free version, but butter adds a depth of flavor that is hard to beat.
- Celery: Four stalks, finely diced. This is essential for the crunch. (Adds freshness and balances the richness).
- Yellow Onion: One medium onion, finely chopped. (Adds sweetness and body).
- Fresh Herbs: A mix of thyme and sage. About two tablespoons of each, chopped. (Fresh herbs are crucial here; dried ones will make the dish taste dusty).
- Chicken or Vegetable Broth: One cup. Use a low-sodium version so you can control the salt level. (Adds moisture and savory depth).
- Egg: One large egg, beaten. (Acts as a binder to hold the stuffing together without making it dense).
- Seasoning: One teaspoon of salt and half a teaspoon of black pepper. (Adjust to taste based on your broth).
If you cannot find a good gluten-free loaf, you can use gluten-free cornbread crumbles, though the flavor profile will shift slightly toward a Southern style. In summer, you might swap the sage for fresh parsley or rosemary for a lighter taste. The goal is to keep the ingredients simple and high-quality.
Equipment Needed
You don’t need any fancy gadgets to make this stuffing. A large skillet is the most important tool. I prefer a cast-iron skillet because it holds heat well and helps create that crispy crust on the bread. If you don’t have cast iron, a heavy-bottomed stainless steel pan works just as well. Avoid non-stick pans if you want maximum crispiness, as they can sometimes trap steam.
A sharp knife and a cutting board are needed for prepping the celery and onions. You will also need a large mixing bowl to combine the bread, herbs, and egg. A wooden spoon or silicone spatula is best for stirring the aromatics without scratching your pan. If you are baking the stuffing in a casserole dish, you will need a 9×13 inch baking dish. For budget-friendly options, any standard stainless steel skillet will do the job perfectly. Just make sure it is large enough to spread the bread out in a single layer if you are toasting it first.
Preparation Method
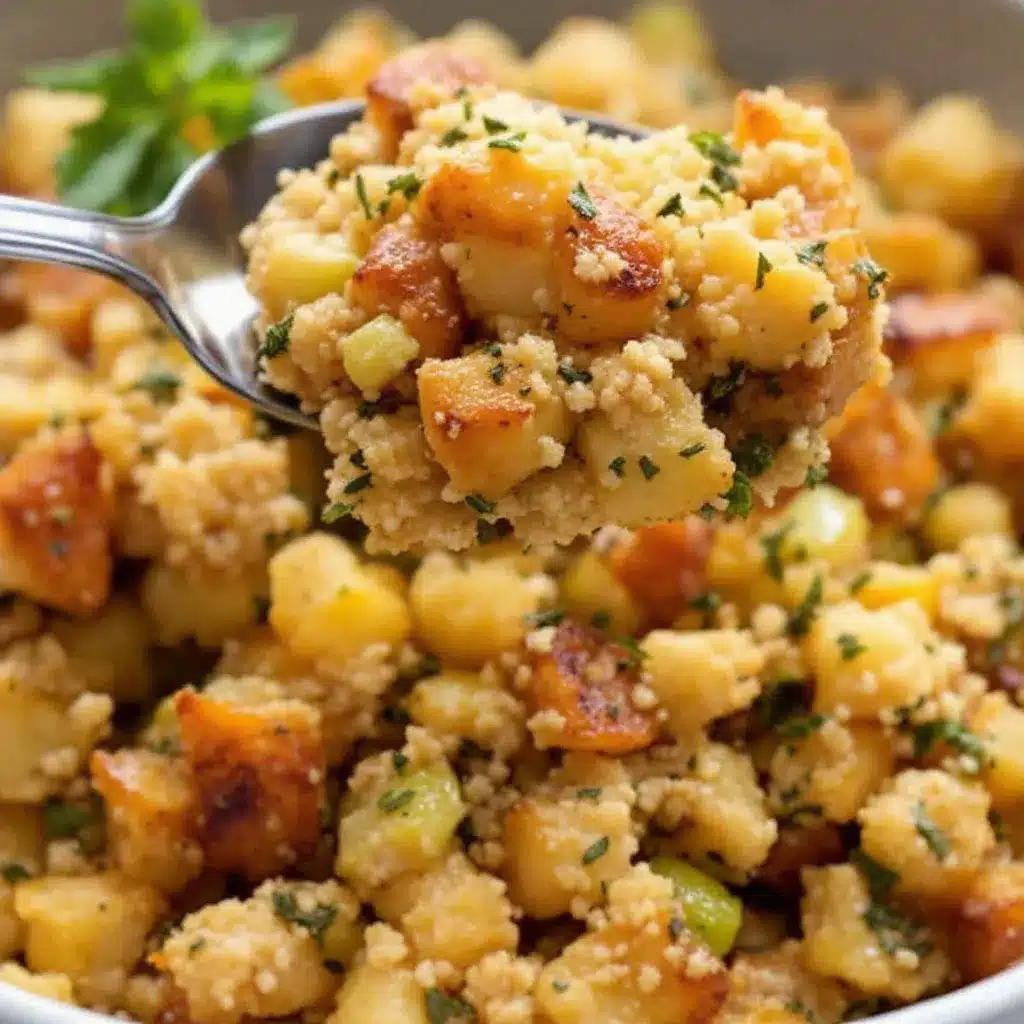
Getting the texture right is the most important part of this process. If the bread is too wet, the stuffing will be soggy. If it is too dry, it will be crumbly. Here is how to get it just right.
- Prepare the Bread (5 minutes): Cut the gluten-free bread into one-inch cubes. If the bread is fresh, spread the cubes out on a baking sheet and toast them in a 350°F (175°C) oven for about 10 minutes. You want them dry and firm, not hard as rocks. Let them cool completely. This step removes excess moisture and ensures the bread absorbs the broth without turning to mush.
Tip: If you are short on time, leave the bread out on the counter overnight to stale. - Sauté the Aromatics (10 minutes): Melt the butter in a large skillet over medium heat. Add the diced celery and chopped onion. Cook them gently for about 8 minutes, stirring occasionally. You want the onions to become translucent and the celery to soften slightly but still retain some crunch. Do not brown them too much.
Sensory Cue: The kitchen should smell sweet and savory. If the onions start to burn, lower the heat immediately. - Add Herbs and Broth (2 minutes): Stir in the chopped thyme and sage. Cook for another minute to release the essential oils. Then, pour in the chicken or vegetable broth. Let it bubble and reduce slightly. This creates a flavorful liquid base for the bread.
Warning: Do not let the broth boil away completely. You want it to be a hot, savory liquid. - Combine the Mixture (3 minutes): Place the dried bread cubes in a large mixing bowl. Pour the hot onion, celery, and broth mixture over the bread. Add the beaten egg, salt, and pepper. Gently toss everything together. You want to coat every piece of bread evenly. Do not mash the bread; let it sit.
Tip: Let the mixture rest for 10 minutes. This allows the bread to fully absorb the liquid. - Crisp the Stuffing (15-20 minutes): Heat your oven to 375°F (190°C). Transfer the stuffing to a greased baking dish. Spread it out evenly. You can bake it covered for 15 minutes, then uncover it for the last 5-10 minutes to crisp the top. Alternatively, for extra crunch, you can pan-fry spoonfuls of the mixture in a skillet until golden brown on both sides.
Sensory Cue: The top should be golden brown and crispy. It should smell toasted and herbaceous.
Cooking Tips & Techniques
One common mistake people make with gluten-free stuffing is using bread that is too soft. Fresh gluten-free bread is often more delicate than wheat bread. If you use fresh bread, you must dry it out first. I learned this the hard way when my first attempt turned into a dense, gummy brick. Always toast your bread cubes or use day-old bread.
Another tip is to not overcrowd the pan when sautéing the celery and onions. If you use a small pan, the vegetables will steam instead of sauté. This leads to a lack of flavor. Use a large skillet to give the aromatics enough space to cook properly. Also, taste your broth before adding it. If it is very salty, reduce the amount of salt you add to the stuffing mixture. Gluten-free breads can vary in sodium content, so adjust accordingly.
Multitasking is key here. While the bread is toasting, you can start prepping the vegetables. While the mixture is resting, you can set up your baking dish. This keeps the process smooth and prevents last-minute rushes. Consistency comes from practice. Once you get the ratio of bread to liquid right for your specific brand of gluten-free bread, you will be able to make this recipe in your sleep.
Variations & Adaptations
This recipe is very flexible, allowing you to adapt it to your tastes or dietary needs. Here are a few variations that work well.
- Dairy-Free Option: Substitute the butter with olive oil or dairy-free butter sticks. The flavor will be slightly different, but still delicious. You can add a splash of white wine to the pan for extra depth.
- Vegan Adaptation: Skip the egg binder and use a flax egg (one tablespoon ground flaxseed mixed with three tablespoons water). Use vegetable broth instead of chicken broth. The stuffing will hold together well due to the starches in the bread.
- Flavor Boost: Add diced apples or dried cranberries to the mixture for a touch of sweetness. This pairs beautifully with the savory herbs. I also like adding a pinch of red pepper flakes for a little kick.
- Gluten-Free Cornbread: Use crumbled gluten-free cornbread instead of white bread. This gives a Southern-style flavor that is great for fall dinners.
I personally love adding a handful of toasted pecans to the mixture. It adds a nice nutty crunch that complements the celery. Just make sure the nuts are gluten-free if you are cross-contaminating.
Serving & Storage Suggestions
Serve the stuffing hot, right out of the oven or pan. It pairs beautifully with roast chicken, turkey, or even a simple grilled steak. For a complete meal, pair it with a fresh green salad to cut through the richness. A glass of dry white wine or sparkling water with lemon works well as a beverage.
If you have leftovers, store the stuffing in an airtight container in the refrigerator for up to three days. To reheat, place the stuffing in a skillet with a little bit of butter and warm it over medium heat. This restores the crispiness better than microwaving. If you are freezing the stuffing, it is best to freeze it before baking. Wrap it tightly in plastic wrap and foil. It will keep for up to three months. Thaw it in the fridge overnight and bake as directed.
The flavors of this stuffing actually develop over time. The herbs meld with the bread, creating a deeper taste on the second day. However, the texture will soften as it sits. If you prefer a crispy texture, always reheat in the oven or skillet.
Nutritional Information & Benefits
This stuffing is a lighter alternative to traditional bread-based stuffings that often use white sandwich bread and excessive butter. Using gluten-free sourdough bread can be easier on the digestive system for those with gluten sensitivity. The celery adds fiber and vitamins, while the herbs provide antioxidants. Each serving contains approximately 250 calories, 12g of fat, and 30g of carbohydrates. It is naturally gluten-free, making it safe for those with celiac disease or gluten intolerance. However, always check your specific bread brand for certification. It is a wholesome side dish that doesn’t compromise on flavor or satisfaction.
Conclusion
This crispy gluten-free herb stuffing with celery is a testament to the fact that you don’t need wheat to make amazing food. It is simple, flavorful, and satisfying. I encourage you to try it and customize it with your favorite herbs or nuts. It has become a staple in my kitchen because it is reliable and delicious. Please leave a comment below if you try this recipe. I love hearing about your adaptations and successes. Thank you for cooking with me today. Enjoy every bite.
FAQs
Can I use fresh gluten-free bread for this stuffing?
It is not recommended to use fresh bread because it is too moist. You must toast the bread cubes in the oven or leave them out to stale overnight. This ensures the bread absorbs the broth without becoming mushy.
What is the best gluten-free bread for stuffing?
Sturdy, rustic-style gluten-free breads work best. Sourdough or artisan loaves that have a good crumb structure hold up well to toasting and liquid. Soft, sandwich-style gluten-free breads tend to fall apart.
Can I make this stuffing ahead of time?
Yes, you can prepare the mixture up to the point of baking. Cover it and refrigerate it for up to 24 hours. Let it come to room temperature before baking, or add a few extra minutes to the baking time if cooking from cold.
Is this stuffing naturally dairy-free?
The base recipe uses butter, so it is not dairy-free by default. However, you can easily swap the butter for olive oil or a dairy-free alternative. The rest of the ingredients are naturally dairy-free.
How do I store leftover stuffing?
Store leftovers in an airtight container in the refrigerator for up to three days. Reheat in a skillet with a little butter to restore crispiness. Avoid microwaving if you want to maintain the texture.
Pin This Recipe!
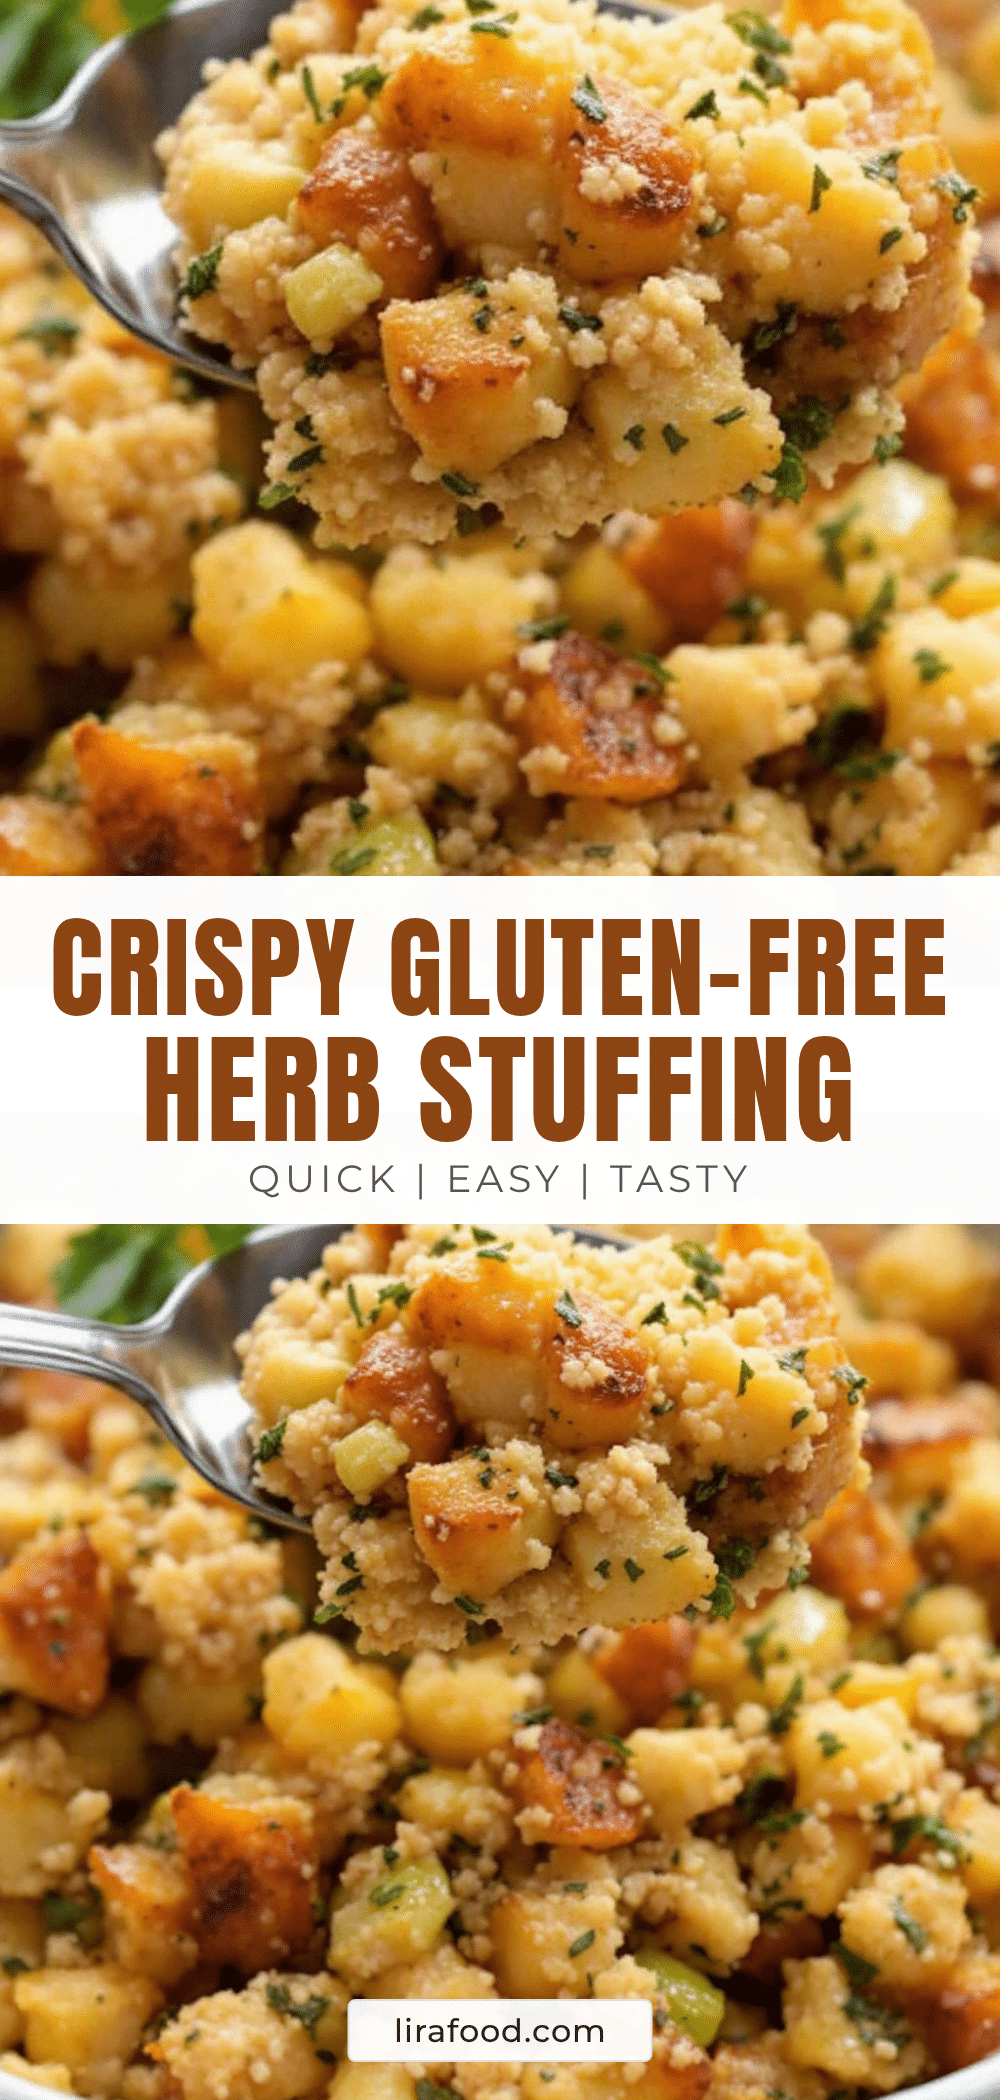
Crispy Gluten-Free Herb Stuffing with Celery
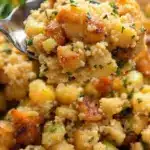
A simple, crispy, and flavorful gluten-free stuffing made with day-old sourdough bread, fresh herbs, and celery. This recipe avoids soggy textures by toasting the bread and sautéing aromatics for a perfect holiday side dish.
- Prep Time: 15 minutes
- Cook Time: 30 minutes
- Total Time: 45 minutes
- Yield: 6 servings 1x
- Category: Side Dish
- Cuisine: American
Ingredients
- 1 loaf gluten-free sourdough or rustic white bread (day-old or toasted)
- 1/2 cup unsalted butter
- 4 stalks celery, finely diced
- 1 medium yellow onion, finely chopped
- 2 tablespoons fresh thyme, chopped
- 2 tablespoons fresh sage, chopped
- 1 cup chicken or vegetable broth (low-sodium)
- 1 large egg, beaten
- 1 teaspoon salt
- 1/2 teaspoon black pepper
Instructions
- Cut the gluten-free bread into one-inch cubes. If fresh, toast cubes in a 350°F (175°C) oven for 10 minutes until dry and firm. Let cool completely.
- Melt butter in a large skillet over medium heat. Add diced celery and chopped onion; sauté for 8 minutes until onions are translucent and celery is slightly softened but still crunchy.
- Stir in chopped thyme and sage; cook for 1 minute to release oils. Pour in broth and let bubble to reduce slightly.
- Place dried bread cubes in a large mixing bowl. Pour the hot onion, celery, and broth mixture over the bread. Add beaten egg, salt, and pepper. Gently toss to coat evenly without mashing the bread.
- Let the mixture rest for 10 minutes to allow the bread to absorb the liquid.
- Heat oven to 375°F (190°C). Transfer stuffing to a greased baking dish and spread evenly. Bake covered for 15 minutes, then uncover and bake for 5-10 minutes until the top is golden brown and crispy. Alternatively, pan-fry spoonfuls in a skillet until golden.
Notes
Ensure bread is dry/toasted to prevent mushiness. Use sturdy gluten-free bread like sourdough. For dairy-free, substitute butter with olive oil. For vegan, use a flax egg and vegetable broth. Reheat in a skillet to maintain crispiness.
Nutrition
- Serving Size: 1 cup
- Calories: 250
- Sugar: 2
- Sodium: 450
- Fat: 12
- Saturated Fat: 6
- Carbohydrates: 30
- Fiber: 2
- Protein: 5
Keywords: gluten-free stuffing, gluten-free side dish, herb stuffing, celery stuffing, holiday recipes, gluten-free sourdough, crispy stuffing, easy side dish