Love this? Save it for later!
Share the inspiration with your friends
I am staring at the pantry door and wondering if I have enough marshmallows to pull this off. It is three days until Halloween and the store shelves are already picking clean. Honestly, I should have planned better, but life has a way of skipping ahead when you are juggling work and family. The kids are already asking if we are making “the orange and yellow stuff” again. They remember last year. They always remember.
I want those classic Rice Krispie Treats, but I want them to look like the candy corn sitting in the bowl on the counter. You know the ones. The little triangular candies that taste like sugar and nostalgia. I need them to be festive without spending hours in the kitchen. Let’s face it, I am tired. I do not want to bake a cake. I want something that comes together fast, smells sweet, and makes the little ones scream with joy.
The trick is in the layering. It sounds simple, but getting the colors right without muddying them up takes a bit of care. I usually mess this up the first time I try a new recipe, but this one is different. It is reliable. It is forgiving. It is perfect for those last-minute trick-or-treat preparations.
I just need to find the right marshmallows and maybe some orange food coloring that isn’t too artificial tasting. The smell of melting marshmallows always calms me down, even when I am running late. This is my go-to rescue dessert. It is sweet, it is easy, and it is exactly what the season calls for.
Why You’ll Love This Recipe
There is a specific kind of magic that happens when you combine nostalgia with convenience. These Easy Candy Corn Rice Krispie Treats are not just a snack; they are a mood. Here is why this recipe has earned a permanent spot in my weekly rotation, especially as the leaves start to turn.
- Quick & Easy: You can have these from start to finish in under 20 minutes. That is faster than waiting for a pizza to bake. It is perfect for busy weeknights or when you need a dessert ready in a pinch for a sudden playdate.
- Simple Ingredients: You likely already have everything in your kitchen. Rice Krispies cereal, butter, marshmallows, and food coloring. No fancy grocery trips needed. It uses pantry staples that you probably already own.
- Perfect for Halloween: Whether it is for a school party, a trick-or-treat bowl, or just a cozy movie night, these treats scream autumn. They are visually stunning without requiring any artistic skill.
- Crowd-Pleaser: Kids love the colors. Adults love the familiar taste. It bridges the gap between “too sweet” and “just right.” Everyone wins.
- Unbelievably Delicious: The texture is chewy and crisp, just like the classic version. The addition of the candy corn colors adds a visual pop that makes every bite feel like a celebration.
What makes this recipe different from the rest is the technique. Many people try to mix all the colors together, which results in a muddy brown mess. This method uses distinct layers, ensuring each bite has that authentic candy corn look. It is a small detail, but it makes all the difference. It shows care. It turns a simple snack into a festive centerpiece.
This recipe isn’t just good—it is the kind that makes you smile when you hand it to someone. It is comfort food reimagined with a seasonal twist. It is perfect for impressing guests without stress, or turning a simple Tuesday evening into something memorable. Plus, it pairs beautifully with a glass of milk or even a cup of warm vanilla milk for a cozy bedtime treat.
What Ingredients You Will Need
This recipe uses simple, wholesome ingredients to deliver bold flavor and satisfying texture without the fuss. The beauty of Rice Krispie Treats is their simplicity. You do not need complex spices or hard-to-find items. You just need quality basics and a bit of creativity with colors. Here is what you will need to make this Halloween favorite.
- Rice Krispies Cereal: 6 cups (approx. 150g). This is the foundation. Use the original brand for that classic crispy texture. If you are out, generic brands work, but the crunch can vary slightly.
- Unsalted Butter: 1/2 cup (113g). Room temperature is best for melting. I prefer using high-quality butter because it adds a richer flavor to the marshmallow mixture. Margarine can be used, but the taste is not as good.
- Marshmallows: 10 ounces (one standard bag). Mini marshmallows work well because they melt faster and more evenly. If you use large ones, chop them up first.
- Vanilla Extract: 1 teaspoon. Adds a subtle depth of flavor that balances the sweetness. Do not skip this.
- Food Coloring: You will need orange, yellow, and white (or a touch of milk for off-white). Gel food coloring is best because it does not add extra liquid to the mixture. Liquid coloring can make the treats sticky.
- Candy Corn: Optional, for garnish. A handful of actual candy corn sprinkled on top adds an extra layer of festive fun.
For the best texture, I recommend using a non-stick spray on your mixing bowl before you start. It saves so much cleanup time. If you are looking for a gluten-free option, make sure to use certified gluten-free rice cereal, as standard Rice Krispies may contain traces of gluten depending on your region.
You can also swap the butter for dairy-free margarine if needed. The flavor will be slightly different, but the structure will hold up fine. For the food coloring, stick to gel pastes. They are more concentrated and vibrant. You only need a tiny amount to get that bright candy corn look.
Equipment Needed
You do not need a lot of fancy gear to make these treats. A few basic kitchen tools will get the job done.
- Large Saucepan: A 3-4 quart saucepan is ideal. It needs to be large enough to hold the melting marshmallows and butter without overflowing. Non-stick is preferred for easier cleanup.
- Silicone Spatula: Essential for stirring the melted mixture. It scrapes the sides of the pan well. A wooden spoon works too, but it can get stuck in the sticky marshmallow goo.
- 9×13 Inch Baking Pan: This is the standard size for these treats. Line it with parchment paper or foil for easy removal. Grease it lightly with butter or cooking spray.
- Mixing Bowl: A large bowl for tossing the cereal with the marshmallow mixture. Again, non-stick or well-greased is key.
- Small Bowls: You will need three small bowls for separating the marshmallow mixture into white, yellow, and orange layers.
If you do not have a large saucepan, a Dutch oven works well. Just make sure it is clean and dry. For the baking pan, I always use parchment paper. It makes cutting the treats much cleaner. If you use foil, make sure to grease it thoroughly, or you will lose half your treat when trying to lift it out.
Preparation Method
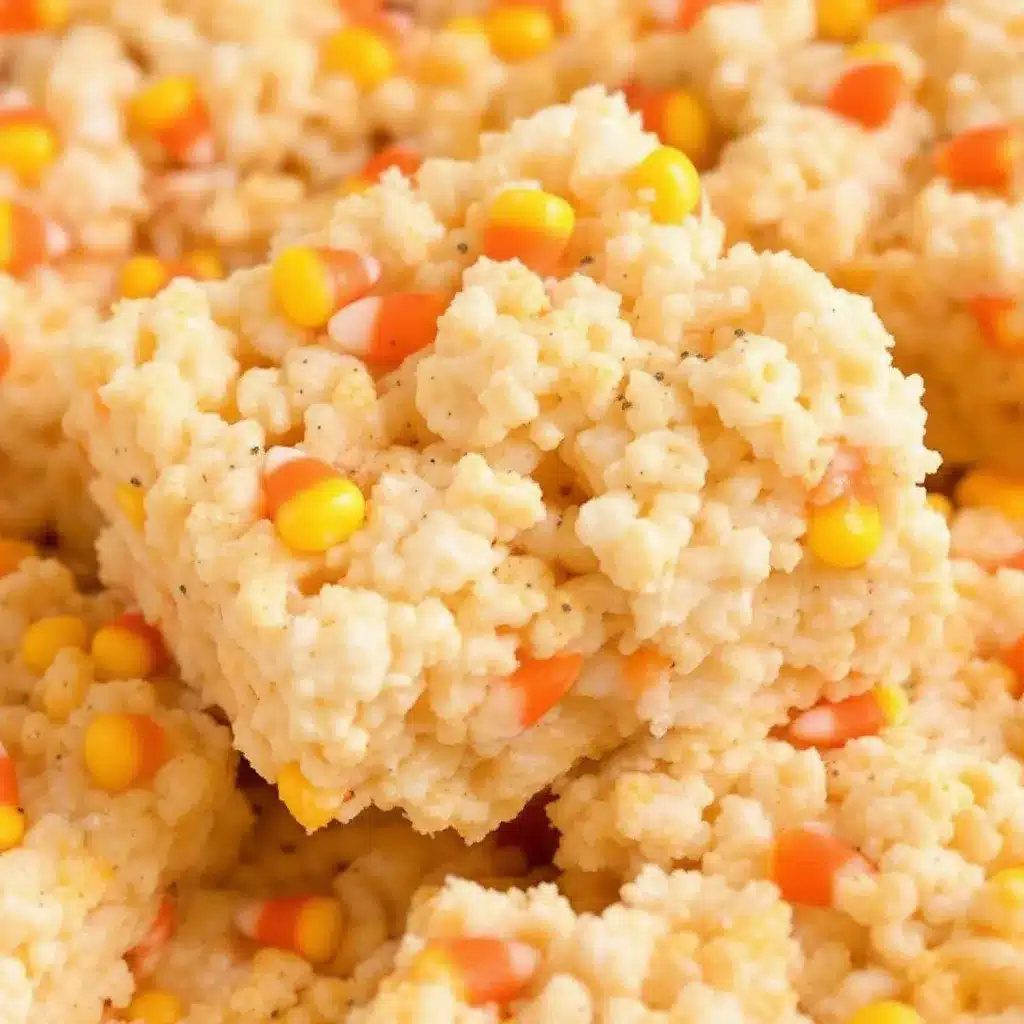
Making these treats is straightforward, but timing is everything. Follow these steps closely for the best results.
- Prepare the Pan: Line a 9×13 inch baking pan with parchment paper, leaving an overhang on the sides. This acts as a sling to lift the treats out later. Lightly grease the parchment with butter or cooking spray. Set aside. (Time: 2 minutes)
- Melt the Butter: In your large saucepan, melt the butter over low heat. Do not let it brown. Just melt it until it is liquid. (Time: 2 minutes)
- Add Marshmallows: Add the marshmallows to the melted butter. Stir constantly. Keep the heat low. If the heat is too high, the marshmallows will seize up or burn. You want them to melt into a smooth, glossy mixture. (Time: 5 minutes)
- Separate the Mixture: Once the marshmallows are fully melted and smooth, remove the pan from the heat. Quickly divide the mixture into three equal parts. Pour one part back into the pan (this will be the white layer). Pour the other two parts into the small bowls. (Time: 1 minute)
- Add Color: Add yellow food coloring to one small bowl and orange food coloring to the other. Add a drop of vanilla extract to each bowl if you want extra flavor. Stir until the color is even. (Time: 1 minute)
- First Layer (White): Pour the white marshmallow mixture back into the prepared pan. Spread it out evenly. Immediately, while it is still hot and sticky, sprinkle half of the Rice Krispies cereal over the top. Press down gently with a spatula or your hands (greased with butter) to adhere the cereal. Do not mix it in. We want a layer. (Time: 2 minutes)
- Second Layer (Yellow): Pour the yellow marshmallow mixture over the white layer. Spread it evenly. Sprinkle the remaining half of the Rice Krispies cereal over the yellow layer. Press down gently. (Time: 2 minutes)
- Third Layer (Orange): Pour the orange marshmallow mixture over the yellow layer. Spread it evenly. This is the final layer. Press down gently to seal everything together. (Time: 2 minutes)
- Chill: Let the treats sit at room temperature for at least 30 minutes to set. Alternatively, put them in the fridge for 15 minutes to speed up the process. (Time: 15-30 minutes)
- Cut and Serve: Lift the treats out of the pan using the parchment sling. Cut into squares or triangles. For a true candy corn look, cut them into small triangles. (Time: 2 minutes)
If the mixture gets too thick while you are working, you can microwave it for 10-second intervals to loosen it up. Work quickly, as the marshmallow hardens fast.
Cooking Tips & Techniques
There are a few tricks to getting the perfect texture and look. I have learned these the hard way, through trial and error.
- Low and Slow: When melting the marshmallows, keep the heat low. High heat causes the sugar to crystallize, making the treats grainy. Low heat ensures a smooth, chewy texture.
- Work Fast: Marshmallow mixture cools quickly. Have your bowls and cereal ready before you remove the pan from the heat. You do not want it to harden in the pot.
- Grease Your Hands: If you need to press the cereal into the layers, grease your hands with butter or cooking spray. This prevents the sticky mess from sticking to your skin.
- Use Gel Coloring: Liquid food coloring adds water to the mixture, which can make the treats tough. Gel coloring is concentrated and keeps the texture soft.
- Don’t Overmix: When adding the cereal, fold it in gently. Overmixing can crush the cereal, leading to a dense, chewy treat rather than a light, crispy one.
A common mistake is trying to mix all the colors into the main batch. This creates a muddy brown color. The layering technique is key. Also, do not skip the chilling step. Cutting warm treats will result in a mess. Let them set completely.
Variations & Adaptations
This recipe is very flexible. You can adapt it to suit different tastes or dietary needs.
- Gluten-Free: Use certified gluten-free rice cereal. Ensure your marshmallows are also certified gluten-free, as some brands use wheat-based starch.
- Dairy-Free: Substitute butter with dairy-free margarine or coconut oil. The texture will be slightly different, but it will still work.
- Flavor Twist: Add a teaspoon of pumpkin pie spice to the butter before melting it for a subtle autumn flavor. Or, use orange extract instead of vanilla for a more intense candy corn taste.
- Color Variations: For Thanksgiving, use orange, brown, and yellow. For Christmas, use red, green, and white. The technique remains the same.
- Mini Treats: Instead of a 9×13 pan, use a mini muffin tin to make bite-sized versions. Perfect for party favors.
I once tried adding peanut butter to the mixture, and it was delicious, but it changed the color and texture significantly. Stick to the base recipe for the classic look. If you want to add nuts, sprinkle chopped pecans or walnuts between the layers for a crunchy contrast.
Serving & Storage Suggestions
These treats are best served at room temperature. They are too hard when cold from the fridge.
- Storage: Store in an airtight container at room temperature for up to 5 days. Do not refrigerate, as this will make them hard.
- Freezing: You can freeze these treats for up to 3 months. Wrap them tightly in plastic wrap and then in foil. Thaw at room temperature before serving.
- Serving: Serve with a glass of cold milk or a hot beverage like birthday cake mix flavored hot chocolate for a fun twist.
- Presentation: Arrange them in a bowl with actual candy corn for a festive display. They look great on a tiered stand for parties.
The flavors develop over time, becoming slightly softer and more cohesive after a day or two. This is actually preferred by many people. If they get too soft, you can briefly chill them in the fridge before serving.
Nutritional Information & Benefits
While these treats are a dessert, they are relatively simple in composition.
- Calories: Approximately 150-200 calories per square, depending on size.
- Sugar: High in sugar due to the marshmallows and candy corn.
- Fat: Moderate fat content from butter.
- Carbohydrates: High in carbs from the cereal and sugar.
They are not a health food, but they are a fun treat for special occasions. If you are watching your sugar intake, consider making smaller portions. The rice cereal provides some crunch and texture, but it is not a significant source of nutrients. Enjoy in moderation.
For a slightly healthier version, you can use reduced-sugar marshmallows. They melt a bit differently, but they are a good option for those watching their sugar intake.
Conclusion
These Easy Candy Corn Rice Krispie Treats are a Halloween staple for a reason. They are easy, fun, and delicious. They bring a sense of joy to the kitchen and to the table. I love making them because they are simple yet festive. They remind me of simpler times, when Halloween was just about costumes and candy.
I encourage you to try this recipe. Customize the colors or flavors to suit your taste. Share them with friends and family. I would love to hear how they turn out. Leave a comment below with your thoughts or any variations you tried.
Happy Halloween!
FAQs
Can I use homemade marshmallows?
Yes, you can. However, homemade marshmallows may have a different texture and may not melt as smoothly. You might need to adjust the cooking time.
Why are my treats hard?
This usually happens if the marshmallows are overcooked or if the mixture is not spread evenly. Make sure to melt the marshmallows over low heat and spread them quickly.
Can I make these ahead of time?
Yes, you can make them up to 3 days in advance. Store them in an airtight container at room temperature.
Do I have to use Rice Krispies cereal?
You can use other crispy rice cereals, but the texture and flavor may differ. The original Rice Krispies are best for the classic taste.
How do I cut the treats cleanly?
Use a sharp knife and wipe it clean between cuts. You can also dip the knife in hot water and dry it before each cut for a cleaner slice.
Pin This Recipe!
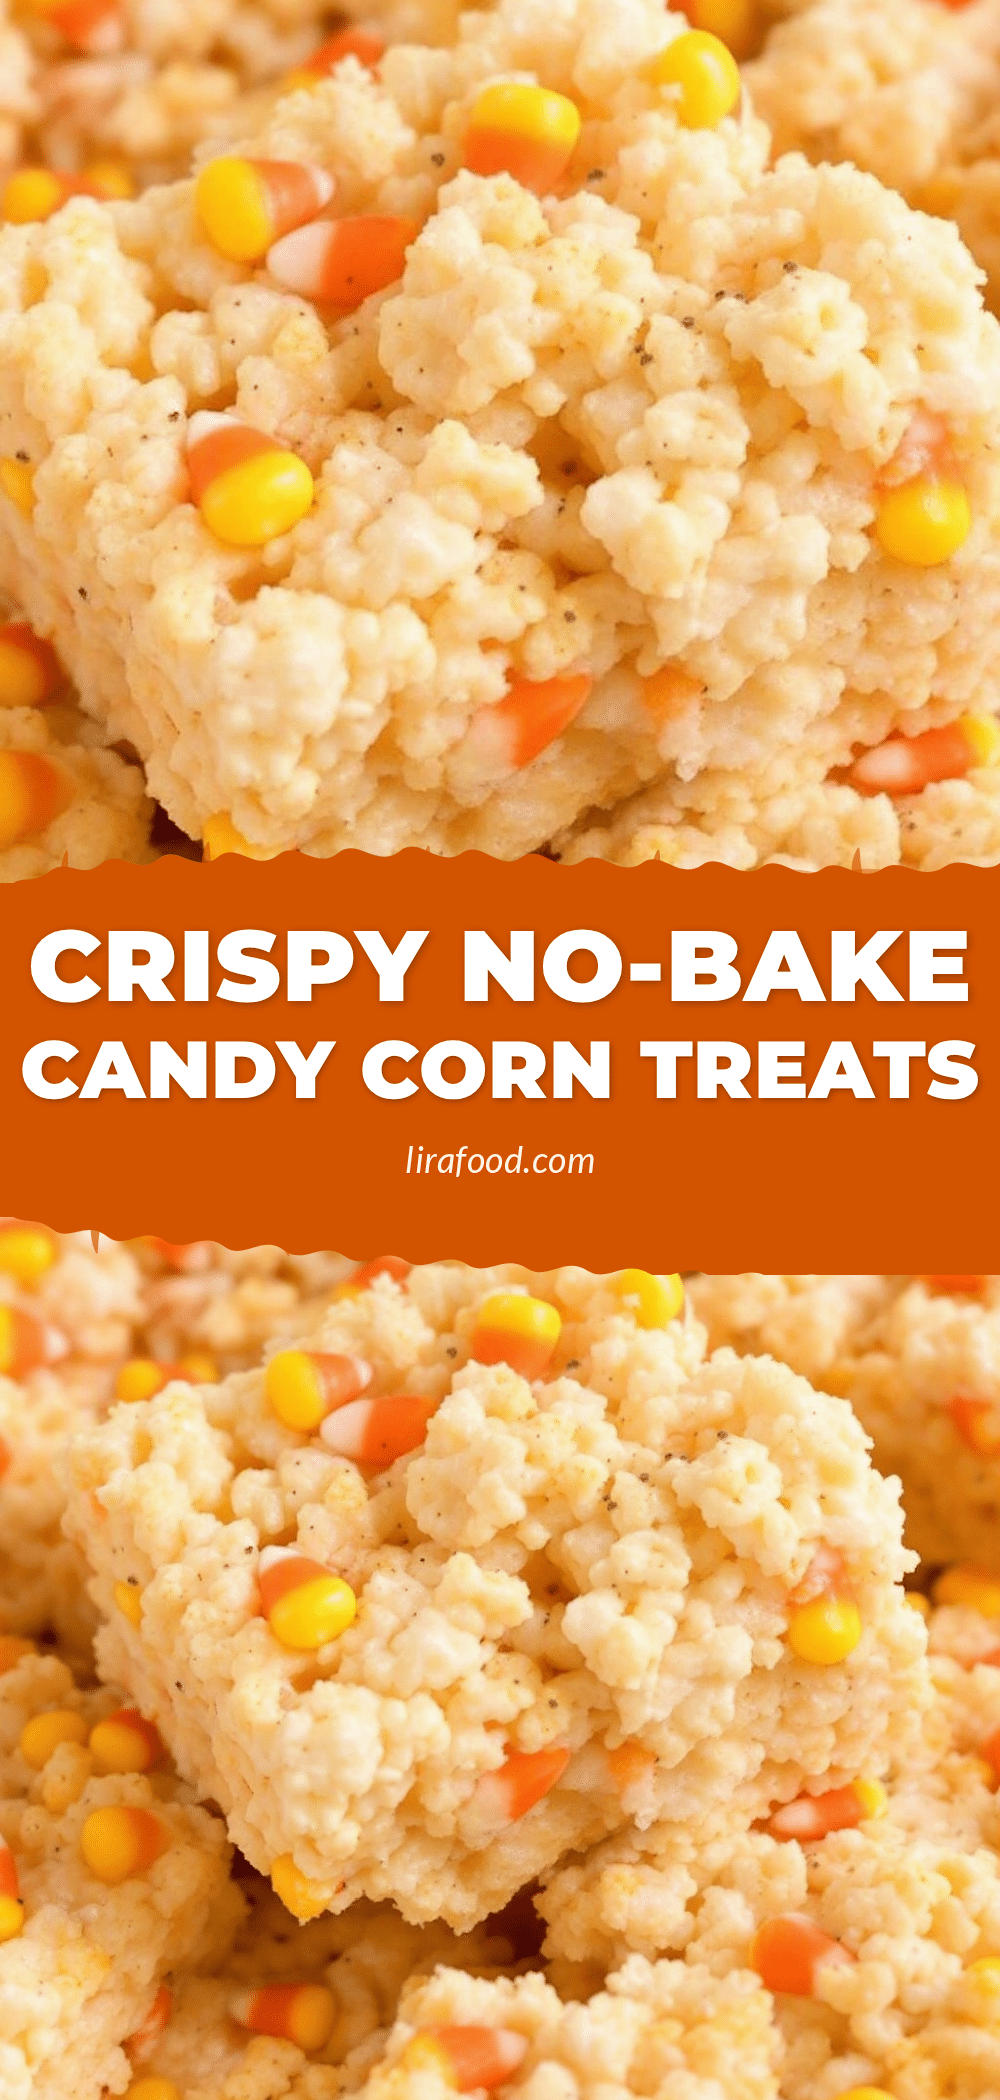
Easy Candy Corn Rice Krispie Treats: 5-Minute Halloween Dessert
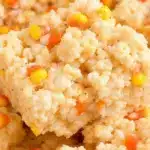
A festive, no-bake Halloween dessert featuring distinct white, yellow, and orange layers of marshmallow and Rice Krispies cereal, mimicking the look of candy corn.
- Prep Time: 10 minutes
- Cook Time: 10 minutes
- Total Time: 45 minutes
- Yield: 16 servings 1x
- Category: Dessert
- Cuisine: American
Ingredients
- 6 cups Rice Krispies cereal
- 1/2 cup unsalted butter (room temperature)
- 10 ounces marshmallows (mini marshmallows preferred)
- 1 teaspoon vanilla extract
- Orange gel food coloring
- Yellow gel food coloring
- White marshmallow mixture (or touch of milk for off-white)
- Candy corn (optional, for garnish)
Instructions
- Line a 9×13 inch baking pan with parchment paper, leaving an overhang on the sides. Lightly grease the parchment with butter or cooking spray.
- In a large saucepan, melt the butter over low heat until liquid, ensuring it does not brown.
- Add marshmallows to the melted butter and stir constantly over low heat until the mixture is smooth and glossy (about 5 minutes).
- Remove the pan from heat and quickly divide the marshmallow mixture into three equal parts. Keep one part in the pan and pour the other two into small bowls.
- Add yellow food coloring to one small bowl and orange food coloring to the other. Stir until colors are even. Add vanilla extract to each bowl if desired.
- Pour the white marshmallow mixture back into the prepared pan and spread evenly. Sprinkle half of the Rice Krispies cereal over the top and press down gently to adhere.
- Pour the yellow marshmallow mixture over the white layer, spread evenly, and sprinkle the remaining half of the Rice Krispies cereal over it. Press down gently.
- Pour the orange marshmallow mixture over the yellow layer, spread evenly, and press down gently to seal.
- Let the treats sit at room temperature for at least 30 minutes to set, or refrigerate for 15 minutes.
- Lift the treats out using the parchment sling and cut into squares or triangles.
Notes
Use gel food coloring to prevent the treats from becoming sticky. Work quickly as the marshmallow mixture hardens fast. Grease hands with butter or cooking spray to prevent sticking. For gluten-free, use certified gluten-free rice cereal. Store in an airtight container at room temperature for up to 5 days.
Nutrition
- Serving Size: 1 square or triangle
- Calories: 175
- Sugar: 22
- Sodium: 120
- Fat: 6
- Saturated Fat: 3.5
- Carbohydrates: 28
- Protein: 2
Keywords: Halloween dessert, Rice Krispie Treats, candy corn, no-bake, easy dessert, kids treats, fall recipes