Love this? Save it for later!
Share the inspiration with your friends
Introduction
“You want to try some?” my neighbor called out over the fence, holding up a jar of bright red tomatoes like they were the most natural thing in the world. It was mid-August, and I had just stopped by to borrow a cup of sugar. The scent of simmering tomatoes and vinegar hit me before I even stepped through the gate. Honestly, I wasn’t expecting much—just a quick exchange and back to my day. But the way she casually tossed around phrases like “half-pint jars” and “processing times” made it clear this was no ordinary kitchen experiment. She wasn’t putting on a show or fussing over a fancy recipe; it was just her thing, like breathing or watering plants.
Watching her pull those perfectly sealed jars from the boiling water bath with a practiced ease, I realized this fresh tomato canning guide wasn’t about complicated steps or expensive equipment. It was about capturing the summer’s peak, one jar at a time, and doing it without stress. Maybe you’ve been there—standing in your kitchen with a basket of tomatoes wondering where to start or how to keep that fresh garden taste alive past September. Well, let me tell you, this simple, straightforward method is exactly why I keep coming back to canning every season. It’s approachable, forgiving, and honestly, kind of meditative. So, if you’re ready to turn those ripe, juicy tomatoes into jars of sunshine for your pantry, you’re in the right place.
Why You’ll Love This Recipe
After testing this fresh tomato canning guide multiple times, I can say it really stands out for several reasons. It’s not just a recipe; it’s a way to preserve the heart of summer with ease and confidence. Here’s why it’s become a staple in my kitchen:
- Quick & Easy: From start to finish, the process takes about 2 hours, which is perfect for a weekend afternoon or a slow weekday morning.
- Simple Ingredients: You just need fresh tomatoes, lemon juice, salt, and a bit of water—no fancy additives or preservatives required.
- Perfect for Seasonal Preserving: Ideal for when you have more tomatoes than you know what to do with, this guide helps you save that fresh flavor for months.
- Crowd-Pleaser: These homemade preserves taste like sunshine in a jar and always get compliments when gifted or used in recipes.
- Unbelievably Delicious: The step-by-step approach keeps the tomatoes tasting bright, fresh, and just slightly tangy—the way they should.
What really sets this method apart is the focus on gentle handling and precise timing. I’ve tried other canning methods that left the tomatoes mushy or lacking flavor, but this one keeps the texture just right. Plus, the acidity balance is perfect for safe preservation without sacrificing taste. Honestly, it feels like a little secret passed down from someone who doesn’t fuss but just knows what works. So, whether you’re a first-timer or an old hand at canning, this fresh tomato canning guide is a friendly, reliable companion for your pantry adventures.
What Ingredients You Will Need
This fresh tomato canning guide uses simple, wholesome ingredients that bring out the best in your tomatoes while keeping the process straightforward. Most are pantry staples, and if you’re buying tomatoes fresh from a farmer’s market or your garden, you’re already halfway there.
- Fresh Tomatoes (about 10 pounds / 4.5 kg): Roma or plum tomatoes work best because they have fewer seeds and thicker flesh, but you can use any tomato you like.
- Lemon Juice (or citric acid): 2 tablespoons (30 ml) per quart (liter) jar, or 1 tablespoon (15 ml) per pint (500 ml) jar. This adds the necessary acidity for safe canning.
- Salt: 1 teaspoon (5 grams) per quart jar or 1/2 teaspoon (2.5 grams) per pint jar. Use non-iodized canning or pickling salt to avoid cloudiness.
- Water: For blanching and filling jars as needed.
Optional additions for flavor variations:
- Fresh basil or oregano sprigs: Adds a subtle herbal note.
- Garlic cloves: For a savory edge.
- Crushed red pepper flakes: If you like a little heat.
When selecting your tomatoes, look for firm, ripe fruit without bruises or cracks. For best results, use tomatoes that are freshly picked or bought the same day you plan to can. If you prefer organic, that works great too—just give them a good wash before prepping. And yes, you can swap lemon juice for bottled citric acid powder if you want a more consistent acidity level. I usually keep both options on hand depending on what’s in the pantry.
Equipment Needed
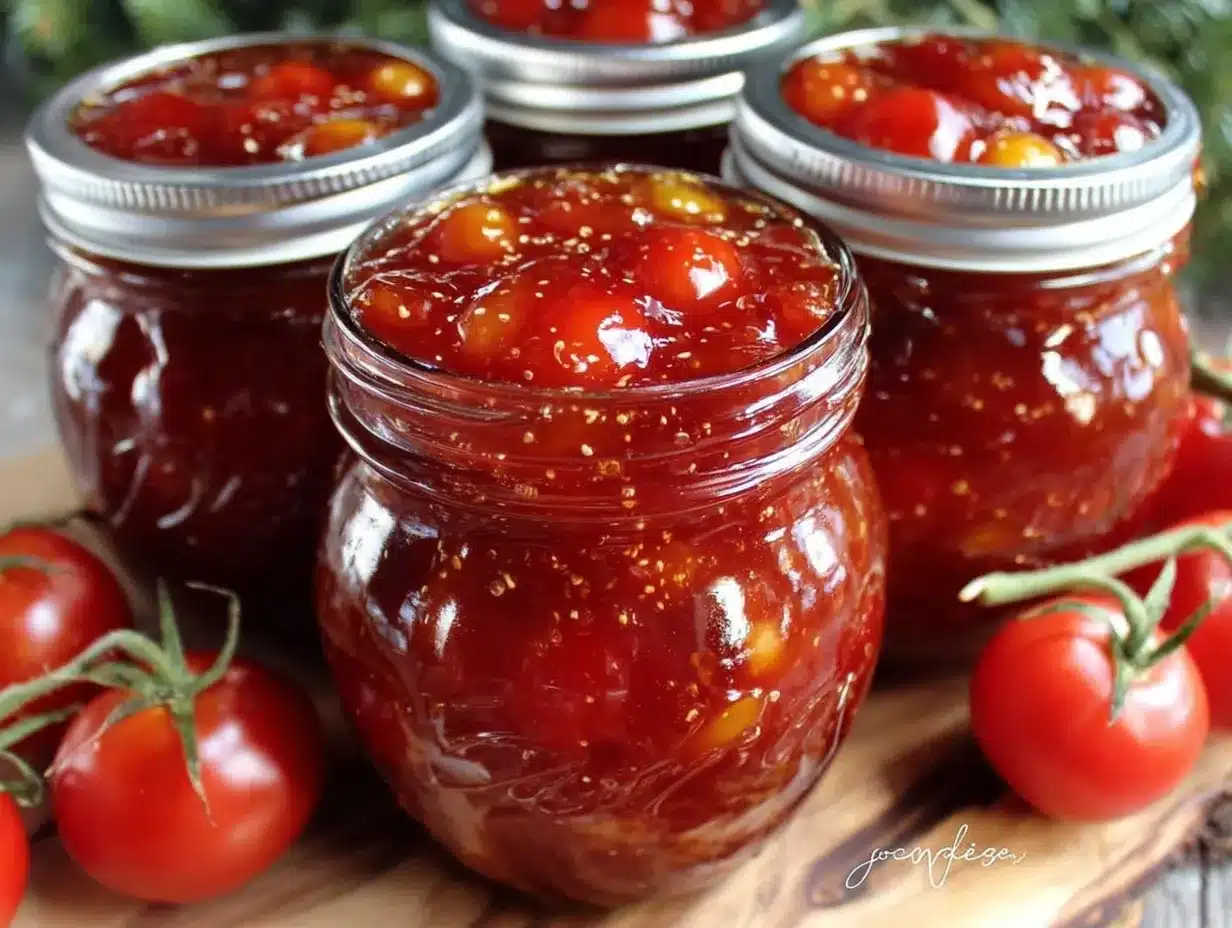
While this fresh tomato canning guide is friendly to beginners, having the right tools definitely makes the job smoother and safer.
- Large stockpot or canner: A 16-20 quart (15-19 L) pot with a rack for the boiling water bath.
- Glass canning jars: Half-pint (8 oz / 250 ml), pint (16 oz / 500 ml), or quart (32 oz / 1 L) jars with two-piece lids (flat lid and screw band).
- Jar lifter: Essential for safely removing hot jars from boiling water.
- Lid lifter/magnetic wand: Helps grab sterilized lids without contaminating.
- Large bowl: For ice water bath to stop tomato cooking after blanching.
- Paring knife and cutting board: For prepping tomatoes.
If you don’t have a dedicated canner, a large, deep pot with a rack works just fine—just make sure the jars won’t sit directly on the bottom. I started with a basic setup and upgraded over time, but honestly, my old stockpot still does the job nicely. Remember to keep your tools clean and free from nicks or rust to avoid contamination, especially the jar lifter and lids. If you’re on a budget, thrift stores often have these items at a good price, and some brands like Ball or Kerr are trustworthy for jars and lids.
Preparation Method
- Prepare the jars and lids: Wash jars, lids, and screw bands in hot soapy water. Rinse well. Place jars in your canner or large pot, cover with water, and bring to a simmer (not a rolling boil) to sterilize. Keep jars hot until ready to fill to prevent cracking. Heat lids in a small pot of simmering water to soften the sealing compound. (10-15 minutes)
- Wash and blanch tomatoes: Rinse the tomatoes under cool water. Bring a large pot of water to a boil. Using a slotted spoon, dip tomatoes into boiling water for 30-60 seconds until skins start to crack. Immediately transfer to an ice water bath to cool. (15 minutes)
- Peel and core: Once cooled, the skins should slip off easily. Peel the skins, then core and quarter the tomatoes. Remove any bruised spots or tough stem areas. (20-30 minutes)
- Fill jars: Add 2 tablespoons (30 ml) of bottled lemon juice to each quart jar or 1 tablespoon (15 ml) to each pint jar to ensure proper acidity. Add 1 teaspoon (5 g) salt per quart or 1/2 teaspoon (2.5 g) per pint. Pack tomatoes tightly into jars, leaving 1/2-inch (1.3 cm) headspace. Use a non-metallic spatula or bubble remover tool to release trapped air bubbles. Adjust headspace if needed. Wipe jar rims clean before placing lids and screw bands finger-tight. (30 minutes)
- Process jars: Place jars in boiling water canner, ensuring water covers jars by at least 1 inch (2.5 cm). Cover pot and bring water to a full rolling boil. Process pint jars for 40 minutes and quart jars for 45 minutes at sea level. Adjust processing time for altitude if needed. (45-60 minutes)
- Cool jars: Carefully remove jars using jar lifter and place on a towel or cooling rack. Let them cool undisturbed for 12-24 hours. Listen for the satisfying “pop” of lids sealing. (12-24 hours)
- Check seals and store: Remove screw bands and press lids to check for a firm seal. Label jars with date and store in a cool, dark place. (10 minutes)
One time, I accidentally forgot to add lemon juice to one batch—lesson learned the hard way! The jars didn’t seal properly, so double-checking that acidity is key. Also, keep a kitchen timer handy to avoid over or under-processing. You’ll know the tomatoes are ready when you see the vibrant color through the glass and smell the fresh tomato aroma upon opening. If you want to add herbs or spices, place them at the bottom of the jar before packing tomatoes for an even infusion.
Cooking Tips & Techniques
When it comes to fresh tomato canning, a few tricks make all the difference between a successful batch and a disappointing one. Here’s what I’ve learned from trial, error, and a few almost disasters:
- Don’t skip the lemon juice or citric acid: Tomatoes can vary in acidity, so this is a safety must to prevent botulism and ensure a good seal.
- Peeling is easier after blanching: The 30-60 second dip in boiling water loosens the skin perfectly without cooking the tomato flesh.
- Use a bubble remover or a non-metallic spatula: Trapped air bubbles cause jars to not seal well. Gently run the tool around the inside edge after packing.
- Maintain the right headspace: Leaving 1/2 inch of space at the top allows for proper vacuum sealing as the jar cools.
- Process at a full rolling boil: This ensures the jars reach the temperature needed for safe preservation.
- Listen for the “pop” seals: The lids should make a popping sound as they seal during cooling, signaling success.
I once tried rushing the cooling step by putting hot jars directly in the fridge. The shock caused some lids to bulge and fail the seal. Patience is key here. Also, multitasking helps—while jars are processing, prep the next batch of tomatoes or clean up your workspace to keep the flow going.
Variations & Adaptations
This fresh tomato canning guide is pretty flexible and can be tailored easily to your taste and dietary needs.
- Herbed Tomatoes: Add a sprig of fresh basil, oregano, or thyme into each jar before filling for a fragrant twist.
- Spicy Kick: Toss in a small dried chili or some crushed red pepper flakes for a bit of heat.
- Low-Sodium Version: Omit the salt or reduce it, but keep the lemon juice for safety.
- Whole vs. Crushed: You can crush the tomatoes by hand or with a potato masher if you prefer a sauce-like texture instead of whole or quartered.
- Alternative Acidity: Use bottled lime juice instead of lemon if you want a slightly different citrus note.
I tried adding garlic and a dash of smoked paprika last year—unexpectedly delicious! Just be mindful to keep the acid level consistent when adding extras. For different cooking methods, this guide is designed for water bath canning, but pressure canning works too if you’re working at high altitudes or want added safety assurance.
Serving & Storage Suggestions
The best part about these fresh tomato preserves is their versatility. Serve them cold, room temperature, or warmed depending on your dish.
- Serving: Use as a base for pasta sauces, soups, stews, or simply spoon over grilled vegetables and meats.
- Presentation: Open a jar and garnish with fresh herbs or a drizzle of good olive oil for a simple side dish.
- Storage: Store sealed jars in a cool, dark place like a pantry or cellar. Properly canned tomatoes last up to 12 months.
- Refrigeration: After opening, keep jars refrigerated and use within 5-7 days.
- Freezing: While canning is best for long-term storage, you can freeze tomatoes in freezer-safe containers if preferred.
Flavors often deepen over time, so if you can wait a month or two before opening, you might notice a richer taste. If you want some inspiration for cooking with your preserves, you might enjoy the hearty vegetable stew recipe that pairs beautifully with canned tomatoes or use them in homemade pizza sauce for a quick weeknight dinner.
Nutritional Information & Benefits
Fresh canned tomatoes are a nutritious addition to your pantry, providing vitamins and antioxidants with minimal calories. Here’s a rough estimate per 1/2 cup (125 ml) serving:
| Nutrient | Amount |
|---|---|
| Calories | 25 |
| Vitamin C | 20% DV |
| Lycopene (antioxidant) | High |
| Sodium | Varies (based on added salt) |
Tomatoes are an excellent source of lycopene, linked to heart health and cancer prevention. Using non-iodized salt keeps the sodium content manageable, and you can always omit salt for a low-sodium diet. This recipe is naturally gluten-free, vegetarian, and vegan-friendly. As someone who watches their health closely, I appreciate how these homemade preserves bring fresh produce into the off-season without additives or preservatives.
Conclusion
In the end, this easy step-by-step fresh tomato canning guide is more than just a method; it’s a way to hold onto summer’s best flavors with confidence and simplicity. Whether you’re brand new to canning or looking for a reliable, no-fuss approach, these instructions make the process approachable and even enjoyable. I love how a batch of canned tomatoes can transform a plain meal into something special, and I’m sure you’ll find that too.
Don’t hesitate to tweak the recipe to your taste—add herbs, spice it up, or go salt-free. I’d love to hear about your own canning adventures, so please leave a comment sharing your tips or questions. Happy canning, and may your pantry be full of bright, delicious jars that remind you of sunny days all year long!
FAQs
How long can canned tomatoes be stored safely?
Properly canned and sealed tomatoes can last up to 12 months when stored in a cool, dark place.
Do I have to peel tomatoes before canning?
Yes, peeling tomatoes improves texture and helps prevent spoilage. Blanching makes peeling easier.
Can I use fresh lemon juice instead of bottled lemon juice?
It’s best to use bottled lemon juice for consistent acidity levels needed for safe canning.
What if my jar doesn’t seal properly after processing?
Refrigerate and use the contents within a few days or reprocess with a new lid following the full canning procedure.
Can I add herbs or spices to my canned tomatoes?
Yes, you can add fresh herbs or spices, but keep the acidity level consistent and avoid adding dairy or thickening agents before canning.
Pin This Recipe!
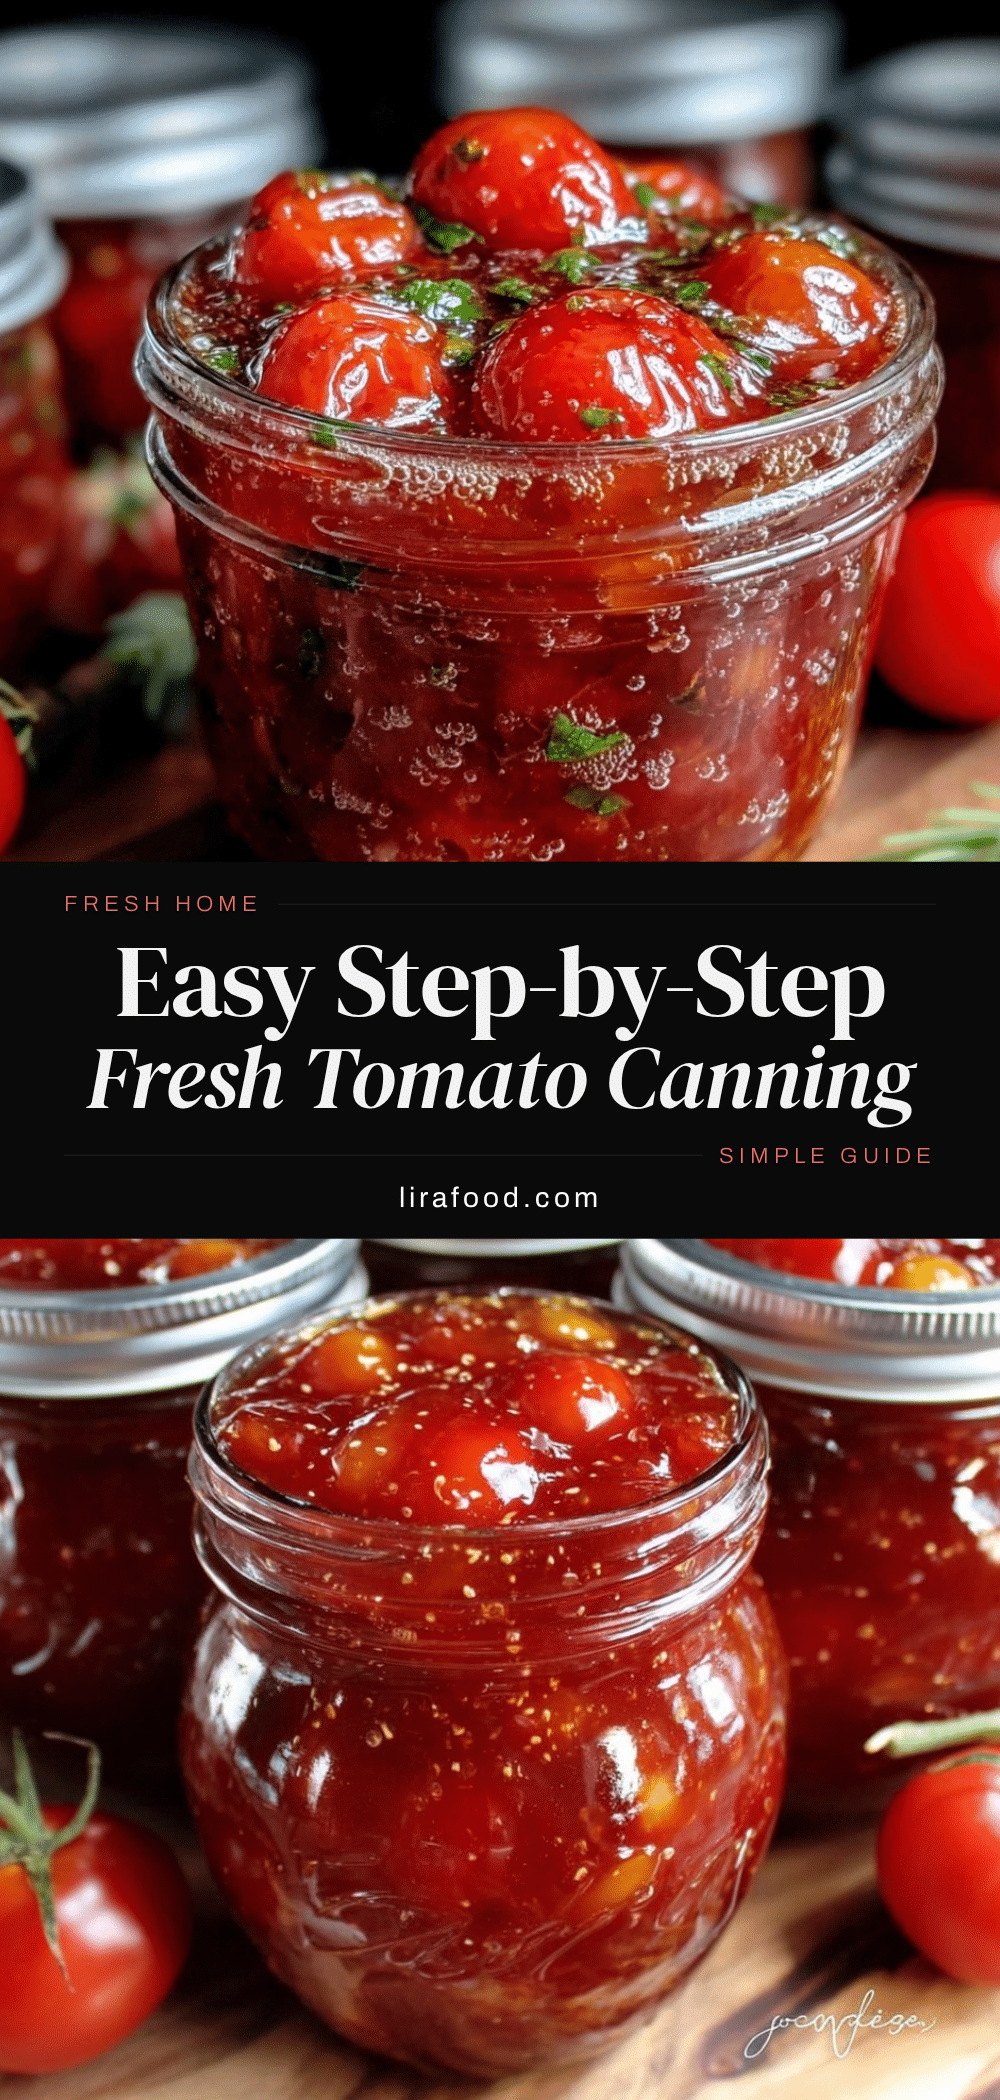
Easy Step-by-Step Fresh Tomato Canning Guide for Perfect Homemade Preserves
A simple and reliable method to preserve fresh tomatoes with minimal ingredients and equipment, capturing the peak summer flavor in jars for long-term storage.
- Prep Time: 1 hour
- Cook Time: 1 hour
- Total Time: 2 hours
- Yield: About 7-8 quart jars or 14-16 pint jars 1x
- Category: Preserves
- Cuisine: American
Ingredients
- 10 pounds fresh tomatoes (Roma or plum recommended)
- 2 tablespoons bottled lemon juice per quart jar
- 1 tablespoon bottled lemon juice per pint jar
- 1 teaspoon non-iodized canning salt per quart jar
- 1/2 teaspoon non-iodized canning salt per pint jar
- Water (for blanching and filling jars)
- Optional: fresh basil or oregano sprigs
- Optional: garlic cloves
- Optional: crushed red pepper flakes
Instructions
- Wash jars, lids, and screw bands in hot soapy water. Rinse well. Place jars in canner or large pot, cover with water, and bring to a simmer to sterilize. Keep jars hot until ready to fill. Heat lids in simmering water to soften sealing compound. (10-15 minutes)
- Rinse tomatoes under cool water. Bring large pot of water to a boil. Dip tomatoes into boiling water for 30-60 seconds until skins start to crack. Transfer immediately to ice water bath to cool. (15 minutes)
- Peel skins off cooled tomatoes, then core and quarter. Remove bruised spots or tough stems. (20-30 minutes)
- Add 2 tablespoons lemon juice and 1 teaspoon salt to each quart jar, or 1 tablespoon lemon juice and 1/2 teaspoon salt to each pint jar. Pack tomatoes tightly into jars, leaving 1/2 inch headspace. Use non-metallic spatula to remove air bubbles. Wipe rims clean and place lids and screw bands finger-tight. (30 minutes)
- Place jars in boiling water canner with water covering jars by at least 1 inch. Cover and bring to full rolling boil. Process pint jars for 40 minutes and quart jars for 45 minutes at sea level. Adjust for altitude if needed. (45-60 minutes)
- Remove jars carefully with jar lifter and place on towel or cooling rack. Let cool undisturbed for 12-24 hours until lids pop and seal. (12-24 hours)
- Remove screw bands and press lids to check seal. Label jars with date and store in cool, dark place. (10 minutes)
Notes
Do not skip lemon juice or citric acid to ensure safe acidity. Peel tomatoes after blanching for easier skin removal. Use a bubble remover tool to release trapped air bubbles. Maintain 1/2 inch headspace for proper vacuum sealing. Process jars at a full rolling boil. Listen for the ‘pop’ sound indicating a proper seal. Cool jars undisturbed to avoid seal failure. Optional herbs and spices can be added but maintain acidity levels. Adjust processing time for altitude if necessary.
Nutrition
- Serving Size: 1/2 cup (125 ml) can
- Calories: 25
- Sugar: 3
- Carbohydrates: 5
- Fiber: 1
- Protein: 1
Keywords: tomato canning, homemade preserves, fresh tomato recipe, water bath canning, preserving tomatoes, summer tomatoes, easy canning guide


