Love this? Save it for later!
Share the inspiration with your friends
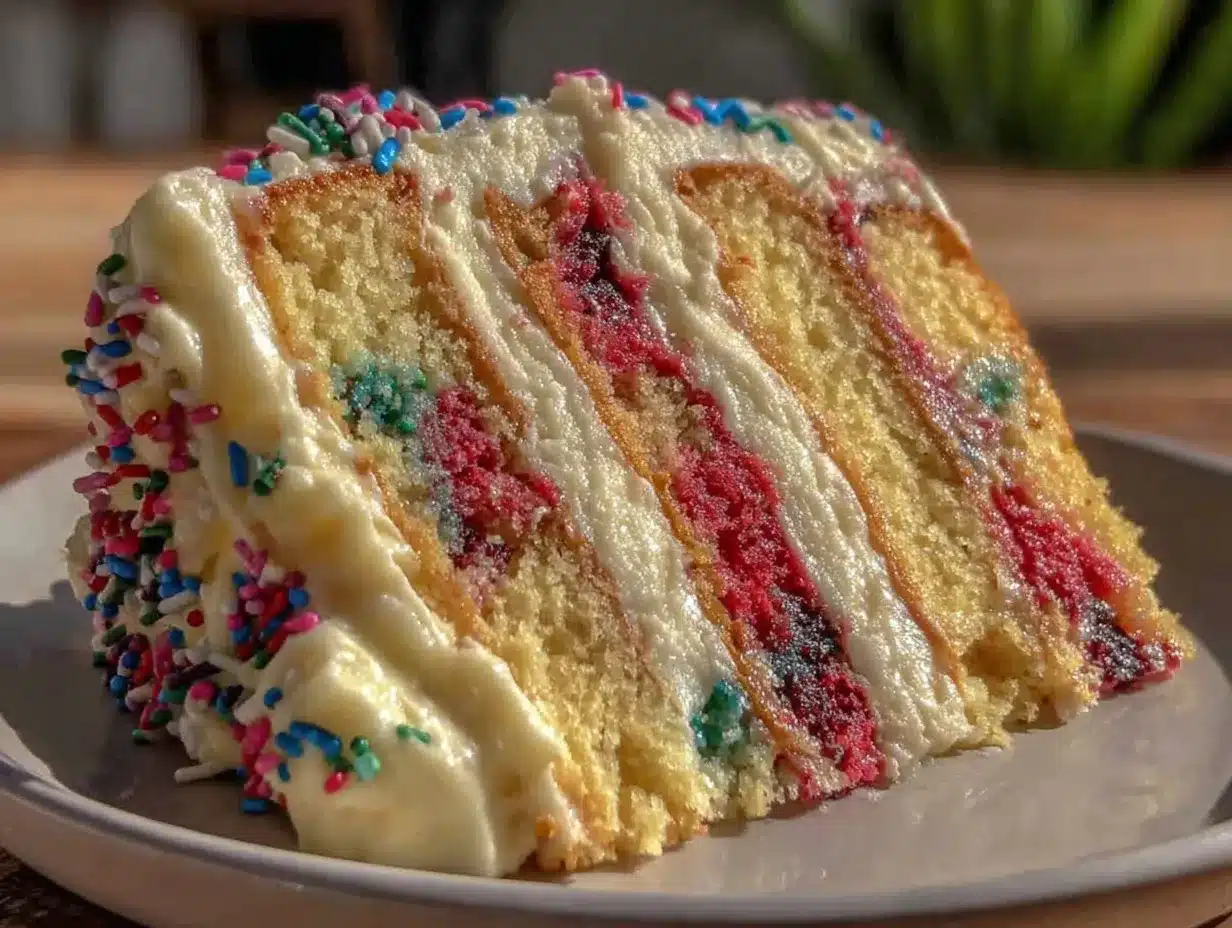
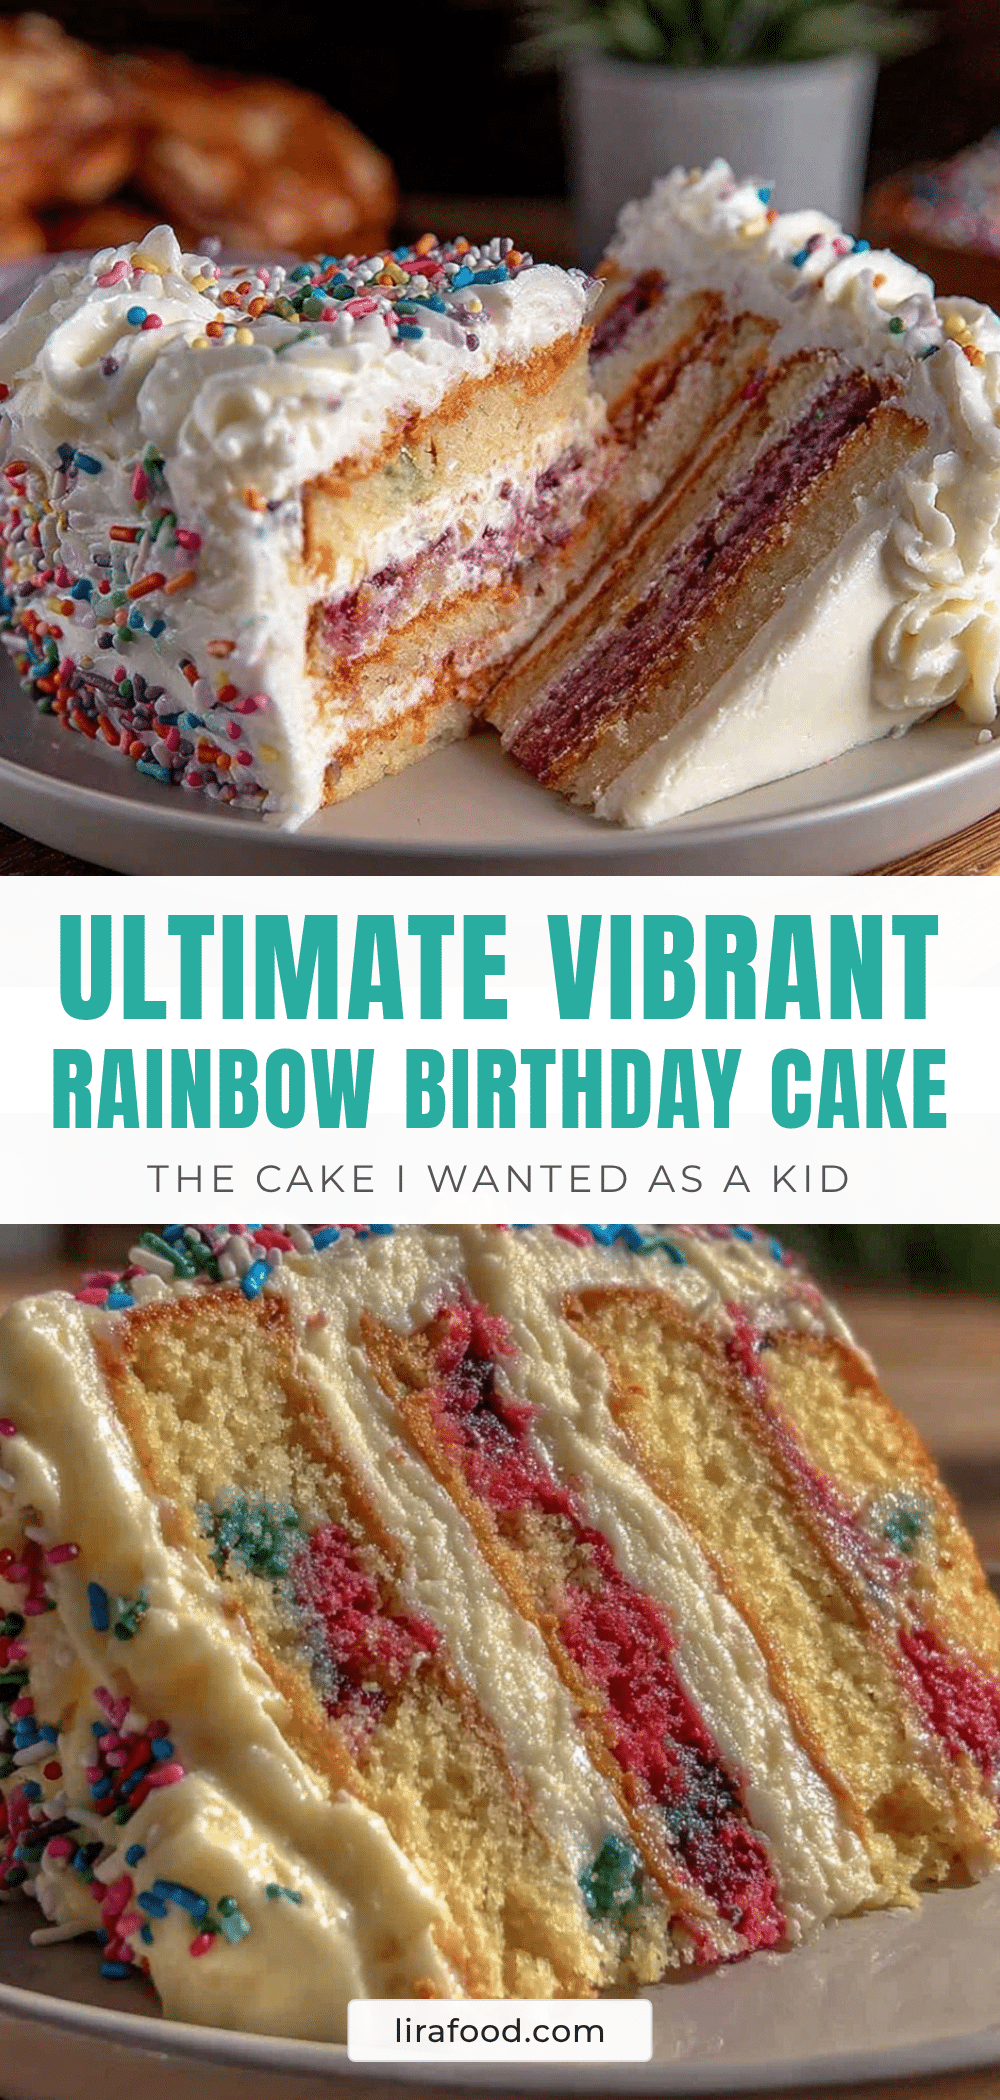
“I wasn’t planning on baking anything that day,” I remember telling my friend over the phone, “but then the power went out halfway through my usual cake recipe.” It was a rainy Saturday afternoon, and the kids were clamoring for something bright and cheerful to lift the mood. With only a few pantry staples and a bit of stubbornness, I decided to whip up what would become my perfect rainbow birthday cake with moist, fluffy layers. Honestly, I wasn’t expecting much—the batter looked a little thin, and I forgot to set the timer properly, so I paced nervously around the kitchen.
But when I pulled those colorful layers out of the oven, glowing in all their rainbow glory, I knew I had stumbled onto something special. The cake was light, airy, and each slice revealed a vibrant spectrum that made everyone smile. Maybe you’ve been there—scrambling to create something magical with limited time and a pinch of chaos. This cake stayed with me since that day, not just for its eye-catching appearance, but because it’s reliably moist and fluffy, a real crowd-pleaser for birthdays or any celebration calling for a splash of color and joy.
Let me tell you, this isn’t just any birthday cake. It’s a recipe that brings a bit of whimsy, a whole lot of flavor, and the kind of texture that keeps folks coming back for seconds—if they can wait that long. Whether you’re a seasoned baker or a weekend warrior, this step-by-step guide will make the process surprisingly simple and fun.
Why You’ll Love This Recipe
After countless tests and some playful tweaks, this perfect rainbow birthday cake with moist, fluffy layers has become a favorite in my kitchen. Here’s why it’s worth your time and ingredients:
- Quick & Easy: The batter comes together in under 20 minutes, making it perfect for last-minute celebrations or spontaneous baking sessions.
- Simple Ingredients: No need for exotic finds—most items are pantry staples you probably already have at home.
- Perfect for Birthdays & Celebrations: The vibrant layers add instant cheer to any party table.
- Crowd-Pleaser: I’ve seen picky eaters (and even skeptics) asking for seconds because of the perfect balance of sweetness and fluff.
- Unbelievably Delicious: The moist crumb and tender crumb texture make it more than just a pretty cake; it’s comfort food wrapped in color.
What sets this recipe apart is the way the layers stay moist and light without crumbling apart—a delicate balance I perfected by folding the batter gently and baking at just the right temperature. Plus, the frosting complements without overpowering, making every bite feel like a treat. Honestly, it’s the kind of cake that makes you close your eyes with the first forkful and smile. Perfect for impressing guests without the usual fuss!
What Ingredients You Will Need
This recipe uses simple, wholesome ingredients to deliver bold flavor and satisfying texture without the fuss. Most are pantry staples, and you can easily swap a few items depending on what you have on hand.
- For the Cake Batter:
- 2 ¾ cups (345g) all-purpose flour (I prefer King Arthur for consistent results)
- 2 ½ teaspoons baking powder
- ½ teaspoon salt
- 1 cup (226g) unsalted butter, softened (room temperature for easy creaming)
- 1 ¾ cups (350g) granulated sugar
- 4 large eggs, room temperature
- 1 tablespoon pure vanilla extract
- 1 cup (240ml) whole milk, warmed slightly (can substitute with almond milk for dairy-free)
- For the Food Coloring:
- Gel food coloring in red, orange, yellow, green, blue, and purple (I recommend AmeriColor gels—they give vibrant hues without thinning the batter)
- For the Frosting:
- 1 cup (226g) unsalted butter, softened
- 4 cups (480g) powdered sugar, sifted
- 3-4 tablespoons heavy cream (or dairy-free alternative)
- 2 teaspoons vanilla extract
- Pinch of salt
If you want to swap all-purpose flour for gluten-free, try a 1:1 gluten-free baking blend. For a lighter frosting, you can replace half the butter with cream cheese, but I find the classic buttercream pairs best with this cake. Seasonal tip: in summer, pair this cake with fresh berries between layers for a juicy surprise.
Equipment Needed
- Six 8-inch (20 cm) round cake pans (or fewer pans if baking layers in batches)
- Mixing bowls (medium and large)
- Electric hand mixer or stand mixer (helps with creaming butter and sugar)
- Measuring cups and spoons
- Rubber spatula for folding batter
- Cooling racks (to cool layers evenly)
- Offset spatula or butter knife (for frosting application)
- Cake turntable (optional, but handy for smooth frosting)
If you don’t have six cake pans, no worries—you can bake layers in batches and keep the batter in the fridge briefly. I once had to bake mine two at a time because my pans were busy—just remember to cool layers completely before stacking. For budget-friendly options, thrift stores often have gently used cake pans that work perfectly.
Preparation Method
- Preheat and Prepare Pans (10 minutes): Preheat your oven to 350°F (175°C). Grease each 8-inch pan thoroughly with butter or non-stick spray, then lightly dust with flour to prevent sticking. Line the bottom with parchment paper rounds for extra insurance.
- Mix Dry Ingredients (5 minutes): In a medium bowl, sift together 2 ¾ cups (345g) all-purpose flour, 2 ½ teaspoons baking powder, and ½ teaspoon salt. Set aside.
- Cream Butter and Sugar (5-7 minutes): Using a stand or hand mixer, beat 1 cup (226g) softened butter and 1 ¾ cups (350g) sugar until light and fluffy—this usually takes about 5 minutes. Don’t rush this step; it’s key for a tender crumb.
- Add Eggs and Vanilla (3 minutes): Beat in eggs one at a time, making sure each is fully incorporated before adding the next. Stir in 1 tablespoon vanilla extract.
- Alternate Adding Dry Ingredients and Milk (5 minutes): Reduce mixer speed to low. Add the dry ingredients in three parts, alternating with 1 cup (240ml) warmed milk—start and end with the dry mix. Mix just until combined; overmixing can make the cake tough.
- Divide and Color Batter (10 minutes): Evenly divide the batter into six small bowls. Add a few drops of gel food coloring to each bowl to create red, orange, yellow, green, blue, and purple batters. Stir gently with a rubber spatula to avoid deflating the batter.
- Pour and Bake Layers (12-15 minutes per batch): Pour each colored batter into its prepared pan, smoothing the top gently. Bake for 12–15 minutes, or until a toothpick inserted in the center comes out clean. Rotate pans halfway through baking for even browning.
- Cool Completely (30 minutes): Let the cakes cool in their pans for 10 minutes, then run a knife around edges and invert onto cooling racks. Peel off parchment paper and cool fully before frosting.
- Prepare Frosting (10 minutes): Beat 1 cup (226g) softened butter until creamy. Gradually add 4 cups (480g) powdered sugar, mixing on low. Add 3-4 tablespoons heavy cream, 2 teaspoons vanilla extract, and a pinch of salt. Beat on high until light and fluffy.
- Assemble Cake (15-20 minutes): Place the purple layer on your cake board or plate. Spread a generous layer of frosting on top. Repeat stacking with blue, green, yellow, orange, then red layers, frosting between each. Use the remaining frosting to cover the top and sides. Chill for 30 minutes to set.
Pro tip: If your layers have domed on top, level them gently with a serrated knife before stacking for a tidier cake. Also, keep an eye on the baking time—it can vary slightly depending on your oven.
Cooking Tips & Techniques
One trick that really made this cake stand out was tempering the eggs to room temperature. Cold eggs can cause the batter to curdle or bake unevenly. I learned this the hard way when my first batch came out dense and sad.
When mixing the batter, folding in the flour gently is crucial. Overmixing develops gluten, making the cake chewy instead of fluffy. You know that feeling when a cake turns out more like a brick? Yeah, me too. Patience here pays off.
For even layers, weighing the batter portions helps—aim for about 170g (6 oz) per pan. It’s a little extra effort but worth the perfectly even slices.
Multitasking tip: While the layers bake, start the frosting. If you’re short on time, chill the frosted cake briefly between coats to prevent frosting from sliding.
Variations & Adaptations
- Gluten-Free Rainbow Cake: Swap all-purpose flour with a 1:1 gluten-free blend (like Bob’s Red Mill) and add ½ teaspoon xanthan gum if your blend doesn’t include it.
- Vegan Version: Use flax eggs (1 tablespoon ground flaxseed + 3 tablespoons water per egg), dairy-free butter substitute, and plant-based milk. The texture will be slightly different but still delightful.
- Chocolate Rainbow: Add ¼ cup (25g) cocoa powder to each colored batter for a subtle chocolate twist. Adjust milk by reducing 2 tablespoons to keep the batter consistency.
I once tried adding lemon zest and a bit of fresh juice to the batter for a refreshing citrus pop—totally unexpected but a hit at summer parties!
Serving & Storage Suggestions
Serve this cake at room temperature for the best texture and flavor. A slice looks stunning on any party plate, especially garnished with fresh berries or edible flowers. Pair it with a light sparkling lemonade or a creamy vanilla latte for a perfect match.
Store leftovers covered in the fridge for up to 4 days. To keep the layers moist, wrap the cake tightly with plastic wrap or place it in an airtight container. For longer storage, freeze individual slices wrapped well in foil and freezer bags for up to 2 months.
When reheating, let frozen slices thaw overnight in the fridge, then bring to room temperature before serving. The flavors often deepen after a day or two, so if you can wait, it’s worth it!
Nutritional Information & Benefits
Each slice of this cake (assuming 12 servings) roughly contains:
| Calories | Fat | Carbohydrates | Protein |
|---|---|---|---|
| 320 | 15g | 42g | 4g |
Key ingredients like eggs and milk provide a good source of protein and calcium. Using whole ingredients and avoiding artificial dyes by choosing gel food coloring with natural bases can make this cake a little kinder for sensitive tummies. Just a heads-up: it contains gluten, dairy, and eggs, so not suitable for all allergies.
From a wellness perspective, this cake is a joyful treat best enjoyed mindfully—perfect for celebrating special moments with loved ones.
Conclusion
This perfect rainbow birthday cake with moist, fluffy layers has become my go-to for celebrations that need a little extra sparkle. It’s easy enough for a busy home cook, yet impressive enough to charm any crowd. Don’t be afraid to customize it to your taste—whether that means trying a new frosting flavor or adding fun fillings.
I hope this recipe brings as much joy to your kitchen as it has to mine. If you give it a try, I’d love to hear how it turned out or any creative twists you added! Baking is all about sharing and learning together.
Go ahead, make someone’s birthday (or any day) unforgettable with this colorful, flavorful delight. Happy baking!
FAQs
Can I use liquid food coloring instead of gel?
You can, but gel food coloring is best because it gives vibrant colors without thinning the batter. Liquid colors might make the batter runnier and affect texture.
How do I prevent the cake layers from drying out?
Careful not to overbake and cool layers completely before frosting. Wrapping layers in plastic wrap if not assembling immediately helps retain moisture.
Can I make this cake ahead of time?
Absolutely! Bake layers up to two days in advance and keep wrapped in the fridge. Assemble and frost the day of serving for freshest results.
What’s the best way to level cake layers?
A serrated knife or a cake leveler works well. Cut off any domed tops to create flat, even layers for stacking.
Can I substitute butter with oil in this recipe?
Butter provides flavor and structure, but you can replace half with neutral oil for a moister crumb. Keep in mind it may slightly change texture and taste.
By the way, if you’re interested in more colorful baking, you might enjoy the funfetti cupcakes recipe or for a rich, decadent treat, the chocolate layer cake recipe is a favorite around here.
Pin This Recipe!
Perfect Rainbow Birthday Cake Recipe with Moist Fluffy Layers
A vibrant and moist rainbow birthday cake with fluffy layers that are easy to make and perfect for celebrations. This recipe uses simple pantry staples and gel food coloring to create a colorful, crowd-pleasing dessert.
- Prep Time: 20 minutes
- Cook Time: 15 minutes per batch (approx. 30-45 minutes total depending on number of pans)
- Total Time: 1 hour 30 minutes
- Yield: 12 servings 1x
- Category: Dessert
- Cuisine: American
Ingredients
- 2 ¾ cups (345g) all-purpose flour
- 2 ½ teaspoons baking powder
- ½ teaspoon salt
- 1 cup (226g) unsalted butter, softened
- 1 ¾ cups (350g) granulated sugar
- 4 large eggs, room temperature
- 1 tablespoon pure vanilla extract
- 1 cup (240ml) whole milk, warmed slightly
- Gel food coloring in red, orange, yellow, green, blue, and purple
- 1 cup (226g) unsalted butter, softened (for frosting)
- 4 cups (480g) powdered sugar, sifted
- 3–4 tablespoons heavy cream (or dairy-free alternative)
- 2 teaspoons vanilla extract (for frosting)
- Pinch of salt (for frosting)
Instructions
- Preheat oven to 350°F (175°C). Grease six 8-inch cake pans and dust with flour; line bottoms with parchment paper.
- Sift together flour, baking powder, and salt in a medium bowl; set aside.
- Beat softened butter and sugar with a mixer until light and fluffy, about 5 minutes.
- Add eggs one at a time, fully incorporating each before adding the next. Stir in vanilla extract.
- Reduce mixer speed to low; add dry ingredients in three parts alternating with warmed milk, starting and ending with dry ingredients. Mix just until combined.
- Divide batter evenly into six bowls. Add gel food coloring to each to create red, orange, yellow, green, blue, and purple batters. Stir gently.
- Pour each colored batter into prepared pans and smooth tops. Bake 12-15 minutes or until a toothpick comes out clean, rotating pans halfway through.
- Cool cakes in pans for 10 minutes, then invert onto cooling racks. Remove parchment and cool completely.
- For frosting, beat softened butter until creamy. Gradually add powdered sugar on low speed. Add heavy cream, vanilla, and salt; beat on high until fluffy.
- Assemble cake by stacking layers from purple to red, spreading frosting between each. Cover top and sides with remaining frosting. Chill for 30 minutes to set.
- Level domed layers with a serrated knife before stacking if needed.
Notes
Use gel food coloring for vibrant colors without thinning batter. Temper eggs to room temperature to avoid curdling. Fold flour gently to keep cake fluffy. Weigh batter portions (~170g each) for even layers. Chill cake briefly between frosting coats to prevent sliding. Can bake layers in batches if fewer pans are available.
Nutrition
- Serving Size: 1 slice (1/12 of cak
- Calories: 320
- Fat: 15
- Carbohydrates: 42
- Protein: 4
Keywords: rainbow cake, birthday cake, colorful cake, moist cake, fluffy cake, easy cake recipe, celebration cake, layered cake