Love this? Save it for later!
Share the inspiration with your friends
“Mom, can you make those peanut butter balls again? The ones that taste like cookie dough?” My son asked this while staring into the fridge one afternoon, looking for something—anything—that wasn’t a boring apple. I had made a batch of energy bites the week before, mostly out of desperation after realizing I had zero snack options for school lunches. And honestly? They were a total experiment. I threw in some mashed banana that was about to go brown, a scoop of peanut butter, some oats, and crossed my fingers. The kid ate four before I could even pack them. That was the moment I knew I had stumbled onto something worth keeping. These easy peanut butter banana energy bites for school lunches are now a staple in our house, and I haven’t bought a single packaged granola bar since we started making them.
There’s something about these little bites that just works. They’re not too sweet, not too heavy, and they somehow manage to satisfy that afternoon hunger without making anyone crash. I’ve brought them to playdates, soccer games, and even snuck a few into my own work bag when I needed a quick pick-me-up. They hold up well in a lunchbox too—no melting, no crumbling, no mess. Just a perfect little ball of energy that tastes like a treat but acts like fuel. And let’s face it, getting kids to eat something healthy that they actually ask for? That’s a win in any parent’s book.
These energy bites are the kind of recipe that makes you feel like a kitchen genius with barely any effort. You don’t need a mixer, you don’t need to turn on the oven, and you definitely don’t need any fancy ingredients. Just a bowl, a spoon, and about ten minutes of your time. The hardest part is not eating all the dough before you roll it into balls—trust me on that one.
Why You’ll Love This Recipe
- Quick & Easy: These come together in under 10 minutes. No baking, no cooking, no waiting. Just mix, roll, and pack.
- Simple Ingredients: You probably already have everything in your pantry. Oats, peanut butter, banana, honey—that’s it. No weird health food store finds needed.
- Perfect for School Lunches: They fit right in a lunchbox, no ice pack required. They won’t get squished or melt, and they’re easy for little hands to grab.
- Crowd-Pleaser: I’ve served these to picky eaters, health-conscious friends, and even my dad who claims he doesn’t like “healthy stuff.” Everyone goes back for seconds.
- Unbelievably Delicious: They taste exactly like peanut butter cookie dough, minus the raw eggs and flour. The banana adds natural sweetness and moisture that makes them soft and chewy.
What makes these different from other energy bite recipes is the banana. Most recipes rely on honey or maple syrup for sweetness, but the mashed banana adds a subtle fruitiness and a soft texture that dried fruit just can’t match. Plus, it helps bind everything together without needing extra sticky ingredients. I’ve tested versions with and without banana, and honestly, the banana version wins every single time. It’s the secret ingredient that makes these taste homemade and special, not like something you grabbed from a package.
These energy bites are the kind of snack that makes you feel good about what you’re feeding your family. They’re packed with protein from the peanut butter, fiber from the oats, and potassium from the banana. No artificial flavors, no preservatives, no weird additives. Just real food that tastes like a treat. And when your kid opens their lunchbox and sees these waiting for them? That’s a pretty great feeling.
What Ingredients You Will Need
This recipe uses simple, wholesome ingredients that you can find at any grocery store. The beauty of these energy bites is that they don’t require anything fancy—just good, real food that works together to create something delicious and satisfying.
- Rolled oats (1 cup) – Use old-fashioned rolled oats for the best texture. Quick oats will work in a pinch, but they make the bites a bit mushier. I prefer Bob’s Red Mill or Quaker for consistency. Gluten-free oats work great if needed.
- Creamy peanut butter (1/2 cup) – Natural peanut butter works fine, but make sure it’s well-stirred. The processed kind with a little sugar and salt actually gives a better texture here. I like Skippy Natural or Justin’s. Avoid the super oily natural brands that separate too much.
- Ripe banana (1 medium, mashed) – The riper the better. Brown spots are perfect. A ripe banana adds more sweetness and makes the bites softer. If your banana isn’t very ripe, add an extra tablespoon of honey.
- Honey (2 tablespoons) – Local honey is great if you have it, but any honey works. Maple syrup is a good substitute for a vegan version, though it makes the mixture slightly thinner.
- Ground flaxseed (2 tablespoons) – This is optional but adds fiber and omega-3s. It also helps bind the mixture. You can skip it or use chia seeds instead.
- Mini chocolate chips (1/4 cup) – Semi-sweet or dark chocolate chips are my go-to. They add little pockets of sweetness that make these feel like a treat. You can use dairy-free chocolate chips if needed.
- Vanilla extract (1/2 teaspoon) – Pure vanilla extract adds warmth and depth. Imitation vanilla works too, but pure is better if you have it.
- Pinch of salt – If your peanut butter is unsalted, add a small pinch of salt to balance the sweetness.
That’s it. Seven ingredients, most of which you probably already have in your pantry. The beauty of this recipe is how forgiving it is—you can swap things around based on what you have and it still works. Out of chocolate chips? Try dried cranberries or chopped nuts. Don’t have flaxseed? Just leave it out. The base of oats, peanut butter, and banana is sturdy enough to handle all kinds of changes.
Equipment Needed
You don’t need much for this recipe, which is part of why I love it. No food processor, no mixer, no special pans. Just a few basic kitchen tools you probably already own.
- Large mixing bowl – Any medium-to-large bowl works. I use a ceramic one because it’s heavy and doesn’t slide around.
- Fork or potato masher – For mashing the banana. A fork works perfectly fine, but a potato masher is faster if you have one.
- Measuring cups and spoons – Standard set for accuracy. I’ve made these by eyeballing it before, and they still turned out fine, but measuring helps with consistency.
- Spatula or wooden spoon – For mixing everything together. A rubber spatula works best for scraping the sides.
- Small cookie scoop or tablespoon – For portioning the mixture into even balls. A cookie scoop makes them uniform and speeds things up. If you don’t have one, just use a tablespoon and your hands.
- Parchment paper or wax paper – For placing the rolled bites on while they set. Not strictly necessary, but it keeps them from sticking to your counter or plate.
- Baking sheet or large plate – To hold the bites while they chill. A dinner plate works in a pinch.
If you don’t have a cookie scoop, don’t worry. I made these for months just using my hands and a tablespoon. The key is to wash your hands occasionally if the mixture gets too sticky—a little water on your palms helps the rolling go smoother. I learned that trick after my first batch turned into a sticky mess all over my fingers.
Preparation Method
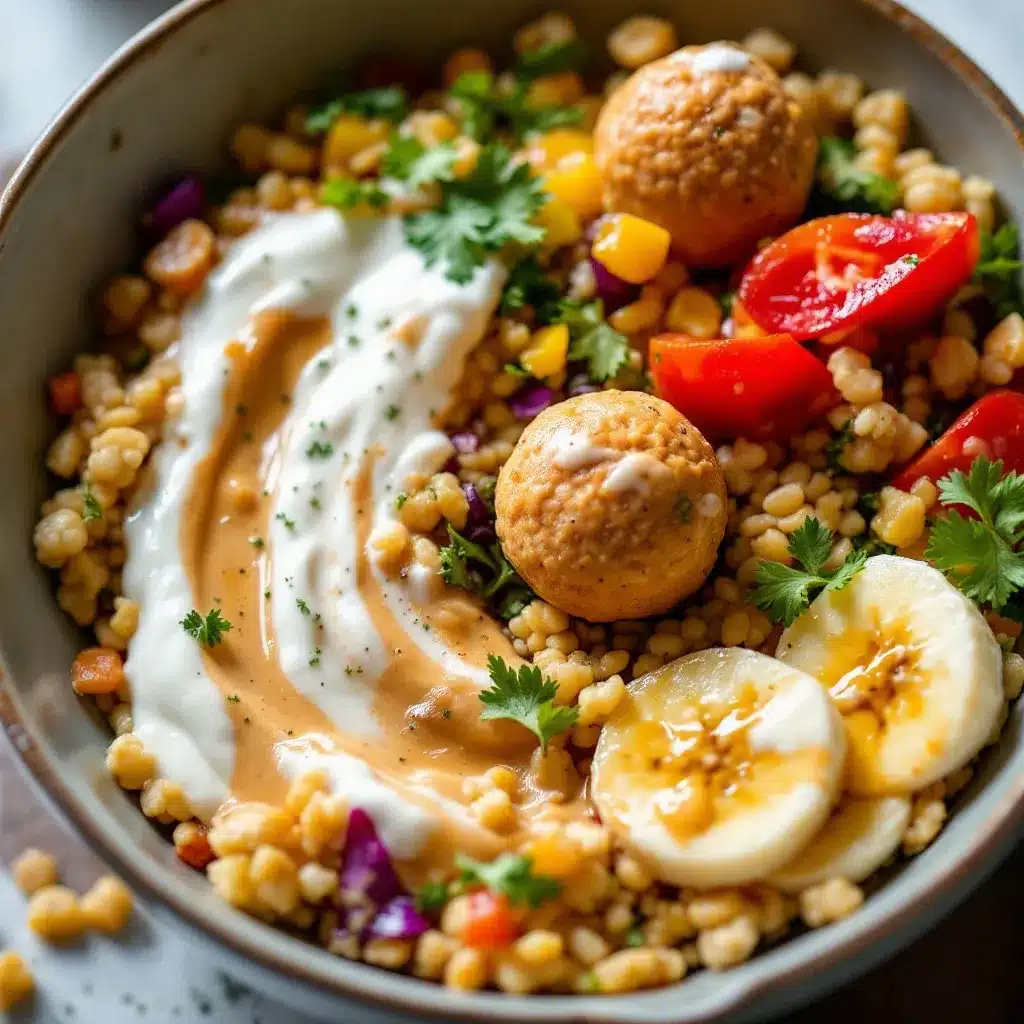
- Mash the banana. In your large mixing bowl, take your ripe banana and mash it well with a fork or potato masher. You want it smooth with no big chunks—think baby food consistency. This should take about 30 seconds. A chunky banana will leave weird wet spots in your energy bites, so take your time here.
- Add the wet ingredients. Add the peanut butter, honey, and vanilla extract to the mashed banana. Stir everything together until it’s fully combined. The mixture should look smooth and uniform, like a thick peanut butter sauce. If your peanut butter was stored in the fridge, let it sit out for 10 minutes first so it’s easier to mix.
- Mix the dry ingredients. Add the rolled oats, ground flaxseed, and a pinch of salt (if using). Stir until everything is evenly distributed. The mixture will start to look like a thick, sticky dough at this point. Make sure there are no dry pockets of oats hiding at the bottom of the bowl—scrape the sides and bottom well.
- Fold in the chocolate chips. Add the mini chocolate chips and fold them in gently. You want them evenly distributed throughout the mixture, not all clustered in one spot. If the dough is too sticky to work with, pop it in the fridge for 10 minutes to firm up slightly.
- Chill the mixture. Cover the bowl and place it in the refrigerator for 15-20 minutes. This step is important—it makes the dough much easier to handle and roll. I’ve skipped this before when I was in a hurry, and the bites were significantly stickier and harder to shape. Trust me on this one.
- Roll into balls. Using a small cookie scoop or a tablespoon, portion out the mixture. Roll each portion between your palms to form a smooth ball, about 1 inch in diameter. If your hands get sticky, lightly wet them with water between rolls. You should get about 18-20 bites from this recipe.
- Place on parchment. Set the rolled bites on a baking sheet or plate lined with parchment paper. Make sure they’re not touching each other, or they’ll stick together as they chill.
- Final chill. Refrigerate the bites for at least 30 minutes before serving. This helps them firm up and hold their shape. If you’re packing them for school lunches, let them chill overnight for the best texture.
- Store properly. Transfer the chilled bites to an airtight container. Layer them with parchment paper between stacks so they don’t stick together. They’ll keep in the fridge for up to a week—if they last that long.
A few notes from my own experience: The mixture should feel like thick cookie dough—sticky but not wet. If it’s too dry and crumbly, add a teaspoon of honey or a splash of milk. If it’s too wet and doesn’t hold together, add a tablespoon more oats. Weather and humidity can affect the texture, so trust your hands more than the recipe. And don’t skip the chill time before rolling—it makes a huge difference in how easy they are to handle.
Cooking Tips & Techniques
I’ve made these energy bites probably fifty times by now, and I’ve learned a few things along the way that make the process smoother and the results better. Here are my best tips:
Use a slightly under-ripe banana for less sweetness. If you prefer your energy bites less sweet, use a banana that’s just barely ripe—still yellow with no brown spots. It won’t be as soft to mash, but it’ll add structure without overwhelming sweetness. For a sweeter bite, go for the brown-spotted bananas that are practically begging to be used up.
Toast your oats first for extra flavor. Spread the rolled oats on a baking sheet and toast them at 350°F for about 8 minutes, until they’re lightly golden and smell nutty. Let them cool completely before mixing. This adds a whole new dimension of flavor that makes the bites taste almost like baked oatmeal cookies. I do this when I want to impress guests or make a batch feel extra special.
Don’t overmix the dough. Once you add the oats, stir just until everything is combined. Overmixing can make the oats break down too much and turn the texture into a paste instead of a chewy bite. You want to see distinct oat flakes in the finished product.
Use a cookie scoop for consistent sizing. Uniform balls look nicer and they also chill at the same rate. If you’re packing these for lunches, consistent sizing means each kid gets the same amount—no arguments over who got the bigger one. I learned this the hard way after my kids started comparing their snacks.
Wet your hands for easier rolling. This is the tip that changed everything for me. Keep a small bowl of water nearby and dip your fingertips before rolling each ball. The water prevents the sticky mixture from clinging to your hands without adding enough moisture to change the texture. It’s a game-changer, especially if you’re making a double batch.
Let them rest after rolling. After you roll all the bites, let them sit at room temperature for about 10 minutes before transferring them to the fridge. This allows the oats to absorb some of the moisture and helps the bites hold their shape better during chilling. I noticed my bites were falling apart less after I started doing this.
Make a double batch for busy weeks. These freeze beautifully, so I always make at least double what I think I’ll need. One batch goes in the fridge for the week, and the other goes in the freezer for later. It’s a lifesaver on mornings when I’m scrambling to pack lunches and realize we’re out of snacks.
Variations & Adaptations
One of the best things about this recipe is how customizable it is. I’ve experimented with all kinds of variations over the years, and here are some of my favorites:
Chocolate Peanut Butter Dream: Add 1 tablespoon of cocoa powder to the dry ingredients and use dark chocolate chips instead of semi-sweet. The cocoa powder makes these taste like brownie batter, and my kids go absolutely crazy for them. Just be aware that cocoa powder can make the mixture slightly drier, so you might need an extra teaspoon of honey.
Tropical Twist: Replace the chocolate chips with dried pineapple or mango chunks and add 2 tablespoons of shredded coconut. Omit the vanilla extract and add a squeeze of lime juice instead. These taste like a tropical vacation and are perfect for summer lunchboxes. I made these for a beach trip once, and they held up beautifully in the cooler.
Nut-Free School Version: Many schools have nut-free policies, so swap the peanut butter for sunflower seed butter or WowButter (a soy-based peanut butter alternative). The texture will be slightly different—sunflower seed butter can turn green when baked, but since these are no-bake, you’re fine. Just make sure to check the label for any cross-contamination warnings if allergies are a concern.
Vegan Version: Replace the honey with maple syrup or agave nectar. Use dairy-free chocolate chips. Everything else in the recipe is already plant-based. The maple syrup version has a slightly thinner consistency, so you might need to add an extra tablespoon of oats to compensate.
Protein-Packed Bites: Add 2 tablespoons of vanilla or chocolate protein powder to the dry ingredients. Reduce the oats by 2 tablespoons to keep the texture balanced. This version is great for teenage athletes or anyone who needs a more substantial snack. I’ve used both whey and plant-based protein powders with good results.
Spiced Apple Version: Replace the chocolate chips with dried apple pieces and add 1/2 teaspoon of cinnamon and a pinch of nutmeg. The apple and cinnamon combination makes these taste like autumn in a bite. I make these every fall and they disappear faster than any other version.
My personal favorite variation is the Tropical Twist—it’s unexpected and refreshing, and it makes lunch feel like a mini vacation. But honestly, you can’t go wrong with any of these. The base recipe is so forgiving that you can throw in whatever you have on hand and it’ll probably work.
Serving & Storage Suggestions
These energy bites are best served cold or at room temperature, straight from the fridge. They have a chewy, satisfying texture that softens slightly as they warm up. If you’re packing them for school lunches, I recommend taking them straight from the fridge and putting them in a small container or reusable snack bag. They’ll still be perfectly chilled by lunchtime, especially if you pack them with an ice pack.
For a fun presentation, arrange them on a platter with fresh fruit and a side of yogurt for dipping. They’re great for playdates, birthday parties, or after-school snacks when friends come over. I’ve also served them at brunch alongside fluffy buttermilk pancakes and fresh fruit—they make a nice light option for anyone who wants something less heavy.
Storage is simple: keep them in an airtight container in the refrigerator for up to a week. Layer them with parchment paper if you’re stacking them, because they can stick together otherwise. I use a glass container with a tight-fitting lid, and they stay fresh and chewy for days.
For longer storage, these freeze beautifully. Place the rolled bites on a baking sheet in a single layer and freeze for about an hour, until they’re solid. Then transfer them to a freezer-safe bag or container. They’ll keep for up to three months. To thaw, just move them to the refrigerator overnight, or let them sit at room temperature for about 15 minutes. I always keep a bag in the freezer for those mornings when I realize we’re out of lunch snacks.
One thing I’ve noticed: the flavors actually develop and meld together after a day or two in the fridge. The first day, they taste good. The second day? They taste amazing. Something about the oats absorbing the moisture and the flavors marrying together makes them even better after a little rest. So if you can, make these a day ahead for the best results.
Nutritional Information & Benefits
Each energy bite (based on a batch of 20) contains approximately:
- Calories: 110
- Protein: 4g
- Carbohydrates: 14g
- Fiber: 2g
- Sugar: 7g
- Fat: 5g
- Sodium: 45mg
These numbers will vary depending on the exact ingredients you use—natural peanut butter has slightly less sugar than processed, and dark chocolate chips have less sugar than milk chocolate. But overall, these are a balanced snack that provides sustained energy without a sugar crash.
The rolled oats provide complex carbohydrates and fiber that help keep kids full and focused through the afternoon. The peanut butter adds protein and healthy fats that support brain development and energy levels. The banana contributes potassium, which is important for muscle function and hydration. And the flaxseed adds omega-3 fatty acids and additional fiber—a bonus for digestive health.
These energy bites are naturally dairy-free if you use dairy-free chocolate chips, and they can easily be made vegan by swapping the honey for maple syrup. They’re also gluten-free if you use certified gluten-free oats. The only common allergen to watch for is peanuts, but as I mentioned earlier, you can substitute sunflower seed butter for a nut-free version.
From a wellness perspective, I love that these give my kids real food energy—not the kind that comes from processed bars full of ingredients I can’t pronounce. They’re a snack I feel good about packing, and that peace of mind is worth more than any convenience food could offer.
FAQs
Can I use quick oats instead of rolled oats?
Yes, you can use quick oats, but the texture will be different. Quick oats are more finely ground, so they absorb moisture faster and create a softer, more uniform bite. Rolled oats give a chewier texture with more visible oat flakes. Both work, but I prefer rolled oats for the texture contrast. If you only have quick oats, reduce the chill time before rolling since they’ll soften faster.
How do I keep the bites from falling apart?
If your energy bites are falling apart, the mixture is probably too dry. Add a tablespoon of honey or a splash of milk (dairy or non-dairy) and mix again. If they’re still crumbly, let the mixture sit in the fridge for 20-30 minutes before rolling—the oats need time to absorb the moisture and bind everything together. Also, make sure your banana is very ripe; a less ripe banana won’t mash as smoothly and won’t bind as well.
Can I make these without a food processor?
Absolutely. This recipe doesn’t require a food processor at all. Everything is mixed by hand in a single bowl. The only tool you really need is a fork for mashing the banana and a spoon or spatula for mixing. It’s one of the simplest recipes I make, and cleanup takes about two minutes.
How long do these last at room temperature?
These energy bites are best kept refrigerated, but they can sit at room temperature for a few hours without any issues. If you’re packing them for a lunchbox, they’ll be fine until lunchtime. For longer periods (like a day trip or picnic), pack them in a cooler with an ice pack. I wouldn’t leave them out for more than 4-5 hours, especially in warm weather, because of the banana content.
Can I double this recipe?
Yes, this recipe doubles beautifully. I often make a double batch on Sunday afternoons to last through the week. Just make sure you have a large enough bowl to mix everything together—I use my biggest mixing bowl for double batches. The only thing to watch out for is the chill time: a double batch might need a few extra minutes in the fridge before rolling since there’s more mixture to cool down.
Conclusion
These easy peanut butter banana energy bites for school lunches have honestly changed the way I think about snack prep. They’re not just another recipe to add to the rotation—they’re the one I keep coming back to, week after week, because they actually work. They satisfy hungry kids, they’re packed with real ingredients, and they come together in less time than it takes to argue about what’s for snack. That’s a win I’ll take any day.
What I love most about this recipe is how forgiving it is. You can swap ingredients based on what you have, adjust the sweetness to your taste, and experiment with different add-ins without worrying about ruining the batch. It’s the kind of recipe that rewards creativity and doesn’t punish imperfection. And in a world where so much about feeding our families feels complicated, that simplicity is a gift.
I’d love to hear how these turn out for you. Do your kids have a favorite variation? Did you try something unexpected that worked? Drop a comment below and let me know—I’m always looking for new ideas to try. And if you’re looking for more easy lunchbox-friendly recipes, check out my classic homemade banana pudding for a treat that travels well, or my fresh Waldorf salad for a crunchy, satisfying side that kids actually eat. Happy snacking, friends—you’ve got this.
Pin This Recipe!
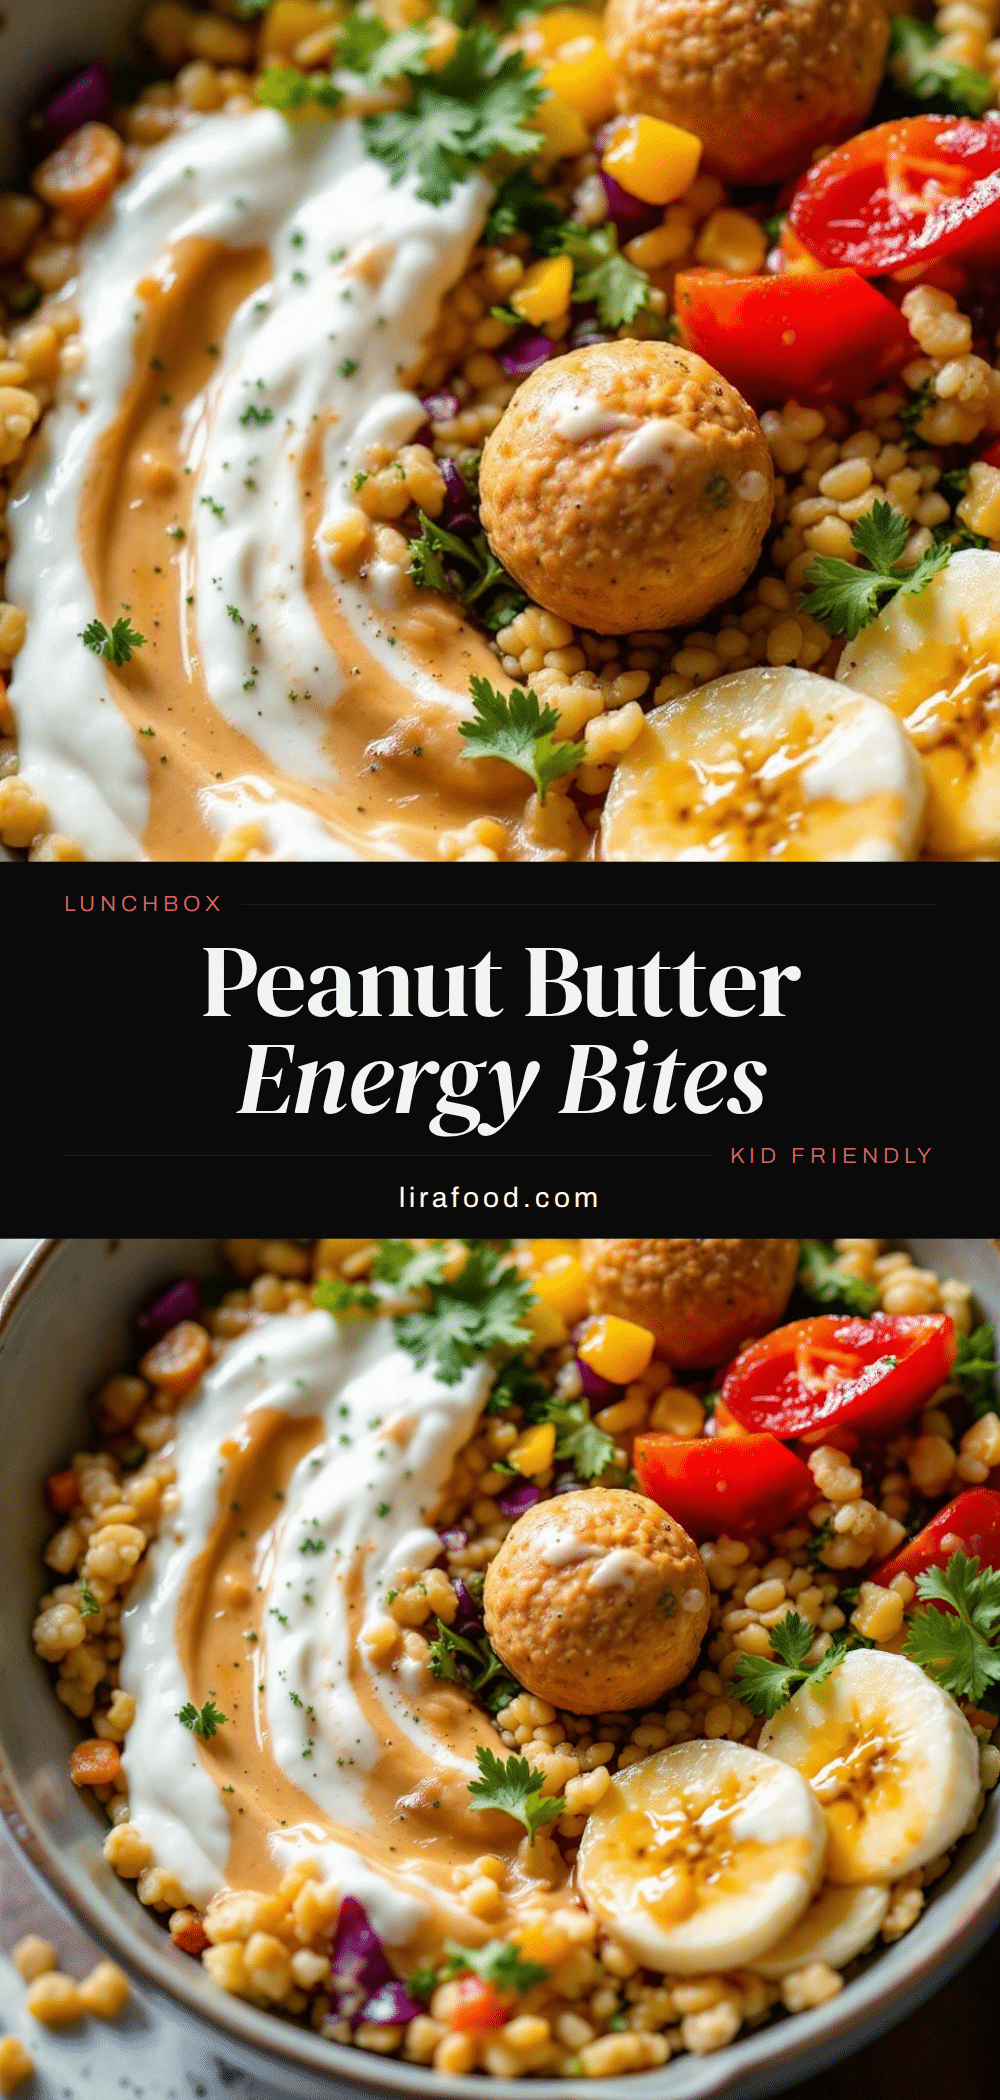
Easy Peanut Butter Banana Energy Bites for School Lunches

These no-bake energy bites combine peanut butter, banana, oats, and chocolate chips for a healthy, kid-friendly snack that tastes like cookie dough. Perfect for school lunches, they come together in under 10 minutes with simple pantry ingredients.
- Prep Time: 10 minutes
- Cook Time: 0 minutes
- Total Time: 10 minutes (plus 45 minutes chilling)
- Yield: 18-20 bites 1x
- Category: Snack
- Cuisine: American
Ingredients
- 1 cup rolled oats
- 1/2 cup creamy peanut butter
- 1 medium ripe banana, mashed
- 2 tablespoons honey
- 2 tablespoons ground flaxseed
- 1/4 cup mini chocolate chips
- 1/2 teaspoon vanilla extract
- Pinch of salt (if peanut butter is unsalted)
Instructions
- Mash the banana in a large mixing bowl until smooth with no big chunks.
- Add peanut butter, honey, and vanilla extract to the mashed banana. Stir until fully combined and smooth.
- Add rolled oats, ground flaxseed, and a pinch of salt (if using). Stir until evenly distributed and a thick, sticky dough forms.
- Fold in mini chocolate chips gently until evenly distributed.
- Cover the bowl and refrigerate for 15-20 minutes to firm up the mixture.
- Using a small cookie scoop or tablespoon, portion out the mixture and roll into smooth balls about 1 inch in diameter. Wet hands lightly with water if sticky.
- Place rolled bites on a parchment-lined baking sheet or plate, ensuring they are not touching.
- Refrigerate for at least 30 minutes before serving to firm up.
- Transfer to an airtight container, layering with parchment paper if stacking. Store in the refrigerator for up to a week.
Notes
For best results, use a very ripe banana for natural sweetness and binding. Chill the mixture before rolling to prevent stickiness. If the mixture is too dry, add a teaspoon of honey or splash of milk; if too wet, add a tablespoon more oats. These freeze well for up to 3 months.
Nutrition
- Serving Size: 1 energy bite
- Calories: 110
- Sugar: 7
- Sodium: 45
- Fat: 5
- Saturated Fat: 1
- Carbohydrates: 14
- Fiber: 2
- Protein: 4
Keywords: energy bites, peanut butter banana, no-bake snacks, school lunch ideas, healthy snacks for kids, gluten-free snacks, vegan option


