Love this? Save it for later!
Share the inspiration with your friends
I had been looking for a chocolate cupcake that actually tasted like the dark side of cocoa, not just something sweet and brown. For a while, I just accepted that Halloween desserts were going to taste like artificial vanilla and sugar bombs. You know, the kind that leaves you sticky and regretful by noon. It wasn’t until I stumbled across black cocoa powder that the game changed entirely. This stuff is almost black, and it tastes like rich, dark earth mixed with deep chocolate. It’s intense, but in the best way possible.
The idea of making them into ghosts felt like a natural next step. Not the scary kind, but the cute, floaty kind you see in movies. I wanted a treat that looked spooky but tasted comforting. Most ghost recipes use white chocolate or meringue, which can be too sweet or too airy. I needed something with weight, something that felt substantial. The contrast of the jet-black cake and the snowy white frosting was exactly what I was missing. It’s a visual trick, but the flavor is the real star.
Let’s face it, baking with black cocoa can be tricky. It’s less sweet and more acidic than regular cocoa. If you don’t adjust the recipe, you end up with a dry brick. I spent months testing ratios, balancing the alkalinity, and figuring out the right fat content. The result is a cupcake that is moist, dense, and incredibly flavorful. It’s not just for Halloween anymore, but it fits the season perfectly. The ghost shape is simple, but the execution requires a bit of care. You want them to look like little floating spirits, not melted marshmallows.
I remember the first time I served these at a party. People thought they were made with food dye, but it was all natural cocoa. The silence when they took the first bite was the best compliment. They were surprised by how rich it was. That’s the secret, you know? The black cocoa provides a depth that regular chocolate just can’t match. It’s like comparing a sunset to a lightbulb. Both are bright, but one feels alive. This recipe sticks with me because it solves that craving for something dark and creamy without being overly complicated.
Why You’ll Love This Recipe
There is a specific kind of magic in combining the deepest chocolate flavor with the lightest frosting. This isn’t just another cupcake; it’s a balance of textures and tastes that feels professional but is totally doable at home. I’ve tested this recipe dozens of times to make sure the ghost shape holds up and the flavor shines through. Here is why this recipe stands out from the crowd:
- Quick & Easy: These come together in under an hour, perfect for busy weeknights or last-minute Halloween parties. You don’t need to spend days on this.
- Simple Ingredients: No fancy grocery trips needed; you likely already have the basics in your kitchen, plus that one special black cocoa powder.
- Perfect for Halloween: Great for trick-or-treat exchanges, school parties, or just because you want a spooky treat on a Tuesday.
- Crowd-Pleaser: Always gets rave reviews from kids and adults alike. The ghost shape is universally loved, and the chocolate flavor wins over picky eaters.
- Unbelievably Delicious: The texture and flavor combo is next-level comfort food. The cake is moist, and the frosting is fluffy.
What makes this recipe different is the use of black cocoa powder. It creates a color so dark it looks almost black, which makes the white frosting pop. It’s not just about looks, though. The flavor is less sweet and more complex than standard cocoa. It adds a sophistication that elevates the whole dessert. Whether it is the special technique of piping the ghosts or the perfectly balanced sweetness, this isn’t just another version—it’s your best version.
This recipe isn’t just good—it is the kind that makes you close your eyes after the first bite. It’s comfort food reimagined with a spooky twist. Perfect for impressing guests without stress, or turning a simple meal into something memorable. I’ve paired this with my cozy warm vanilla milk for a complete spooky-themed evening. The contrast of the dark cake and the warm drink is just perfect.
What Ingredients You Will Need
This recipe uses simple, wholesome ingredients to deliver bold flavor and satisfying texture without the fuss. The key to success lies in the quality of your cocoa and the balance of wet and dry ingredients. Black cocoa is the star here, so choosing the right brand matters. I recommend Duncan Hines Black Cocoa Powder or Valrhona Noir for the best color and flavor profile. These brands have a high alkalization that gives that deep black hue.
- Black Cocoa Powder (1/2 cup): This is the most important ingredient. It provides the dark color and the earthy, low-acid flavor. If you can’t find it, mix regular cocoa with a tiny bit of activated charcoal, but the taste won’t be the same.
- All-Purpose Flour (1 1/2 cups): Standard flour works best here. It provides the structure for the ghost shape. Don’t use self-rising flour, as the leavening agents might throw off the balance.
- Baking Soda (1 tsp): Black cocoa is highly alkaline, so you need a base like baking soda to help it rise and neutralize the acidity. This helps with the tender crumb.
- Baking Powder (1/2 tsp): A little extra lift ensures the cupcakes are fluffy and not dense. This complements the baking soda.
- Salt (1/2 tsp): Salt enhances the chocolate flavor. Don’t skip it, even if the cake is dark. It brings out the sweetness in the frosting.
- Unsalted Butter (1/2 cup): Softened to room temperature. This adds richness and moisture. Cold butter will result in a lumpy batter.
- Granulated Sugar (1 cup): Sugar sweetens and helps tenderize the crumb. You can use brown sugar for a deeper flavor, but white sugar keeps the crumb lighter.
- Eggs (2 large): Room temperature eggs emulsify better into the batter. This creates a smooth, uniform texture.
- Vanilla Extract (1 tsp): Pure vanilla extract adds aroma. Avoid imitation vanilla, as it can taste artificial and clash with the dark cocoa.
- Buttermilk (3/4 cup): Buttermilk adds tang and moisture. It reacts with the baking soda to create air pockets. You can make your own by adding lemon juice to milk.
- Heavy Cream (1/4 cup): Added to the batter for extra richness. This ensures the cupcakes stay moist for days.
- White Chocolate Chips (2 cups): For the ghost frosting. Use high-quality white chocolate for the smoothest melt. Chocolate chips with additives may not melt as evenly.
- Shortening (1/4 cup): Added to the frosting for stability. Shortening has a higher melting point than butter, which helps the ghosts keep their shape in warm weather.
For the frosting, I also recommend using a bit of homemade vanilla extract if you want to take it to the next level. The flavor difference is noticeable. If you need to substitute buttermilk, use milk with a tablespoon of vinegar. It works in a pinch.
Equipment Needed
You don’t need a lot of fancy gear to make these ghosts, but having the right tools makes the process smoother. A standard 12-cup muffin tin is essential. I prefer dark metal tins because they conduct heat better, but light-colored tins work fine too. You’ll need cupcake liners in black or white. Black liners help hide any crumbs, while white liners make the ghost shape stand out more.
A stand mixer or a hand mixer is helpful for creaming the butter and sugar. It saves time and ensures the mixture is fluffy. If you don’t have one, a whisk and strong arm muscles will work. For the frosting, a piping bag is crucial. I recommend a large pastry bag with a round tip (Wilton 1M or similar) for the ghost body, and a small round tip for the eyes. If you don’t have a piping bag, you can use a Ziploc bag with the corner cut off, but it’s harder to control.
A microplane grater is useful if you want to add some white chocolate shavings for decoration. A spatula is needed for scraping down the bowl. I’ve learned the hard way that skipping the spatula leads to unmixed pockets of flour. For melting the white chocolate, a double boiler or a microwave-safe bowl works. I use the microwave in 30-second intervals to prevent burning. Keep your equipment clean and ready before you start. It makes the whole process feel more organized and less stressful.
Preparation Method
- Preheat and Prep: Start by preheating your oven to 350°F (175°C). Line your muffin tin with cupcake liners. This step takes about 5 minutes. Make sure the liners are secure so they don’t tip over when you fill them.
- Mix Dry Ingredients: In a medium bowl, whisk together the black cocoa powder, flour, baking soda, baking powder, and salt. Whisking ensures there are no lumps of cocoa. This should take about 2 minutes. Set this aside for later.
- Cream Butter and Sugar: In a large bowl, beat the softened butter and granulated sugar together until light and fluffy. This usually takes 3-4 minutes with a mixer. The mixture should look pale and airy. This step incorporates air into the batter, which helps the cupcakes rise.
- Add Eggs and Vanilla: Add the eggs one at a time, beating well after each addition. Mix in the vanilla extract. Scrape down the sides of the bowl with a spatula to ensure everything is combined. This takes about 2 minutes.
- Combine Wet and Dry: Add half of the dry ingredients to the butter mixture. Mix on low speed until just combined. Then add the buttermilk and heavy cream. Mix again. Finally, add the remaining dry ingredients. Mix until the batter is smooth. Do not overmix, or the cupcakes will be tough. This step takes about 3 minutes.
- Fill Liners: Divide the batter evenly among the cupcake liners. Fill each liner about 2/3 full. This should take about 5 minutes. Use a cookie scoop for even portions. This ensures they bake uniformly.
- Bake: Place the tin in the oven and bake for 18-20 minutes. A toothpick inserted into the center should come out clean or with a few moist crumbs. Do not overbake, or the cupcakes will dry out. Let them cool in the tin for 5 minutes, then transfer to a wire rack to cool completely. Cooling takes about 30 minutes. This is crucial before frosting.
- Melt White Chocolate: While the cupcakes cool, melt the white chocolate chips and shortening. Do this in the microwave in 30-second intervals, stirring between each. Heat until smooth. This takes about 2-3 minutes. Be careful not to burn the chocolate.
- Prepare Piping Bag: Fit a piping bag with a large round tip. Spoon the melted white chocolate into the bag. Twist the top to secure it. This takes about 2 minutes.
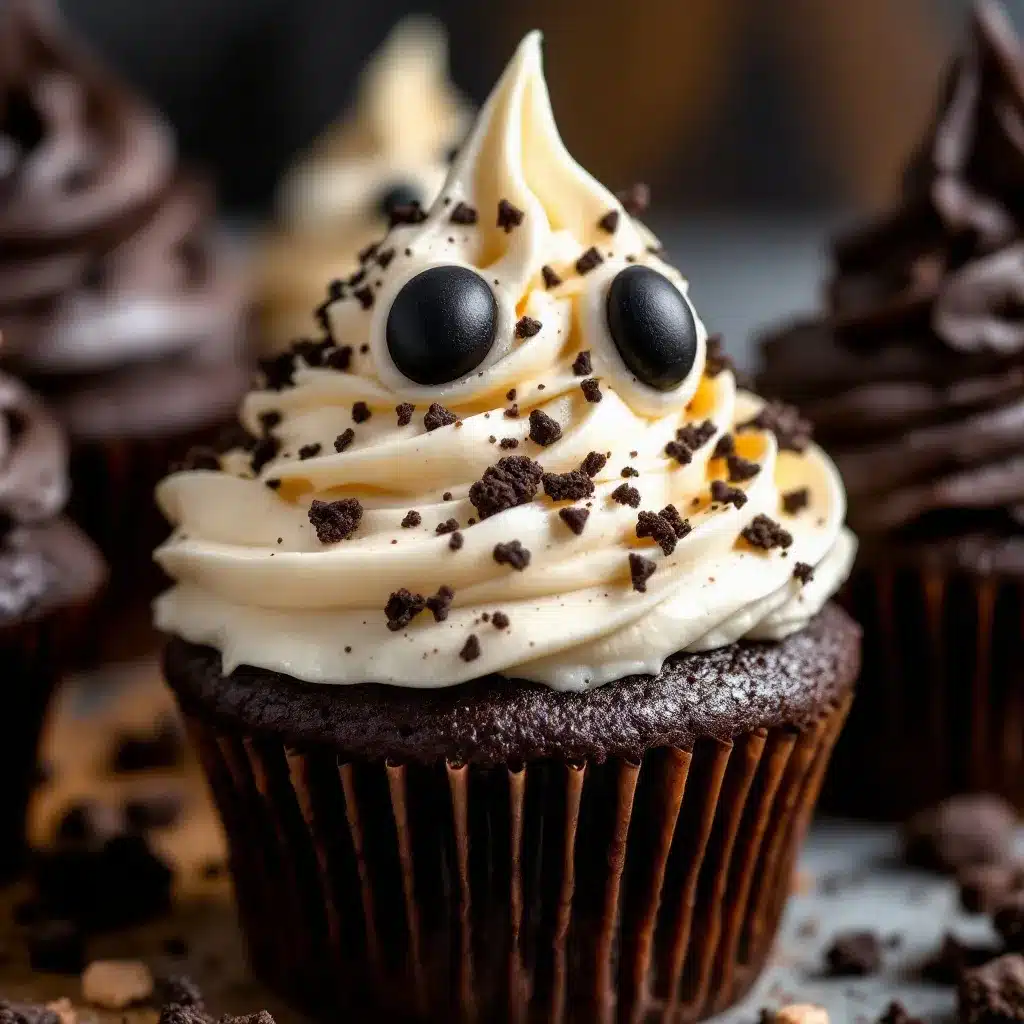
- Pipe the Ghosts: Hold the piping bag vertically above a cupcake. Squeeze gently to create a round base. Then, pull up slightly to form a pointed top. Release pressure and pull away. This forms the ghost shape. Practice on a piece of parchment paper first if needed. This step takes about 10-15 minutes for a dozen cupcakes.
- Add Eyes: Use a small round tip or a toothpick dipped in melted chocolate to add two small dots for eyes. Let them set. This takes about 5 minutes. You can also use edible candy eyes for a cuter look.
Cooking Tips & Techniques
Baking with black cocoa requires a bit of attention to detail. One common mistake is using too much baking soda. Black cocoa is very alkaline, so it needs a base, but too much can leave a soapy taste. Stick to the measurements provided. Another tip is to ensure your butter is at room temperature. Cold butter creates a dense batter, while melted butter changes the texture entirely. Softened butter is the sweet spot.
When melting white chocolate, heat is your enemy. White chocolate burns easily because of its high sugar and milk content. Always use low heat and stir frequently. If you see any separation, stop heating immediately. Let it cool slightly before piping. If the chocolate is too hot, it will melt the cupcake or run off the sides.
For the ghost shape, consistency is key. Try to make each ghost the same size for a professional look. If your first few look a bit wobbly, that’s okay. They’ll still taste great. I once made a batch of retro gelatin salad that looked messy, but these ghosts are much more forgiving. The white chocolate sets quickly, so work in batches if you’re in a hurry. Keep the unused chocolate warm in a bowl of warm water to prevent it from hardening.
Another technique is to chill the piped ghosts for 10 minutes before serving. This helps them hold their shape, especially if it’s warm outside. I’ve found that chilling them also makes the texture firmer and more pleasant to eat. Don’t skip this step if you’re serving them at a party. It makes a big difference in presentation.
Variations & Adaptations
While the classic black cocoa and white chocolate combo is my favorite, there are many ways to adapt this recipe. For a vegan version, use plant-based butter and milk, and dairy-free white chocolate chips. The texture might be slightly different, but the flavor will still be great. I tried this with cold cucumber soup ingredients once, which was a mistake, but vegan cupcakes work well.
For a gluten-free option, substitute the all-purpose flour with a 1:1 gluten-free flour blend. Ensure the blend contains xanthan gum, or add 1/2 tsp to the dry ingredients. This helps with structure. The baking time might need to be adjusted by 1-2 minutes.
If you want a different flavor profile, try adding a hint of orange zest to the batter. Orange and chocolate are a classic pairing. The citrus notes cut through the richness of the black cocoa. You can also add a swirl of peanut butter into the batter before baking for a peanut butter twist.
For a spicy variation, add a pinch of cayenne pepper to the batter. It adds a subtle heat that complements the dark chocolate. This is great for adults who like a kick. I also recommend trying rainbow layer cake techniques if you want to add color to the inside, though it’s harder with black cocoa.
Finally, you can change the frosting. Instead of white chocolate, use a cream cheese frosting. It adds a tangy contrast to the sweet cake. Pipe it in the same ghost shape. This is a popular variation for fall-themed desserts. It’s creamy and rich, and pairs well with the dark cake.
Serving & Storage Suggestions
These cupcakes are best served at room temperature. Cold frosting can be hard and waxy. If you’ve chilled them, let them sit out for 15 minutes before serving. Present them on a platter with a dark background to make the white ghosts pop. You can add some edible glitter or silver dust for a spooky effect.
For storage, keep the cupcakes in an airtight container at room temperature for up to 3 days. If it’s very warm, store them in the refrigerator. Bring them back to room temperature before serving. The frosting may harden in the fridge, so let it soften first.
To freeze, place the unfrosted cupcakes in the freezer for up to 2 months. Thaw them at room temperature before frosting. You can also freeze the frosted ghosts, but they may lose their shape slightly. Wrap them tightly in plastic wrap and foil. Thaw in the refrigerator overnight.
These pair well with a cup of coffee or tea. The bitterness of the coffee complements the dark cocoa. I also recommend serving them with homemade sweet tea for a classic Southern treat. The sweetness of the tea balances the rich cake.
Nutritional Information & Benefits
Each cupcake contains approximately 350 calories. The black cocoa powder is rich in antioxidants, which can be beneficial for heart health. It also contains magnesium and iron. However, these cupcakes are a treat, so enjoy them in moderation. The white chocolate frosting adds sugar and fat, so balance your intake with other healthy foods.
For those with dietary restrictions, remember that these contain gluten, dairy, and eggs. Use the substitutions mentioned earlier for allergies. The black cocoa is naturally low in acid, which may be easier on the stomach for some people. I find that eating these with a glass of milk helps digestion. They are a indulgent treat, but the quality ingredients make them feel less guilty.
Conclusion
Making Dark & Creamy Black Cocoa Ghost Cupcakes is a fun and rewarding experience. The contrast of the dark cake and white frosting is visually stunning, and the flavor is rich and satisfying. I love these because they are unique and festive. They are perfect for Halloween, but you can enjoy them anytime. I hope you try this recipe and enjoy it as much as I do. Customize it with your own touches and share your creations. Leave a comment below with your thoughts or photos. Happy baking!
FAQs
Can I use regular cocoa powder instead of black cocoa?
Yes, but the cupcakes will be brown, not black. The flavor will also be sweeter and less earthy. You can add a small amount of activated charcoal to mimic the color, but the taste won’t be the same.
How do I prevent the ghost frosting from melting?
Use shortening in the frosting for stability. Keep the cupcakes in a cool place, and chill them before serving. If it’s very warm, consider using a cream cheese frosting instead.
Can I make these cupcakes ahead of time?
Yes, you can bake the cupcakes a day in advance. Store them in an airtight container. Frost them just before serving to keep the ghosts fresh and fluffy.
What tip should I use for piping the ghosts?
A large round tip, like Wilton 1M, works best for the body. For the eyes, use a small round tip or a toothpick. Practice on parchment paper first to get the shape right.
Are these cupcakes suitable for kids?
Yes, kids love the ghost shape. They are sweet and chocolatey, which is usually a hit. Just supervise young children when eating to avoid choking on the frosting.
Pin This Recipe!
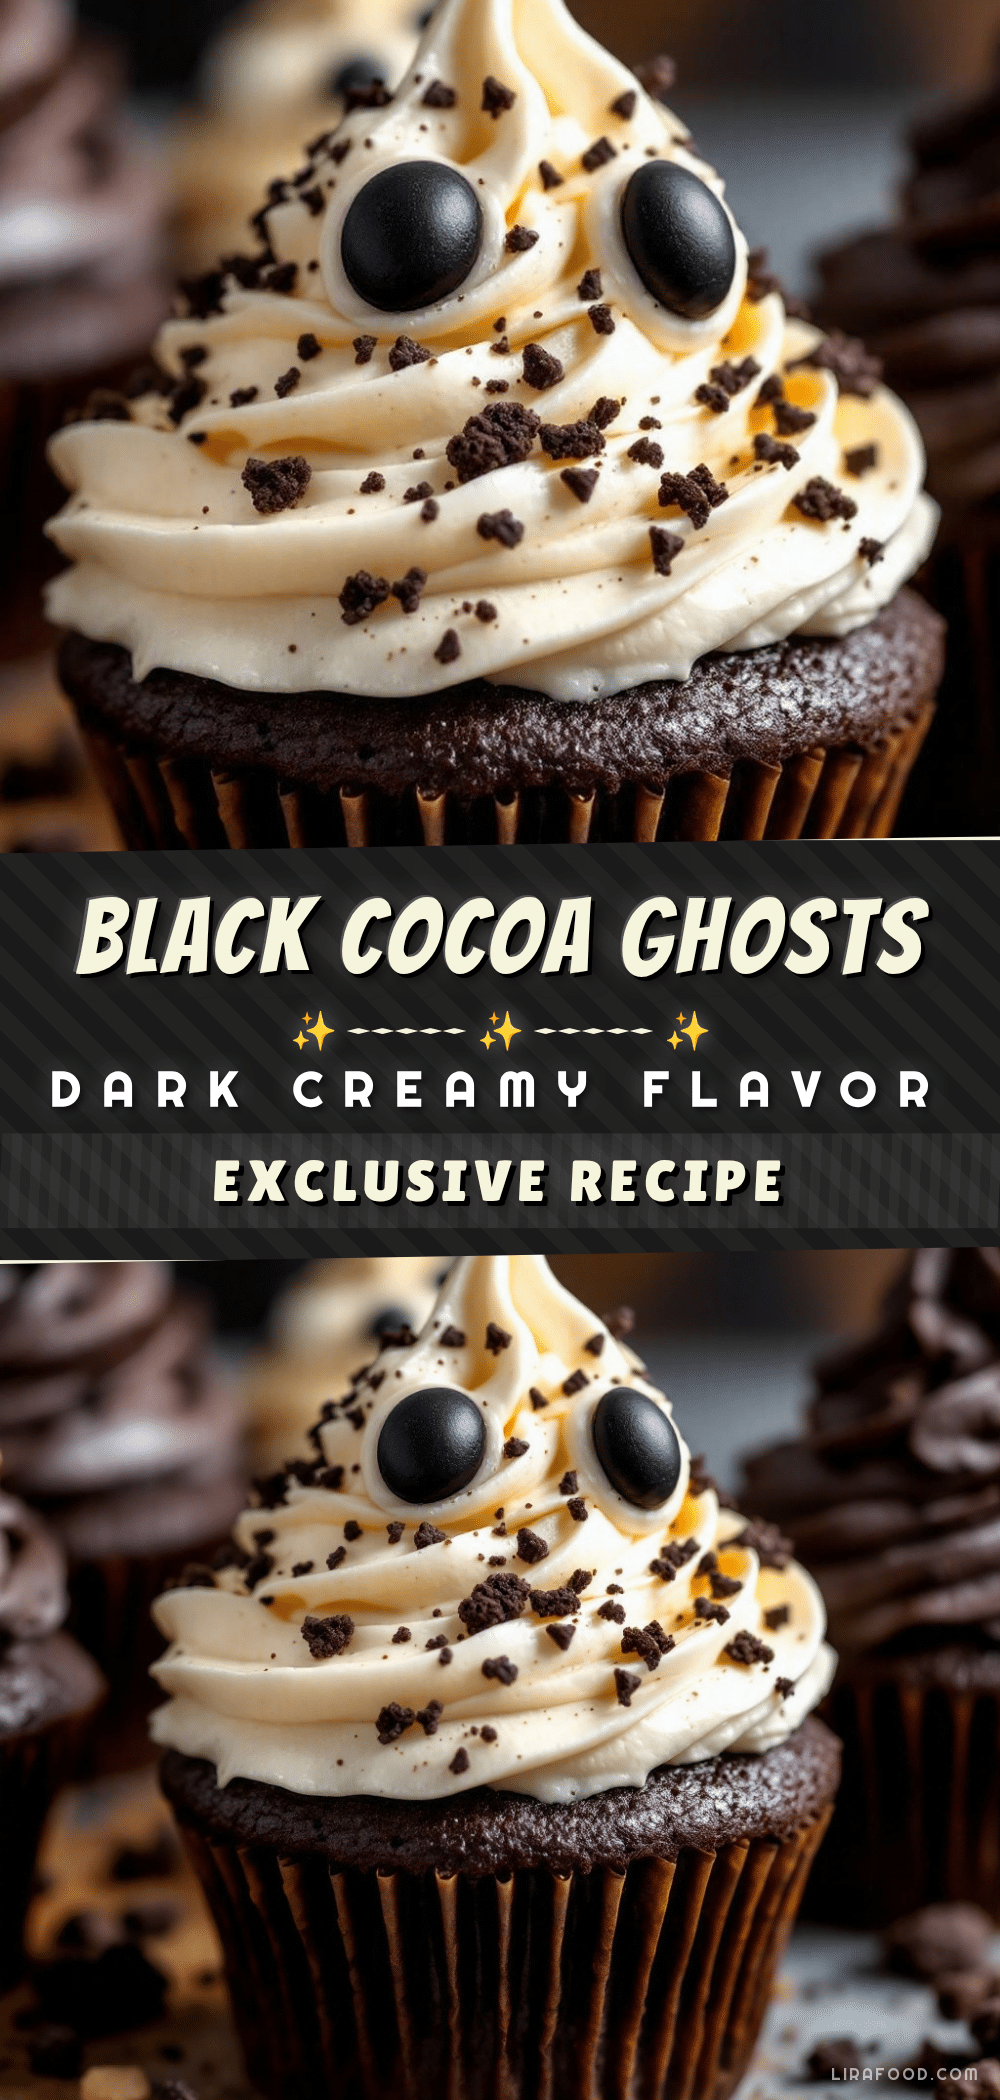
Dark & Creamy Black Cocoa Ghost Cupcakes: 5 Easy Steps
These spooky yet comforting cupcakes feature a moist, dense black cocoa cake paired with a fluffy white chocolate ghost frosting. Perfect for Halloween or any time you crave a rich, dark chocolate treat.
- Prep Time: 30 minutes
- Cook Time: 20 minutes
- Total Time: 50 minutes
- Yield: 12 servings 1x
- Category: Dessert
- Cuisine: American
Ingredients
- 1/2 cup Black Cocoa Powder
- 1 1/2 cups All-Purpose Flour
- 1 tsp Baking Soda
- 1/2 tsp Baking Powder
- 1/2 tsp Salt
- 1/2 cup Unsalted Butter (softened)
- 1 cup Granulated Sugar
- 2 large Eggs (room temperature)
- 1 tsp Vanilla Extract
- 3/4 cup Buttermilk
- 1/4 cup Heavy Cream
- 2 cups White Chocolate Chips
- 1/4 cup Shortening
Instructions
- Preheat oven to 350°F (175°C) and line a 12-cup muffin tin with cupcake liners.
- In a medium bowl, whisk together black cocoa powder, flour, baking soda, baking powder, and salt until no lumps remain.
- In a large bowl, beat softened butter and granulated sugar until light and fluffy (3-4 minutes).
- Add eggs one at a time, beating well after each addition, then mix in vanilla extract.
- Add half of the dry ingredients to the butter mixture and mix on low until combined. Add buttermilk and heavy cream, then mix again. Add remaining dry ingredients and mix until smooth. Do not overmix.
- Divide batter evenly among liners, filling each about 2/3 full.
- Bake for 18-20 minutes or until a toothpick inserted comes out clean. Cool in tin for 5 minutes, then transfer to a wire rack to cool completely.
- While cupcakes cool, melt white chocolate chips and shortening in the microwave in 30-second intervals, stirring until smooth.
- Fit a piping bag with a large round tip (like Wilton 1M) and spoon in the melted white chocolate.
- Pipe a round base onto each cupcake, then pull up slightly to form a pointed ghost shape. Release pressure and pull away.
- Use a small round tip or toothpick to add two small dots for eyes. Let set.
- Chill cupcakes for 10 minutes before serving to help the frosting hold its shape.
Notes
Black cocoa is highly alkaline; ensure butter is at room temperature for best texture. White chocolate burns easily, so melt in short intervals. For vegan options, use plant-based butter/milk and dairy-free chocolate. For gluten-free, use a 1:1 gluten-free flour blend with xanthan gum.
Nutrition
- Serving Size: 1 cupcake
- Calories: 350
- Sugar: 32
- Sodium: 250
- Fat: 18
- Saturated Fat: 11
- Carbohydrates: 42
- Fiber: 2
- Protein: 4
Keywords: black cocoa, ghost cupcakes, halloween dessert, dark chocolate, white chocolate frosting, spooky treats, easy baking


