Love this? Save it for later!
Share the inspiration with your friends
It was 4:30 PM on a Tuesday, the kind of grey, drizzly afternoon that makes you want to bury yourself under three blankets. I had just finished helping my kid with a science project that involved way too much glitter and not enough glue. My hands were still sticky, my apron was stained with what I hope was just tomato sauce, and I was staring at a pile of peeled apples that had oxidized to a dull, unappetizing brown. The guests were here. Well, not the guests themselves, but the promise of them was imminent, and I had promised to bring dessert to the neighborhood potluck.
I didn’t have time to make a pie crust from scratch. Let’s face it, my pie crusts usually end up looking like they were designed by a toddler with a crayon. And I certainly didn’t have the energy to churn ice cream, though I did have a pint of creamy homemade vanilla ice cream hiding in the freezer from last weekend’s mishap. That’s when I saw the caramel. It was thick, golden, and screaming to be paired with something tart. The apples were too soft for a salad, too plain for a snack. They needed structure. They needed crunch. They needed salt.
I threw everything into a 9×13 dish with the kind of desperate energy that only comes from social obligation and zero planning. I mixed oats, flour, butter, and brown sugar, tossing it over the apples until my fingers were coated in the mixture. Then came the drizzle. A generous, reckless amount of salted caramel. I didn’t measure it. I just poured until it looked right. The house started smelling like autumn almost instantly—a mix of cinnamon, toasted nuts, and sugary warmth that felt like a hug.
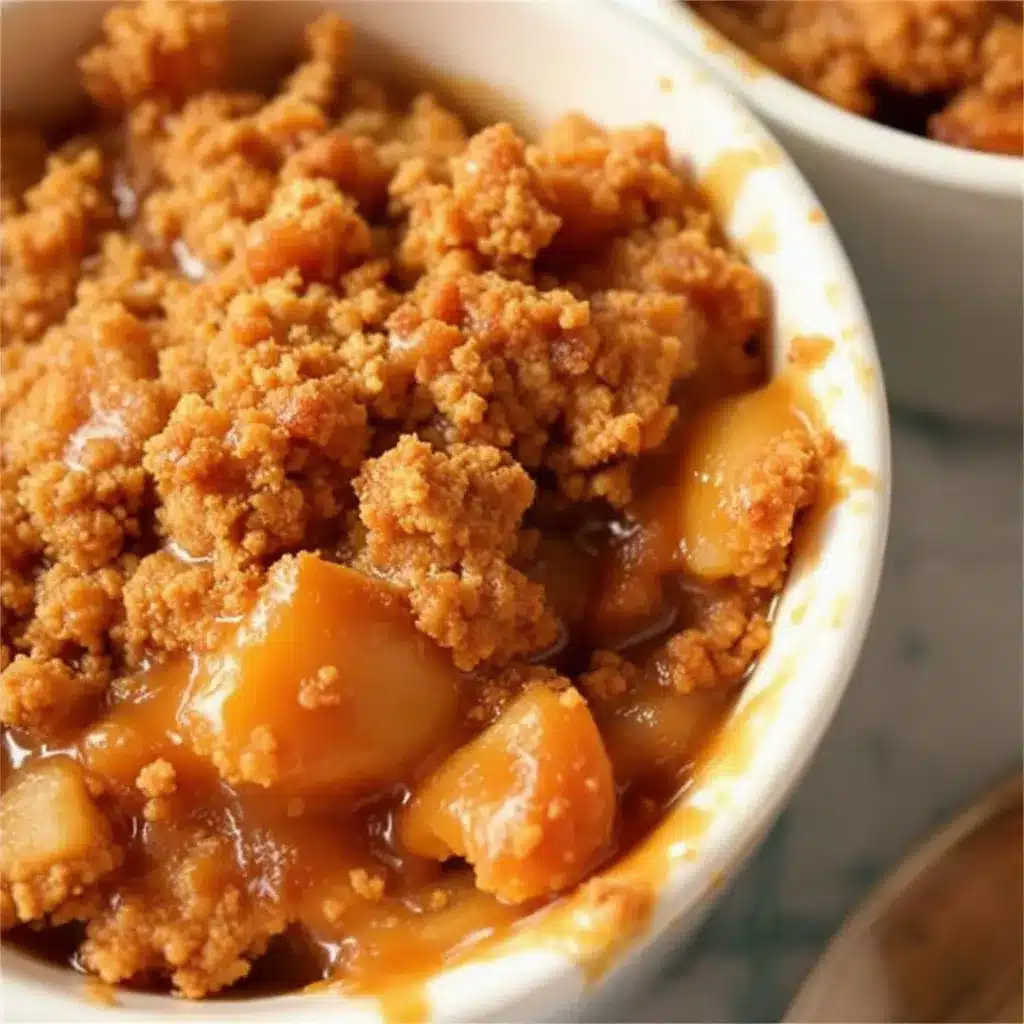
When I pulled it out, the top was bubbling and golden brown, the caramel oozing through the crumble like lava. I served it warm, spooning a little extra caramel on top because, well, why not? My husband took one bite, closed his eyes, and actually sighed. That’s the moment you know you’ve stumbled onto something good. It wasn’t fancy. It wasn’t perfect. But it was exactly what we needed. This recipe stuck because it’s forgiving, fast, and tastes like comfort without the stress. Now, I make it every time the leaves turn, and honestly, it’s become the centerpiece of my fall gatherings.
Why You’ll Love This Recipe
There is a specific magic that happens when apples meet caramel and oatmeal. It’s not just about the flavor; it’s about the texture contrast that keeps you coming back for seconds. After testing this creamy salted caramel apple crisp countless times—some batches slightly more burnt, others slightly less sweet—I’ve landed on the perfect balance. This isn’t just another apple dessert; it’s the one that actually gets eaten. Here is why this version stands out from the crowd:
- Quick & Easy: You can have this in the oven in under 15 minutes of prep time. No rolling pins, no complex techniques. Just chop, mix, and bake. It is perfect for busy weeknights or when you’re craving something sweet but don’t have hours to spare.
- Simple Ingredients: You likely already have everything in your pantry. Apples, oats, flour, butter, brown sugar, and caramel. No trip to a specialty store is needed. It relies on wholesome, basic items that you probably already own.
- Perfect for Fall Gatherings: Whether it’s a casual Tuesday dinner or a larger potluck like the one that inspired this recipe, this crisp fits right in. It’s portable, it’s warm, and it pairs beautifully with a hot cup of warm vanilla milk.
- Crowd-Pleaser: Kids love the sweetness, and adults appreciate the hint of salt. It gets rave reviews from everyone, from toddlers to grandparents. It’s a guaranteed hit.
- Unbelievably Delicious: The texture is next-level. The apples stay slightly firm while the topping becomes crunchy and buttery. The caramel adds a rich, gooey layer that ties it all together. It’s comfort food reimagined—easier to make but with the same soul-soothing satisfaction.
What makes this recipe different is the addition of the caramel *during* the baking process, not just on top afterward. This allows the caramel to meld with the apple juices, creating a natural, creamy sauce that coats every bite. It’s a small twist that makes a huge difference. It’s the kind of recipe that makes you close your eyes after the first bite and just breathe.
What Ingredients You Will Need
This recipe uses simple, wholesome ingredients to deliver bold flavor and satisfying texture without the fuss. The key to a great crisp is the ratio of fruit to topping, and the quality of the apples you choose. Here is what you need to make this creamy salted caramel apple crisp shine.
For the Apple Filling
- 6-7 large apples: I recommend using a mix of tart and sweet apples. Granny Smith apples provide the necessary tartness and hold their shape well, while Honeycrisp or Fuji apples add natural sweetness and a tender crunch. Look for firm, fresh apples; avoid any that are mealy or bruised.
- 1 tablespoon lemon juice: This prevents the apples from browning and adds a bright note that cuts through the richness of the caramel.
- 1 teaspoon cinnamon: Ground cinnamon is essential for that classic fall flavor. Use fresh, aromatic cinnamon for the best impact.
- 1/2 teaspoon nutmeg: A pinch of nutmeg adds depth and warmth. Don’t skip this; it’s the secret ingredient that makes it taste like it came from a bakery.
- 2 tablespoons all-purpose flour: This helps thicken the juices released by the apples as they bake, preventing a soggy bottom.
- 1/4 cup granulated sugar: Adjust based on the sweetness of your apples. If you use very sweet Honeycrisps, you can reduce this to 2 tablespoons.
For the Crumble Topping
- 1 cup old-fashioned rolled oats: Use genuine rolled oats, not instant oats. They provide the necessary chew and texture. I prefer Bob’s Red Mill for their consistent quality.
- 1 cup all-purpose flour: The base of the crumble. If you need a gluten-free option, use a 1:1 gluten-free flour blend.
- 1 cup packed brown sugar: Dark brown sugar is best here for its molasses content, which adds a deeper, richer flavor. Light brown sugar works too, but the flavor will be milder.
- 1 teaspoon cinnamon: More cinnamon for the topping ensures every bite is spiced.
- 1/2 teaspoon salt: Crucial for balancing the sweetness. Use kosher salt for better distribution.
- 1/2 cup unsalted butter, cold and cubed: This is the most important part. The butter must be cold. Cut it into small cubes and keep it in the fridge until the last moment. Cold butter creates flaky, crumbly pockets rather than a doughy topping.
For the Creamy Salted Caramel Drizzle
- 1/2 cup good-quality salted caramel sauce: Store-bought is perfectly fine here, especially when you’re in a rush. I like Smucker’s or a local brand from the farmer’s market. If you want to make your own, you can use my decadent salted caramel whiskey bundt cake recipe as a guide for a richer version.
- 1 tablespoon heavy cream: Optional, but this thins the caramel slightly for an easier drizzle.
Equipment Needed
You don’t need fancy gadgets for this recipe. The standard kitchen tools will work perfectly. Here is what you’ll need:
- 9×13 inch baking dish: A glass or ceramic dish works best because it distributes heat evenly. Metal pans can sometimes brown the edges too quickly. I prefer Pyrex because I can see the bubbling juices from the side.
- Large mixing bowls: You’ll need one for the apples and one for the crumble topping. Having two separate bowls keeps things organized.
- Pastry cutter or fork: To cut the cold butter into the dry ingredients. A pastry cutter is faster, but a fork works fine if you have the arm strength. I usually just use my fingers, which is messy but effective.
- Peeler and knife: For prepping the apples. A Y-peeler is easier to handle than a paring knife for most people.
- Spatula: For stirring the apple mixture and scraping the bowl.
If you don’t have a 9×13 dish, you can use two 8×8 dishes or a deep-dish pie plate, but keep an eye on the baking time as it may be slightly faster in smaller dishes.
Preparation Method
Making this creamy salted caramel apple crisp is straightforward, but attention to detail ensures the best texture. Follow these steps carefully.
- Preheat the Oven: Set your oven to 350°F (175°C). Grease your 9×13 baking dish with a little butter or cooking spray. This prevents sticking and adds flavor to the edges.
- Prepare the Apples: Peel, core, and slice the apples into 1/4-inch thick slices. Try to keep them uniform so they bake evenly. Place them in a large bowl. Toss with lemon juice, cinnamon, nutmeg, flour, and granulated sugar. Mix well until the apples are evenly coated. The flour will help thicken the juices.
- Assemble the Base: Pour the apple mixture into the prepared baking dish. Spread it out evenly. You want a relatively even layer so the topping distributes properly.
- Make the Crumble Topping: In a separate large bowl, combine the rolled oats, flour, brown sugar, cinnamon, and salt. Mix these dry ingredients together with a fork or your fingers.
- Cut in the Butter: Add the cold, cubed butter to the dry mixture. Use a pastry cutter, two forks, or your fingers to work the butter into the flour mixture. You are looking for a coarse, crumbly texture with some pea-sized clumps. Do not overmix; you want distinct crumbs, not a dough. This step takes about 2-3 minutes.
- Spread the Topping: Sprinkle the crumble mixture evenly over the apple layer. Press down gently with your hands to help it adhere slightly, but don’t pack it tight. You want it to stay loose and crunchy.
- First Bake: Place the dish in the preheated oven and bake for 30 minutes. This allows the apples to soften and the topping to start setting.
- Add the Caramel: Remove the dish from the oven. Drizzle the salted caramel sauce evenly over the hot crumble topping. The heat from the crisp will help the caramel melt slightly and sink in a bit. If the caramel is very thick, you can microwave it for 10 seconds to loosen it up.
- Second Bake: Return the dish to the oven and bake for another 15-20 minutes. You are looking for a golden brown top and bubbling caramel around the edges. The caramel will bubble up through the crumble, creating those creamy pockets.
- Cool and Serve: Remove from the oven and let it cool for at least 10-15 minutes before serving. This allows the juices to thicken slightly so you don’t get a soupy bite. Serve warm, optionally topped with a scoop of vanilla ice cream or whipped cream.
Cooking Tips & Techniques
Even simple recipes have pitfalls. Here are some tips to ensure your crisp turns out perfectly every time.
- Apple Selection Matters: Don’t use Red Delicious apples. They turn mushy and bland when baked. Stick to varieties that hold their shape, like Granny Smith, Honeycrisp, Braeburn, or Pink Lady. A mix is ideal for balanced flavor.
- Keep the Butter Cold: This is the golden rule of crumble toppings. If the butter melts before it hits the oven, you lose the flaky texture. Keep your butter in the fridge until the last second. If your kitchen is very warm, you can even freeze the cubes for 10 minutes.
- Don’t Skip the Salt: The salt in the crumble and the salted caramel are crucial. Sweetness needs contrast to pop. Without the salt, the dessert will taste flat and overly sugary.
- Watch the Baking Time: Ovens vary. Check your crisp at the 30-minute mark. If the topping is browning too fast but the apples aren’t tender, cover the top loosely with foil for the remainder of the baking time.
- Let It Rest: I know it’s hard to wait, but serving it immediately can result in a runny mess. Letting it cool for 15 minutes allows the starches to set and the caramel to settle.
I once tried to rush this process by using warm butter, and the result was a dense, cake-like layer instead of a crumble. Learn from my mistake. Take the time to keep that butter cold, and your texture will be perfect.
Variations & Adaptations
While the classic version is my favorite, this recipe is versatile. Here are a few ways to adapt it:
- Gluten-Free: Substitute the all-purpose flour with a 1:1 gluten-free flour blend. Ensure your oats are certified gluten-free if cross-contamination is a concern.
- Vegan: Use dairy-free butter sticks (like Miyoko’s or Earth Balance) and ensure your caramel sauce is dairy-free. Many store-bought caramels contain butter, so check the label. You can also use coconut cream instead of heavy cream.
- Nut-Free: This recipe is naturally nut-free, making it safe for school events or allergies. However, if you want to add crunch, you can substitute half the oats with crushed gluten-free cereal or extra flour.
- Flavor Twist: Add 1/2 cup of chopped pecans or walnuts to the crumble topping for a nutty crunch. This pairs beautifully with the caramel. If you like a deeper flavor, add a tablespoon of bourbon or apple cider vinegar to the apple filling.
- Seasonal Swap: In the spring, you can use rhubarb instead of apples, but you will need to increase the sugar in the filling. In the winter, pears work just as well as apples.
I recently tried adding a layer of cream cheese filling in the middle, similar to a coffee cake, and it was delicious, but it adds extra steps. For a weeknight treat, stick to the simple crumble.
Serving & Storage Suggestions
This crisp is best served warm. It pairs wonderfully with a hot cup of tea or coffee. For a complete dessert experience, serve it with a scoop of creamy homemade vanilla ice cream or a dollop of whipped cream. The cold cream contrasts nicely with the warm, spiced apples.
Storage: Leftovers can be stored in an airtight container in the refrigerator for up to 4 days. The topping may soften slightly in the fridge, but it can be revived.
Reheating: To restore the crunch, reheat individual portions in the oven or toaster oven at 350°F for 10-15 minutes. Microwaving will make the topping soggy, so avoid it if you want that crispy texture. If you must use the microwave, do it in short bursts and let it sit for a minute.
Freezing: You can freeze the baked crisp for up to 2 months. Wrap it tightly in plastic wrap and then foil. Thaw in the refrigerator overnight and reheat in the oven before serving.
Nutritional Information & Benefits
While this is a dessert, it does offer some nutritional benefits depending on the ingredients. Apples are a good source of fiber and vitamin C. Oats provide complex carbohydrates and fiber, which can help with satiety. The caramel adds sugar and fat, so moderation is key.
Estimated values per serving (1/12 of the dish):
- Calories: 350-400 kcal
- Fat: 14g
- Carbohydrates: 55g
- Fiber: 4g
- Sugar: 35g
- Protein: 3g
For a lighter option, reduce the brown sugar in the topping by 1/4 cup and use less caramel sauce. The flavor will still be delicious, just slightly less sweet. Remember, this is a treat to be enjoyed, not a daily staple.
Conclusion
This creamy salted caramel apple crisp is more than just a dessert; it’s a reminder that the best recipes often come from the simplest moments. It’s forgiving, delicious, and perfect for sharing. I hope you try it and find your own memories attached to it. Feel free to customize it with your favorite nuts or spices. If you make it, I’d love to hear how it turned out. Leave a comment below with your tips or variations. Share it with friends and family, and enjoy every crunchy, caramel-covered bite. Happy baking!
FAQs
Can I use frozen apples for this recipe?
Yes, you can use frozen apples, but they will release more water. I recommend thawing them slightly and draining excess liquid before adding them to the dish. You may also want to increase the flour in the filling by 1 tablespoon to help thicken the juices.
What is the best type of caramel sauce to use?
Any good-quality salted caramel sauce works. I prefer sauces that are thick and rich, like those found in the coffee syrup aisle or from specialty brands. Avoid thin, runny sauces as they may make the topping too soggy. If your sauce is too thick, warm it slightly before drizzling.
Can I make this recipe in a slow cooker?
Yes, but the topping will not get as crunchy. Place the apples in the slow cooker and cook on low for 2-3 hours. Add the crumble topping in the last 30 minutes. It’s convenient, but the texture won’t be the same as the oven-baked version.
How do I prevent the bottom crust from getting soggy?
Ensure your apples are evenly sliced and not too juicy. Tossing them with flour helps absorb excess moisture. Also, placing the baking dish on the middle rack of the oven ensures even heat distribution. If your dish is metal, consider placing it on a baking sheet to prevent the bottom from over-browning.
Can I prepare this ahead of time?
Yes, you can assemble the crisp up to 24 hours in advance. Cover it tightly with plastic wrap and refrigerate. Let it sit at room temperature for 30 minutes before baking, and add 5-10 minutes to the baking time since it starts cold.
Pin This Recipe!
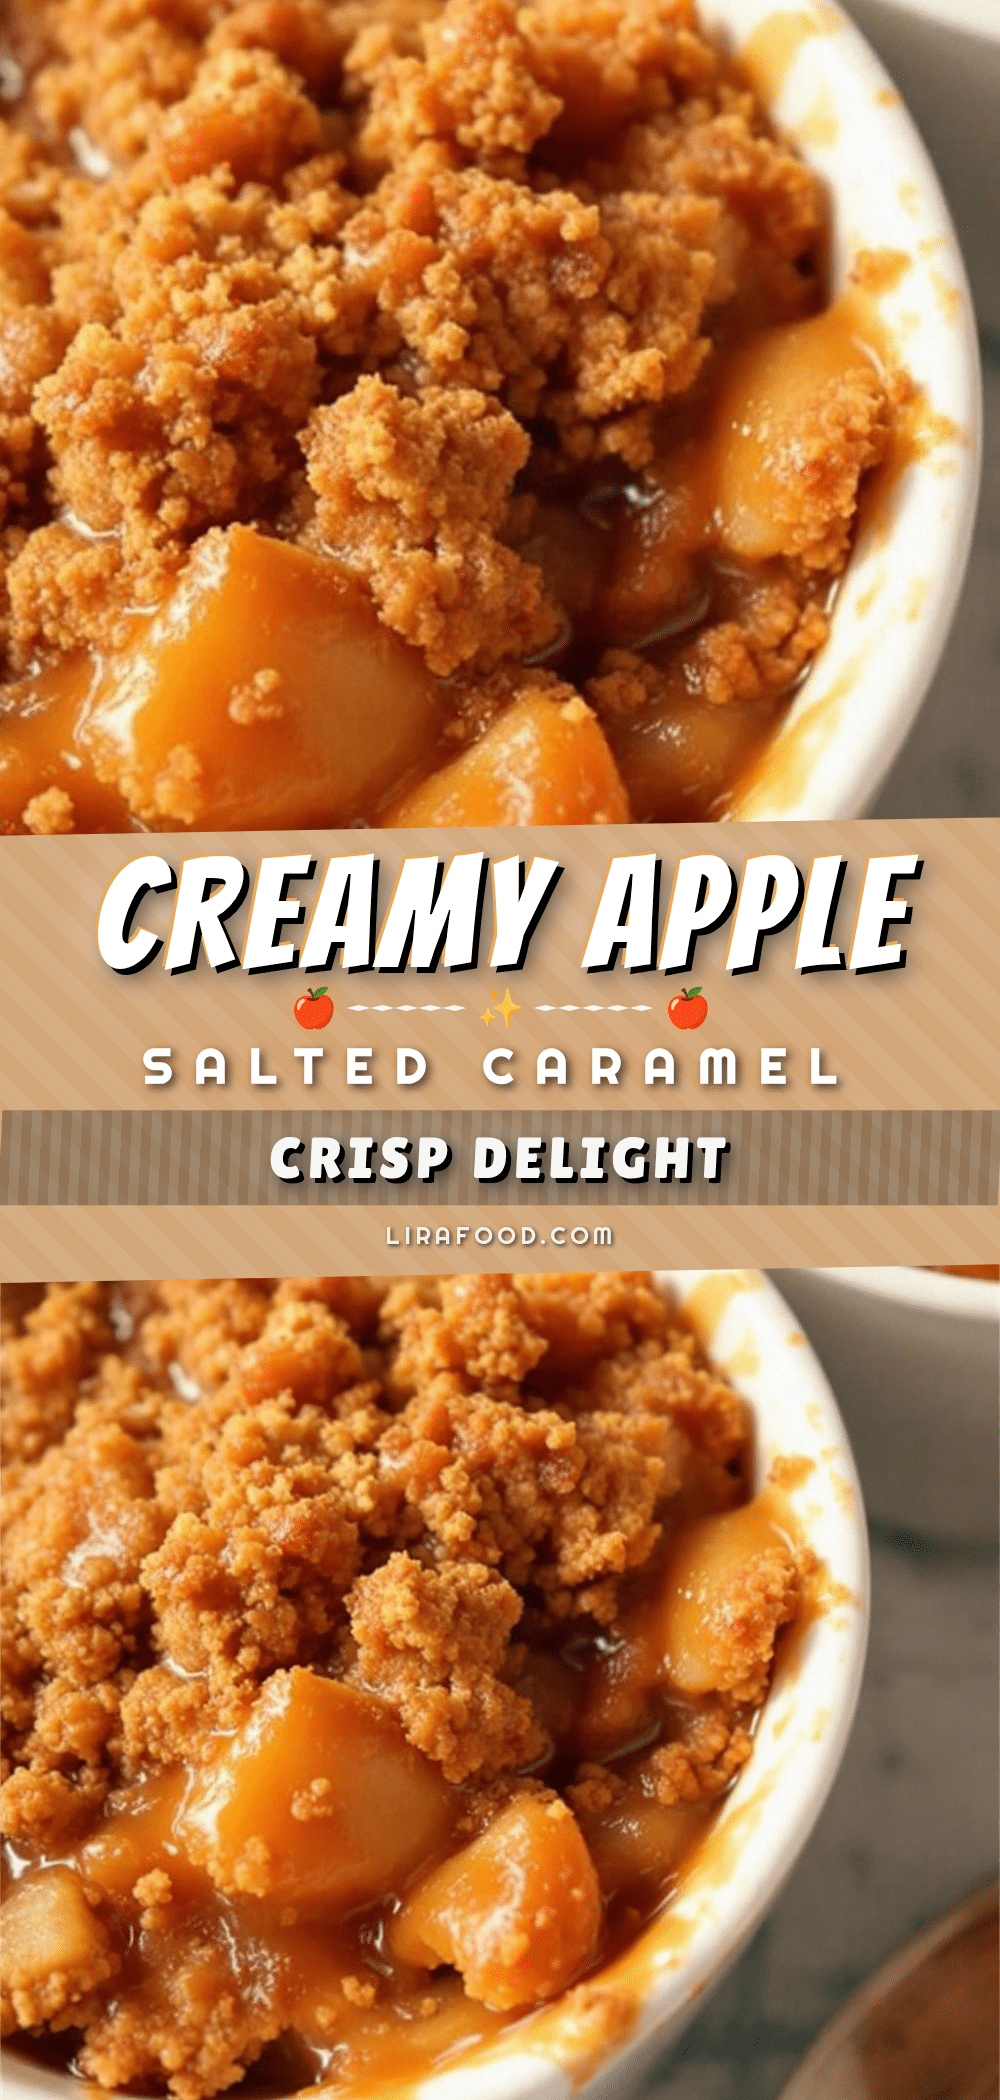
Creamy Salted Caramel Apple Crisp: Best Easy Fall Dessert

A forgiving, fast, and delicious fall dessert featuring tart and sweet apples topped with a crunchy oat crumble and drizzled with creamy salted caramel sauce.
- Prep Time: 15 minutes
- Cook Time: 45-50 minutes
- Total Time: 60-65 minutes
- Yield: 12 servings 1x
- Category: Dessert
- Cuisine: American
Ingredients
- 6–7 large apples (mixed tart and sweet, e.g., Granny Smith and Honeycrisp), peeled, cored, and sliced
- 1 tablespoon lemon juice
- 1 teaspoon ground cinnamon (for filling)
- 1/2 teaspoon ground nutmeg
- 2 tablespoons all-purpose flour (for filling)
- 1/4 cup granulated sugar
- 1 cup old-fashioned rolled oats
- 1 cup all-purpose flour (for topping)
- 1 cup packed brown sugar
- 1 teaspoon ground cinnamon (for topping)
- 1/2 teaspoon salt
- 1/2 cup unsalted butter, cold and cubed
- 1/2 cup good-quality salted caramel sauce
- 1 tablespoon heavy cream (optional, for thinning caramel)
Instructions
- Preheat oven to 350°F (175°C) and grease a 9×13 inch baking dish.
- In a large bowl, toss sliced apples with lemon juice, 1 teaspoon cinnamon, nutmeg, 2 tablespoons flour, and granulated sugar until evenly coated.
- Pour the apple mixture into the prepared baking dish and spread evenly.
- In a separate bowl, combine oats, 1 cup flour, brown sugar, 1 teaspoon cinnamon, and salt.
- Add cold, cubed butter to the dry ingredients and cut in using a pastry cutter or fingers until the mixture resembles coarse crumbs with pea-sized clumps.
- Sprinkle the crumble topping evenly over the apples and press down gently.
- Bake for 30 minutes.
- Remove from oven and drizzle salted caramel sauce evenly over the hot topping. If needed, microwave caramel briefly to loosen.
- Return to oven and bake for another 15-20 minutes until the top is golden brown and caramel is bubbling.
- Cool for 10-15 minutes before serving to allow juices to thicken.
Notes
Keep butter cold for a flaky texture. Do not use Red Delicious apples as they turn mushy. Let the crisp cool for 15 minutes before serving to prevent a soupy consistency. Can be made gluten-free by using GF flour blend and certified GF oats. Can be made vegan by using dairy-free butter and caramel.
Nutrition
- Serving Size: 1/12 of the dish
- Calories: 350400
- Sugar: 35
- Sodium: 250
- Fat: 14
- Saturated Fat: 8
- Carbohydrates: 55
- Fiber: 4
- Protein: 3
Keywords: apple crisp, salted caramel, fall dessert, easy dessert, oat crumble, comfort food, gluten-free option, vegan option