Love this? Save it for later!
Share the inspiration with your friends
“I’m not supposed to play favorites with recipes, but these Easy Back to School Chocolate Chip Cookie Bars have quietly become my go-to snack savior.” My sister swore she wasn’t a cookie person—claimed it was all too sweet and messy for a busy school week. Then one hectic Wednesday afternoon, with backpacks strewn everywhere and a last-minute homework crisis, I whipped up this batch of cookie bars ‘just for myself.’ I found her in the kitchen, sneaking bites straight from the pan—crumbs on her cheek, eyes wide like she’d been caught red-handed. Honestly, I wasn’t expecting her to flip so fast on chocolate chip treats, but this recipe somehow struck the perfect balance: sweet but not overpowering, soft yet sturdy enough to pack in a lunchbox without falling apart.
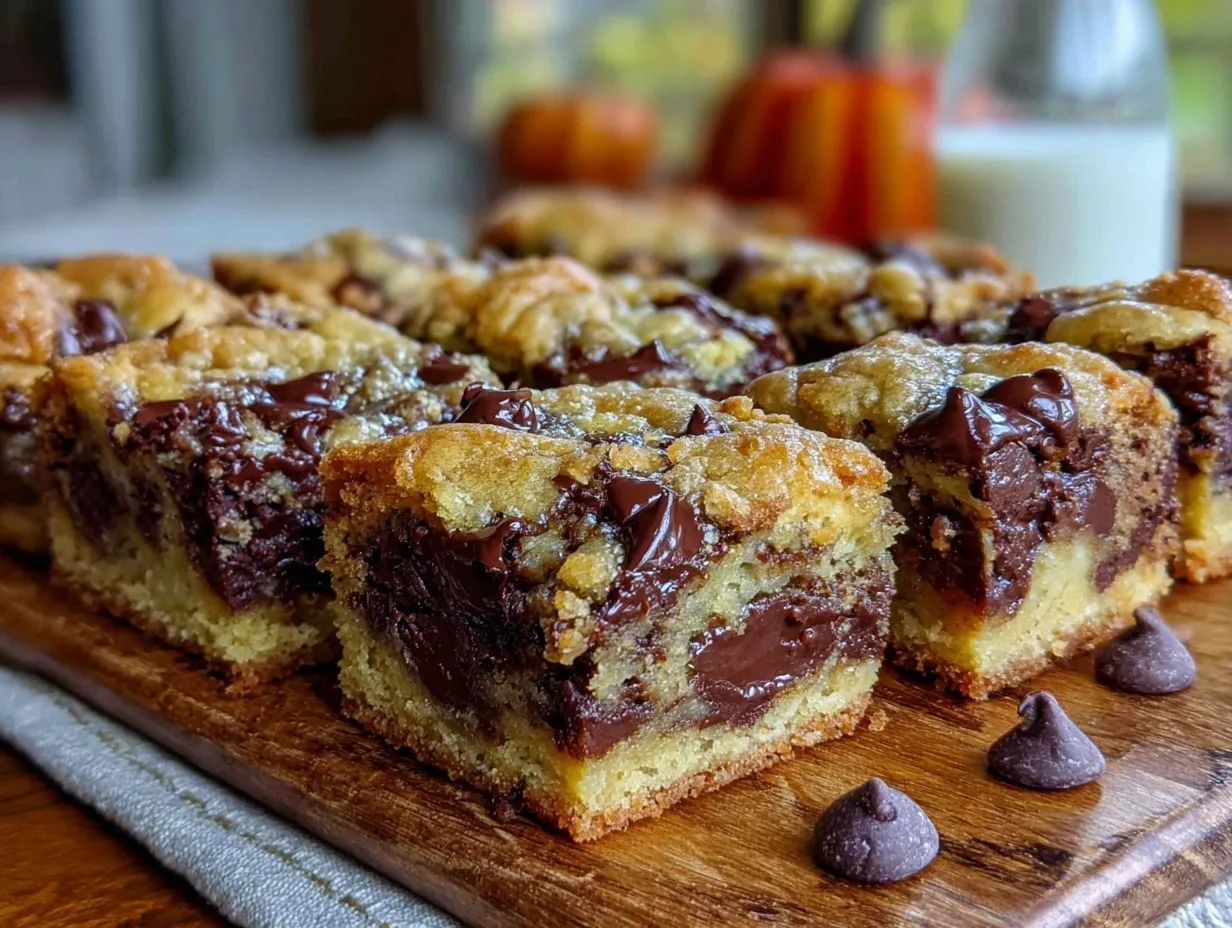
Maybe you’ve been there—pressed for time but wanting something homemade, something that feels a little like comfort but doesn’t require a full afternoon in the kitchen. The way these cookie bars bake up golden and just a bit gooey, with those classic chocolate chips melting in all the right spots, it’s the kind of snack that quietly wins over skeptics. Plus, they’re perfect for slicing into neat little squares that fit snugly between notebooks and juice boxes. Somehow, this recipe stuck around, becoming more than just a quick treat—it’s my little secret weapon for school mornings and after-school rushes.
Why You’ll Love This Recipe
Let me tell you, these Easy Back to School Chocolate Chip Cookie Bars aren’t just any cookie bars—they’re a tried-and-true lifesaver that I’ve baked more times than I can count. Tested and tweaked until the texture was just right, this recipe is reliable, kid-approved, and honestly, pretty tough to mess up.
- Quick & Easy: Ready in under 35 minutes, making it ideal for last-minute snack prep or busy weekday afternoons.
- Simple Ingredients: No need for specialty trips—just pantry staples you probably already have at home.
- Perfect for School Snacks: Bars are easy to portion and pack, avoiding the crumbs and mess of loose cookies.
- Crowd-Pleaser: Always gets rave reviews from kids, parents, and even that cookie skeptic I mentioned earlier.
- Unbelievably Delicious: The chewy center with a lightly crispy edge makes every bite satisfying and nostalgic.
This isn’t just another chocolate chip cookie bar recipe—what sets it apart is the balance of textures and flavors. The slight hint of brown sugar caramelization, the just-right amount of vanilla, and the chocolate chips that soften without melting into a puddle make it something I keep coming back to. It’s the kind of treat that makes you close your eyes for a second after the first bite, savoring the familiar comfort without the guilt of store-bought snacks. Trust me, this recipe will become your quiet little favorite for those hectic school days.
What Ingredients You Will Need
This recipe uses simple, wholesome ingredients to deliver bold flavor and satisfying texture without any fuss. Most of these are pantry basics, so you can throw this together anytime you need a quick batch of cookie bars.
- All-purpose flour – 2 ½ cups (310g), the base to give structure to the bars.
- Baking soda – 1 teaspoon, for just a hint of lift and softness.
- Salt – ½ teaspoon, to balance sweetness and deepen flavor.
- Unsalted butter – 1 cup (227g), melted and slightly cooled (adds richness and chewiness).
- Brown sugar – 1 cup (200g), packed for that caramel undertone and moist crumb.
- Granulated sugar – ½ cup (100g), for sweetness and slight crispness on edges.
- Large eggs – 2, room temperature to bind everything together.
- Pure vanilla extract – 2 teaspoons, enhances the cookie flavor.
- Semi-sweet chocolate chips – 2 cups (340g), the star ingredient (I like Ghirardelli for melting quality).
If you want to switch things up a bit, you can swap the semi-sweet chips for milk or dark chocolate, or even add a handful of chopped nuts for extra crunch. For a gluten-free option, almond flour can substitute about 1:1 with flour, though the texture will be a bit different. And if you prefer dairy-free, swapping butter with coconut oil or vegan butter works well here too.
Equipment Needed
Here’s what you’ll want on hand to make these cookie bars without a hitch:
- 9×13-inch baking pan: Essential for shaping the bars evenly. A metal pan works best for crisp edges, but glass is fine if that’s what you have.
- Mixing bowls: One large bowl for dry ingredients and another for wet; I usually use glass or stainless steel.
- Measuring cups and spoons: Accuracy matters here for consistent results.
- Wooden spoon or silicone spatula: For mixing the batter gently without overworking it.
- Cooling rack: To let the bars cool properly and avoid sogginess.
If you don’t have a 9×13 pan, a slightly smaller or larger pan can work, but your baking time might shift a little—just keep an eye on the edges. I’ve found that using a silicone spatula makes scraping the bowl easy, preventing wasted batter. And, heads up: when melting butter, do it slowly to avoid burning, or else your bars will taste a little off.
Preparation Method
- Preheat your oven to 350°F (175°C). Grease your 9×13-inch baking pan or line it with parchment paper for easy removal. This takes about 10 minutes, so you can prep your ingredients while it heats.
- Mix dry ingredients: In a large bowl, whisk together 2 ½ cups (310g) all-purpose flour, 1 teaspoon baking soda, and ½ teaspoon salt. This ensures even distribution of leavening agents and salt.
- Combine sugars and butter: In another bowl, stir 1 cup (227g) melted unsalted butter, 1 cup (200g) packed brown sugar, and ½ cup (100g) granulated sugar until smooth and slightly glossy. This usually takes about 2-3 minutes. The melted butter helps the bars stay chewy.
- Add eggs and vanilla: Beat in 2 large eggs (room temperature) one at a time, then mix in 2 teaspoons pure vanilla extract. The batter will look rich and smooth.
- Combine wet and dry: Gradually add the dry mixture into the wet ingredients, stirring gently with a wooden spoon or spatula until just combined. Be careful not to overmix; a few streaks of flour are okay. Overmixing can make the bars tough.
- Fold in chocolate chips: Gently fold in 2 cups (340g) semi-sweet chocolate chips, reserving a handful to sprinkle on top for a prettier finish. This step takes about 1 minute.
- Spread batter evenly: Pour the batter into your prepared pan and use a spatula to smooth the top. Sprinkle the reserved chocolate chips evenly over the surface.
- Bake: Place the pan in the preheated oven and bake for 25-30 minutes. Start checking at 25 minutes—bars should be golden brown around the edges, and a toothpick inserted near the center should come out with a few moist crumbs. Don’t overbake or you’ll lose that chewy center.
- Cool completely: Allow the bars to cool in the pan on a wire rack for at least 30 minutes. This step is key for cutting clean squares without crumbling.
- Slice and serve: Use a sharp knife to cut into 12 to 16 bars, depending on your preferred portion size. Store extras in an airtight container at room temperature or in the fridge for longer freshness.
If you find the edges browning too fast, you can tent the pan loosely with foil halfway through baking. And remember, ovens vary, so keep an eye on those last few minutes. I like to give the bars a gentle press before baking to make sure the surface is even, which helps with uniform cooking.
Cooking Tips & Techniques
When making these chocolate chip cookie bars, a few little tricks I’ve learned make a big difference:
- Melt butter carefully: I recommend melting it over low heat or in short bursts in the microwave, stirring between. Burnt butter turns bitter and ruins the flavor.
- Don’t skip chilling your eggs: Room temperature eggs blend better and help the batter come together smoothly.
- Mix gently: Overmixing the batter develops gluten and toughens the bars. Stir just until the flour disappears.
- Watch your baking time: The difference between chewy and dry is often just a couple of minutes. Start checking early and trust your eyes and toothpick test.
- Use parchment paper: It’s a game changer for cleanup and for lifting the bars out cleanly.
One time I let the bars bake a few minutes too long—lesson learned, they turned crumbly and dry. Since then, I’ve always set my timer for 25 minutes and then check every couple of minutes. Also, sprinkling a few extra chocolate chips on top before baking gives a nice melty finish that’s irresistible.
Variations & Adaptations
You can easily tweak this recipe to fit different tastes or dietary needs:
- Peanut Butter Chocolate Chip Bars: Swirl in ½ cup smooth peanut butter into the batter before baking for a nutty twist.
- Oatmeal Addition: Add 1 cup rolled oats for a heartier texture and subtle chewiness.
- Gluten-Free Version: Use a 1:1 gluten-free baking flour in place of all-purpose flour.
- Dairy-Free Option: Replace butter with coconut oil and use dairy-free chocolate chips.
- Seasonal Twist: Mix in 1 cup chopped dried cranberries or chopped nuts in the fall for extra flavor.
I once swapped half the chocolate chips for white chocolate and added a handful of toasted pecans—turned out to be a huge hit at a potluck. Feel free to experiment with your favorite mix-ins; this recipe is forgiving and adapts well.
Serving & Storage Suggestions
These bars are perfect served at room temperature, which lets their chewy texture shine through. If you’re in a rush, a quick 10-second zap in the microwave revives that freshly baked warmth and gooey chocolate goodness.
For school snacks, I wrap each bar in parchment or wax paper to keep things tidy and mess-free. They pair wonderfully with a glass of cold milk or a warm cup of tea for a cozy afternoon treat.
Store leftover bars in an airtight container at room temperature for up to 3 days or in the fridge for up to a week. They can also be frozen—just wrap tightly and thaw overnight when ready to enjoy. Over time, the flavors meld and the bars get even better, so making them ahead is a great idea.
Nutritional Information & Benefits
Each serving of these Easy Back to School Chocolate Chip Cookie Bars provides a satisfying energy boost, perfect for growing kids and busy adults alike. Estimated nutritional values for one bar (assuming 12 bars per batch): approximately 220 calories, 10g fat, 30g carbohydrates, 2g protein.
Key ingredients like real butter and eggs contribute essential fats and protein, while dark chocolate chips add antioxidants. While these bars are a treat, they’re made with simple, recognizable ingredients—no preservatives or artificial flavors.
For those mindful of dietary needs, swapping to gluten-free flour or dairy-free alternatives makes these bars accessible without losing much on taste or texture.
Conclusion
This Easy Back to School Chocolate Chip Cookie Bars recipe proves that quick, homemade snacks can be both delicious and practical. It’s worth trying because it hits that sweet spot—easy prep, no-fuss ingredients, and a taste that brings a little joy to hectic days. Customize it with your favorite add-ins or dietary tweaks, and you’ll find it becoming a staple in your kitchen.
I keep making these bars not just for the kids but because they remind me that sometimes the simplest things make the best memories (and the tastiest snacks). So go ahead, give this recipe a whirl and see if it doesn’t quietly become your new secret weapon for back-to-school chaos. I’d love to hear how you make it your own—drop a comment or share your twists!
FAQs
Can I use chocolate chunks instead of chips?
Absolutely! Chocolate chunks work great and give bigger pockets of melted chocolate, which some people prefer.
How long do these cookie bars keep fresh?
Stored in an airtight container at room temperature, they stay fresh for about 3 days, or up to a week refrigerated.
Can I make these bars ahead and freeze them?
Yes, wrap the cooled bars tightly in plastic wrap and foil, then freeze for up to 3 months. Thaw overnight before serving.
What’s the best way to cut these bars without crumbling?
Make sure the bars are completely cooled before slicing, and use a sharp knife. Wiping the knife with a warm damp cloth between cuts helps too.
Can I reduce the sugar in this recipe?
You can reduce the sugars slightly, but keep in mind it may affect texture and flavor. Try cutting each sugar by ¼ cup and see how you like it.
Pin This Recipe!
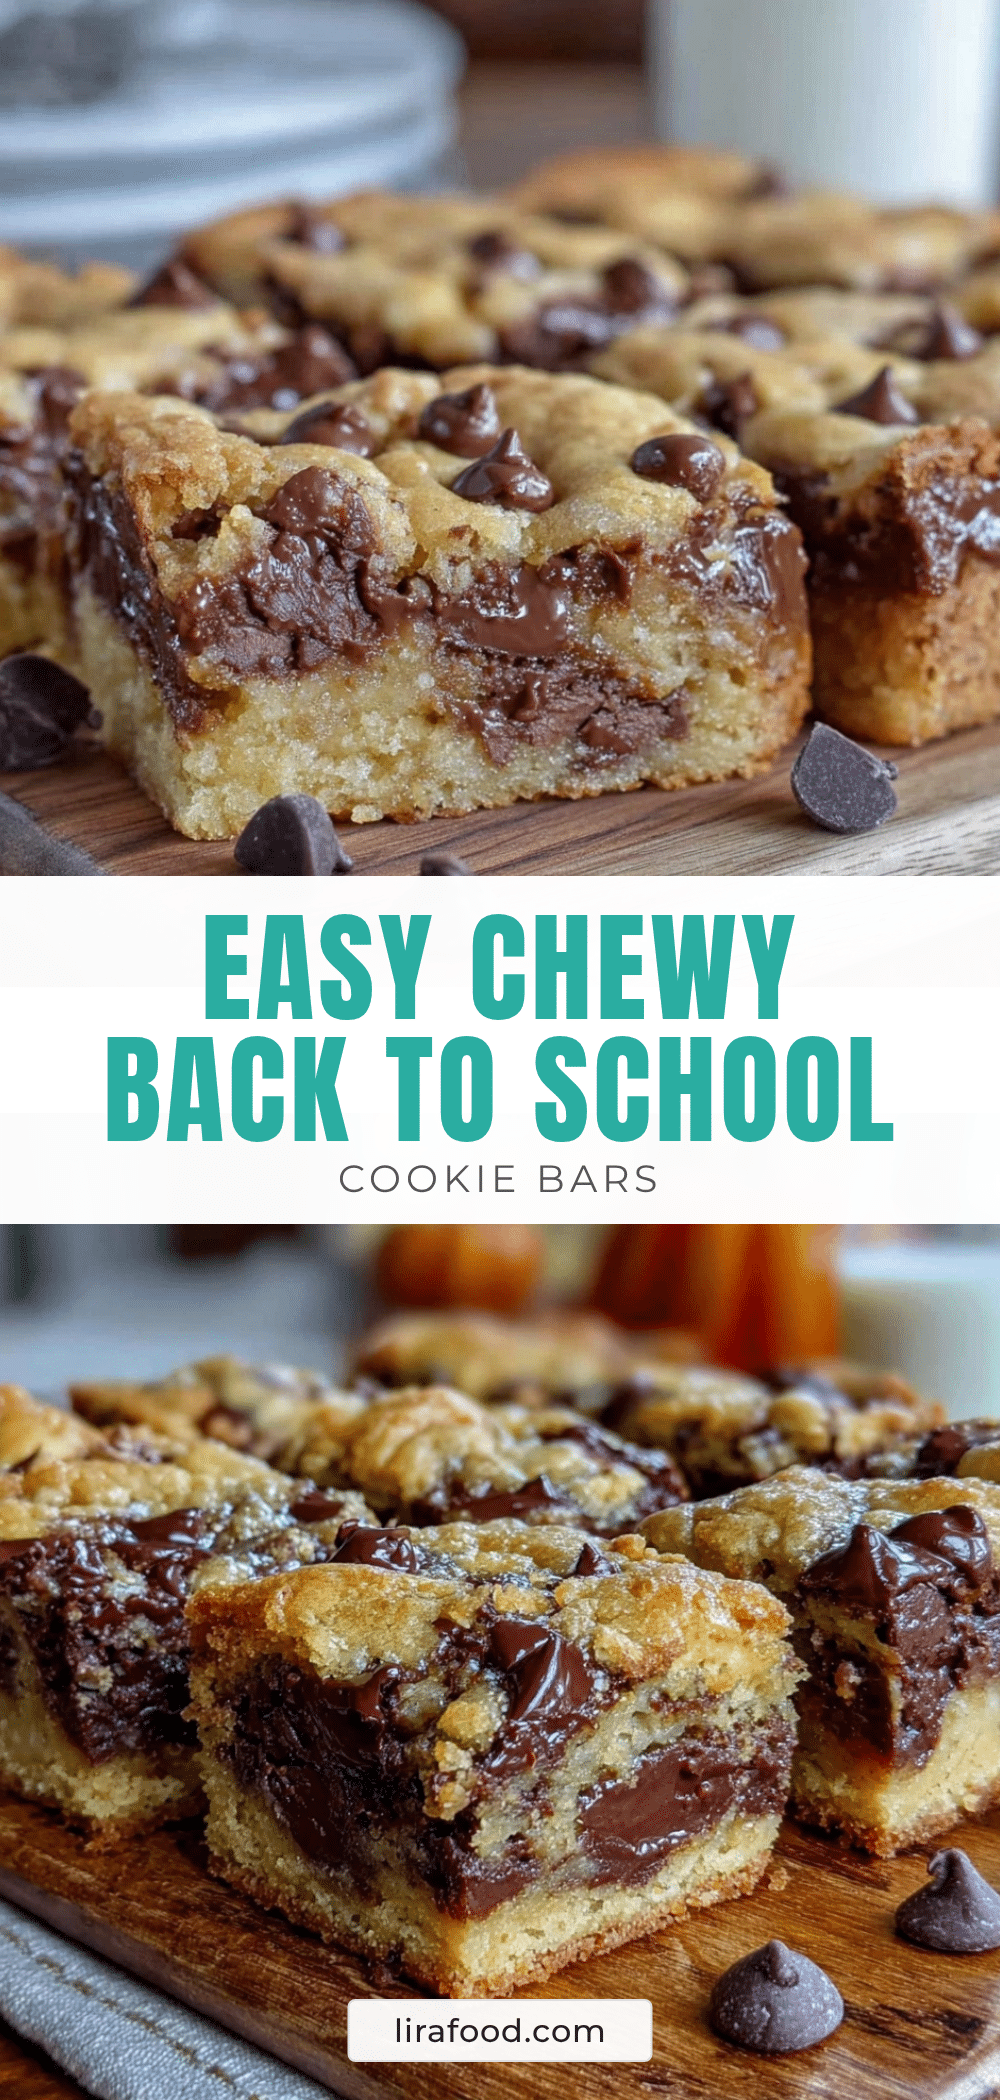
Easy Back to School Chocolate Chip Cookie Bars

These chocolate chip cookie bars are a quick, easy, and kid-approved snack perfect for busy school days. They balance a chewy center with lightly crispy edges and are ideal for packing in lunchboxes without the mess of loose cookies.
- Prep Time: 10 minutes
- Cook Time: 25-30 minutes
- Total Time: 35-40 minutes
- Yield: 12 to 16 bars 1x
- Category: Snack
- Cuisine: American
Ingredients
- 2 ½ cups (310g) all-purpose flour
- 1 teaspoon baking soda
- ½ teaspoon salt
- 1 cup (227g) unsalted butter, melted and slightly cooled
- 1 cup (200g) packed brown sugar
- ½ cup (100g) granulated sugar
- 2 large eggs, room temperature
- 2 teaspoons pure vanilla extract
- 2 cups (340g) semi-sweet chocolate chips
Instructions
- Preheat your oven to 350°F (175°C). Grease a 9×13-inch baking pan or line it with parchment paper.
- In a large bowl, whisk together the flour, baking soda, and salt.
- In another bowl, stir together the melted butter, brown sugar, and granulated sugar until smooth and slightly glossy.
- Beat in the eggs one at a time, then mix in the vanilla extract.
- Gradually add the dry ingredients to the wet ingredients, stirring gently until just combined. Do not overmix.
- Fold in the chocolate chips, reserving a handful to sprinkle on top.
- Spread the batter evenly into the prepared pan and sprinkle the reserved chocolate chips over the surface.
- Bake for 25-30 minutes, starting to check at 25 minutes. Bars should be golden brown around the edges and a toothpick inserted near the center should come out with a few moist crumbs.
- Cool completely in the pan on a wire rack for at least 30 minutes.
- Slice into 12 to 16 bars and serve. Store extras in an airtight container at room temperature or in the fridge.
Notes
Melt butter slowly to avoid burning. Use room temperature eggs for better batter consistency. Avoid overmixing to keep bars tender. Use parchment paper for easy removal and cleanup. Check bars early to avoid overbaking and losing the chewy center. Sprinkle extra chocolate chips on top before baking for a melty finish.
Nutrition
- Serving Size: 1 bar (assuming 12 b
- Calories: 220
- Fat: 10
- Carbohydrates: 30
- Protein: 2
Keywords: chocolate chip cookie bars, easy snack, back to school snacks, quick cookie bars, kid-friendly dessert


