Love this? Save it for later!
Share the inspiration with your friends
I’d been chasing a certain cookie for years. Not a specific recipe from a bakery or a memory of my grandmother’s kitchen—just the idea of a pumpkin cookie that didn’t taste like a sad, cakey afterthought. You know the ones. They’re dry, they crumble when you look at them wrong, and the icing slides right off like it’s trying to escape. For a while, I just accepted that pumpkin cookies were going to be like that. It felt like the trade-off for using real pumpkin puree—you got flavor, but you lost structure. I made batch after batch, tweaking flour ratios and trying different fats, but they always came out more muffin-top than cookie. Honestly, I was about ready to give up on the whole idea. Then, one rainy October afternoon (I remember because the light in the kitchen was that soft, grey kind that makes everything feel cozy), I decided to throw chocolate chips into the mix on a whim. Not because I thought it would fix the texture—I just wanted chocolate. And something clicked. The chips didn’t just add flavor; they changed how the dough held together. That batch was the first time a pumpkin cookie felt right. It was sturdy enough to hold a thick swirl of cream cheese icing without falling apart, but still tender in the middle. I’ve made these cookies more times than I can count since then, and they’ve become the thing I bring to fall gatherings without being asked. This is the recipe I kept coming back to.
Why You’ll Love This Recipe
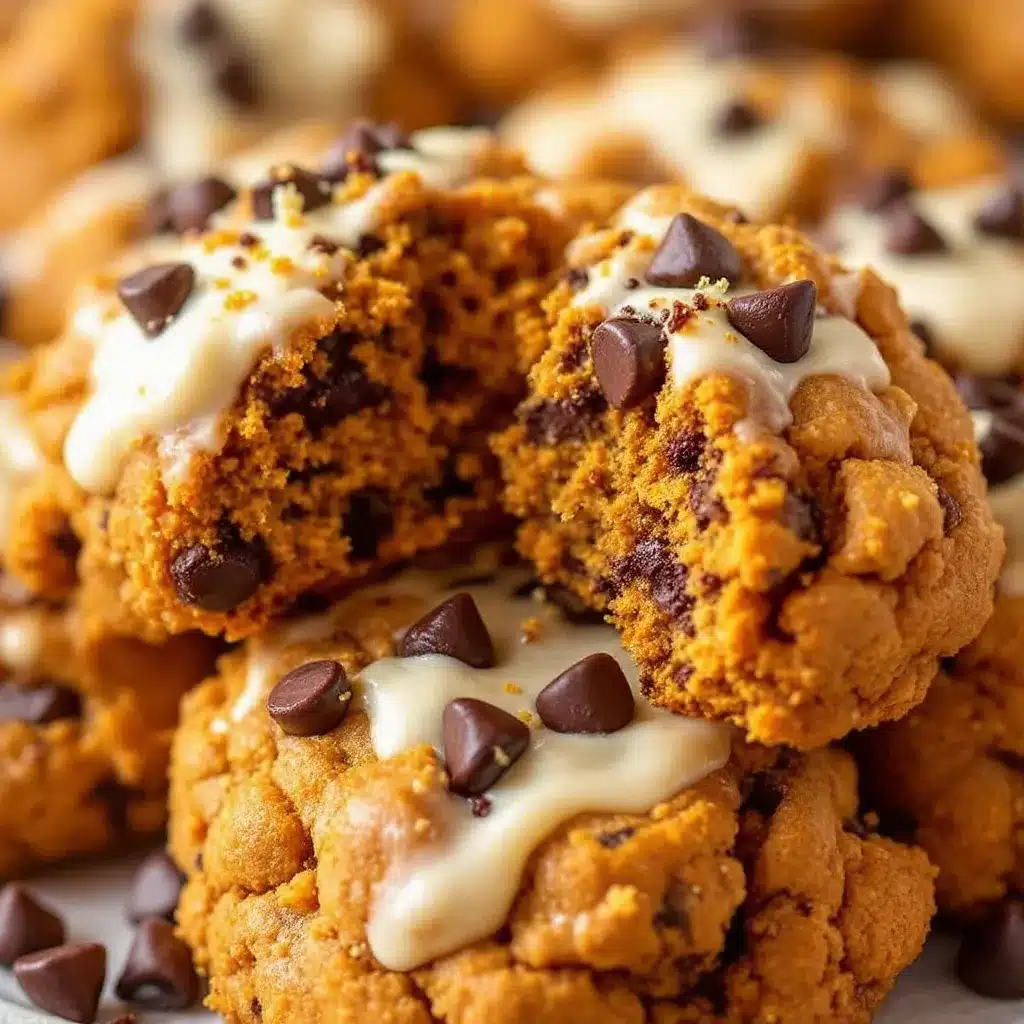
These aren’t your average pumpkin cookies. They’re soft, they’re thick, and they actually taste like something you’d want to eat on purpose—not just a vehicle for cream cheese icing (though, let’s be honest, that icing is the star).
- Perfectly Soft-Baked: The texture is the sweet spot between a cakey cookie and a chewy one. They hold their shape, but they’re tender enough to melt in your mouth.
- Real Pumpkin Flavor: We’re using actual pumpkin puree here, not just pumpkin pie spice. The puree adds moisture and a subtle earthiness that balances the sweetness of the chocolate and icing.
- No Chilling Required: You can mix the dough and bake it right away. No waiting, no planning ahead—just cookies in under 30 minutes.
- Cream Cheese Icing That Stays: This isn’t a runny glaze. It’s thick, tangy, and spreads like a dream. It sets up just enough so you can stack the cookies without making a mess.
- Crowd-Pleaser: I’ve brought these to potlucks, office parties, and family dinners. They disappear every single time. Kids love the chocolate chips, and adults love the sophisticated cream cheese tang.
What makes these cookies different from the rest is the technique. Most pumpkin cookie recipes end up flat and gummy because the puree adds too much moisture. I solved that by using a specific ratio of flour to pumpkin and adding the chocolate chips at just the right moment. The chips act as little structural anchors, helping the cookies hold their shape while they bake. It’s a small tweak, but it makes all the difference. This is the kind of cookie that makes you close your eyes after the first bite—not because it’s fancy, but because it’s exactly what you wanted.
What Ingredients You Will Need
This recipe uses simple, everyday ingredients to create something that feels special. Most of these are pantry staples, which is part of why I love it—you probably already have everything you need, minus maybe the pumpkin puree.
- Unsalted butter, softened (1 cup / 2 sticks): Butter gives these cookies richness and helps them spread just the right amount. I always use unsalted so I can control the salt level. Let it sit out for about 30 minutes before you start—it should be soft enough to leave a dent when you press it with your finger.
- Granulated sugar (1 cup / 200g): White sugar adds sweetness and helps with browning. It also keeps the cookies tender.
- Brown sugar, packed (1/2 cup / 100g): Brown sugar adds moisture and a hint of molasses flavor that pairs beautifully with pumpkin. I prefer light brown sugar, but dark works too if you want a deeper flavor.
- Pumpkin puree (3/4 cup / 170g): Make sure you’re using pure pumpkin puree, not pumpkin pie filling. The pie filling has added sugar and spices that will throw off the recipe. I usually go with Libby’s—it’s consistent and easy to find.
- Large egg (1): The egg binds everything together. Take it out of the fridge with the butter so it comes to room temperature.
- Vanilla extract (1 teaspoon): Pure vanilla extract is worth the splurge here. It rounds out the flavors and makes everything taste more homemade.
- All-purpose flour (2 cups / 240g): Spoon and level your flour—don’t scoop it straight from the bag. Scooping packs the flour down and you’ll end up with dry cookies.
- Baking soda (1 teaspoon): This helps the cookies rise and stay soft.
- Baking powder (1/2 teaspoon): A little extra lift for a tender crumb.
- Salt (1/2 teaspoon): Salt balances the sweetness and brings out the pumpkin flavor.
- Pumpkin pie spice (1 1/2 teaspoons): You can use store-bought or make your own with cinnamon, nutmeg, ginger, and cloves. I’ve done both—homemade is lovely, but store-bought works fine.
- Cinnamon (1/2 teaspoon): Extra warmth and spice.
- Semi-sweet chocolate chips (1 cup / 170g): I like semi-sweet because it’s not too sugary against the sweet icing. Dark chocolate chips would also be great if you prefer less sweetness. I’ve used Ghirardelli and Nestlé—both work well.
For the Cream Cheese Icing:
- Cream cheese, softened (4 oz / 113g): Full-fat cream cheese gives the best texture. Low-fat can make the icing runny.
- Unsalted butter, softened (1/4 cup / 1/2 stick): Adds richness and helps the icing hold its shape.
- Powdered sugar (1 1/2 cups / 170g): Sift it if you can—lumps are the enemy of smooth icing.
- Vanilla extract (1/2 teaspoon): A little goes a long way.
- Pinch of salt: Just enough to cut the sweetness.
Equipment Needed
You don’t need anything fancy for these cookies. Here’s what I use:
- Electric hand mixer or stand mixer: A hand mixer works perfectly fine. I’ve made these with both, and I actually prefer the hand mixer because it’s easier to scrape down the bowl.
- Large mixing bowl: For the wet ingredients and the flour mixture.
- Medium mixing bowl: For whisking the dry ingredients.
- Whisk: To combine the flour, spices, and leavening agents.
- Rubber spatula: For folding in the chocolate chips and scraping the bowl clean.
- Baking sheets: I use two so I can bake a batch while the other cools. If you only have one, let it cool completely between batches—otherwise the dough will spread too much.
- Parchment paper or silicone baking mat: Parchment paper is my go-to. It prevents sticking and makes cleanup a breeze. Silicone mats work great too, but they can sometimes make cookies spread a little more.
- Cookie scoop: A 1.5-tablespoon scoop gives you uniform cookies that bake evenly. If you don’t have one, use two spoons—just try to make them the same size.
- Cooling rack: Essential for letting the cookies cool before you ice them. If you ice them while they’re warm, the icing will melt right off.
- Spatula: For spreading the icing. An offset spatula is nice, but a butter knife works too.
If you don’t have a hand mixer, you can cream the butter and sugar by hand with a wooden spoon—it just takes a little more elbow grease. I’ve done it before when my mixer was broken, and the cookies still turned out great.
Preparation Method
Let’s get baking. This whole process takes about 25 minutes from start to finish, plus cooling time for the icing.
- Preheat your oven to 350°F (175°C). Line two baking sheets with parchment paper. If you only have one sheet, that’s fine—just let it cool completely between batches.
- Cream the butter and sugars. In a large mixing bowl, beat the softened butter, granulated sugar, and brown sugar together on medium speed until light and fluffy—about 2 to 3 minutes. Scrape down the sides of the bowl with a rubber spatula halfway through. You want the mixture to look pale and slightly aerated. Don’t rush this step; it’s what gives the cookies their tender texture.
- Add the pumpkin, egg, and vanilla. Beat in the pumpkin puree, egg, and vanilla extract on low speed until just combined. The mixture might look a little separated at this point—that’s normal. Don’t overmix it. Scrape the bowl again.
- Whisk the dry ingredients. In a separate medium bowl, whisk together the flour, baking soda, baking powder, salt, pumpkin pie spice, and cinnamon. This ensures the spices and leavening agents are evenly distributed. If you skip this step, you might end up with a pocket of baking soda in one cookie—trust me, it’s not pleasant.
- Combine wet and dry. Gradually add the dry ingredients to the wet mixture, mixing on low speed until just incorporated. Stop as soon as you don’t see any more streaks of flour. Overmixing at this stage will make the cookies tough.
- Fold in the chocolate chips. Use your rubber spatula to gently fold the chocolate chips into the dough. Make sure they’re evenly distributed. The dough will be soft and a little sticky—that’s exactly what you want.
- Scoop the dough. Use your cookie scoop to drop rounded tablespoons of dough onto the prepared baking sheets, spacing them about 2 inches apart. They won’t spread too much, but they need a little room. I usually fit 12 per sheet.
- Bake. Bake for 10 to 12 minutes, or until the edges are set and the tops look just barely firm. The centers will still look soft—that’s fine. They’ll continue to set as they cool. For softer cookies, pull them out at 10 minutes. For slightly firmer ones, go to 12.
- Cool. Let the cookies cool on the baking sheet for 5 minutes, then transfer them to a wire rack to cool completely. Don’t skip this step—if you try to move them too soon, they’ll fall apart.
- Make the icing. While the cookies cool, make the cream cheese icing. In a medium bowl, beat the softened cream cheese and butter together until smooth and creamy—about 2 minutes. Gradually add the powdered sugar, beating on low speed at first to avoid a sugar cloud, then increase to medium. Add the vanilla and a pinch of salt, and beat until fluffy. If the icing seems too thick, add a teaspoon of milk. If it’s too thin, add a little more powdered sugar.
- Ice the cookies. Once the cookies are completely cool, spread a generous dollop of icing on each one. I like to leave a little border around the edge so you can see the cookie. If you’re feeling fancy, sprinkle a few extra chocolate chips or a dusting of cinnamon on top.
- Let the icing set. Let the iced cookies sit at room temperature for about 15 minutes so the icing firms up. Then serve, or store them in an airtight container.
Cooking Tips & Techniques
I’ve made these cookies more times than I can count, and I’ve learned a few things along the way. Here are the tips that make the biggest difference:
- Don’t overmix the dough. This is the number one mistake I see people make. Once you add the flour, mix only until it disappears. Overmixing develops the gluten, which makes the cookies tough and dense. You want them tender and soft.
- Use room temperature ingredients. Cold butter won’t cream properly, and cold egg can seize the mixture. Let everything sit out for about 30 minutes before you start. If you forget, you can microwave the butter for 10-second intervals until it’s soft but not melted.
- Measure your flour correctly. Spoon it into the measuring cup and level it off with a knife. If you scoop directly from the bag, you can end up with up to 25% more flour, which will dry out the cookies. I learned this the hard way after a batch of hockey pucks.
- Don’t skip the parchment paper. It prevents the cookies from sticking and helps them bake evenly. Plus, cleanup is a breeze. If you use a silicone mat, keep an eye on the bake time—they can sometimes make cookies spread a little more.
- Let the cookies cool completely before icing. If you ice them while they’re still warm, the icing will melt into a puddle. I know it’s tempting, but patience pays off here. I once iced a batch too early and ended up with a gooey mess—still delicious, but not pretty.
- Adjust the spice to your taste. If you love pumpkin pie spice, feel free to add an extra half teaspoon. If you prefer a more subtle flavor, cut it back. I’ve made these with extra cinnamon and a pinch of nutmeg for a bolder taste.
- Bake one sheet at a time. If you try to bake two sheets at once, the heat won’t circulate evenly, and the cookies might not bake consistently. If you’re in a hurry, rotate the sheets halfway through.
Variations & Adaptations
One of the best things about this recipe is how easy it is to adapt. Here are a few variations I’ve tried and loved:
- Gluten-Free Option: Swap the all-purpose flour for a 1:1 gluten-free baking flour. I’ve used Bob’s Red Mill with great results. The cookies might be a little more delicate, so handle them gently.
- Dairy-Free Version: Use vegan butter and a dairy-free cream cheese alternative. I’ve tried this with Miyoko’s butter and Kite Hill cream cheese—they work well, though the icing won’t be quite as thick.
- Add Nuts: Fold in 1/2 cup of chopped pecans or walnuts along with the chocolate chips. The crunch adds a nice contrast to the soft cookie. I’ve done this for Thanksgiving and it was a hit.
- Spice It Up: Add 1/4 teaspoon of ground ginger or cloves for a warmer, more complex flavor. I’ve also added a pinch of cardamom for a slightly floral note.
- White Chocolate Version: Swap the semi-sweet chips for white chocolate chips. The sweetness pairs beautifully with the pumpkin and the tangy cream cheese icing. I made these for a friend who doesn’t like dark chocolate, and she asked for the recipe immediately.
- Pumpkin Chip Cookies (No Icing): If you want a simpler cookie, skip the icing altogether. The cookies are still delicious on their own—the chocolate chips provide plenty of sweetness.
Serving & Storage Suggestions
These cookies are best served at room temperature, with the cream cheese icing slightly firm but still creamy. I like to arrange them on a platter with a few extra chocolate chips scattered around for a pretty presentation. They’re perfect for fall gatherings, Thanksgiving dessert tables, or just a cozy afternoon snack.
For storage, place the iced cookies in an airtight container in a single layer. If you need to stack them, put a sheet of parchment paper between layers. They’ll keep in the refrigerator for up to 5 days. Let them sit at room temperature for about 10 minutes before serving—the icing softens up nicely.
You can also freeze the cookies (without the icing) for up to 3 months. Just bake and cool them completely, then place them in a freezer-safe bag. When you’re ready to serve, thaw them at room temperature, then make the icing and spread it on. The cookies taste just as fresh.
If you’re planning ahead, you can also freeze the dough. Scoop the dough balls onto a parchment-lined baking sheet and freeze until solid, then transfer them to a freezer bag. Bake from frozen, adding 1 to 2 minutes to the bake time. I’ve done this for holiday baking, and it’s a lifesaver.
For a fun twist, serve these cookies alongside a warm mug of spiced cider or a cozy warm vanilla milk drink. The creamy vanilla notes complement the pumpkin and cream cheese beautifully.
Nutritional Information & Benefits
Here’s the estimated nutritional breakdown for one cookie (with icing), based on 24 cookies:
- Calories: 210
- Fat: 11g
- Saturated Fat: 7g
- Carbohydrates: 27g
- Sugar: 18g
- Protein: 3g
- Fiber: 1g
- Sodium: 120mg
These numbers are estimates and will vary based on your specific ingredients and portion sizes. If you’re watching your sugar intake, you can reduce the brown sugar by a couple of tablespoons—the cookies will still be sweet enough.
On the health front, pumpkin puree is a good source of vitamin A, which supports eye health and immune function. The chocolate chips provide a little antioxidant boost, and the cream cheese adds calcium. I wouldn’t call these a health food, but they’re a treat you can feel good about—especially when you’re using real, whole ingredients.
If you’re looking for a lighter option, try the classic homemade banana pudding for a creamy, fruit-forward dessert that’s lower in fat.
Conclusion
These chocolate chip pumpkin cookies with cream cheese icing are exactly what I was looking for all those years ago. They’re soft, they’re flavorful, and they actually taste like pumpkin—not just sugar and spice. The chocolate chips add a little something extra, and the cream cheese icing is the perfect finishing touch. I’ve made these for every fall gathering for the past three years, and they never fail to impress.
I’d love to hear how they turn out for you. Did you add any variations? Did you double the icing? (I won’t judge.) Leave a comment below and let me know. And if you’re looking for more cozy fall recipes, check out the grandma’s sour cream coffee cake for another warm, comforting treat. Happy baking!
Frequently Asked Questions
Can I use canned pumpkin pie filling instead of pumpkin puree?
No, I wouldn’t recommend it. Pumpkin pie filling has added sugar and spices that will throw off the balance of the recipe. Stick with pure pumpkin puree for the best results.
Why did my cookies turn out flat?
Flat cookies usually mean the butter was too soft or the dough was overmixed. Make sure your butter is softened but not melted, and mix the dough only until the flour disappears. If your baking soda is old, it might not provide enough lift—check the expiration date.
Can I make the dough ahead of time?
Yes! You can refrigerate the dough for up to 24 hours before baking. Just scoop it into balls and store them in an airtight container. You might need to add a minute or two to the bake time since the dough will be cold.
How do I make the icing thicker?
If your icing is too runny, add more powdered sugar a tablespoon at a time until it reaches the desired consistency. Make sure your cream cheese and butter are at room temperature—cold ingredients can cause the icing to separate.
Can I freeze the iced cookies?
I don’t recommend freezing them with the icing, as it can get watery when thawed. Freeze the cookies without icing, then make the icing fresh when you’re ready to serve. They’ll taste just as good.
Pin This Recipe!
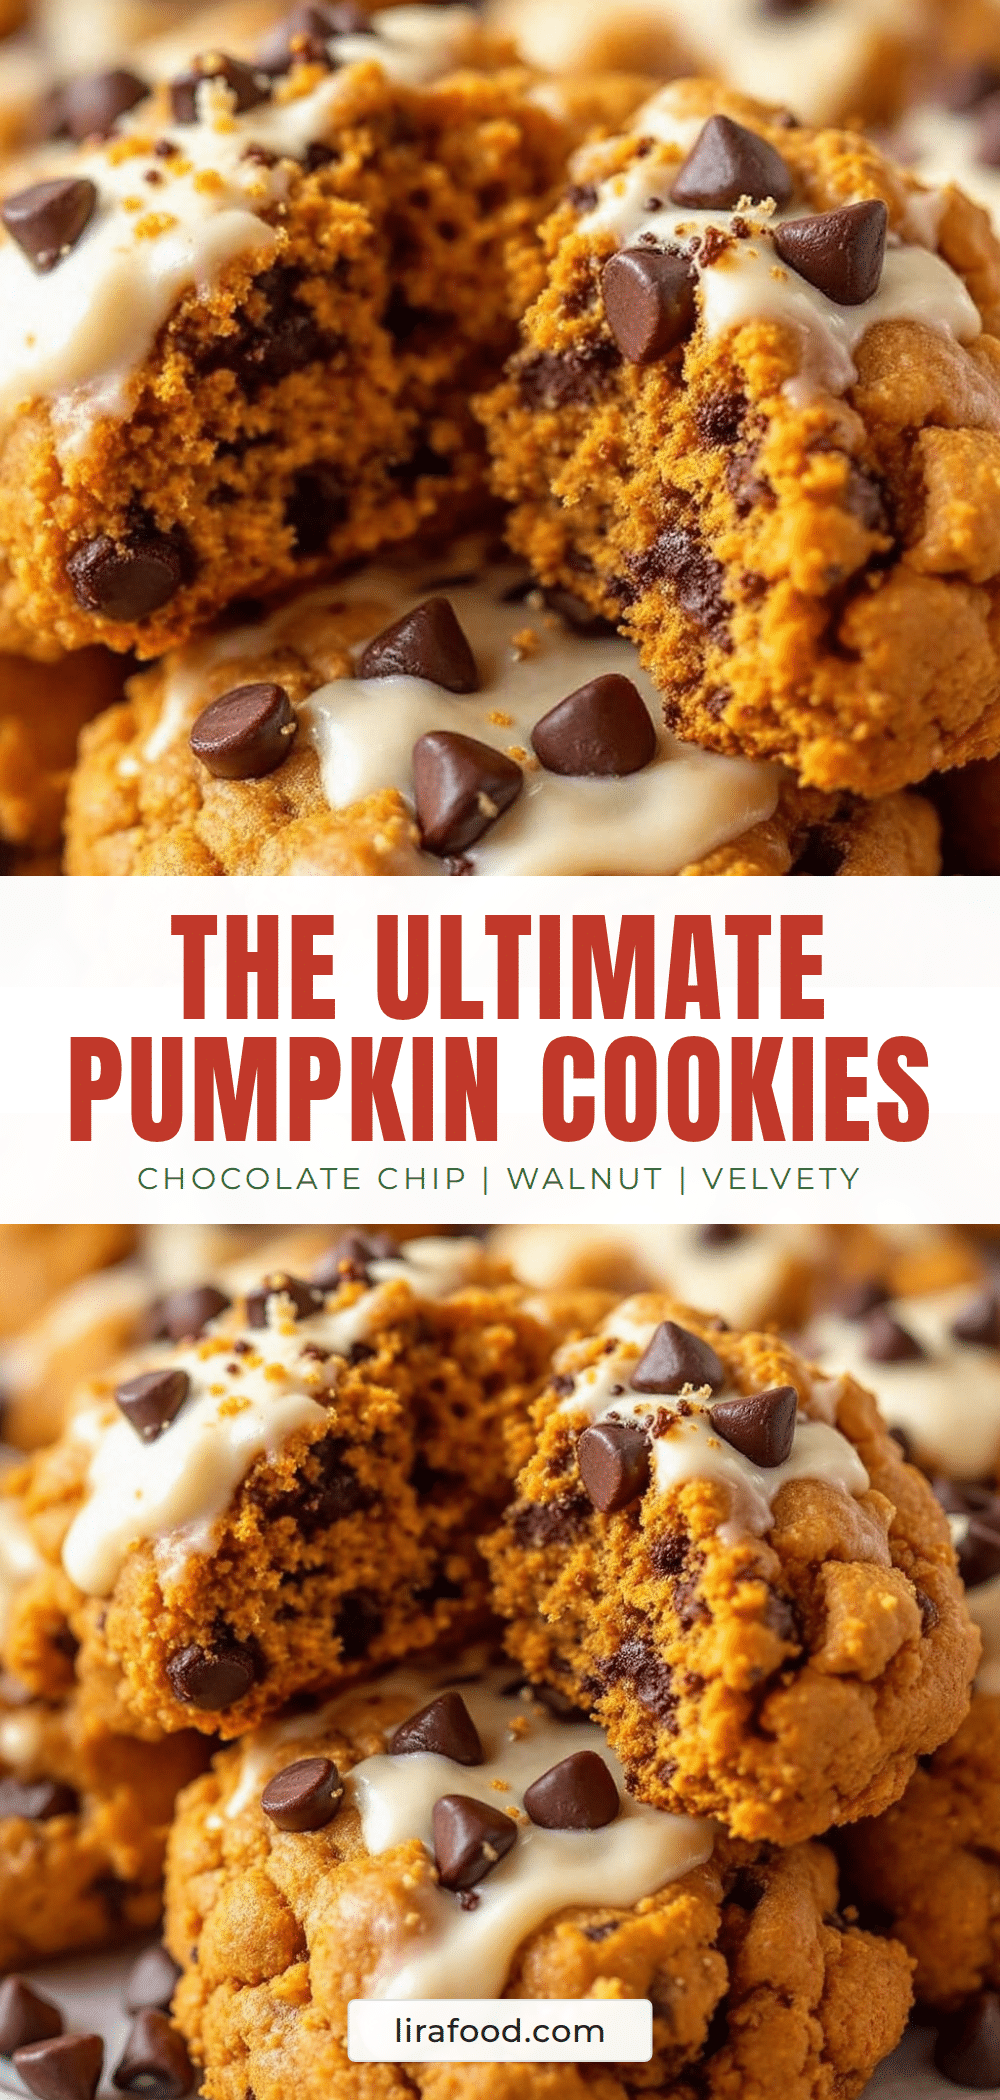
Easy Chocolate Chip Pumpkin Cookies with Cream Cheese Icing

These soft, thick pumpkin cookies are studded with chocolate chips and topped with a tangy cream cheese icing. They’re the perfect fall treat that actually tastes like pumpkin, not just spice.
- Prep Time: 15 minutes
- Cook Time: 12 minutes
- Total Time: 27 minutes
- Yield: 24 servings 1x
- Category: Dessert
- Cuisine: American
Ingredients
- 1 cup (2 sticks) unsalted butter, softened
- 1 cup (200g) granulated sugar
- 1/2 cup (100g) packed brown sugar
- 3/4 cup (170g) pumpkin puree
- 1 large egg
- 1 teaspoon vanilla extract
- 2 cups (240g) all-purpose flour
- 1 teaspoon baking soda
- 1/2 teaspoon baking powder
- 1/2 teaspoon salt
- 1 1/2 teaspoons pumpkin pie spice
- 1/2 teaspoon cinnamon
- 1 cup (170g) semi-sweet chocolate chips
- 4 oz (113g) cream cheese, softened
- 1/4 cup (1/2 stick) unsalted butter, softened
- 1 1/2 cups (170g) powdered sugar
- 1/2 teaspoon vanilla extract
- Pinch of salt
Instructions
- Preheat your oven to 350°F (175°C). Line two baking sheets with parchment paper.
- In a large mixing bowl, beat the softened butter, granulated sugar, and brown sugar together on medium speed until light and fluffy, about 2 to 3 minutes. Scrape down the sides of the bowl halfway through.
- Beat in the pumpkin puree, egg, and vanilla extract on low speed until just combined. The mixture might look slightly separated; do not overmix.
- In a separate medium bowl, whisk together the flour, baking soda, baking powder, salt, pumpkin pie spice, and cinnamon.
- Gradually add the dry ingredients to the wet mixture, mixing on low speed until just incorporated. Stop as soon as no streaks of flour remain.
- Gently fold the chocolate chips into the dough using a rubber spatula until evenly distributed.
- Use a cookie scoop to drop rounded tablespoons of dough onto the prepared baking sheets, spacing them about 2 inches apart.
- Bake for 10 to 12 minutes, or until the edges are set and the tops look just barely firm. The centers will still look soft.
- Let the cookies cool on the baking sheet for 5 minutes, then transfer them to a wire rack to cool completely.
- While the cookies cool, make the cream cheese icing: In a medium bowl, beat the softened cream cheese and butter together until smooth and creamy, about 2 minutes. Gradually add the powdered sugar, beating on low speed at first, then increase to medium. Add the vanilla and a pinch of salt, and beat until fluffy.
- Once the cookies are completely cool, spread a generous dollop of icing on each one, leaving a small border around the edge.
- Let the iced cookies sit at room temperature for about 15 minutes so the icing firms up before serving.
Notes
Don’t overmix the dough to keep cookies tender. Use room temperature ingredients for best results. Measure flour correctly by spooning and leveling. Let cookies cool completely before icing to prevent melting. For softer cookies, bake at 10 minutes; for firmer, go to 12. Adjust spices to taste.
Nutrition
- Serving Size: 1 cookie with icing
- Calories: 210
- Sugar: 18
- Sodium: 120
- Fat: 11
- Saturated Fat: 7
- Carbohydrates: 27
- Fiber: 1
- Protein: 3
Keywords: pumpkin cookies, chocolate chip pumpkin cookies, cream cheese icing, fall cookies, pumpkin dessert, easy pumpkin cookies


