Love this? Save it for later!
Share the inspiration with your friends
For a while, I just accepted that holiday appetizers weren’t going to taste like autumn. You know the struggle? You’d spend twenty minutes standing over a hot stove, trying to get something warm and gooey, only to realize everyone was already bored of the same old crackers. It felt heavy. It felt like work. And honestly, let’s face it, I didn’t want to be stuck in the kitchen when the turkey was finally coming out. I had been looking for a spread that actually felt like a season, not just a tray of cold cuts. There was this specific craving for something crisp and cool that could hold its own against the rich, savory main courses.
I remember one Thanksgiving specifically where the table was just… too much. Too many hot dishes, too many heavy casseroles, and the air in the dining room was thick with steam. We needed a palate cleanser that didn’t require a fork. We needed something that said “harvest” without shouting. It wasn’t about fancy techniques or expensive ingredients. It was about balance. I wanted the snap of a fresh apple and the tang of a sharp cheese to cut through the gravy. That’s what I had been missing. A moment of lightness before the feast got serious.
The answer wasn’t complicated. It was just sitting in the produce aisle and the dairy case all along. I started experimenting with what was in season, stacking flavors that naturally belonged together. The first time I pulled it together, I didn’t even try to make it look perfect. It was just a wooden board with piles of good stuff. But when people started grabbing pieces, the difference was obvious. It was refreshing. It was easy. And it stayed on the table without getting soggy or sad. That’s when I knew this was the way to go. Simple, seasonal, and stress-free.
Why You’ll Love This Recipe
This isn’t just another platter you throw together in a panic. I’ve tested this setup enough times to know what holds up and what turns into a mess. The key here is texture and contrast, something I learned the hard way after a few disastrous parties. This fall fruit and cheese board works because it respects the ingredients. It doesn’t try to mask them with heavy sauces or complicated garnishes. It lets the natural sweetness of the fruit meet the saltiness of the cheese. It’s smart cooking, really. You’re using what’s already good, just arranged well.
- Quick & Easy: This comes together in under 15 minutes. No cooking required. It’s perfect for busy weeknights or last-minute Thanksgiving prep when you’re already juggling ten other things.
- Simple Ingredients: No fancy grocery trips needed. You likely already have most of this in your kitchen. Just grab some apples, a block of cheddar, and some nuts from the pantry.
- Perfect for Thanksgiving: Great for the hours before the main course. It keeps guests happy without filling them up too much. It’s the ideal bridge between the appetizers and the feast.
- Crowd-Pleaser: Always gets rave reviews from kids and adults alike. Kids love the fruit, adults love the cheese. It’s a win-win situation that rarely fails.
- Unbelievably Delicious: The texture and flavor combo is next-level comfort food. The crunch of the apple against the creamy brie is just satisfying.
What makes this different from the rest is the balance. Most people just throw random stuff on a board. This one is curated. I use a specific ratio of sweet to savory that keeps people coming back. It’s not just good—it’s the kind of spread that makes you close your eyes after the first bite. It’s comfort food reimagined—healthier, faster, but with the same soul-soothing satisfaction. It’s perfect for impressing guests without stress, or turning a simple meal into something memorable. You don’t need to be a chef to make this work. You just need to care about how it tastes.
What Ingredients You Will Need
This recipe uses simple, wholesome ingredients to deliver bold flavor and satisfying texture without the fuss. The beauty of a charcuterie board is that it relies on quality over quantity. You don’t need thirty items. You need five or six really good ones. I like to group these by function so you can see how the flavors interact. Some are for crunch, some for creaminess, and some for that sweet pop that wakes up your palate.
For the Cheese Base
- Sharp Cheddar Block: Cut into cubes or thin slices. (I recommend Cabot for best texture and sharpness). The sharpness cuts through the sweetness.
- Creamy Brie or Camembert: One small wheel, rind on. (Soft cheese adds richness). Let it come to room temperature before serving for the best melt.
- Blue Cheese Crumbles: About half a cup. (Adds a salty punch). Use Gorgonzola Dolce if you want something milder.
For the Fruit & Fresh Elements
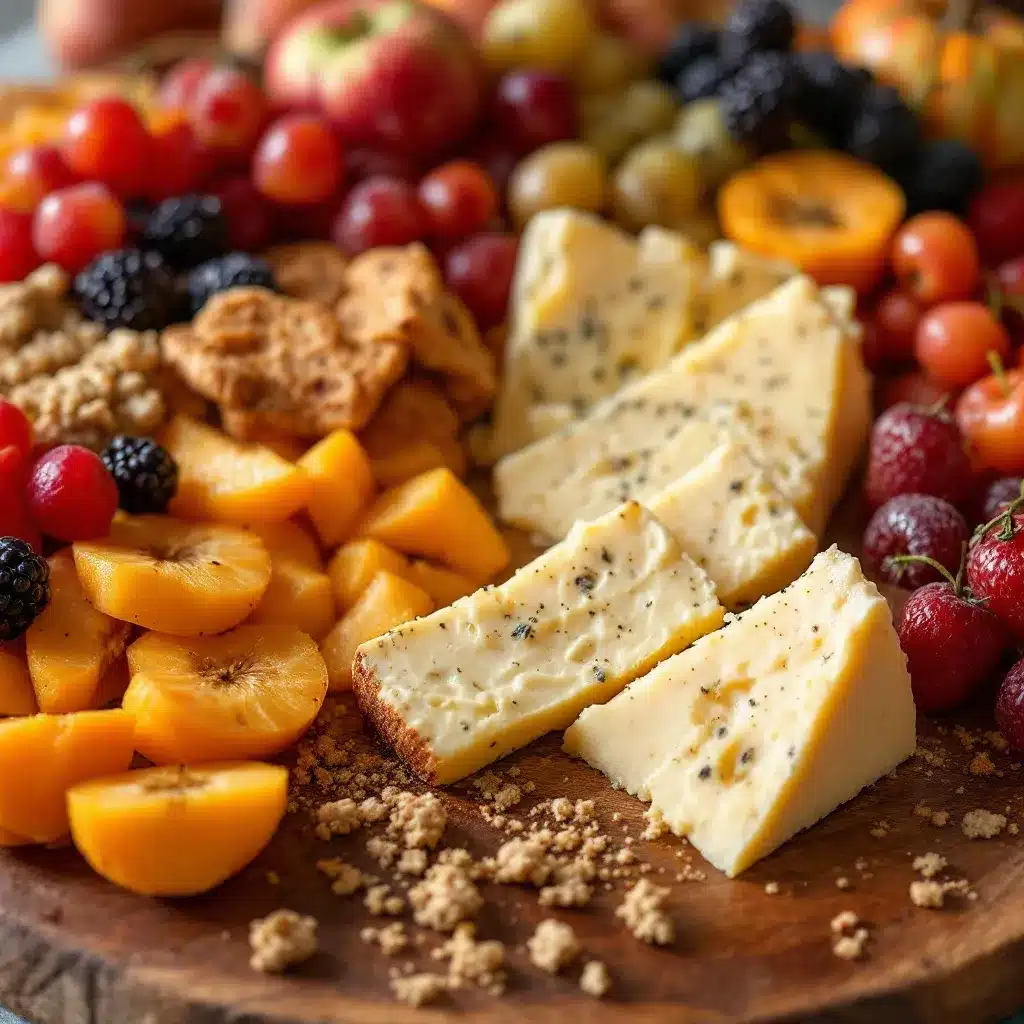
- Firm Apples: Honeycrisp or Fuji, sliced thinly. (Adds crunch and acidity). Core them but leave the skin on for color.
- Fresh Grapes: Red or green, halved. (Adds juiciness). They balance the dry crackers nicely.
- Pears: Anjou or Bosc, sliced. (Adds subtle sweetness). They pair perfectly with the blue cheese.
For the Crunch & Savory
- Whole Wheat Crackers: A sturdy variety that won’t break. (Provides structure). Look for ones with seeds for extra texture.
- Walnuts or Pecans: Roughly chopped. (Adds earthiness). Toast them lightly in a dry pan for deeper flavor.
- Salami or Prosciutto: Folded into rosettes. (Adds saltiness). Optional, but great for meat-eaters.
If you’re looking for a gluten-free option, swap the crackers for rice crackers or even apple slices dipped in almond butter. For a dairy-free version, you can use cashew cheese wheels, though the texture will be different. I always keep a small bowl of extra nuts on the side in case people want to pile them on top. It’s a small touch that makes a big difference.
Equipment Needed
You don’t need much to pull this off. A large wooden board is traditional, but any large platter works. I use a thick maple slab because it’s durable and looks rustic. If you don’t have one, a large marble slab is cool to the touch and keeps the cheese firm. You’ll also need a sharp knife for slicing the apples and cheese. A cheese knife set is nice, but a regular chef’s knife works fine for the hard cheeses. Small bowls are useful for holding the nuts or olives if you add them. I also keep a damp cloth nearby to wipe up any juice from the fruit. It’s a simple setup that requires minimal cleanup.
Preparation Method
Getting this ready is straightforward, but the order matters. You want to build structure first, then fill in the gaps. Here is how I do it every time to ensure it looks abundant and tastes balanced.
- Prep the Cheese (5 minutes): Take your cheddar and cut it into cubes or thin slices. If using a block of brie, just place it in the center of your board. For the blue cheese, crumble it into a small pile. (Allow cheeses to sit out for 20 minutes before serving to maximize flavor). This step is crucial because cold cheese doesn’t taste as good.
- Slice the Fruit (5 minutes): Wash your apples and pears. Slice them thinly. I like to keep the skin on for color contrast. Cut the grapes in half so they are bite-sized. (This makes them easier to eat with fingers). Arrange the fruit in piles around the board, leaving space for the crackers.
- Place the Crackers and Nuts (3 minutes): Lean the crackers against the side of the board or stack them in the center. Scatter the nuts loosely around the empty spaces. (Don’t pack them too tight; you want it to look effortless). This adds height and visual interest.
- Add the Meat (Optional, 2 minutes): If you are including salami or prosciutto, fold the slices loosely and tuck them into the gaps. (Folded meat looks more inviting than flat slices). This adds a savory element that balances the sweet fruit.
- Final Touches (2 minutes): Add any honey or jam in a small bowl if you’re using it. Sprinkle a few fresh herbs like rosemary or thyme around the edges for color. (Herbs add a nice scent without overpowering the food). Step back and adjust any items that look too crowded.
The whole process takes about 15 minutes. It’s quick, clean, and leaves you with a beautiful display. The key is to not overthink the arrangement. It’s supposed to look abundant, not perfect. If a piece of fruit rolls away, just pick it up and put it back. That’s part of the charm.
Cooking Tips & Techniques
I’ve made enough of these boards to know what goes wrong. The biggest mistake is using cheese that’s too cold. Straight from the fridge, cheese is hard and bland. Let it sit out for at least 30 minutes before you serve it. This allows the fats to soften and the flavors to open up. Another common error is cutting the fruit too early. Apples brown quickly. Slice them right before you plan to serve the board. If you have to prep ahead, toss the slices in a little lemon juice to keep them bright. I also recommend varying the shapes of your cheese. Cubes, slices, and crumbles create visual variety. It’s a small detail, but it makes the board look more professional. Don’t forget to wipe the rim of your board with a clean cloth before serving. It’s easy to miss fingerprints or crumbs, but it makes a big difference in presentation. Keep it simple and clean.
Variations & Adaptations
One of the best things about this recipe is how flexible it is. You can swap ingredients based on what’s in season or what your guests prefer. For a winter version, swap the apples for pomegranate seeds and use a stronger cheese like aged Gouda. If you’re hosting a vegetarian crowd, skip the meat and add more nuts or roasted chickpeas. I’ve tried adding fig jam, which pairs beautifully with the blue cheese. It adds a nice sticky sweetness that people love. For a lighter option, use vegetable sticks like cucumber and bell peppers instead of crackers. It’s a great way to add crunch without the carbs. I also like to add a few dark chocolate squares for those with a sweet tooth. It’s not traditional, but it works surprisingly well with the salty cheese. Don’t be afraid to experiment. The basic framework stays the same, but the flavors can change with the seasons.
Serving & Storage Suggestions
Serve this board at room temperature. It tastes best when the cheese is soft and the fruit is fresh. Place it on the table early in the meal, perhaps alongside the classic homemade peanut butter cookies for a sweet alternative. If you have leftovers, store the cheese in airtight containers in the fridge. The fruit should be kept separate to prevent sogginess. Wrap the apples and pears in a damp paper towel to keep them crisp. The crackers should stay in their original package to maintain crunch. Reheat the board by letting it sit out for 15 minutes before serving again. The flavors develop slightly over time, becoming more balanced as the cheese softens. It’s a great way to use up leftovers from your holiday spread.
Nutritional Information & Benefits
This board offers a good balance of macronutrients. The cheese provides protein and calcium, while the fruit adds fiber and vitamins. The nuts contribute healthy fats and antioxidants. It’s a lighter option compared to heavy dips or fried appetizers. For those watching their sodium, opt for low-salt crackers and fresh fruit. The blue cheese is high in sodium, so use it sparingly if needed. It’s a great way to enjoy seasonal produce without added sugars or artificial ingredients. I like to think of it as a mindful snack that satisfies cravings without the guilt. It’s a simple, wholesome choice that fits into most dietary plans.
Conclusion
This fall fruit and cheese board is a game-changer for any gathering. It’s easy, delicious, and looks beautiful on the table. I love it because it takes the stress out of hosting. You can set it out and forget about it while you finish cooking the main course. It’s a testament to the power of simple ingredients. I encourage you to try it and customize it to your taste. Add your favorite nuts or swap in different cheeses. Share your creations with me in the comments. I’d love to hear what you added. This recipe has become a staple in my home, and I hope it becomes one in yours too. Enjoy the season and the company.
FAQs
Can I make this board ahead of time?
Yes, you can prep the fruit and cheese up to 4 hours in advance. Keep them covered in the fridge. Bring them to room temperature before serving for the best flavor.
What cheese is best for a beginner?
Sharp cheddar and brie are great starters. They are widely available and pair well with almost any fruit or cracker.
How do I keep the apples from browning?
Toss the sliced apples in a mixture of water and lemon juice for a minute before arranging them on the board.
Can I use dried fruit instead of fresh?
Absolutely. Dried apricots, figs, or cranberries work well. They add a chewy texture that contrasts nicely with the cheese.
What drinks pair well with this board?
A crisp apple cider or a light red wine like Pinot Noir pairs perfectly. It’s also great with a glass of sparkling water and lime.
Pin This Recipe!
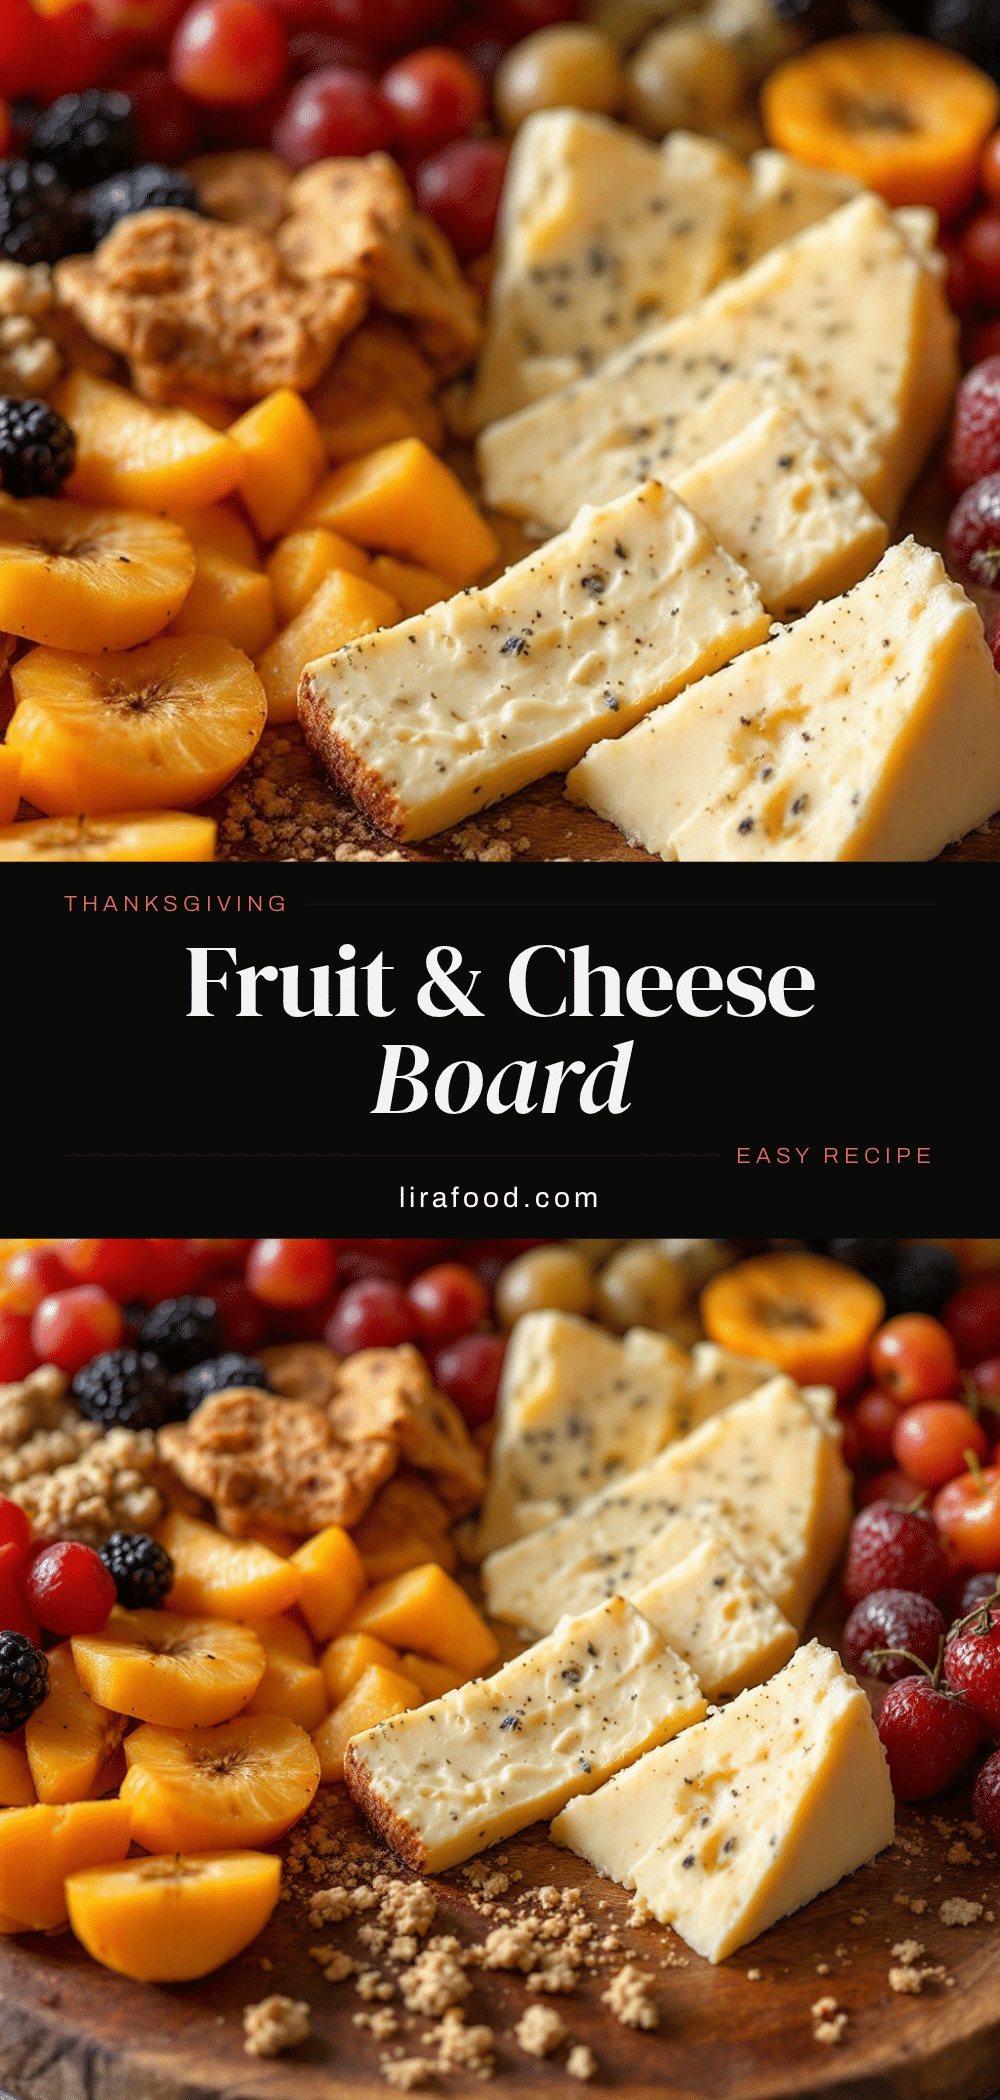
Easy Fall Fruit and Cheese Board: 5 Best Thanksgiving Ideas
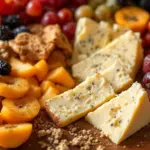
A stress-free, no-cook appetizer featuring a curated selection of seasonal fruits, sharp and creamy cheeses, nuts, and crackers. Perfect for Thanksgiving or any gathering, this board offers a refreshing balance of sweet and savory flavors.
- Prep Time: 15 minutes
- Cook Time: 0 minutes
- Total Time: 15 minutes
- Yield: 8-10 servings
- Category: Appetizer
- Cuisine: American
Ingredients
- Sharp Cheddar Block (e.g., Cabot), cut into cubes or thin slices
- Creamy Brie or Camembert, one small wheel, rind on
- Blue Cheese Crumbles (e.g., Gorgonzola Dolce), about half a cup
- Firm Apples (Honeycrisp or Fuji), sliced thinly
- Fresh Grapes (red or green), halved
- Pears (Anjou or Bosc), sliced
- Whole Wheat Crackers, sturdy variety
- Walnuts or Pecans, roughly chopped
- Salami or Prosciutto, folded into rosettes (optional)
Instructions
- Prep the cheese: Cut cheddar into cubes or slices. Place the brie wheel in the center of the board. Crumble the blue cheese into a small pile.
- Allow cheeses to sit out for 20-30 minutes before serving to maximize flavor and soften the texture.
- Slice the fruit: Wash apples and pears, slice thinly (keeping skin on for color), and cut grapes in half.
- Arrange the fruit in piles around the board, leaving space for crackers.
- Place the crackers: Lean crackers against the side of the board or stack them in the center. Scatter nuts loosely around empty spaces.
- Add the meat (optional): Fold salami or prosciutto slices loosely and tuck them into gaps for a savory element.
- Add final touches: Place honey or jam in a small bowl if desired. Sprinkle fresh herbs like rosemary or thyme around the edges for color and scent.
- Adjust the arrangement to ensure it looks abundant but not crowded.
Notes
For best flavor, let cheeses come to room temperature for at least 30 minutes before serving. Slice apples right before serving to prevent browning; toss with lemon juice if prepping ahead. For a gluten-free version, swap wheat crackers for rice crackers. For a dairy-free version, use cashew cheese wheels.
Nutrition
- Serving Size: Assorted pieces of f
- Calories: 350
- Sugar: 15
- Sodium: 450
- Fat: 22
- Saturated Fat: 10
- Carbohydrates: 25
- Fiber: 3
- Protein: 12
Keywords: fall appetizer, thanksgiving ideas, fruit and cheese board, charcuterie board, easy party food, seasonal recipes, no-cook appetizer