Love this? Save it for later!
Share the inspiration with your friends
I burned the first batch of these no-bake chocolate peanut butter protein balls so badly I had to throw the pan away. Not the balls—the actual pan. It was a cheap nonstick one from college, sure, but still. I was trying to be healthy, meal-prepping snacks for the week, and instead I created a science experiment that fused oats and peanut butter to metal at a molecular level. The smoke alarm went off. My dog hid under the bed. And I stood there thinking, this was supposed to be the easy recipe.
That was three years ago, and I have made these protein balls roughly once a week ever since. Not because I’m stubborn (okay, maybe a little), but because once I figured out what I was doing wrong—too much heat, wrong binder ratio, not chilling the mixture first—they became the single most reliable snack in my kitchen. I don’t even really like protein balls, honestly. Most of them taste like sweetened sawdust or chalky desperation. But these? These are different.
They taste like a Reese’s cup that decided to get its life together. The chocolate and peanut butter thing is obvious, I know, but the texture is what gets you. It’s fudgy without being heavy, chewy without being tough, and somehow stays soft even after a week in the fridge. I bring them to work, pack them in my kid’s lunch, eat two standing in front of the open refrigerator at 10 p.m. when I swear I’m just getting water.
These are not fancy. They are not photogenic in that swooping-drizzle-on-a-slate-board way. They are lumpy, imperfect, and absolutely delicious. And they take five minutes to throw together. No oven, no food processor required, no trip to a specialty store for weird protein powders you’ll use once. Just pantry staples and your hands.
I make a batch every Sunday now. It’s not a resolution or a goal—it’s just easier than deciding what to grab when hunger hits and my brain is already checked out. And honestly? That’s the kind of recipe worth keeping.
Why You’ll Love This Recipe
Let me tell you why these easy no-bake chocolate peanut butter protein balls have earned a permanent spot in my rotation. I have tested this recipe at least thirty times—no exaggeration—adjusting ratios, trying different mix-ins, testing how long they hold up in the freezer. What I landed on is the Goldilocks version: not too dry, not too sticky, just right.
- Quick & Easy: Five minutes of active work. That’s it. Mix, roll, chill. You don’t even need to wash a bowl if you use a silicone spatula and your hands.
- Simple Ingredients: Rolled oats, peanut butter, honey, chocolate chips, protein powder. That’s the base. You probably have all of it right now.
- Perfect for Meal Prep: Make a double batch on Sunday and you have grab-and-go snacks for the whole week. Great for post-workout refueling, afternoon slumps, or keeping hangry kids at bay.
- Crowd-Pleaser: I brought these to a potluck once as a joke—like, “here are my sad healthy balls”—and they were gone in twenty minutes. Someone asked for the recipe. Someone else asked if I catered.
- No-Bake: No oven, no stove, no turning on anything that generates heat. Perfect for summer, small apartments, or days when you just cannot.
What makes these different from every other protein ball recipe out there? Two things. First, I use a specific ratio of wet to dry ingredients that keeps them from crumbling apart or turning into cement. Second, I add a pinch of salt to the chocolate. It sounds small, but it makes the peanut butter taste roasted and the chocolate taste deeper. It’s the difference between “these are fine” and “I need another one right now.”
This is the kind of snack that makes you feel like you have your life together without actually trying very hard. It’s comfort food that works with your goals, not against them.
What Ingredients You Will Need
This recipe uses simple, whole ingredients that come together to create something way more satisfying than the sum of their parts. No weird powders, no obscure superfoods—just real food that tastes good.
- Rolled Oats (1 cup / 90g): Not quick oats, not steel-cut. Rolled oats give the right texture—chewy but not mushy. Quick oats turn into paste. Steel-cut oats will break your teeth. Trust me on this one. I use Bob’s Red Mill Old-Fashioned Rolled Oats because they hold their shape well.
- Creamy Peanut Butter (½ cup / 130g): Use the kind that’s just peanuts and salt. The natural stuff that separates? Stir it well before measuring. Avoid the sugary processed peanut butter—it makes the balls too sweet and changes the texture. If you’re allergic, sunflower seed butter works beautifully here.
- Honey (⅓ cup / 110g): Raw honey adds natural sweetness and helps bind everything together. Maple syrup works too, but the balls will be slightly softer. Agave is fine in a pinch but makes them sweeter.
- Chocolate Chips (⅓ cup / 60g): Semi-sweet or dark, your call. I prefer dark chocolate (60-70% cacao) because it balances the sweetness of the honey and peanut butter. Mini chips distribute more evenly, but regular chips work fine.
- Chocolate or Vanilla Protein Powder (¼ cup / 30g): This is optional but recommended. It adds protein (obviously) and helps bind the mixture. I use a plant-based chocolate protein powder—Orgain Simple is my go-to because it doesn’t have that chalky aftertaste. If you skip it, add an extra ¼ cup of oats and 1 tablespoon of peanut butter to compensate.
- Flaxseed Meal (2 tablespoons / 14g): Adds fiber, omega-3s, and helps hold everything together. You can skip this or substitute chia seeds (ground or whole), but the texture will be slightly different.
- Pinch of Sea Salt: Non-negotiable. Salt makes the chocolate taste chocolatier and the peanut butter taste nuttier. Use flaky sea salt if you have it; regular table salt works too.
- Optional Mix-Ins: Shredded coconut, chopped nuts, dried fruit, cacao nibs, or a drizzle of melted dark chocolate on top. I sometimes add a tablespoon of mini chocolate chips on top of the measured amount for extra chocolate pockets.
When selecting your peanut butter, look for one that’s smooth and not too oily. If the oil has separated and you stir it back in, that’s fine—just make sure it’s well-mixed before measuring. If your peanut butter is too dry, the balls will crumble. Too oily, and they won’t hold their shape.
Equipment Needed
You don’t need much for this recipe, which is part of the appeal. Here’s what you’ll need:
- Large Mixing Bowl: Any bowl works. I use a stainless steel one because it doesn’t hold odors and is easy to clean.
- Measuring Cups and Spoons: For accuracy. I’ve made these by eyeballing before and regretted it—too dry, too sticky, too sweet. Measure until you know the feel.
- Silicone Spatula or Wooden Spoon: For mixing. A spatula is better because it scrapes the sides cleanly.
- Baking Sheet or Large Plate: To hold the rolled balls while they chill. Line it with parchment paper for easy cleanup.
- Parchment Paper: Not wax paper—parchment. Wax paper can stick, especially if the balls are slightly sticky.
- Cookie Scoop (optional): A 1-tablespoon scoop makes uniform balls. If you don’t have one, just use your hands—they’ll be slightly different sizes, and that’s fine.
- Air-Tight Container: For storage. Glass or plastic, doesn’t matter as long as it seals well.
I used to use a food processor for these, thinking it would make the texture smoother. Don’t bother. It just turns the oats into flour and makes the mixture greasy. Hands work best. You get a feel for the texture that way.
Preparation Method
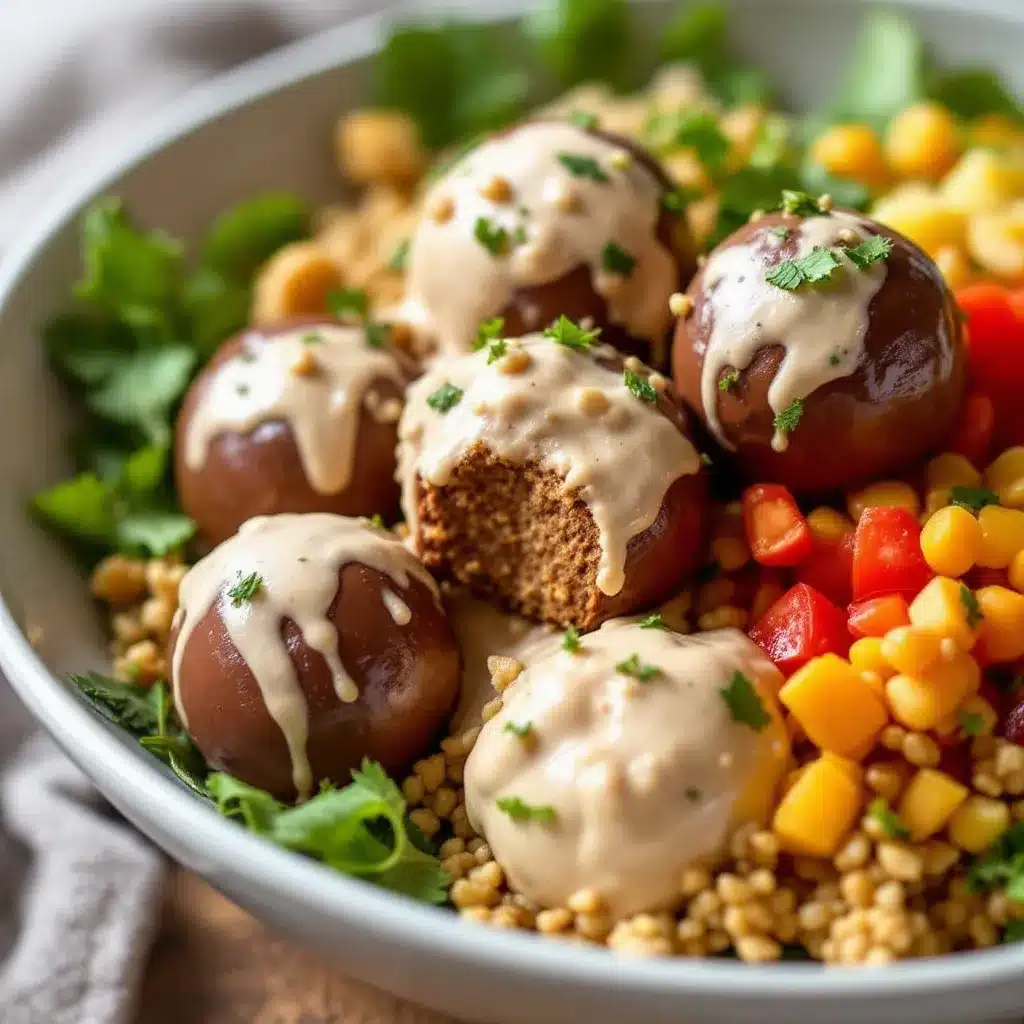
Here’s the step-by-step method I’ve landed on after countless batches. Follow these exactly the first time, then adjust to your preference once you know how the mixture should feel.
- Combine the dry ingredients. In a large mixing bowl, add 1 cup rolled oats, ¼ cup protein powder (if using), 2 tablespoons flaxseed meal, and a pinch of sea salt. Whisk them together with a fork until evenly distributed. This ensures the protein powder doesn’t clump later.
- Add the wet ingredients. Add ½ cup creamy peanut butter and ⅓ cup honey to the bowl. Don’t dump the honey on top of the peanut butter—put them next to each other so you can mix them together first. Use your silicone spatula to press and fold the mixture. It will look dry and crumbly at first. Keep going. The peanut butter and honey need to coat every oat.
- Add the chocolate chips. Fold in ⅓ cup chocolate chips. Reserve a few to press onto the tops of the balls later if you want them to look pretty. Mix until the chips are evenly distributed. The dough should feel slightly sticky but hold together when pressed. If it crumbles, add 1 tablespoon of peanut butter or honey. If it’s too wet, add 1 tablespoon of oats.
- Chill the mixture. Cover the bowl and refrigerate for 15-20 minutes. This step is crucial. The mixture firms up, making it much easier to roll into balls without them falling apart. I learned this the hard way—rolling warm mixture leads to sticky hands and misshapen balls. Patience pays off here.
- Roll into balls. Line a baking sheet or large plate with parchment paper. Using a 1-tablespoon cookie scoop or your hands, portion out the mixture and roll it between your palms into smooth balls. Aim for uniform size so they chill evenly. You should get about 16-18 balls depending on how big you roll them.
- Press extra chocolate chips on top (optional). If you reserved a few chocolate chips, gently press 2-3 onto the top of each ball. It makes them look more polished and gives you a little chocolate hit with every bite.
- Chill again. Place the baking sheet in the refrigerator for at least 30 minutes. This sets the balls so they hold their shape. If you’re impatient like me, 20 minutes works, but 30 is better.
- Transfer to storage. Once firm, move the balls to an air-tight container. Layer them between sheets of parchment paper if stacking to prevent sticking.
Sensory cues to watch for: The mixture should feel like Play-Doh—malleable but not greasy. When you press a ball between your fingers, it should hold its shape without cracking around the edges. If it cracks, it’s too dry—add a tiny splash of milk or water. If it squishes, it’s too wet—add more oats.
Cooking Tips & Techniques
I have made every mistake in the book with these protein balls, so you don’t have to. Here’s what I’ve learned:
Chill the mixture before rolling. I cannot stress this enough. The first dozen times I made these, I skipped this step because I was in a hurry. Every single time, the balls were sticky messes that refused to hold their shape. Fifteen minutes in the fridge transforms the texture completely. The oats absorb some moisture, the peanut butter firms up, and suddenly rolling is effortless.
Wet your hands slightly. If the mixture is still a bit sticky after chilling, dampen your hands with a little water before rolling. Not enough to make them wet—just a light mist. It prevents sticking without adding moisture to the balls.
Don’t overmix. Once the ingredients come together, stop. Overmixing breaks down the oats and makes the texture pasty. You want some texture remaining—little oat pieces that give the balls a pleasant chew.
Taste and adjust. Before rolling, take a tiny pinch of the mixture and taste it. Is it sweet enough? Does it need more salt? Adjust now, not after you’ve rolled all the balls. I once made an entire batch that was bland because I forgot the salt. Don’t be me.
Use room temperature peanut butter. Cold peanut butter is harder to mix and doesn’t incorporate evenly. If your peanut butter has been in the fridge, let it sit out for 15 minutes before starting. Or microwave it for 10 seconds—just don’t overheat it.
Scale the recipe easily. This recipe doubles and triples beautifully. I make a triple batch for road trips and camping. The only thing that changes is mixing time—use your hands to combine larger batches thoroughly.
Variations & Adaptations
This recipe is endlessly customizable. Here are some variations I’ve tried and loved:
Vegan Version: Swap the honey for maple syrup or brown rice syrup. Use dairy-free chocolate chips (most dark chocolate chips are naturally vegan). The texture will be slightly softer with maple syrup, so add an extra tablespoon of oats to compensate.
Nut-Free Option: Replace peanut butter with sunflower seed butter or tahini. Sunflower seed butter works best—it has a similar texture and richness. One note: sunflower seed butter can react with baking soda if you ever bake these (which I don’t recommend), but for no-bake balls, it’s perfect. Use certified gluten-free oats if needed.
Higher Protein Version: Increase the protein powder to ⅓ cup and reduce the oats to ¾ cup. Add a tablespoon of milk or water if the mixture seems too dry. I’ve also added a scoop of collagen peptides—they dissolve easily and don’t affect texture much.
Cookie Dough Style: Omit the protein powder and use 1¼ cups oats. Add 2 tablespoons of brown sugar (yes, raw) and an extra 2 tablespoons of chocolate chips. The texture becomes softer and sweeter—closer to edible cookie dough than a protein ball. Dangerous, honestly.
Seasonal Twists: In fall, add ½ teaspoon pumpkin pie spice and swap half the chocolate chips for dried cranberries. In summer, add 2 tablespoons of shredded coconut and a teaspoon of lime zest. For the holidays, roll the finished balls in crushed peppermint or cocoa powder.
Lower Sugar Version: Reduce honey to 2 tablespoons and add 2 tablespoons of unsweetened applesauce. Use sugar-free chocolate chips or just omit them and add cacao nibs for crunch. The balls will be less sweet but still satisfying.
Serving & Storage Suggestions
These protein balls are best served cold or at room temperature—not straight from the freezer (too hard) and not microwaved (too soft). I like them straight from the fridge on a warm day, or left on the counter for 10 minutes if I want them softer.
They pair beautifully with a cup of coffee in the morning—the chocolate and peanut butter complement the bitterness of black coffee perfectly. They’re also great crumbled over yogurt or oatmeal for extra texture and protein. If you’re feeling fancy, drizzle melted dark chocolate over the top and sprinkle with flaky sea salt before the chocolate sets.
Storage: Keep the balls in an air-tight container in the refrigerator for up to 2 weeks. They will stay fresh and maintain their texture. If you stack them, separate layers with parchment paper to prevent them from sticking together.
Freezing: These freeze beautifully for up to 3 months. Place the balls on a baking sheet in a single layer and freeze until solid (about 1 hour), then transfer to a freezer-safe bag or container. This prevents them from freezing into one giant clump. Thaw in the refrigerator overnight or at room temperature for 15-20 minutes before eating.
Travel: These are my go-to road trip snack. They don’t melt, crumble, or leak. Pack them in a container with a tight lid and keep them in a cooler if it’s hot out. They’ll survive a full day in a lunchbox without refrigeration, though they’ll be softer.
One thing I love about these balls is that the flavors actually get better after a day or two in the fridge. The oats absorb more moisture, the peanut butter mellows out, and everything melds together. Day-one balls are good; day-three balls are amazing.
Nutritional Information & Benefits
Here’s the approximate nutritional breakdown per ball (based on 16 balls using the recipe as written with protein powder):
Calories: 145 | Protein: 7g | Fat: 7g | Carbohydrates: 16g | Fiber: 3g | Sugar: 9g
These numbers will vary based on your specific ingredients—different peanut butters and protein powders have different macros. If you’re tracking closely, calculate based on your exact brands.
Health benefits: Rolled oats provide soluble fiber that supports heart health and keeps you full. Peanut butter offers healthy monounsaturated fats and plant-based protein. Flaxseed meal adds omega-3 fatty acids and extra fiber. Dark chocolate contains antioxidants and, honestly, makes you happy. These balls are a balanced snack that provides sustained energy without a sugar crash.
Dietary considerations: This recipe is naturally vegetarian and can easily be made vegan, gluten-free (with certified GF oats), and nut-free (with sunflower seed butter). It contains peanuts and potential traces of gluten depending on your oat source. The protein powder I use is plant-based, but whey protein works too if you tolerate dairy.
I’m not a nutritionist, but I’ve been making these for years and they’ve helped me avoid countless vending machine impulse buys. They’re not a magic health food—they’re just a better choice than the alternatives when hunger strikes.
Conclusion
These easy no-bake chocolate peanut butter protein balls have become such a staple in my kitchen that I almost forget they’re a “recipe.” They’re more like a habit now—something I make without thinking, without measuring sometimes, without any of the anxiety that comes with trying something new. That’s the kind of recipe I love most: the one that becomes invisible, just part of how you feed yourself well.
I hope you make these and adapt them to your own tastes. Add more chocolate. Use almond butter. Roll them in coconut. Make them your own. That’s the beauty of a simple recipe like this—it’s a starting point, not a rulebook. The first time you make them, follow the measurements. The second time, start playing. By the third batch, you won’t need the recipe anymore.
If you try these, I’d love to hear how they turned out. Drop a comment below and let me know what variations you tried, or tag me in your photos if you share them. And if you’re looking for another no-fuss snack that comes together fast, you might also enjoy this fluffy buttermilk pancakes recipe for weekend mornings when you want something warm. Or check out these classic homemade peanut butter cookies if you’re in the mood for a baked treat with a similar flavor profile.
Happy snacking, friends. You’ve got this.
Frequently Asked Questions
Can I use quick oats instead of rolled oats?
You can, but the texture will be different. Quick oats are more processed and absorb liquid faster, which can make the balls denser and almost pasty. Rolled oats give a better chew and hold their shape longer. If you only have quick oats, reduce the honey by a tablespoon to compensate for the extra absorption.
My mixture is too dry and crumbly. What did I do wrong?
This usually happens when the peanut butter is too thick or the oats are too absorbent. Add 1 tablespoon of honey or peanut butter at a time until the mixture holds together when pressed. If you used natural peanut butter that was very dry, this is more likely to happen. Next time, stir the peanut butter well before measuring.
How long do these protein balls actually last?
In the refrigerator, they stay fresh for up to 2 weeks. In the freezer, they last up to 3 months. I’ve eaten them after a month in the fridge and they were fine—just slightly drier. If they start to feel dry, eat them within a few days of noticing the texture change. They won’t go bad quickly because of the honey and peanut butter, but they’ll lose optimal texture.
Can I make these without protein powder?
Absolutely. Omit the protein powder and add an extra ¼ cup of rolled oats plus 1 tablespoon of peanut butter to maintain the right texture. The balls will have less protein (obviously) but will still taste great. If you want to boost protein without powder, add an extra tablespoon of flaxseed meal or chia seeds.
Why did my protein balls turn out greasy?
This usually means the peanut butter was too oily, or you used a protein powder that contains added fats. Next time, use a peanut butter that’s just peanuts and salt (no added oils) and check your protein powder label. If the mixture is already greasy, add more oats a tablespoon at a time until the texture firms up. You can also refrigerate the mixture longer before rolling—the cold helps solidify the fats.
Pin This Recipe!
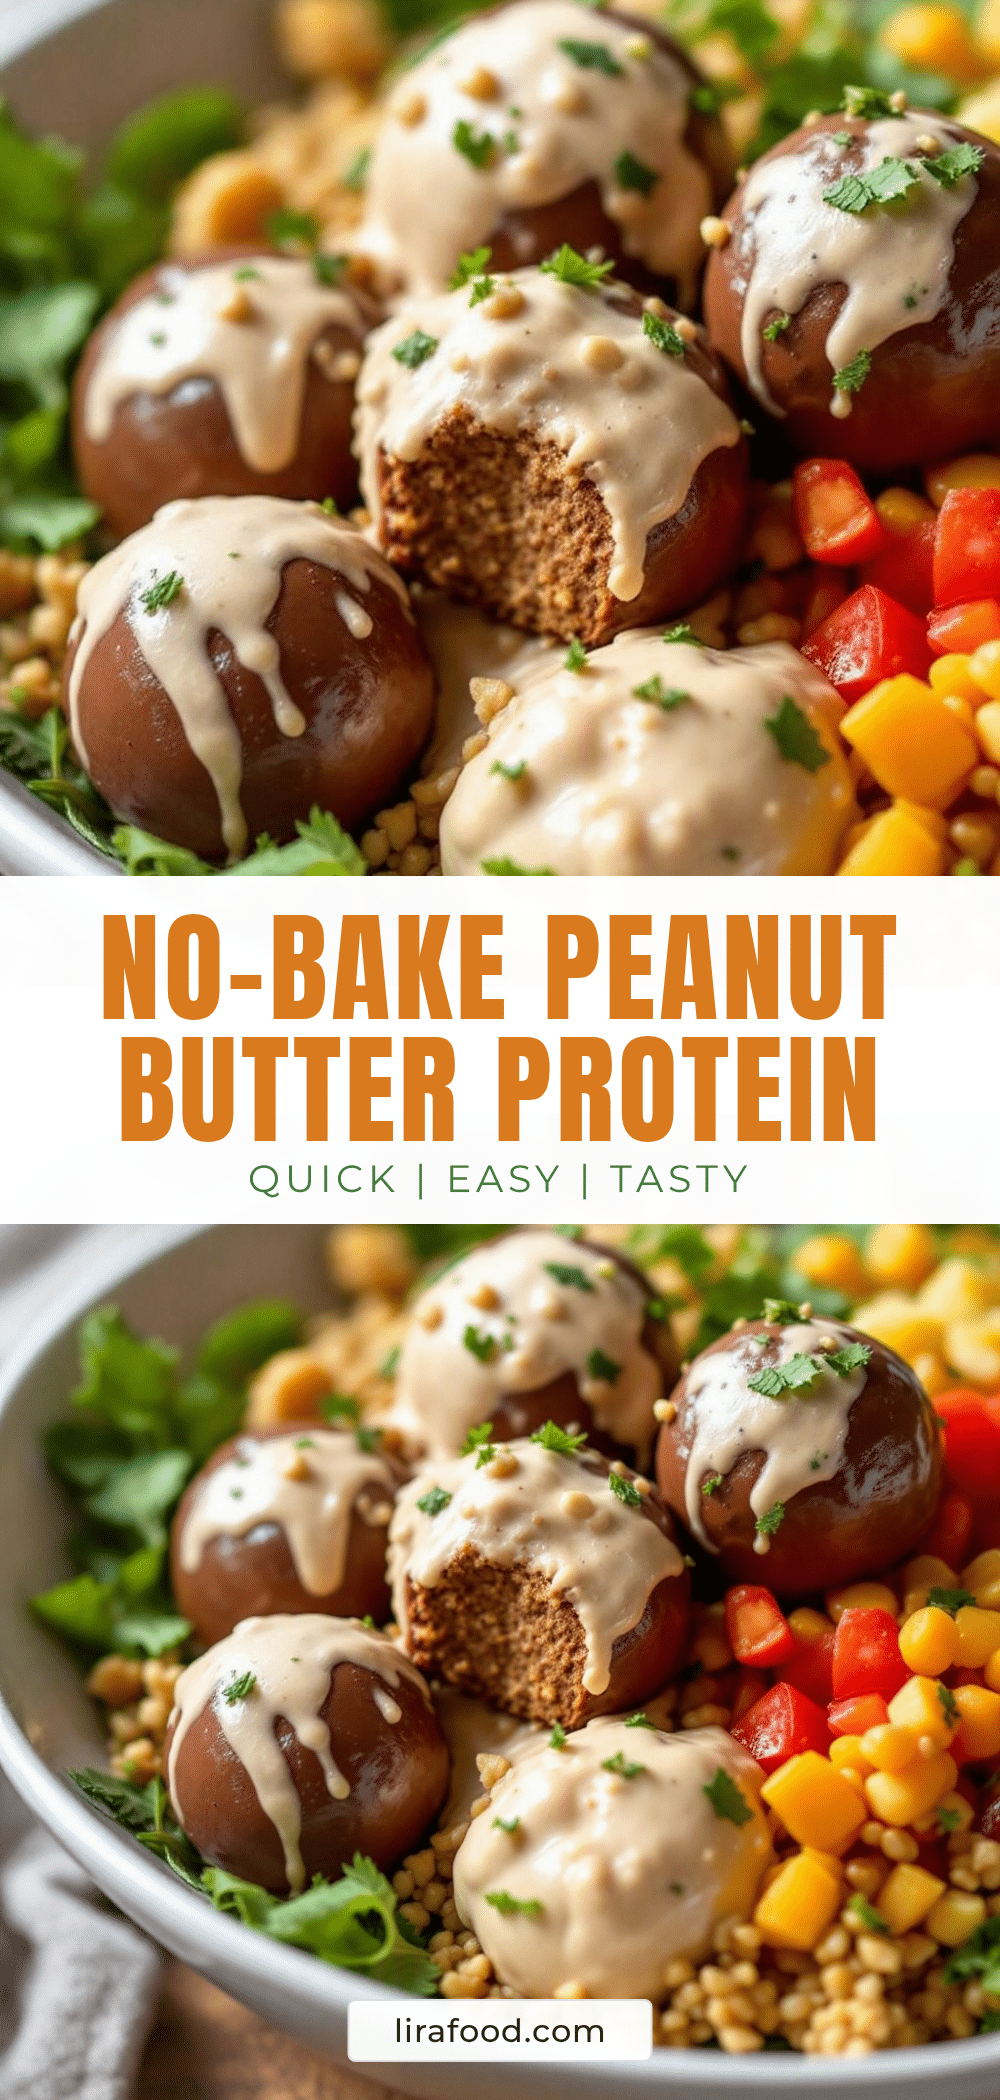
Easy No-Bake Chocolate Peanut Butter Protein Balls: Best 5-Minute Snack

These no-bake chocolate peanut butter protein balls are a quick, healthy snack that tastes like a Reese’s cup. Made with simple pantry staples, they come together in five minutes and are perfect for meal prep.
- Prep Time: 5 minutes
- Cook Time: 0 minutes
- Total Time: 50 minutes (includes chilling time)
- Yield: 16-18 balls 1x
- Category: Snack
- Cuisine: American
Ingredients
- 1 cup (90g) rolled oats
- ½ cup (130g) creamy peanut butter
- ⅓ cup (110g) honey
- ⅓ cup (60g) chocolate chips (semi-sweet or dark)
- ¼ cup (30g) chocolate or vanilla protein powder (optional)
- 2 tablespoons (14g) flaxseed meal
- Pinch of sea salt
- Optional mix-ins: shredded coconut, chopped nuts, dried fruit, cacao nibs, or extra chocolate chips
Instructions
- Combine the dry ingredients: In a large mixing bowl, add 1 cup rolled oats, ¼ cup protein powder (if using), 2 tablespoons flaxseed meal, and a pinch of sea salt. Whisk together with a fork until evenly distributed.
- Add the wet ingredients: Add ½ cup creamy peanut butter and ⅓ cup honey to the bowl. Use a silicone spatula to press and fold the mixture until the peanut butter and honey coat every oat. The mixture will look dry and crumbly at first; keep going.
- Add the chocolate chips: Fold in ⅓ cup chocolate chips. Reserve a few to press onto the tops of the balls later if desired. Mix until evenly distributed. The dough should feel slightly sticky but hold together when pressed. If it crumbles, add 1 tablespoon of peanut butter or honey. If too wet, add 1 tablespoon of oats.
- Chill the mixture: Cover the bowl and refrigerate for 15-20 minutes. This firms up the mixture, making it easier to roll into balls.
- Roll into balls: Line a baking sheet or large plate with parchment paper. Using a 1-tablespoon cookie scoop or your hands, portion out the mixture and roll it between your palms into smooth balls. Aim for uniform size. You should get about 16-18 balls.
- Press extra chocolate chips on top (optional): If you reserved chocolate chips, gently press 2-3 onto the top of each ball for a polished look.
- Chill again: Place the baking sheet in the refrigerator for at least 30 minutes to set the balls so they hold their shape.
- Transfer to storage: Once firm, move the balls to an air-tight container. Layer them between sheets of parchment paper if stacking to prevent sticking.
Notes
Chill the mixture before rolling for best results. Wet your hands slightly if the mixture is sticky. Don’t overmix to maintain texture. Taste and adjust sweetness or salt before rolling. Use room temperature peanut butter for easier mixing. The flavors improve after a day or two in the fridge.
Nutrition
- Serving Size: 1 ball
- Calories: 145
- Sugar: 9
- Sodium: 80
- Fat: 7
- Saturated Fat: 2
- Carbohydrates: 16
- Fiber: 3
- Protein: 7
Keywords: no-bake protein balls, chocolate peanut butter protein balls, healthy snack, meal prep snack, easy protein balls, 5-minute snack


