Love this? Save it for later!
Share the inspiration with your friends
I figured a one-bowl pumpkin bread would be the kind of recipe you make just to use up that half-can of pumpkin puree sitting in the fridge. You know, a quick, no-fuss loaf that gets the job done without any drama. It took exactly one slice—still warm, with a chocolate chip that had melted into a tiny, gooey puddle—for that assumption to fall apart completely. This wasn’t just a utility loaf. It was the kind of bread that makes you hover by the cooling rack, pretending to clean the kitchen, just so you can sneak another piece.
Honestly, the first time I made it, I was half-paying attention. I was on the phone, measuring flour with my elbow, and I accidentally dumped in a little extra cinnamon. I figured it was ruined, or at least too spicy. But that accidental extra pinch? It was the best mistake I’ve made in a long time. The pumpkin and spice didn’t just blend; they sang. And the chocolate chips? They weren’t an afterthought. They were the perfect, bittersweet counterpoint to all that warm, earthy squash.
This isn’t a fussy, layered cake that requires a stand mixer and a degree in pastry arts. This is a real, honest-to-goodness loaf that comes together in one bowl, with a spatula, in about ten minutes. It’s the bread you bake on a Wednesday afternoon just because the house smells good. It’s the bread that disappears from the teacher’s lounge in an hour. It’s the bread that proves you don’t need a dozen dirty dishes to create something truly special. And that, my friends, is a promise worth keeping.
Why You’ll Love This Recipe
Let’s be real for a second. There are a million pumpkin bread recipes out there. Some are dry, some are dense, and some just taste like a spice cabinet exploded. This one is different. I’ve tweaked and tested this recipe more times than I care to count to get the texture just right—moist, tender, and perfectly spiced, with pockets of melted chocolate in every single bite.
- Quick & Easy: From the moment you pull out your bowl to the moment you slide it in the oven, you’re looking at about 10 minutes of active work. No mixer required. No creaming butter and sugar. Just stir and pour.
- Simple Ingredients: This recipe relies on pantry staples. You probably have most of the ingredients right now, which makes it perfect for a spontaneous baking craving.
- Perfect for Fall Baking: It’s the quintessential autumn treat. Great for Thanksgiving brunch, a cozy weekend breakfast, or a hostess gift that will actually get eaten.
- Crowd-Pleaser: I have yet to meet a person who doesn’t love this bread. Kids go crazy for the chocolate chips, and adults appreciate the sophisticated spice blend. It’s a universal win.
- Unbelievably Delicious: The texture is the real star here. It’s incredibly moist without being gummy, thanks to a little trick I learned from making classic homemade banana pudding—using oil instead of butter keeps it tender for days.
What makes this recipe my best version? It’s the balance. The pumpkin isn’t overpowering, the spices are warm but not harsh, and the chocolate chips are plentiful enough to be in every bite, but not so many that they overwhelm the delicate pumpkin flavor. It’s comfort food reimagined—healthier than a coffee cake, faster than a loaf from the bakery, but with the same soul-soothing satisfaction. Perfect for a lazy Sunday morning or for impressing guests without any stress.
What Ingredients You Will Need
This recipe uses simple, wholesome ingredients to deliver a bold, comforting flavor and a perfectly tender crumb. Most of these are pantry staples, which is exactly what you want in a last-minute baking project.
- For the Pumpkin Bread Batter:
- 1 ¾ cups (220g) all-purpose flour (spooned and leveled—don’t scoop directly from the bag)
- 1 teaspoon baking soda (for lift)
- ½ teaspoon baking powder (adds extra fluff)
- ½ teaspoon salt (balances the sweetness)
- 2 teaspoons ground cinnamon (the backbone of the flavor)
- ½ teaspoon ground nutmeg (freshly grated is best, but pre-ground works)
- ½ teaspoon ground ginger (adds a little warmth)
- ¼ teaspoon ground cloves (just a hint)
- 1 cup (200g) granulated sugar
- ½ cup (100g) packed light brown sugar
- ½ cup (120ml) vegetable oil (or any neutral oil like canola or avocado)
- 2 large eggs, at room temperature
- 1 (15-ounce) can (425g) pumpkin puree (not pumpkin pie filling—get the 100% pure stuff)
- 1 teaspoon vanilla extract
- For the Chocolate Add-In:
- 1 cup (175g) semi-sweet chocolate chips (I prefer Ghirardelli or Guittard for the best melt)
Ingredient Selection Tips: For the best texture, make sure your eggs are at room temperature. If you forgot to take them out of the fridge, just place them in a bowl of warm water for 5 minutes. When it comes to pumpkin, I’ve tried several brands, but Libby’s 100% Pure Pumpkin is my go-to for its consistent texture and deep, earthy flavor. Avoid “pumpkin pie mix” which has added sugar and spices and will throw off the whole recipe.
Substitution Guidance: You can easily swap the all-purpose flour for a good 1:1 gluten-free baking flour blend. For a dairy-free option, make sure your chocolate chips are dairy-free (many dark chocolate chips are naturally dairy-free). If you’re out of brown sugar, you can use all granulated sugar, but the bread will be slightly less moist and the flavor a little less complex.
Equipment Needed
This is a true one-bowl recipe, so the cleanup is minimal. Here’s what you’ll need:
- Large Mixing Bowl: Any large bowl will do, but a wide one makes it easier to mix without spilling.
- Whisk: For combining the dry ingredients and the wet ingredients.
- Rubber Spatula: Essential for folding in the chocolate chips and scraping down the sides of the bowl.
- 9×5-inch Loaf Pan: A standard metal or glass loaf pan works perfectly. I prefer a light-colored metal pan for even browning.
- Parchment Paper: Not strictly necessary, but it makes lifting the finished bread out of the pan a breeze. I use it every time.
- Cooling Rack: Allows the bread to cool evenly and prevents the bottom from getting soggy.
Budget-Friendly Alternatives: If you don’t have a loaf pan, you can bake this in an 8×8-inch square pan for about 25-30 minutes. Just keep an eye on it! No cooling rack? No problem. Just use the wire rack from your oven or a clean dish towel on the counter.
Preparation Method
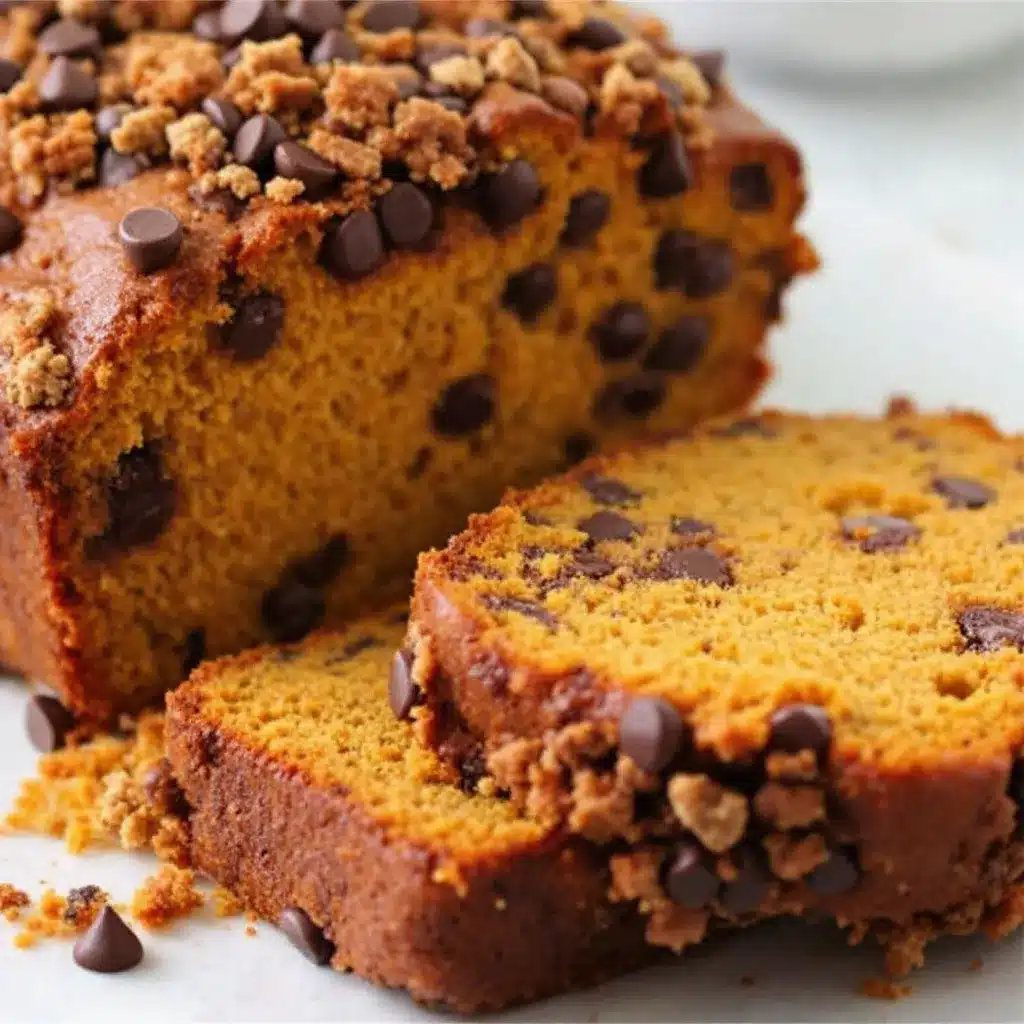
Ready? This is the easiest part. Follow these steps, and you’ll have a beautiful loaf of bread in no time.
- Preheat and Prep (5 minutes): Preheat your oven to 350°F (175°C). Grease a 9×5-inch loaf pan with butter or non-stick spray. For easy removal, line the pan with a strip of parchment paper, leaving a 2-inch overhang on the two long sides. This acts like handles.
- Mix the Dry Ingredients (2 minutes): In your large mixing bowl, whisk together the all-purpose flour, baking soda, baking powder, salt, cinnamon, nutmeg, ginger, and cloves. Whisk until everything is evenly combined. This ensures you don’t get a pocket of baking soda in your finished bread.
- Add the Wet Ingredients (3 minutes): To the same bowl with the dry ingredients, add the granulated sugar, brown sugar, vegetable oil, eggs, pumpkin puree, and vanilla extract. Don’t worry about making a well or being delicate. Just dump it all in. Stir with your spatula until just combined. Be careful not to overmix. A few small lumps are totally fine. Overmixing will develop the gluten and make the bread tough.
- Fold in the Chocolate Chips (1 minute): Add the chocolate chips to the batter. Fold them in gently with your spatula, using just a few strokes. Reserve about 2 tablespoons of chips to sprinkle on top of the batter later—it makes for a prettier, more inviting loaf.
- Bake the Bread (50-60 minutes): Pour the batter into your prepared loaf pan and spread it into an even layer. Sprinkle the reserved chocolate chips on top. Bake for 50-60 minutes, or until a wooden skewer or toothpick inserted into the center comes out clean or with a few moist crumbs (not wet batter). If the top is browning too quickly after 40 minutes, loosely tent the pan with a piece of aluminum foil.
- Cool and Serve (1 hour): Let the bread cool in the pan on a wire rack for 15 minutes. Then, using the parchment paper handles, lift the bread out of the pan and transfer it directly to the wire rack to cool completely. Slicing it while it’s still warm is tempting, but it will be much easier to get clean slices once it’s fully cooled. Trust me on this one.
Troubleshooting Tip: If your bread is browning too fast on the outside but still raw in the middle, your oven might be running hot. Try lowering the temperature to 325°F (163°C) next time. Another common issue is a sunken middle, which usually means the bread was underbaked or the oven door was opened too early.
Cooking Tips & Techniques
I’ve made this bread more times than I can count, and I’ve learned a few things the hard way. Here are my best tips for a perfect loaf every single time.
The “Don’t Overmix” Rule is Real. This is the most common mistake in quick breads. When you mix the wet and dry ingredients, you’re activating the gluten in the flour. If you stir too vigorously or for too long, you’ll end up with a tough, rubbery bread instead of a tender, cake-like one. Stir until you can’t see any more dry flour, then stop. A few lumps are your friend.
Room Temperature Ingredients Matter. I know it’s a pain, but using room-temperature eggs helps them emulsify into the batter more easily, creating a smoother, more uniform texture. If your eggs are cold, they can seize the oil and make the batter look curdled. A quick fix is to place the cold eggs in a bowl of warm water for 5 minutes.
The Toothpick Test is Key. Ovens vary wildly. What takes 50 minutes in my oven might take 65 in yours. Don’t rely on the timer alone. Start checking for doneness at the 50-minute mark. The bread is done when the top is a deep golden brown, the edges are pulling away from the pan, and a toothpick inserted in the center comes out clean.
Let it Cool Completely. This is the hardest part, but it’s crucial. Cutting into a hot loaf will result in a crumbly, gummy mess. The steam inside the bread needs time to redistribute and set the structure. I know the smell is intoxicating, but give it at least an hour. Your patience will be rewarded with perfect, clean slices.
Variations & Adaptations
This recipe is a fantastic base for experimentation. Here are a few of my favorite twists:
- Nutty Pumpkin Bread: Fold in ½ cup of toasted, chopped pecans or walnuts along with the chocolate chips. The crunch adds a wonderful textural contrast. This would pair beautifully with a slice of decadent bourbon pecan chocolate layer cake for a full-on nutty dessert spread.
- Spiced Cranberry Pumpkin Bread: Swap the chocolate chips for 1 cup of fresh or frozen cranberries (no need to thaw). The tartness of the cranberries is a brilliant counterpoint to the sweet, spiced pumpkin. Add a tablespoon of orange zest to the batter for an extra pop of flavor.
- Vegan & Gluten-Free Adaptation: Use a high-quality 1:1 gluten-free baking flour blend (like Bob’s Red Mill). For the eggs, use two “flax eggs” (2 tablespoons ground flaxseed meal mixed with 6 tablespoons warm water, let sit for 5 minutes to gel). Use a neutral oil like avocado oil. This version is slightly denser but still incredibly delicious and moist.
- Chocolate Chip Pumpkin Muffins: Instead of a loaf, spoon the batter into a lined muffin tin, filling each cup about ¾ full. Bake at 350°F (175°C) for 18-22 minutes, or until a toothpick comes out clean. This is perfect for grab-and-go breakfasts or lunchbox treats.
I once tried a version with white chocolate chips and dried cherries. It was a little too sweet for my taste, but my sister-in-law said it was the best thing I’ve ever made. So, you know, taste is subjective! Don’t be afraid to make it your own.
Serving & Storage Suggestions
This bread is incredibly versatile. Here’s how to serve and store it for the best experience.
Serving: This bread is delicious at room temperature, but I love it slightly warm. Just pop a slice in the microwave for 10-15 seconds. For a truly decadent treat, serve a slice with a pat of salted butter or a drizzle of honey. It’s also fantastic toasted in a skillet with a little butter until the edges are crispy. Pair it with a cup of hot coffee, a mug of cozy warm vanilla milk sleep drink with cinnamon and honey for a cozy evening, or a tall glass of cold milk.
Storage: Store the cooled bread tightly wrapped in plastic wrap or in an airtight container at room temperature for up to 4 days. The flavors actually meld and deepen on the second day, making it even better. Do not refrigerate it, as the cold air will dry it out.
Freezing: This bread freezes beautifully. Wrap the completely cooled loaf (or individual slices) tightly in a layer of plastic wrap, then a layer of aluminum foil. Freeze for up to 3 months. To thaw, leave it on the counter overnight, or pop a frozen slice directly into the toaster. It’s like having a secret stash of fall flavor ready to go whenever you need it.
Reheating: The best way to reheat a slice is in a toaster oven or a dry skillet over medium-low heat. This restores the crisp exterior and soft, warm interior. The microwave works in a pinch, but it can make the bread a little soft and steamy.
Nutritional Information & Benefits
While this is a treat, it does have some redeeming qualities. Please note that the following nutritional information is an estimate and will vary based on specific ingredients used.
- Estimated per slice (1/12 of loaf): Calories: 320, Fat: 15g, Carbohydrates: 45g, Fiber: 2g, Sugar: 28g, Protein: 4g.
- Health Benefits of Pumpkin: Pumpkin is packed with Vitamin A (beta-carotene), which is great for your eyes and immune system. It’s also a good source of fiber, which helps you feel full and satisfied.
- Dietary Considerations: This recipe can easily be made gluten-free and dairy-free with the substitutions mentioned above. It is nut-free as written (unless you add nuts).
- Potential Allergens: This recipe contains wheat (gluten), eggs, and dairy (if using butter to grease the pan or certain chocolate chips).
I’m not a nutritionist, but I believe in a balanced approach to eating. This bread is a wonderful, soul-warming treat that’s made with real ingredients. It’s not health food, but it’s a far cry from a boxed mix, and that counts for something.
Conclusion
This Easy One-Bowl Chocolate Chip Pumpkin Bread is more than just a recipe; it’s a solution. It’s the answer to “What do I bake for the potluck?” and “I need a quick treat that feels like a hug.” It’s forgiving, it’s fast, and it’s absolutely delicious. The combination of warm, earthy pumpkin, cozy spices, and rich, melted chocolate is a classic for a reason.
I encourage you to make this recipe your own. Swap the chocolate chips for butterscotch, add a streusel topping, or double the batch and freeze one loaf for later. The beauty of a simple, well-tested recipe is that it’s a perfect canvas for your own creativity. I honestly can’t wait for you to try it. Please, drop a comment below and let me know how it turned out! Did you add a secret ingredient? Did your kids help you bake it? I love hearing your stories. Happy baking, friends!
Frequently Asked Questions
Can I use pumpkin pie filling instead of pumpkin puree?
No, I wouldn’t recommend it. Pumpkin pie filling is pre-sweetened and spiced, which will throw off the sugar and spice balance of this recipe. Always use 100% pure pumpkin puree for the best results.
Why did my pumpkin bread sink in the middle?
A sunken middle usually means the bread was underbaked. Make sure to check for doneness with a toothpick. It could also mean your oven door was opened too early (within the first 30 minutes), which lets out the hot air and can cause the loaf to collapse.
Can I make this recipe into muffins instead of a loaf?
Absolutely! This batter makes about 12-14 standard muffins. Bake them at 350°F (175°C) for 18-22 minutes, or until a toothpick inserted in the center of a muffin comes out clean. They are perfect for a quick breakfast.
How do I make sure my chocolate chips don’t sink to the bottom?
Tossing the chocolate chips in a tablespoon of the flour from the recipe before adding them to the batter can help prevent them from sinking. Also, make sure your batter is thick enough—a very thin batter will let the chips fall through.
Can I use a different type of flour?
Yes, you can substitute the all-purpose flour with a good 1:1 gluten-free baking blend. I don’t recommend using almond flour or coconut flour for this recipe, as they will drastically change the texture and moisture content.
Pin This Recipe!
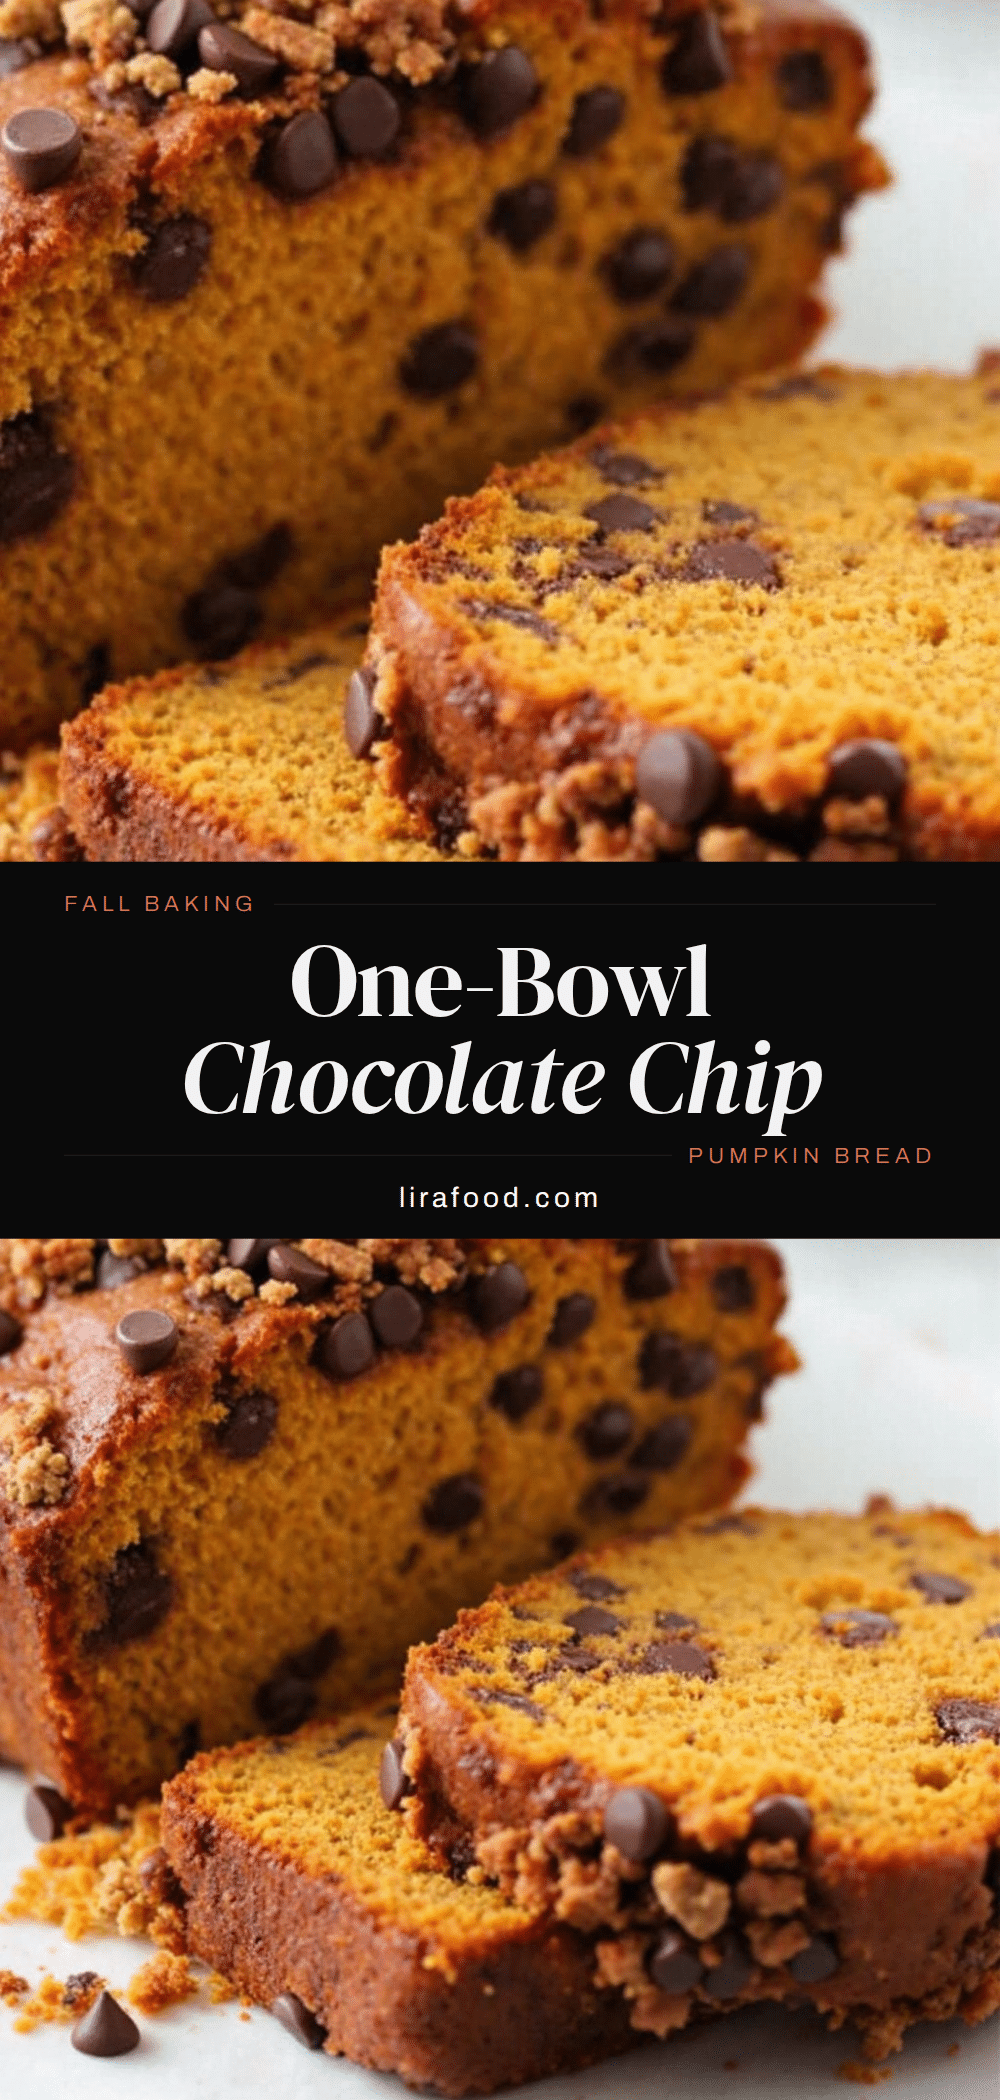
Easy One-Bowl Chocolate Chip Pumpkin Bread
A quick, no-fuss pumpkin bread that comes together in one bowl with a spatula. Moist, tender, and perfectly spiced, with pockets of melted chocolate in every bite.
- Prep Time: 10 minutes
- Cook Time: 55 minutes
- Total Time: 1 hour 5 minutes
- Yield: 12 servings 1x
- Category: Dessert
- Cuisine: American
Ingredients
- 1 ¾ cups (220g) all-purpose flour (spooned and leveled)
- 1 teaspoon baking soda
- ½ teaspoon baking powder
- ½ teaspoon salt
- 2 teaspoons ground cinnamon
- ½ teaspoon ground nutmeg
- ½ teaspoon ground ginger
- ¼ teaspoon ground cloves
- 1 cup (200g) granulated sugar
- ½ cup (100g) packed light brown sugar
- ½ cup (120ml) vegetable oil (or any neutral oil)
- 2 large eggs, at room temperature
- 1 (15-ounce) can (425g) pumpkin puree (not pumpkin pie filling)
- 1 teaspoon vanilla extract
- 1 cup (175g) semi-sweet chocolate chips
Instructions
- Preheat oven to 350°F (175°C). Grease a 9×5-inch loaf pan with butter or non-stick spray. Line with parchment paper, leaving a 2-inch overhang on the two long sides.
- In a large mixing bowl, whisk together the all-purpose flour, baking soda, baking powder, salt, cinnamon, nutmeg, ginger, and cloves until evenly combined.
- Add the granulated sugar, brown sugar, vegetable oil, eggs, pumpkin puree, and vanilla extract to the same bowl. Stir with a spatula until just combined. Do not overmix; a few small lumps are fine.
- Fold in the chocolate chips gently with a spatula. Reserve about 2 tablespoons of chips to sprinkle on top.
- Pour the batter into the prepared loaf pan and spread into an even layer. Sprinkle reserved chocolate chips on top.
- Bake for 50-60 minutes, or until a wooden skewer or toothpick inserted into the center comes out clean or with a few moist crumbs. If the top browns too quickly after 40 minutes, tent loosely with aluminum foil.
- Let the bread cool in the pan on a wire rack for 15 minutes. Then, using the parchment paper handles, lift the bread out and transfer to the wire rack to cool completely before slicing.
Notes
For best texture, use room temperature eggs. Do not overmix the batter. Let the bread cool completely before slicing for clean slices. Store tightly wrapped at room temperature for up to 4 days. Freezes well for up to 3 months.
Nutrition
- Serving Size: 1 slice (1/12 of loa
- Calories: 320
- Sugar: 28
- Sodium: 280
- Fat: 15
- Saturated Fat: 4
- Carbohydrates: 45
- Fiber: 2
- Protein: 4
Keywords: pumpkin bread, chocolate chip pumpkin bread, one-bowl pumpkin bread, easy pumpkin bread, fall baking, pumpkin recipe


