Love this? Save it for later!
Share the inspiration with your friends
I did not trust pumpkin pie in a standard crust. It always felt like a hollow promise, a cloying sweetness that masked the lack of actual flavor. My aunt used to bring one to Thanksgiving that tasted like canned soup mixed with sugar and regret. It was dry, the crust was soggy at the bottom, and the spice blend was just too much cinnamon, leaving my tongue numb. I thought the whole concept was a culinary trap designed to trick people into eating vegetables disguised as dessert. Honestly, I thought the idea of baking a custard in a pie shell sounded like a mistake waiting to happen. The risk of cracking was too high, and the result was usually a rubbery mess that nobody wanted to finish.
Then my neighbor, who actually knows how to cook, handed me a slice of her homemade version. It was quiet, just the two of us on her porch. She didn’t say much, just told me to take a bite and close my eyes. The texture was different. It wasn’t stiff or jiggly in a bad way. It was silky, almost like a custard that had been poured and set with care. The crust was flaky, shattering slightly under the fork, not soggy at all. The spice profile was balanced, with nutmeg and ginger playing nicely without overpowering the earthy pumpkin.
I remember looking at her, still chewing, and feeling that stubborn resistance in my chest finally crack. It wasn’t just sweet. It was complex. The homemade whipped cream on top added a lightness that cut through the density of the filling. I realized I had been judging the entire category based on the worst examples I’d ever tried. That first bite didn’t change my mind instantly; it just opened the door. I went home and spent the next hour scouring recipes, looking for that specific balance of creaminess and spice. I needed proof that this dessert could be more than just a holiday obligation.
The process of making it from scratch was different. I started with real pumpkin puree, not the sugary canned stuff. I roasted the pumpkin myself, which changed everything. The caramelization added depth that I hadn’t expected. When I finally pulled the pie out of the oven, the aroma filled the kitchen, warm and inviting. I took a tentative slice, half-expecting to be disappointed. But the flavor was there, rich and comforting, with a hint of vanilla that lingered. It stuck with me because it wasn’t just a recipe; it was a correction of a long-held belief. Now, when I make this perfect classic pumpkin pie, I know exactly why it works. It’s not magic. It’s just good technique and honest ingredients.
Why You’ll Love This Recipe
You might be wondering why this particular pumpkin pie stands out when there are thousands of recipes online. The truth is, most pumpkin pies fail because they treat the filling like a cake or a pudding. This recipe treats it like a custard, which requires a delicate balance of ingredients and careful temperature control. I’ve tested this version multiple times, adjusting the ratios of eggs to cream until I found the sweet spot that creates that signature silky texture. It’s not just about following instructions; it’s about understanding how the proteins in the eggs set the structure while the fats from the cream provide the mouthfeel.
Here is what makes this recipe truly special:
* **Quick & Easy Prep**: While the baking time is necessary, the actual prep work is straightforward. You don’t need fancy gadgets or hours of standing over a stove. It comes together in under 45 minutes before it goes into the oven, making it perfect for busy weeknights or last-minute holiday planning.
* **Simple Ingredients**: You likely already have most of these items in your kitchen. No trip to a specialty store is needed. We use pantry staples like pumpkin puree, eggs, and spices, along with a few key items like heavy cream and vanilla.
* **Perfect for Holidays**: This is the ultimate centerpiece for Thanksgiving or Christmas dinner. It pairs beautifully with other classics, such as the classic homemade banana pudding if you want to offer a variety of textures and flavors at your gathering.
* **Crowd-Pleaser**: Kids who usually turn their noses up at pumpkin will eat this without complaint. The sweetness is balanced, and the whipped cream topping is a huge hit with everyone.
* **Unbelievably Delicious**: The combination of roasted pumpkin and warm spices creates a depth of flavor that canned pie fillings simply cannot match. It’s comfort food reimagined—richer and more satisfying than the store-bought version.
What makes this different from the rest is the attention to the crust and the filling’s moisture content. Many recipes result in a watery center because they don’t account for the water content in the pumpkin. By using pureed roasted pumpkin and reducing the liquid slightly, we ensure a firm, clean slice every time. It’s the kind of pie that makes you close your eyes after the first bite, savoring the warmth of the spices and the coolness of the cream. It turns a simple meal into something memorable, without the stress of complicated techniques.
What Ingredients You Will Need
This recipe relies on simple, wholesome ingredients to deliver bold flavor and satisfying texture without the fuss. The quality of your ingredients matters more here than in most other desserts because there are so few of them. Each one plays a critical role in the final taste and texture. I recommend sourcing fresh spices whenever possible, as pre-ground spices lose their potency quickly. For the pumpkin, using pureed roasted pumpkin is non-negotiable for that deep, caramelized flavor.
Here is what you will need to gather:
**For the Pie Crust**
* All-purpose flour (1 ¼ cups, sifted) – *Provides structure. I prefer a high-protein flour for a sturdier crust.*
* Unsalted butter (½ cup, cold and cubed) – *Creates flakiness. Keep it cold until the last minute.*
* Granulated sugar (1 tablespoon) – *Adds a hint of sweetness and browning.*
* Salt (½ teaspoon) – *Balances the flavor.*
* Ice water (3-4 tablespoons) – *Helps bind the dough. Use very cold water to keep the butter solid.*
**For the Pumpkin Filling**
* Pumpkin puree (15 ounces, homemade or high-quality canned) – *The star of the show. Avoid pumpkin pie filling, which has added sugar.*
* Heavy cream (1 ½ cups) – *Adds richness and a smooth texture. Do not substitute with milk if you want a custard-like consistency.*
* Whole milk (½ cup) – *Lightens the cream slightly for a balanced mouthfeel.*
* Large eggs (2 large, plus 1 yolk) – *The yolk adds extra richness and a deeper yellow color. The whites provide structure.*
* Granulated sugar (¾ cup) – *Adjust based on how sweet your pumpkin is.*
* Brown sugar (¼ cup, packed) – *Adds molasses notes and moisture.*
* Ground cinnamon (1 teaspoon) – *Warm and essential.*
* Ground ginger (½ teaspoon) – *Adds a spicy kick.*
* Ground nutmeg (¼ teaspoon) – *Use fresh nutmeg if you have it; it makes a huge difference.*
* Ground allspice (¼ teaspoon) – *Adds complexity.*
* Salt (½ teaspoon) – *Enhances all the other flavors.*
* Pure vanilla extract (1 teaspoon) – *Brings out the sweetness. Use a good quality extract.*
**For the Homemade Whipped Cream**
* Heavy whipping cream (1 cup, very cold) – *Must be cold for it to whip properly.*
* Powdered sugar (2 tablespoons) – *Dissolves better than granulated sugar in cream.*
* Pure vanilla extract (½ teaspoon) – *For flavor.*
Equipment Needed
To make this pie correctly, you need the right tools. You don’t need an army of gadgets, but a few specific items will make the process much easier and the result better.
* **9-inch Pie Dish**: A glass or ceramic dish is best because it allows you to see the bottom crust as it bakes. Glass conducts heat well, helping the bottom crust cook evenly.
* **Mixing Bowls**: You’ll need a few medium-sized bowls for separating ingredients and mixing the filling.
* **Whisk**: A good wire whisk is essential for blending the eggs and sugars smoothly without creating too many air bubbles.
* **Rolling Pin**: A standard rolling pin works fine. Just make sure your surface is lightly floured to prevent sticking.
* **Pastry Brush**: Useful for brushing the crust with an egg wash or milk for browning.
* **Cooling Rack**: Essential for letting the pie cool completely. If you slice it while it’s warm, the filling will be runny.
* **Electric Mixer or Hand Whisk**: For the whipped cream, an electric mixer makes it faster, but a hand whisk works if you have the arm strength.
If you don’t have a pie dish, a deep-dish muffin tin can be used to make individual pies, though the baking time will be shorter. For the crust, a food processor can speed up the mixing, but be careful not to over-process the butter into the flour. I learned this the hard way after making a dense, tough crust years ago. Keep the butter in small, distinct pieces for the best flakiness.
Preparation Method
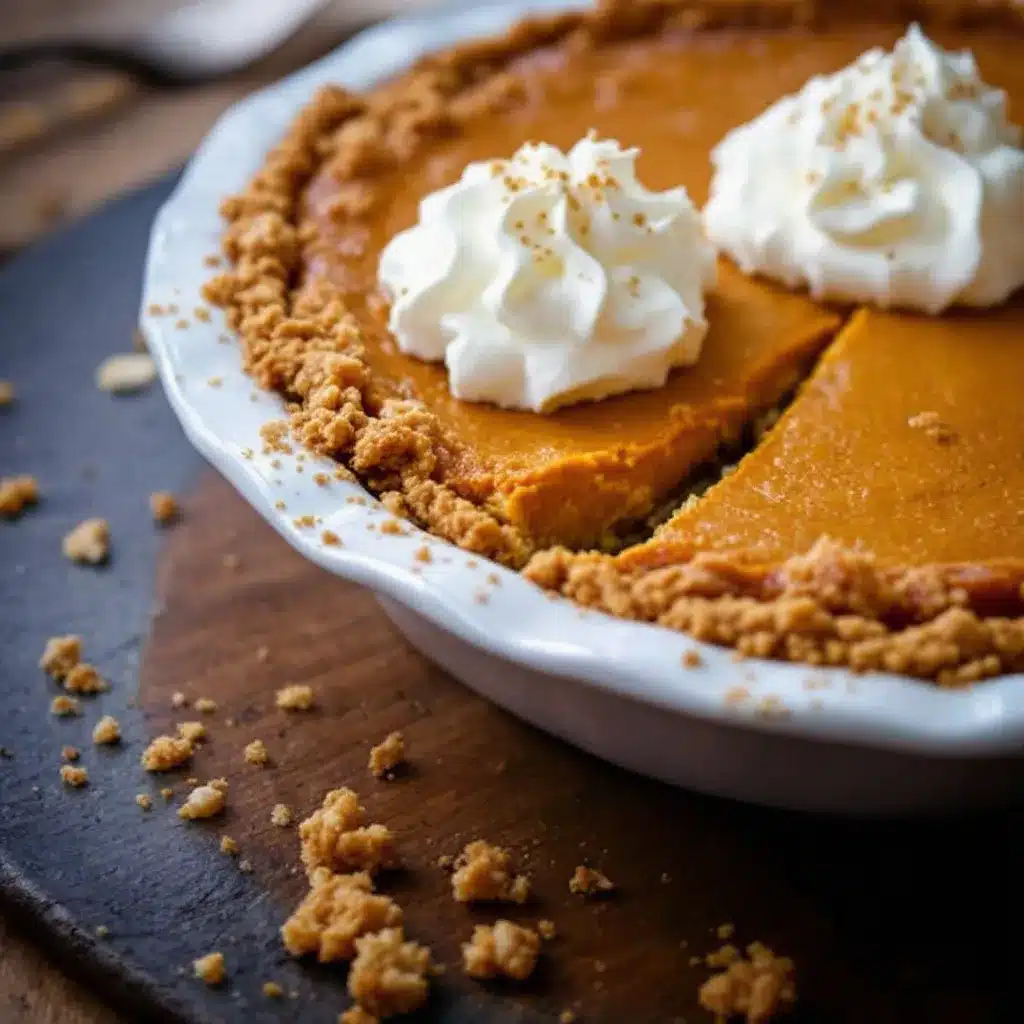
Making this perfect classic pumpkin pie involves a few key steps. Take your time, especially with the crust. Rushing here will lead to a soggy bottom or a tough texture.
1. **Make the Crust**: In a large bowl, combine the flour, sugar, and salt. Cut in the cold butter using a pastry cutter or your fingers until the mixture resembles coarse crumbs with some pea-sized pieces of butter remaining. Add ice water one tablespoon at a time, mixing gently until the dough just comes together. Do not overwork it. Form the dough into a disk, wrap it in plastic wrap, and refrigerate for at least one hour. This step is crucial for relaxing the gluten and keeping the butter cold.
2. **Prepare the Filling**: Preheat your oven to 425°F (220°C). In a large bowl, whisk together the pumpkin puree, heavy cream, and milk until smooth. In a separate bowl, whisk the eggs, egg yolk, granulated sugar, and brown sugar until well combined. Slowly pour the egg mixture into the pumpkin mixture, whisking constantly to combine. Stir in the cinnamon, ginger, nutmeg, allspice, salt, and vanilla extract. Taste the mixture at this stage. If it’s not sweet enough for your liking, add a little more sugar. The filling should be smooth and liquid, like heavy cream.
3. **Roll and Fit the Crust**: On a lightly floured surface, roll out the chilled dough into a 12-inch circle. Carefully transfer the dough to the 9-inch pie dish. Gently press it into the bottom and sides without stretching it. Trim the excess dough, leaving a half-inch overhang. Crimp the edges as desired. Place the crust in the refrigerator while you prepare the filling if you haven’t already.
4. **Blind Bake (Optional but Recommended)**: For a crispier crust, you can blind bake it. Line the crust with parchment paper and fill with pie weights or dried beans. Bake at 425°F (220°C) for 15 minutes. Remove the weights and parchment, then bake for another 5 minutes. This step prevents a soggy bottom.
5. **Add Filling and Bake**: Reduce the oven temperature to 350°F (175°C). Pour the filling into the crust. If you blind-baked, do this now. If not, pour the filling into the raw crust. Bake at 350°F (175°C) for 50-60 minutes. The pie is done when the edges are set but the center still has a slight jiggle, like Jell-O. It will firm up as it cools.
6. **Cool Completely**: This is the hardest part. Let the pie cool on a wire rack for at least 3-4 hours, or preferably overnight. Cutting into it while warm will result in a mess.
7. **Make the Whipped Cream**: While the pie cools, whip the heavy cream, powdered sugar, and vanilla until stiff peaks form. Do not over-whip, or it will become buttery.
8. **Serve**: Slice the pie and top each slice with a generous dollop of homemade whipped cream.
Cooking Tips & Techniques
There are a few tricks I’ve picked up over the years that can save your pumpkin pie from becoming a disaster. The most common mistake is overbaking. If you bake it until the center is completely firm, it will crack and become dry. The residual heat will continue to cook the pie as it cools, so pull it out when it’s still slightly jiggly in the center.
Another tip is to use a water bath if your oven runs hot. Placing the pie dish in a larger pan filled with hot water can help regulate the temperature and prevent the crust from burning while the center sets. However, for most home ovens, the direct baking method works fine if you keep an eye on it.
Temperature control is everything. Make sure your butter and cream are cold until the moment they go into the mix. Warm butter will melt into the flour, resulting in a tough crust rather than a flaky one. If your kitchen is warm, consider chilling your mixing bowl before whipping the cream.
Also, don’t skip the resting time. I know it’s tempting to dig in as soon as the pie comes out of the oven, but the structure needs time to set. If you cut it too early, the filling will slump. Patience is a virtue in baking, especially with custard pies.
If you find your crust is browning too quickly, cover the edges with a ring of aluminum foil or a pie shield after the first 20 minutes of baking. This protects the delicate edges while the center finishes cooking.
Variations & Adaptations
While this classic version is my favorite, there are ways to tweak it to suit different tastes or dietary needs.
* **Gluten-Free Option**: You can use a 1:1 gluten-free flour blend for the crust. Just be sure to add a teaspoon of xanthan gum if your blend doesn’t already contain it. The texture might be slightly denser, but it will still be delicious.
* **Dairy-Free Version**: Swap the heavy cream and milk for full-fat coconut milk. This will add a subtle coconut flavor that pairs surprisingly well with the pumpkin spices. Use vegan butter for the crust.
* **Spice Variations**: Feel free to adjust the spices. If you like more heat, add a pinch of cayenne pepper. If you prefer cardamom, swap the nutmeg for ground cardamom.
* **Maple Glaze**: Drizzle a simple maple glaze over the whipped cream for an extra layer of sweetness and flavor.
* **Salted Caramel Swirl**: For a decadent twist, swirl a tablespoon of salted caramel into the filling before baking. It adds a salty-sweet contrast that is addictive.
I once tried adding a layer of cream cheese to the bottom of the crust for a cheesecake-pie hybrid. It was good, but it changed the texture significantly. I prefer the pure pumpkin flavor, but it’s a fun experiment for special occasions.
Serving & Storage Suggestions
This pie is best served at room temperature or slightly chilled. Cold whipped cream can melt quickly on a warm slice, so serve it immediately after adding it to the pie. It pairs wonderfully with a cup of hot coffee or tea. I also enjoy it with a glass of cold milk or a spiced cider.
For storage, cover the pie loosely with plastic wrap or aluminum foil and refrigerate it for up to 3 days. The whipped cream should be added just before serving to maintain its texture. If you need to freeze the pie, do so before adding the whipped cream. Wrap it tightly in plastic wrap and then in aluminum foil. It can be frozen for up to 2 months. Thaw it in the refrigerator overnight before serving.
The flavors of this pie actually improve after a day or two. The spices have more time to meld with the pumpkin and cream, creating a deeper, more complex taste. If you have leftovers, they make a great breakfast treat with a mug of hot cocoa.
Nutritional Information & Benefits
This pie is rich in calories and fat, primarily from the cream and butter. However, pumpkin itself is a nutritious ingredient. It is high in vitamin A, fiber, and antioxidants. The spices used, like ginger and cinnamon, have anti-inflammatory properties. While this is a dessert meant to be enjoyed in moderation, the natural ingredients offer some health benefits compared to highly processed sweets. For those with dietary restrictions, the gluten-free and dairy-free variations provide options. Always check ingredient labels for allergens, especially if you have nut or soy sensitivities.
Conclusion
Making this perfect classic pumpkin pie with homemade whipped cream is a rewarding experience. It transforms a simple holiday tradition into a gourmet dessert. I encourage you to try this recipe and customize it to your liking. Whether you stick to the classic spices or add your own twist, the result will be a delicious centerpiece for your table. I love this recipe because it brings back memories of family gatherings while offering a fresh, high-quality taste. Please share your results in the comments below, and let me know how it turned out. Happy baking!
FAQs
Can I use canned pumpkin puree?
Yes, you can use canned pumpkin puree, but make sure it is 100% pure pumpkin, not pumpkin pie filling. Homemade roasted pumpkin has a better flavor, but canned works in a pinch.
Why did my pumpkin pie crack?
Cracking usually happens from overbaking. Remove the pie from the oven when the center still has a slight jiggle. It will firm up as it cools.
Can I make the crust ahead of time?
Yes, you can make the crust dough up to two days in advance. Keep it wrapped in plastic wrap in the refrigerator. You can also freeze the unbaked crust for up to a month.
How do I prevent a soggy bottom crust?
Blind baking the crust for 15 minutes before adding the filling can help. Also, ensuring your oven is fully preheated and using a glass or metal pie dish can promote better browning.
Can I substitute the heavy cream?
You can use half-and-half, but the pie will be less rich and may not set as firmly. Coconut milk is a good dairy-free alternative that provides similar richness.
Pin This Recipe!
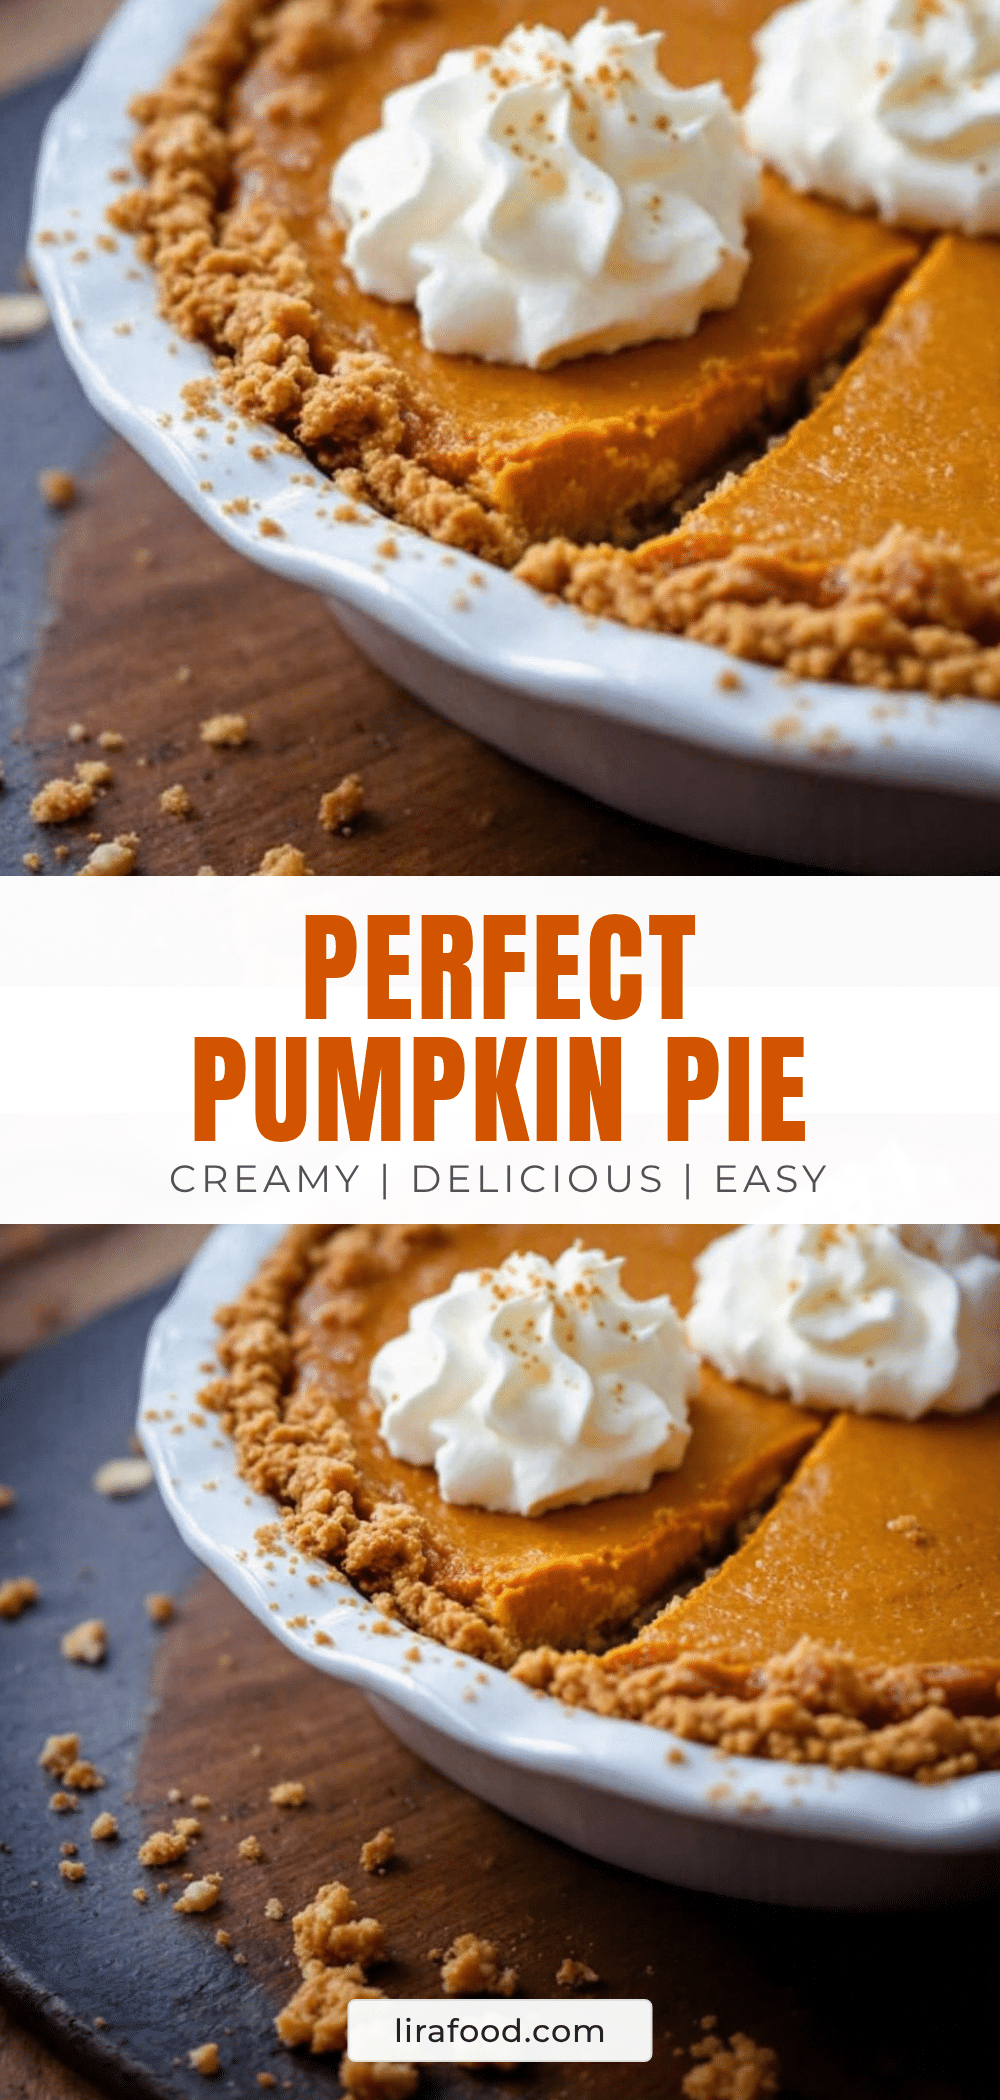
Perfect Classic Pumpkin Pie Recipe
A rich, silky pumpkin custard pie with a flaky homemade crust and balanced warm spices, topped with fresh whipped cream. This recipe uses roasted pumpkin puree for deep flavor and avoids common pitfalls like cracking or soggy bottoms.
- Prep Time: 45 minutes
- Cook Time: 1 hour 15 minutes
- Total Time: 2 hours
- Yield: 8 servings 1x
- Category: Dessert
- Cuisine: American
Ingredients
- 1 ¼ cups all-purpose flour, sifted
- ½ cup unsalted butter, cold and cubed
- 1 tablespoon granulated sugar
- ½ teaspoon salt
- 3–4 tablespoons ice water
- 15 ounces pumpkin puree (homemade roasted or high-quality canned)
- 1 ½ cups heavy cream
- ½ cup whole milk
- 2 large eggs plus 1 egg yolk
- ¾ cup granulated sugar
- ¼ cup packed brown sugar
- 1 teaspoon ground cinnamon
- ½ teaspoon ground ginger
- ¼ teaspoon ground nutmeg
- ¼ teaspoon ground allspice
- 1 teaspoon pure vanilla extract
- 1 cup heavy whipping cream, very cold
- 2 tablespoons powdered sugar
- ½ teaspoon pure vanilla extract
Instructions
- In a large bowl, combine flour, sugar, and salt. Cut in cold butter until mixture resembles coarse crumbs with pea-sized butter pieces.
- Add ice water one tablespoon at a time, mixing gently until dough comes together. Form into a disk, wrap in plastic, and refrigerate for at least one hour.
- Preheat oven to 425°F (220°C). In a large bowl, whisk pumpkin puree, heavy cream, and milk until smooth.
- In a separate bowl, whisk eggs, egg yolk, granulated sugar, and brown sugar until combined.
- Slowly pour egg mixture into pumpkin mixture, whisking constantly. Stir in cinnamon, ginger, nutmeg, allspice, salt, and vanilla.
- Roll chilled dough into a 12-inch circle on a floured surface. Transfer to a 9-inch pie dish, press gently, trim excess, and crimp edges.
- Optional: Blind bake crust at 425°F for 15 minutes with weights, then 5 minutes without weights.
- Reduce oven temperature to 350°F (175°C). Pour filling into crust.
- Bake at 350°F for 50-60 minutes until edges are set but center has a slight jiggle.
- Cool completely on a wire rack for at least 3-4 hours or overnight.
- While pie cools, whip heavy cream, powdered sugar, and vanilla until stiff peaks form.
- Serve slices topped with homemade whipped cream.
Notes
Ensure butter and cream are cold until mixing to ensure a flaky crust. Do not overbake the pie; the center should still jiggle slightly as it will firm up while cooling. For a crispier crust, blind bake the crust before adding filling. The pie tastes better after sitting for a day as flavors meld.
Nutrition
- Serving Size: 1 slice
- Calories: 450
- Sugar: 26
- Sodium: 280
- Fat: 32
- Saturated Fat: 18
- Carbohydrates: 38
- Fiber: 3
- Protein: 6
Keywords: pumpkin pie, classic pumpkin pie, homemade pumpkin pie, Thanksgiving dessert, holiday baking, pumpkin custard, flaky pie crust


