Love this? Save it for later!
Share the inspiration with your friends
My sister-in-law said that to me while staring at the massive, three-tiered cake I had tentatively planned for my nephew’s third birthday. It was 7:00 PM on a Tuesday. I was already sweating, standing in my kitchen with a half-empty bag of flour and a mixer that sounded like it was fighting for its life. She wasn’t being mean. She was just being realistic. We live in a tiny apartment. We don’t have space for a nine-inch pan, let alone a six-inch round that requires three hours of cooling time and a level of precision that usually ends in a cracked dome.
I looked at her. Then I looked at the calendar. The party was in two days. I didn’t need a showstopper. I needed a slice that tasted like childhood joy but fit on a standard dinner plate. That was the moment the Perfect Small-Batch Vanilla Birthday Cake was born. It wasn’t born in a test kitchen with professional lighting. It was born out of panic and the desire to not waste good butter.
Honestly, there is something so satisfying about making a dessert that is just for you, or for a small group of people who actually appreciate the details. You know how it is with big cakes? You get the fancy top layer, but the sides are just… there. With this small-batch version, every single bite is perfect. It’s moist, it’s tender, and it doesn’t leave you feeling like you’ve eaten a brick of sugar.
I’ve made this cake for birthdays, for random Tuesday treats, and even for when I just need to feel like I accomplished something in the kitchen. It’s not about the size. It’s about the flavor. And let’s be real, a small vanilla cake is the ultimate blank canvas for whatever frosting or sprinkles you’re feeling that day. It’s simple, it’s honest, and it’s the kind of recipe that sticks with you because it actually works.
Why You’ll Love This Recipe
Quick & Easy
This recipe comes together in under 45 minutes from start to finish. You don’t need to wake up early to temper eggs or wait for cream cheese to soften for hours. It’s perfect for busy weeknights or last-minute cravings when you want something special but don’t have all day.
Simple Ingredients
No fancy grocery trips needed. You likely already have everything in your kitchen. Flour, sugar, butter, eggs, milk, and vanilla extract. That’s it. If you have these basics, you have the foundation for a dessert that rivals anything from a high-end bakery. It’s wholesome, unpretentious, and uses pantry staples that you probably already trust.
Perfect for Small Gatherings
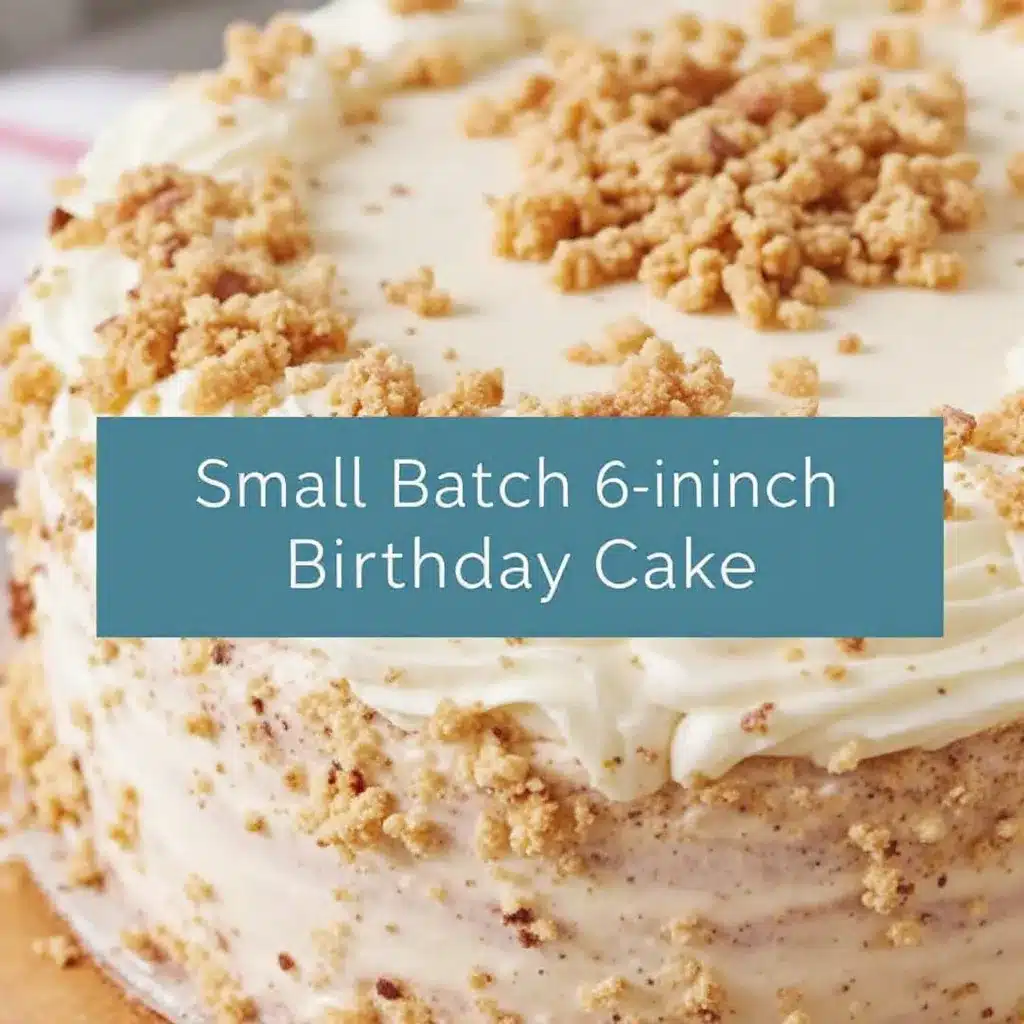
Great for intimate birthday celebrations, quiet family dinners, or when you just want a treat without the leftovers. It’s also ideal for gift-giving, where a single, beautiful 4-inch cake looks charming and thoughtful on a friend’s desk or doorstep.
Crowd-Pleaser
Always gets rave reviews from kids and adults alike. Kids love the sweetness and the soft texture, while adults appreciate that it isn’t cloyingly sweet. It has that nostalgic vanilla flavor that reminds everyone of their own childhood parties.
Unbelievably Delicious
The texture and flavor combo is next-level comfort food. The crumb is fine and even, staying moist for days. It’s the kind of cake that makes you close your eyes after the first bite. It’s comfort food reimagined—healthier in portion size, but with the same soul-soothing satisfaction as a giant sheet cake.
What Makes It Different
Many small-batch recipes sacrifice flavor for convenience, but this one doesn’t. By using a simple method that maximizes the emulsion of butter and sugar, we get a cake that is incredibly tender. It’s not just another version—it’s your best version. Whether you are a novice baker or a seasoned pro, this recipe removes the guesswork. It’s reliable, consistent, and forgiving. If you’ve ever struggled with dry small cakes, this will change your perspective entirely.
What Ingredients You Will Need
This recipe uses simple, wholesome ingredients to deliver bold flavor and satisfying texture without the fuss. The magic here is in the ratio. We aren’t using complex flours or exotic spices. We are relying on the quality of the basics and the technique of mixing.
* **All-Purpose Flour**: 1 ½ cups (190g) — The backbone of the cake. Don’t try to swap this for cake flour unless you know exactly how to adjust the protein content. All-purpose gives that perfect tender bite.
* **Granulated Sugar**: 1 cup (200g) — Provides sweetness and helps with the browning. I recommend using a standard brand like Domino for consistency, as some raw sugars have larger crystals that don’t cream as smoothly.
* **Unsalted Butter**: ½ cup (113g), softened — This is crucial. It needs to be soft enough to leave a fingerprint but not melted. Melted butter makes a dense cake. Softened butter creates air pockets that make it fluffy.
* **Large Eggs**: 2, room temperature — Room temperature eggs emulsify better with the butter. Cold eggs can cause the batter to curdle, which looks scary but is usually fixable. Still, it’s better to plan ahead.
* **Whole Milk**: ½ cup (120ml), room temperature — Adds richness and moisture. You can use 2% if that’s all you have, but whole milk gives that luxurious mouthfeel.
* **Pure Vanilla Extract**: 1 ½ teaspoons — Don’t skimp here. Vanilla is the star flavor. Use a real extract, not imitation. I swear by Nielsen-Massey or McCormick’s Pure Vanilla.
* **Baking Powder**: 1 ½ teaspoons — The leavening agent. Make sure it’s fresh! Old baking powder won’t make the cake rise properly, and you’ll end up with a pancake.
* **Salt**: ½ teaspoon — Enhances the vanilla flavor. It sounds counterintuitive, but salt is necessary to balance the sweetness.
Substitution Notes
If you need a dairy-free option, you can swap the butter for a high-quality vegan butter stick and use a plant-based milk like oat or soy. The texture might be slightly different, but it will still be delicious. For a gluten-free version, a 1-to-1 gluten-free flour blend works well, though you may need to add a pinch of xanthan gum if your blend doesn’t include it.
Equipment Needed
You don’t need a lot of fancy gear to make this cake. A 4-inch round cake pan is essential. If you don’t have one, you can use a 6-inch pan, but the baking time will increase by about 5-10 minutes. Grease the pan thoroughly with butter and line the bottom with parchment paper. This is non-negotiable if you want the cake to release easily.
A standard hand mixer or a stand mixer with a paddle attachment works perfectly. You don’t need a high-end KitchenAid, just something that can cream the butter and sugar effectively. A fine-mesh sieve is helpful for sifting the flour and baking powder to ensure there are no lumps. A cooling rack is also necessary to let the cake cool completely before frosting. If you don’t have a cooling rack, you can use the upside-down bottom of a baking sheet.
I also recommend using a kitchen scale for the most accurate results. Measuring flour by volume can lead to packing, which makes the cake dry. If you must use cups, fluff the flour first, spoon it into the cup, and level it off. Don’t scoop directly from the bag.
Preparation Method
Step 1: Prep Your Pan and Oven
Start by preheating your oven to 350°F (175°C). This is critical. If the oven isn’t hot enough when the cake goes in, it won’t rise properly. While the oven heats, grease your 4-inch round cake pan with butter. Cut a circle of parchment paper to fit the bottom and place it in the pan. Lightly flour the sides and tap out the excess. This ensures the cake doesn’t stick.
Step 2: Mix Dry Ingredients
In a medium bowl, whisk together the all-purpose flour, baking powder, and salt. Do this for about 30 seconds to ensure everything is evenly distributed. Sifting this mixture is optional but recommended if your flour is lumpy. Set this aside.
Step 3: Cream Butter and Sugar
In a large bowl, beat the softened butter and sugar together on medium-high speed. This is the most important step for texture. Beat for about 3-4 minutes until the mixture is pale yellow and fluffy. You should see air pockets in the butter. This process incorporates air, which helps the cake rise. If the butter is too cold, it won’t cream properly. If it’s too soft, the cake will be dense.
Step 4: Add Eggs and Vanilla
Add the eggs one at a time, beating well after each addition. Scrape down the sides of the bowl with a spatula to ensure everything is incorporated. Add the vanilla extract and mix briefly. The mixture might look slightly curdled at this point, which is normal.
Step 5: Combine Wet and Dry
Reduce the mixer speed to low. Add the dry ingredients in three parts, alternating with the milk in two parts. Start and end with the dry ingredients. Mix just until the flour disappears. Do not overmix! Overmixing develops gluten, which makes the cake tough. The batter should look smooth and thick.
Step 6: Bake
Pour the batter into the prepared pan and smooth the top with a spatula. Bake for 25-30 minutes. The cake is done when a toothpick inserted into the center comes out clean or with a few moist crumbs. The top should be golden brown and spring back when lightly touched.
Step 7: Cool
Let the cake cool in the pan for 10 minutes. Then, run a knife around the edges and invert it onto a cooling rack. Peel off the parchment paper and let it cool completely before frosting. This can take an hour or more. Patience is key here.
Cooking Tips & Techniques
One of the biggest mistakes people make with small-batch cakes is overmixing the batter. Remember, once you add the flour, mix only until it’s combined. Overmixing leads to a tough, chewy cake instead of a tender crumb. Also, ensure your ingredients are at room temperature. Cold eggs and milk can shock the butter and cause the batter to separate.
Another tip is to check your oven temperature with an oven thermometer. Ovens can be inaccurate, and baking is science. If your oven runs hot, your cake might burn on the outside while staying raw inside. A 4-inch cake bakes quickly, so keep an eye on it around the 20-minute mark.
If your cake domes in the middle, don’t panic. This is common. You can trim the top with a serrated knife once it’s cool to make it level. This also gives you a surface to frost evenly. I usually save the trimmed top for a late-night snack with a glass of milk.
For the best flavor, let the cake rest overnight before frosting. This allows the moisture to redistribute, making the cake even more moist and tender. It’s not necessary, but it’s a pro move.
Variations & Adaptations
While vanilla is classic, you can easily adapt this recipe. For a lemon version, add the zest of one lemon to the butter and sugar mixture and swap the milk for buttermilk. The acidity tenderizes the cake and adds a bright flavor.
For a chocolate version, replace ¼ cup of the flour with unsweetened cocoa powder. You might need to add an extra tablespoon of milk to compensate for the dryness of the cocoa.
If you want a funfetti style, fold in ¼ cup of rainbow sprinkles into the batter at the very end. Use jimmies, not nonpareils, as they hold up better during baking.
For a dairy-free option, use coconut oil instead of butter and oat milk instead of dairy milk. The flavor will be slightly different, but it will still be moist and delicious.
I once made this with almond flour for a gluten-free friend, and it turned out incredibly dense and nutty. It was delicious, but definitely a different texture. If you try nut flours, reduce the liquid slightly as they absorb more moisture.
Serving & Storage Suggestions
This cake is best served at room temperature. Cold cake tends to mute the flavors. Pair it with a cup of coffee or a glass of cold milk. It’s also fantastic with a dollop of whipped cream or fresh berries.
For storage, keep the unfrosted cake in an airtight container at room temperature for up to 2 days. Once frosted, store it in the refrigerator. Bring it to room temperature before serving for the best texture.
You can also freeze the unfrosted cake layers. Wrap them tightly in plastic wrap and then in foil. They will last for up to 3 months. Thaw overnight in the refrigerator before frosting.
The flavors develop over time, so this cake often tastes better the next day. The moisture has time to settle into the crumb, making it even more tender.
Nutritional Information & Benefits
This small-batch vanilla birthday cake is made with simple ingredients, making it easier to control what goes into your body. While it is a treat, the portion size is manageable. Each slice contains approximately 350 calories, with a balance of carbohydrates, fats, and a small amount of protein.
The use of real vanilla extract adds antioxidants, and the eggs provide high-quality protein. By keeping the batch small, you avoid the temptation of overeating. It’s a mindful dessert choice.
For those with dietary restrictions, the recipe can be adapted to be gluten-free or dairy-free. Just be mindful of cross-contamination if you have severe allergies.
Conclusion
Making a Perfect Small-Batch Vanilla Birthday Cake is a game-changer for anyone who wants a homemade treat without the hassle. It’s moist, flavorful, and perfect for small celebrations. I love this recipe because it’s reliable and forgiving. It’s the kind of cake that brings people together, whether it’s for a birthday or just a random Tuesday.
I encourage you to try it and make it your own. Add your favorite frosting, top it with sprinkles, or serve it plain. The possibilities are endless. If you make this recipe, I’d love to hear how it turned out. Leave a comment below with your thoughts or share your variations.
Thank you for reading. Happy baking!
FAQs
Can I use a 6-inch pan instead of a 4-inch pan?
Yes, you can. The baking time will increase by about 5-10 minutes. Check for doneness with a toothpick.
Why did my cake stick to the pan?
Make sure to grease the pan thoroughly and line the bottom with parchment paper. Also, let the cake cool for 10 minutes before removing it.
Can I freeze this cake?
Yes, freeze the unfrosted cake layers wrapped tightly in plastic wrap and foil. They will last for up to 3 months.
What kind of frosting goes best with this cake?
Classic vanilla buttercream, cream cheese frosting, or whipped cream all work beautifully.
Can I make this cake gluten-free?
Yes, use a 1-to-1 gluten-free flour blend. You may need to add xanthan gum if your blend doesn’t include it.
Pin This Recipe!
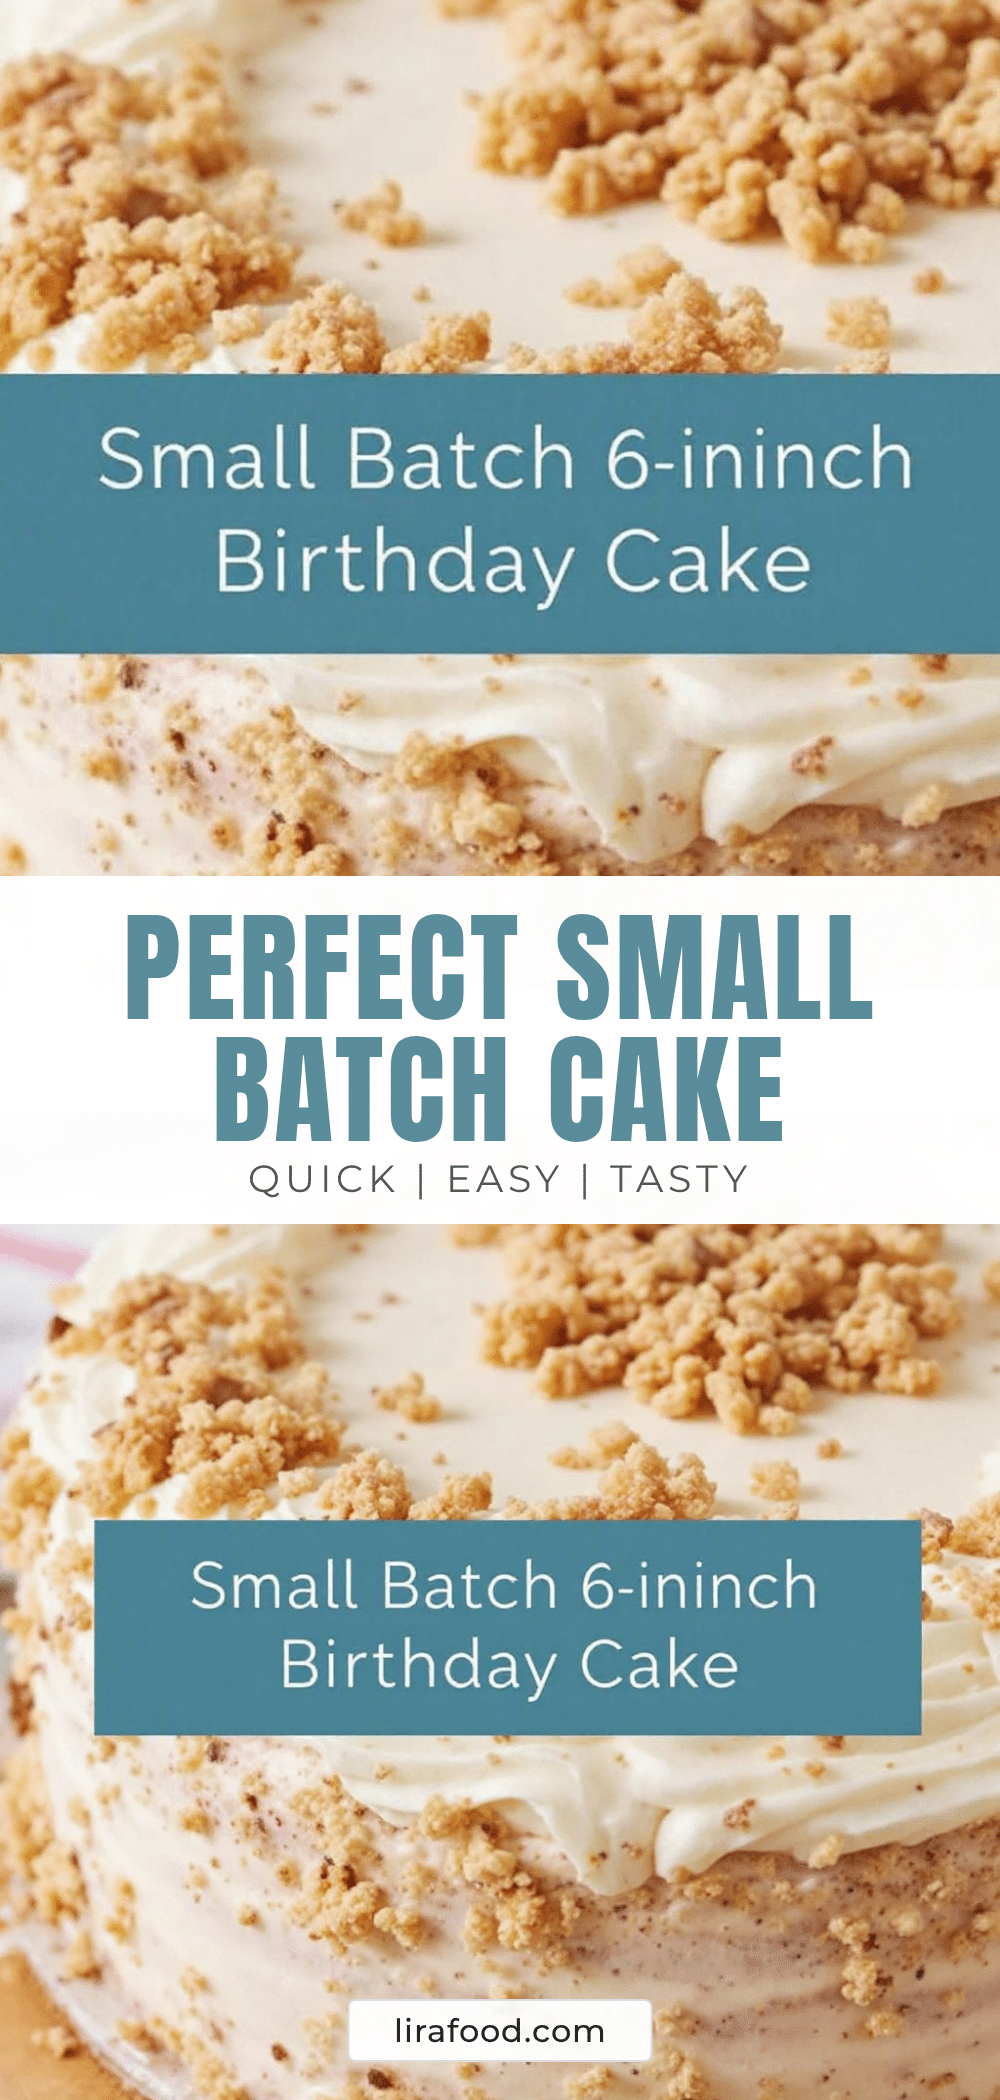
Perfect Small-Batch Vanilla Birthday Cake: Easy 4-Inch Dessert

A moist, tender, and easy-to-make vanilla cake designed for small spaces and intimate gatherings. This 4-inch cake comes together in under 45 minutes using simple pantry staples.
- Prep Time: 15 minutes
- Cook Time: 30 minutes
- Total Time: 45 minutes
- Yield: 4 servings 1x
- Category: Dessert
- Cuisine: American
Ingredients
- 1 ½ cups (190g) All-Purpose Flour
- 1 cup (200g) Granulated Sugar
- ½ cup (113g) Unsalted Butter, softened
- 2 Large Eggs, room temperature
- ½ cup (120ml) Whole Milk, room temperature
- 1 ½ teaspoons Pure Vanilla Extract
- 1 ½ teaspoons Baking Powder
- ½ teaspoon Salt
Instructions
- Preheat oven to 350°F (175°C). Grease a 4-inch round cake pan with butter, line the bottom with parchment paper, and lightly flour the sides.
- In a medium bowl, whisk together the flour, baking powder, and salt for about 30 seconds to ensure even distribution. Set aside.
- In a large bowl, beat the softened butter and sugar on medium-high speed for 3-4 minutes until pale yellow and fluffy.
- Add eggs one at a time, beating well after each addition. Scrape down the sides of the bowl. Add vanilla extract and mix briefly.
- Reduce mixer speed to low. Add dry ingredients in three parts, alternating with milk in two parts, starting and ending with dry ingredients. Mix just until combined.
- Pour batter into the prepared pan and smooth the top. Bake for 25-30 minutes, or until a toothpick inserted into the center comes out clean.
- Let the cake cool in the pan for 10 minutes. Run a knife around the edges and invert onto a cooling rack. Peel off parchment and let cool completely before frosting.
Notes
Ensure ingredients are at room temperature for best emulsion. Do not overmix the batter once flour is added to avoid a tough texture. If the cake domes, trim the top with a serrated knife after cooling. For best flavor, let the cake rest overnight before frosting. Can be adapted to be gluten-free or dairy-free.
Nutrition
- Serving Size: 1 slice of 4-inch ca
- Calories: 350
- Sugar: 35
- Sodium: 250
- Fat: 14
- Saturated Fat: 8
- Carbohydrates: 50
- Fiber: 1
- Protein: 5
Keywords: small batch cake, vanilla cake, 4 inch cake, easy dessert, birthday cake, gluten-free option, dairy-free option, quick baking


