Love this? Save it for later!
Share the inspiration with your friends
“This is it. This is the one I want for my birthday.” My sister said that about seven years ago, pointing at a photo in an old, stained cookbook our mom had since the 80s. I was visiting for the weekend, and we were supposed to be planning a fancy dinner out. Instead, she wanted a simple apple crisp. Not cake, not pie—crisp. That specific, buttery, oat-topped kind that we grew up eating from a Pyrex dish on the couch.
I remember looking at the picture. It was just apples and a crumbly topping, nothing photogenic by today’s standards. But she was dead serious. So I made it. And honestly? That night, sitting on her worn-out sofa with two spoons and a warm dish between us, I understood why she chose it. There is something about a classic apple crisp that feels less like a dessert and more like a quiet, shared secret. The apples get jammy and soft, the topping turns into this golden, buttery oat crumble that shatters when you press your spoon into it. It’s not fussy. It doesn’t need a plate or a fancy presentation. You just need a bowl, maybe some ice cream, and someone to share it with.
That birthday tradition stuck. Every year since, I make this cozy classic apple crisp with buttery oat crumble for her. The recipe has been tweaked and tested to perfection. It uses simple, honest ingredients—no corn syrup, no weird stabilizers. Just fruit, butter, oats, and a little bit of patience. And every time I pull that dish out of the oven, the smell of cinnamon and baked apples wrapping around the kitchen, I remember that a good recipe doesn’t need to be complicated to be unforgettable.
Why You Will Love This Recipe
This isn’t just another apple dessert. This is the one that makes you close your eyes after the first bite. I have tested this version more times than I can count, tweaking the ratio of butter to oats until the topping had that perfect sandy, clumpy texture that holds together without getting soggy. It is a recipe built on experience—my own trial-and-error kitchen sessions where I learned that cold butter is non-negotiable and that a mix of apple varieties gives you the best texture.
- Quick & Easy: From start to oven in about 20 minutes. No rolling dough, no chilling crusts. Just slice, mix, and bake.
- Simple Ingredients: You probably have everything in your pantry right now. Oats, flour, brown sugar, butter, and apples. That’s the whole list.
- Perfect for Cozy Nights: This is the dessert you want when the weather turns cool, or when you need something warm to end a long day. It is pure comfort food.
- Crowd-Pleaser: I have brought this to potlucks, family dinners, and casual get-togethers. It disappears every single time. Kids love it, adults love it, and it pairs beautifully with a scoop of vanilla ice cream.
- Unbelievably Delicious: The combination of tender, cinnamon-spiced apples and a crunchy, buttery oat crumble is next-level. The topping gets golden and crisp, while the apples underneath turn into a soft, almost jammy filling.
What makes this recipe different from the rest is the technique. Most crisps use a topping that is too floury or too sweet. Mine uses a higher ratio of oats to flour, and the butter is worked in until the mixture looks like clumpy wet sand—not fine crumbs. This gives you those satisfying, chunky pieces of crumble that stay crunchy even the next day. It is a small detail, but it makes all the difference. This is comfort food reimagined: simpler, faster, but with the same soul-soothing satisfaction that makes you reach for a second spoonful.
What Ingredients You Will Need
This recipe uses straightforward, wholesome ingredients that work together to create something truly special. Most of these are pantry staples, which makes this a great last-minute dessert. Let’s break down what you need and why each ingredient matters.
For the Apple Filling
- Apples (6 medium, about 2.5 pounds or 1.1 kg): I recommend a mix of tart and sweet varieties. Granny Smith apples hold their shape well and provide a nice tang, while Honeycrisp or Fuji add natural sweetness. Avoid using only one type—the texture will be one-dimensional. Peel, core, and slice them into ¼-inch thick slices.
- Granulated Sugar (¼ cup or 50 grams): This helps draw out the juices from the apples and creates a light syrup during baking. You can reduce this slightly if your apples are very sweet.
- Light Brown Sugar (¼ cup, packed, or 50 grams): Adds a deeper, molasses-like sweetness that complements the cinnamon and butter.
- All-Purpose Flour (2 tablespoons or 15 grams): This thickens the apple juices as they cook, preventing a watery filling. You can substitute with cornstarch if needed.
- Ground Cinnamon (1 teaspoon): The star spice for apple desserts. Use a good quality cinnamon—I prefer Saigon cinnamon for its stronger, warmer flavor.
- Fresh Lemon Juice (1 tablespoon): Brightens the flavor of the apples and prevents them from browning too much. Fresh is always better than bottled here.
- Vanilla Extract (1 teaspoon): Adds warmth and rounds out the flavors. I use pure vanilla extract, not imitation.
For the Buttery Oat Crumble Topping
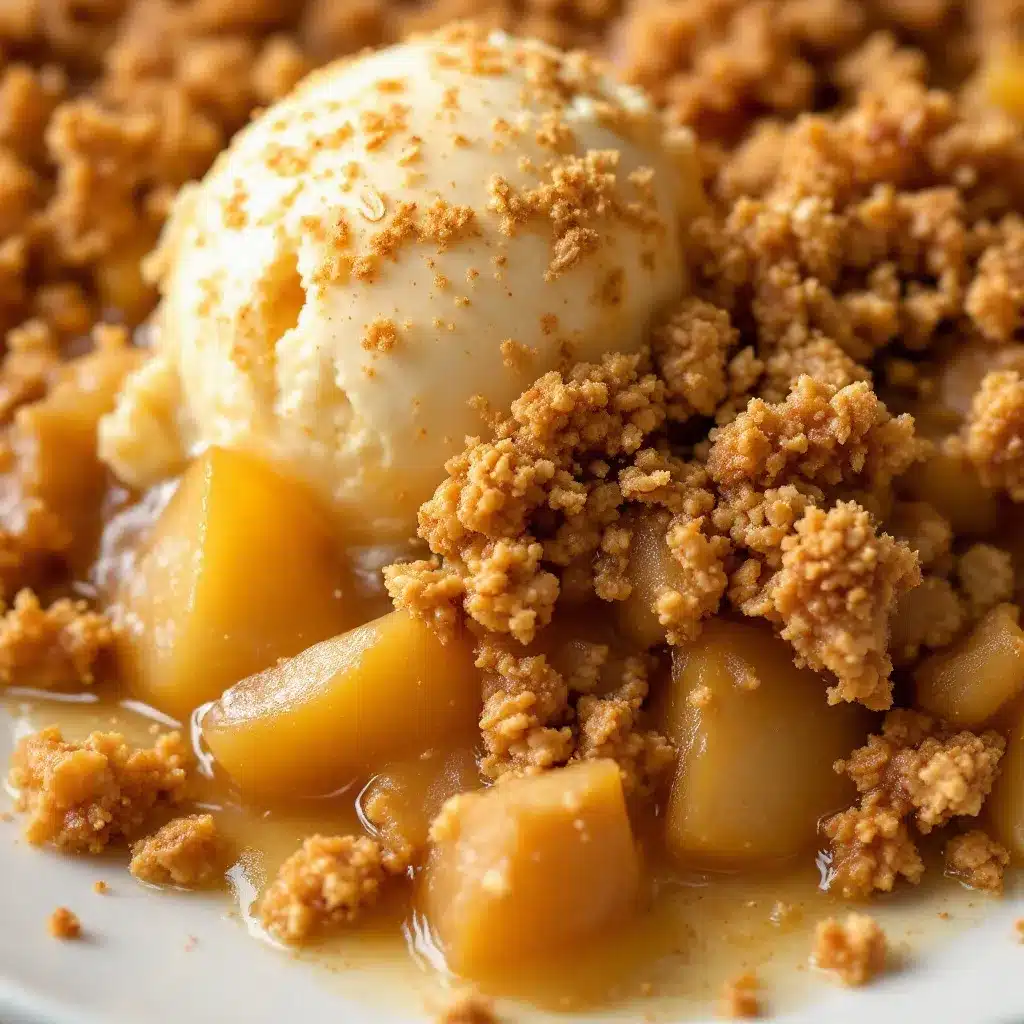
- Old-Fashioned Rolled Oats (1 cup or 90 grams): Do not use quick oats—they will turn mushy. Old-fashioned oats give the topping that classic chewy-crunchy texture. I personally prefer Bob’s Red Mill for their consistent texture.
- All-Purpose Flour (¾ cup or 90 grams): Provides structure to the crumble. For a gluten-free version, use a 1:1 gluten-free baking flour blend.
- Light Brown Sugar (½ cup, packed, or 100 grams): Adds sweetness and helps the topping caramelize in the oven.
- Granulated Sugar (¼ cup or 50 grams): Balances the brown sugar and adds a touch of extra sweetness.
- Ground Cinnamon (½ teaspoon): A little extra cinnamon in the topping reinforces the spiced flavor.
- Salt (¼ teaspoon): Essential for balancing the sweetness and enhancing all the flavors. Do not skip this.
- Unsalted Butter (½ cup or 113 grams, cold, cut into small cubes): This is the most important ingredient for the topping. The butter must be cold. It creates those flaky, buttery pockets in the crumble as it bakes. I use Kerrygold for its higher fat content, which gives a richer flavor.
Equipment Needed
You do not need a fancy kitchen to make this apple crisp. The equipment list is short and sweet, which is part of the appeal.
- 9×13-inch Baking Dish (or similar 2.5-quart dish): This size gives you the perfect ratio of filling to topping. You can also use an 8×8-inch dish for a thicker crisp, but you will need to increase the baking time by about 10 minutes. I love my classic Pyrex dish for this—it heats evenly and lets you see the bubbling fruit.
- Large Mixing Bowls: You will need one for the apple filling and one for the crumble topping. Stainless steel or glass works best.
- Pastry Cutter or Two Forks: For cutting the cold butter into the dry ingredients. A pastry cutter is my preferred tool because it gives you more control over the texture. If you do not have one, two forks or even your fingertips work fine—just work quickly so the butter does not warm up.
- Sharp Knife and Cutting Board: For peeling and slicing the apples. A good chef’s knife makes this job much easier.
- Measuring Cups and Spoons: Accuracy matters in baking, even for a rustic dessert like this.
- Spatula or Wooden Spoon: For mixing the filling and spreading the topping.
If you do not have a pastry cutter, you can also pulse the dry ingredients and cold butter in a food processor for a few seconds. Just be careful not to over-process—you want pea-sized clumps of butter, not a paste.
Preparation Method
This is where the magic happens. Follow these steps carefully, and you will have a perfect apple crisp every time. The total prep time is about 20 minutes, and the baking time is 45 to 50 minutes.
- Preheat your oven to 350°F (175°C). Position a rack in the center of the oven. While it heats, prepare your baking dish by lightly greasing it with butter or non-stick spray. This prevents the filling from sticking and makes cleanup easier.
- Prepare the apples: Peel, core, and slice your apples into ¼-inch thick slices. You want them uniform in size so they cook evenly. Place the sliced apples in a large mixing bowl. Add the granulated sugar, brown sugar, flour, cinnamon, lemon juice, and vanilla extract. Toss everything together with a spatula until the apples are evenly coated. Let them sit for 5 to 10 minutes while you make the topping. This resting time allows the apples to release some of their juices, which will create a lovely syrup during baking.
- Make the crumble topping: In a separate large bowl, whisk together the rolled oats, all-purpose flour, brown sugar, granulated sugar, cinnamon, and salt. Add the cold, cubed butter. Using a pastry cutter or two forks, cut the butter into the dry ingredients until the mixture resembles coarse, clumpy sand. You want some pea-sized pieces of butter remaining—these will melt and create those irresistible, buttery pockets in the topping. Do not overwork it; the mixture should look shaggy and uneven. If you are using your hands, work quickly so the butter stays cold.
- Assemble the crisp: Spread the apple mixture evenly into the prepared baking dish. Make sure the apples are in a single, even layer—not mounded too high in the center. Sprinkle the crumble topping evenly over the apples. Do not press it down; leave it loose and clumpy so it can crisp up nicely. You should have a generous layer of topping covering every apple slice.
- Bake: Place the dish on a baking sheet to catch any drips (trust me on this—it saves your oven from a sticky mess). Bake for 45 to 50 minutes, or until the topping is deep golden brown and the apple filling is bubbling up around the edges. The filling should look thick and syrupy, not watery. If the topping is browning too quickly after 35 minutes, tent the dish loosely with aluminum foil for the remaining time.
- Cool and serve: Remove the crisp from the oven and let it cool on a wire rack for at least 15 to 20 minutes. This resting time is crucial—it allows the filling to set up so it does not run all over your plate. The crisp will still be warm, which is exactly how you want it. Serve it in bowls with a scoop of vanilla ice cream or a dollop of whipped cream.
A note on timing: If you are making this for a dinner party, you can assemble the crisp up to 4 hours ahead of time. Just keep it in the refrigerator, and add about 10 minutes to the baking time. The flavors actually meld together beautifully when it sits.
Cooking Tips & Techniques
Over the years, I have made plenty of mistakes with apple crisp. I have had soggy toppings, watery fillings, and burnt edges. Here is what I learned so you do not have to repeat my failures.
The cold butter rule is non-negotiable. The first time I made this, I used room-temperature butter because I was in a hurry. The topping turned into a dense, greasy paste instead of a crumbly, golden crust. Cold butter creates steam as it melts in the oven, which gives you those light, flaky pieces. If your kitchen is warm, pop the butter in the freezer for 10 minutes before you start.
Do not skip the flour in the filling. I once thought I could get away with just sugar and cinnamon. The result was a soupy, watery mess that never thickened. The flour (or cornstarch) is essential for absorbing the apple juices and creating that luscious, jammy texture. If you want a gluten-free option, use cornstarch or arrowroot powder instead.
Use a mix of apples. I learned this the hard way when I used only Granny Smith apples. The crisp was too tart and the apples turned into mush. A combination of firm, tart apples (like Granny Smith) and sweet, slightly softer apples (like Honeycrisp or Fuji) gives you the best of both worlds—structure and sweetness. If you only have one type, go with a firm variety that holds its shape.
Let it rest before serving. I know it is tempting to dig in right away, but the crisp needs time to set. If you serve it too soon, the filling will be runny and the topping might slide off. Twenty minutes of patience makes a world of difference. The filling thickens as it cools, and the topping stays crunchy longer.
Multitask smartly: While the apples are resting and releasing their juices, make the topping. This way, you are using your time efficiently. You can also prepare the topping a day ahead and keep it in the refrigerator—just bring it to room temperature for 10 minutes before sprinkling it over the apples.
Variations & Adaptations
One of the best things about this recipe is how adaptable it is. I have tried several variations over the years, and each one brings something new to the table.
- Gluten-Free Version: Substitute the all-purpose flour in both the filling and the topping with a 1:1 gluten-free baking flour blend. Make sure your oats are certified gluten-free, as oats are often processed in facilities that handle wheat. I have used Bob’s Red Mill Gluten-Free Oats with great results. The texture is slightly more delicate, but the flavor is just as good.
- Vegan Version: Replace the butter with a high-quality vegan butter stick (not margarine from a tub). Miyoko’s or Earth Balance work well. The topping will be a bit less crispy, but it still gets golden and delicious. Use coconut sugar instead of brown sugar for a refined-sugar-free option.
- Seasonal Fruit Swap: In the summer, swap the apples for an equal amount of sliced peaches or nectarines. Reduce the sugar by 2 tablespoons since stone fruits are sweeter. In the fall, a mix of apples and pears is fantastic—the pears add a buttery, soft texture. I have also made this with frozen berries in the winter; just toss them with an extra tablespoon of flour to absorb the extra moisture.
- Spiced Variation: Add ¼ teaspoon of ground nutmeg and a pinch of ground cloves to the apple mixture. This gives the crisp a more complex, warming flavor that is perfect for holiday gatherings. You can also add a tablespoon of bourbon or dark rum to the apples for an adult twist—just reduce the lemon juice slightly.
- Nutty Crumble: Add ½ cup of chopped pecans or walnuts to the crumble topping. Toast them lightly in a dry pan first for extra flavor. I did this for a Thanksgiving dessert once, and it was a huge hit. The nuts add a lovely crunch and a savory note that balances the sweetness.
Serving & Storage Suggestions
This apple crisp is best served warm, straight from the oven. The contrast between the hot, jammy apples and the cold, creamy ice cream is pure magic. I always recommend a high-quality vanilla ice cream—my personal favorite is Häagen-Dazs for its richness. If you want to go the extra mile, a drizzle of salted caramel sauce over the top takes it to another level. For a lighter option, a dollop of lightly sweetened whipped cream or Greek yogurt works beautifully.
As for beverages, this crisp pairs wonderfully with a hot cup of coffee or a mug of spiced chai tea. For a cozy fall evening, a glass of hard cider or a warm cozy warm vanilla milk with cinnamon and honey is the perfect companion. If you are serving it after a big meal, it also goes nicely with a scoop of creamy homemade vanilla ice cream for an extra-special treat.
Storage: Cover the baking dish tightly with plastic wrap or aluminum foil and store it in the refrigerator for up to 4 days. The topping will lose some of its crunch over time, but the flavors will deepen and become even more delicious. To reheat, place individual portions in a 350°F oven for 10 to 15 minutes, or microwave for 30 to 45 seconds. The oven method is better for restoring some of the topping’s crispness.
Freezing: You can freeze the unbaked crisp for up to 3 months. Assemble the crisp in a disposable aluminum pan, wrap it tightly in plastic wrap and then foil, and freeze. To bake from frozen, add 15 to 20 minutes to the baking time and cover with foil for the first 30 minutes to prevent over-browning. Baked crisp can also be frozen, but the texture of the topping will be softer after thawing and reheating.
One thing I love about this recipe is how the flavors develop over time. The second day, the apples are even more tender and the cinnamon has fully permeated the filling. It is almost like a different dessert—more mellow, more cohesive. I often make a double batch just so I can enjoy the leftovers for breakfast with a spoonful of yogurt.
Nutritional Information & Benefits
While this is definitely a treat, it does have some redeeming qualities. Here is an estimated nutritional breakdown per serving (based on 8 servings, without ice cream):
| Nutrient | Amount per Serving |
|---|---|
| Calories | 380 |
| Total Fat | 14g |
| Saturated Fat | 8g |
| Carbohydrates | 62g |
| Fiber | 5g |
| Sugar | 40g |
| Protein | 4g |
The apples provide a good source of dietary fiber, particularly pectin, which is great for digestive health. Oats are rich in beta-glucan, a type of soluble fiber that can help lower cholesterol levels. Cinnamon has anti-inflammatory properties and may help regulate blood sugar levels. While this dessert is not low in sugar, using a mix of tart and sweet apples allows you to use less added sugar than many traditional recipes call for. If you are watching your sugar intake, you can reduce the sugar in the filling by 2 tablespoons without sacrificing much flavor—the natural sweetness of the apples will shine through.
For those with dietary restrictions, this recipe can be easily adapted. The gluten-free and vegan options mentioned earlier work well. Just be mindful of portion sizes if you are counting calories or carbs. A smaller serving with a dollop of Greek yogurt can still satisfy your sweet tooth without going overboard.
Conclusion
This cozy classic apple crisp with buttery oat crumble is more than just a dessert. It is a reminder that the best things in life are often the simplest. A handful of pantry staples, a little bit of time, and a warm oven can create something that brings people together. Whether you are making it for a birthday, a holiday dinner, or just a quiet Tuesday night, this recipe never disappoints.
I love this recipe because it is forgiving. You can tweak the spices, swap the fruit, or double the topping without worrying about ruining it. It is the kind of dessert that welcomes improvisation. So go ahead—make it your own. Add a pinch of nutmeg if that is your thing. Use pears instead of apples. Top it with a scoop of creamy homemade vanilla ice cream and a drizzle of caramel. Whatever you do, just make sure you have a spoon in hand and someone to share it with.
If you try this recipe, I would love to hear about it. Leave a comment below and let me know how it turned out. Did you add any twists? Did you serve it with something unexpected? Your feedback helps other readers and inspires me to keep creating. And if you are looking for more comforting desserts, check out my decadent salted caramel whiskey bundt cake or this classic chicken pot pie for another cozy meal.
Happy baking, friends. May your kitchen always smell like cinnamon and butter.
Frequently Asked Questions
Can I use quick oats instead of old-fashioned oats?
I do not recommend it. Quick oats are more finely processed and will absorb too much moisture from the apples, resulting in a soft, mushy topping instead of a crunchy one. Old-fashioned rolled oats give you that classic chewy-crunchy texture that makes this crisp so satisfying. If you only have quick oats on hand, you can use them, but expect a different texture.
Why is my apple crisp topping soggy?
A soggy topping usually happens for one of three reasons: the butter was too warm, the topping was pressed down too firmly, or the apples released too much liquid. Make sure your butter is cold straight from the fridge, and sprinkle the topping loosely over the apples without pressing it down. If your apples are very juicy, add an extra tablespoon of flour to the filling to help absorb the excess liquid.
Can I make this apple crisp ahead of time?
Yes, absolutely. You can assemble the entire crisp (without baking) up to 4 hours ahead of time. Keep it covered in the refrigerator, and add about 10 minutes to the baking time when you are ready to bake. You can also bake it a day ahead, let it cool completely, and reheat it in a 350°F oven for 15 to 20 minutes before serving. The flavors actually deepen overnight.
Do I need to peel the apples?
Peeling is recommended for this recipe. The peels can become tough and chewy during baking, and they prevent the apples from breaking down into that soft, jammy texture. However, if you prefer a more rustic texture and do not mind the peels, you can leave them on. Just make sure to wash the apples thoroughly and slice them thinly.
Can I freeze leftover apple crisp?
Yes, you can freeze both baked and unbaked apple crisp. For baked crisp, let it cool completely, wrap it tightly in plastic wrap and then foil, and freeze for up to 3 months. Thaw in the refrigerator overnight and reheat in a 350°F oven. For unbaked crisp, assemble it in a freezer-safe dish, wrap it well, and freeze. Bake from frozen, adding 15 to 20 minutes to the baking time and covering with foil for the first 30 minutes. The texture of the topping will be slightly softer after freezing, but the flavor will still be wonderful.
Pin This Recipe!
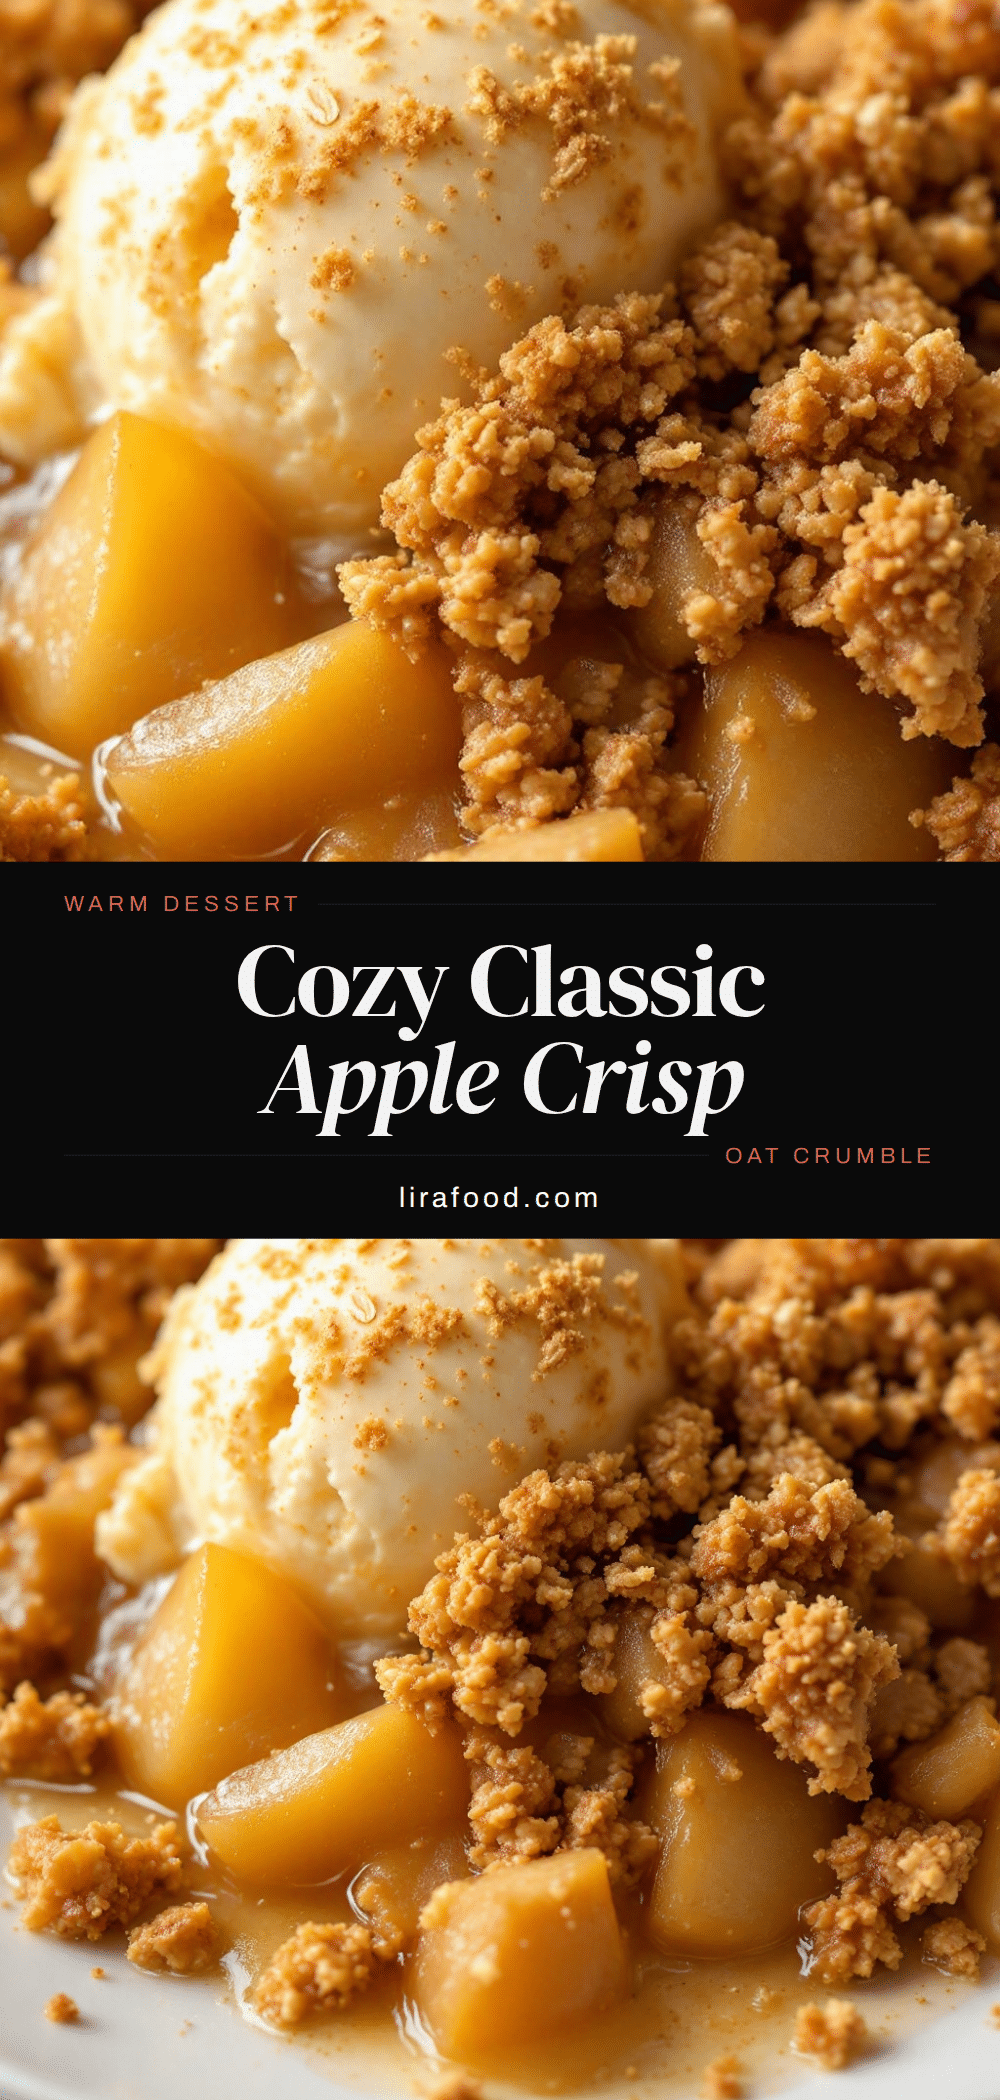
Cozy Classic Apple Crisp with Buttery Oat Crumble

A simple, soul-soothing apple crisp with a buttery oat crumble topping that’s perfect for cozy nights. Made with pantry staples and a mix of apples, this dessert is quick, easy, and unforgettable.
- Prep Time: 20 minutes
- Cook Time: 45 minutes
- Total Time: 1 hour 5 minutes
- Yield: 8 servings 1x
- Category: Dessert
- Cuisine: American
Ingredients
- 6 medium apples (about 2.5 pounds or 1.1 kg), peeled, cored, and sliced ¼-inch thick (mix of Granny Smith and Honeycrisp or Fuji)
- ¼ cup (50 g) granulated sugar
- ¼ cup (50 g) packed light brown sugar
- 2 tablespoons (15 g) all-purpose flour
- 1 teaspoon ground cinnamon
- 1 tablespoon fresh lemon juice
- 1 teaspoon vanilla extract
- 1 cup (90 g) old-fashioned rolled oats
- ¾ cup (90 g) all-purpose flour
- ½ cup (100 g) packed light brown sugar
- ¼ cup (50 g) granulated sugar
- ½ teaspoon ground cinnamon
- ¼ teaspoon salt
- ½ cup (113 g) cold unsalted butter, cut into small cubes
Instructions
- Preheat oven to 350°F (175°C). Lightly grease a 9×13-inch baking dish with butter or non-stick spray.
- In a large bowl, toss the sliced apples with ¼ cup granulated sugar, ¼ cup brown sugar, 2 tablespoons flour, 1 teaspoon cinnamon, lemon juice, and vanilla extract. Let sit for 5-10 minutes.
- In another large bowl, whisk together oats, ¾ cup flour, ½ cup brown sugar, ¼ cup granulated sugar, ½ teaspoon cinnamon, and salt. Add cold butter cubes and cut in with a pastry cutter or two forks until mixture resembles coarse, clumpy sand with some pea-sized butter pieces.
- Spread apple mixture evenly in the prepared dish. Sprinkle crumble topping evenly over apples without pressing down.
- Place dish on a baking sheet. Bake for 45-50 minutes, until topping is deep golden brown and filling is bubbling around edges. If topping browns too quickly after 35 minutes, tent loosely with foil.
- Cool on a wire rack for at least 15-20 minutes before serving. Serve warm with vanilla ice cream or whipped cream.
Notes
Cold butter is essential for a flaky topping. Use a mix of tart and sweet apples for best texture. Let the crisp rest before serving to allow the filling to set. Can be assembled up to 4 hours ahead and refrigerated before baking.
Nutrition
- Serving Size: 1 serving (without i
- Calories: 380
- Sugar: 40
- Sodium: 95
- Fat: 14
- Saturated Fat: 8
- Carbohydrates: 62
- Fiber: 5
- Protein: 4
Keywords: apple crisp, oat crumble, easy apple dessert, classic apple crisp, buttery oat topping, fall dessert, comfort food


