Love this? Save it for later!
Share the inspiration with your friends
It is 6:14 AM on a Tuesday in November, and the only thing I want is this creamy homemade pumpkin pie from scratch. The house is still asleep. I can hear the neighbor’s dog barking once, then silence, then the hum of the refrigerator kicking on in the kitchen. The light coming through the window is that pale, watery gray that feels more like a feeling than a visual. It’s the kind of morning where you don’t really want to get up, but the smell of spices already drifting from the pot on the stove is pulling you out of bed before your eyes are fully open.
I’ve made pies for holidays. I’ve made them for birthdays, for funerals, for random Tuesdays in July when I needed something sweet to justify turning on the oven. But this one? This is different. It doesn’t belong to a calendar date. It belongs to the quiet hours. The ones where you aren’t performing for anyone. You’re just feeding yourself, or maybe just feeding the house, to make it feel lived-in.
There is a specific ritual to this. It starts with the canning, or if you’re lucky, the fresh roasting. But honestly, I’m talking about the mixing. The way the eggs fold into the spiced puree. It’s not a loud process. It doesn’t require shouting over children or coordinating with a crowd. It’s just you and the bowl. And the patience. You have to let it sit. You have to let the oven do its work while you do nothing at all. Which is rare these days.
I remember the first time I made this without a box mix. I was trying to impress someone who didn’t care about pie. They cared about the gesture. But when that first slice came out, warm and trembling in the center, I didn’t think about the guest. I thought about how the kitchen smelled like cinnamon and nutmeg and safety. That smell stuck to my sweaters for days. It’s a heavy scent, but in a good way. Like a weighted blanket.
This recipe isn’t about perfection. It’s about the curve of the crust, the slight crack on the surface that tells you it’s done. It’s about the contrast between the cold air of the morning and the hot spoon digging into the custard. You know? That first bite is the only thing that matters. The rest is just cleanup.
I keep coming back to this because it’s simple. Five ingredients, really. Just pumpkin, cream, eggs, sugar, and spices. No fancy gadgets. No obscure flours you have to order online. Just the basics, done right. It’s the kind of thing that reminds you that cooking doesn’t have to be a performance. It can just be a quiet moment in the dark, waiting for the light to come up.
So, here we are. It’s early. The oven is preheating. And I’m ready to make something that tastes like time slowing down.
Why You’ll Love This Recipe
Let’s be honest for a second. Most pumpkin pie recipes out there are cluttered. They’re filled with unnecessary steps, weird stabilizers, and instructions that assume you have a culinary degree and a team of assistants. This one? It’s different. It’s built on the idea that less is actually more, and that’s something I learned the hard way after burning three batches in my twenties. This creamy homemade pumpkin pie from scratch is the result of years of trial, error, and a few ruined turkeys, but it lands on something that feels effortless.
- Quick & Easy: It comes together in under 20 minutes of active prep. You mix, you pour, you bake. It’s perfect for those busy weeknights when you crave something comforting but don’t want to spend hours in the kitchen.
- Simple Ingredients: You likely already have everything in your pantry. No fancy grocery trips needed. Just pumpkin, cream, eggs, sugar, and spices. If you have a spice jar gathering dust, this is the time to use it.
- Perfect for Quiet Mornings: Great for brunch, or just a solitary snack with coffee. It’s not a loud dessert. It’s a gentle one. It fits into the slower parts of your day.
- Crowd-Pleaser: Always gets rave reviews from kids and adults alike. The texture is so smooth that even picky eaters who usually avoid “mushy” desserts will ask for seconds.
- Unbelievably Delicious: The texture and flavor combo is next-level comfort food. It’s rich without being heavy, spiced without being overpowering. It hits that sweet spot where you close your eyes after the first bite.
What makes this recipe stand out from the rest is the balance. I’ve tried recipes that use too much milk, resulting in a watery mess, and others that use too much egg, turning it into a savory omelet. This ratio is locked in. The cream provides that lush, velvety mouthfeel, while the pumpkin puree grounds it with earthy sweetness. It’s not just good—it’s the kind of pie that makes you feel like you’ve achieved something profound, even though you just followed four simple steps. It’s comfort food reimagined—simpler, faster, but with the same soul-soothing satisfaction. Perfect for impressing guests without stress, or turning a simple meal into something memorable. It’s also a great companion to other baked goods, like the grandma’s sour cream coffee cake if you’re doing a full spread, though honestly, this pie can stand entirely on its own.
What Ingredients You Will Need
This recipe uses simple, wholesome ingredients to deliver bold flavor and satisfying texture without the fuss. You don’t need a specialty store to find these items. Everything is available at your local supermarket, and most of it sits in your pantry right now. The key here is quality over quantity. Since there are only five main components, each one has to pull its weight. If you use low-quality pumpkin or bland spices, the pie will reflect that. So, let’s talk about what goes into the bowl.
- Pumpkin Puree (1 can, 15 oz): I recommend using a high-quality brand like Libby’s or a local brand that uses 100% pure pumpkin, not pumpkin pie mix. The mix has sugar and spices already added, which throws off the balance. Look for a puree that is thick and dark orange. If it’s watery, drain it in a cheesecloth for 30 minutes. (Adds the base flavor and texture)
- Heavy Cream (1 cup): This is what makes it creamy. Don’t substitute with milk if you can help it. The fat content is crucial for that custard-like set. If you need a dairy-free option, full-fat coconut cream works, but the flavor will shift slightly toward tropical. (Adds richness and silkiness)
- Large Eggs (3 large): Room temperature eggs are best. They emulsify better with the cream. Crack them carefully and check for any bad ones—happens more than you’d think. (Provides structure and sets the custard)
- Granulated Sugar (3/4 cup): Standard white sugar works perfectly. You can use brown sugar for a deeper, molasses-like flavor, but it will make the pie darker. I stick to white to let the spices shine. (Adds sweetness without masking the pumpkin)
- Pumpkin Pie Spice (2 teaspoons): If you don’t have a blend, make your own. Cinnamon, ginger, nutmeg, and cloves. I prefer a higher ratio of cinnamon to cloves. Cloves can overpower quickly. (Adds the essential aromatic warmth)
- Salt (1/2 teaspoon): Do not skip this. Salt is not just for savory dishes. It brightens the sweetness and makes the pumpkin flavor pop. It’s the secret ingredient you can’t taste but definitely need. (Balances the sweetness)
- Vanilla Extract (1 teaspoon): Use real vanilla, not imitation. It adds a subtle floral note that rounds out the spices. (Adds depth and aroma)
For the crust, you can use a store-bought pie crust if you’re short on time, but a homemade blind-baked crust adds a nutty, buttery contrast that I personally love. If you’re looking for a gluten-free option, almond flour crusts work well, though they are more fragile. For seasonal variations, in the fall, you might swap half the pumpkin puree for roasted butternut squash for a slightly nuttier flavor profile.
Equipment Needed
You don’t need a lot of fancy gear to make this pie. In fact, keeping it simple is part of the charm. Here is what you’ll need:
- 9-inch Pie Dish: Glass or ceramic is best. Glass lets you see the bottom crust browning, which helps prevent a soggy bottom. Avoid metal if you’re a beginner, as it conducts heat too quickly and can burn the edges.
- Mixing Bowl: A large bowl, preferably glass or stainless steel, for whisking the filling. It should be deep enough to prevent splashing when you pour in the cream.
- Whisk: A standard balloon whisk is perfect. You need to aerate the eggs and blend the spices thoroughly. A fork works in a pinch, but a whisk is faster and more effective.
- Measuring Cups and Spoons: Precision matters in baking. Use standard measuring cups for the cream and sugar, and level spoons for the spices. A digital kitchen scale is ideal for the pumpkin puree if you want exact grams, but volume measurements work fine here.
- Pastry Brush (Optional): If you’re making your own crust, you’ll need this for egg washes. If using store-bought, you can skip it.
- Cooling Rack: Essential. You cannot put a hot pie on a counter. It needs air circulation underneath to stop the cooking process and prevent the bottom crust from steaming.
If you don’t have a pie dish, a deep-dish casserole dish can work, but the cooking time will need to be adjusted. For budget-friendly options, a simple glass Pyrex dish is often cheaper than ceramic and just as effective. Just be gentle with glass; thermal shock is real. Don’t take a hot dish and put it directly into cold water.
Preparation Method
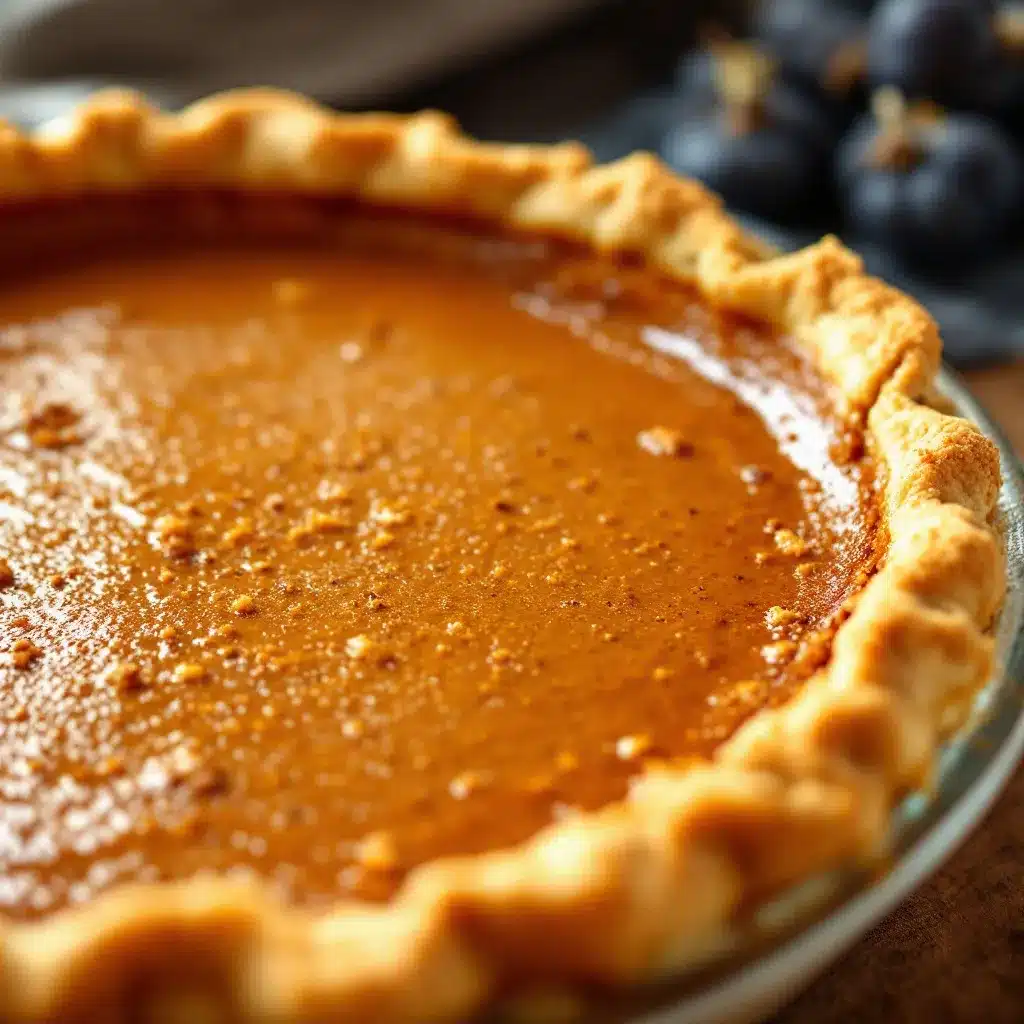
Making this creamy homemade pumpkin pie from scratch is straightforward, but it requires attention to detail. Follow these steps closely to ensure a smooth, set custard without cracks.
- Preheat the Oven and Prepare the Crust (10 minutes): Preheat your oven to 425°F (220°C). If you are using a homemade crust, roll it out and fit it into the 9-inch pie dish. Trim the edges and crimp them decoratively. Prick the bottom of the crust with a fork to prevent bubbling. If using store-bought, just lay it in the dish. Place the empty pie shell in the oven for the first 10 minutes of baking to start setting the bottom. This helps prevent a soggy crust.
- Mix the Dry Ingredients (2 minutes): While the crust pre-bakes, take your large mixing bowl. Add the granulated sugar, pumpkin pie spice, and salt. Whisk them together briefly to distribute the spices evenly. This ensures you don’t get a bite that is all cinnamon and no pumpkin. It’s a small step, but it makes a big difference in flavor consistency.
- Add the Pumpkin and Vanilla (1 minute): Add the pumpkin puree and vanilla extract to the dry mixture. Whisk until the puree is smooth and no lumps remain. The mixture should look like a thick, orange paste. If your puree was cold from the fridge, let it sit for a few minutes to warm up slightly, which helps it blend better with the eggs.
- Whisk the Eggs and Cream (2 minutes): In a separate small bowl or jug, whisk the three large eggs until they are uniform. Slowly pour in the heavy cream while whisking. Then, gradually stream this egg-cream mixture into the pumpkin mixture. Whisk gently but thoroughly. Do not over-whisk, as you don’t want to incorporate too much air, which can cause the pie to rise and then collapse, leading to cracks. You want a dense, smooth batter.
- Combine and Pour (1 minute): Once the crust has pre-baked for 10 minutes, remove it from the oven. Reduce the oven temperature to 350°F (175°C). Pour the pumpkin filling into the hot crust. It will sizzle slightly, which is normal. Fill it to just below the rim of the crust. If you overfill, it will bubble over and make a mess.
- Bake the Pie (50-60 minutes): Place the pie back in the oven. Bake at 350°F (175°C) for 50 to 60 minutes. The pie is done when the edges are set but the center still jiggles slightly like Jell-O when you shake the pan. It should not be liquid, but it should not be firm either. It will firm up as it cools. If the edges start browning too quickly, cover them with a ring of aluminum foil or a pie shield.
- Cool Completely (2-3 hours): This is the hardest part. Remove the pie from the oven and place it on a cooling rack. Let it cool for at least 2 hours, preferably 3-4. Do not cut it while it’s hot. The custard needs time to set. If you cut it too early, it will be runny. Patience is key here. The residual heat continues to cook the center, so removing it slightly underdone is better than overbaking.
Personal tip: I usually make this pie the night before. It tastes better after sitting overnight, and it eliminates the stress of cutting a warm pie. Just cover it loosely with plastic wrap once it’s completely cool.
Cooking Tips & Techniques
There are a few tricks I’ve picked up over the years to ensure your pie turns out perfectly every time. First, temperature control is everything. Your eggs and cream should be close to room temperature. Cold ingredients can shock the pumpkin puree and make it difficult to blend smoothly. If you forget to take them out, just place the eggs in a bowl of warm water for five minutes.
Another common mistake is overmixing. When you combine the wet and dry ingredients, mix just until combined. Over-aerating the batter introduces air bubbles that expand in the oven and then collapse, creating cracks on the surface. While cracks don’t affect taste, they do affect the visual appeal, which matters to some of us. If you want a perfectly smooth top, you can strain the filling through a fine-mesh sieve before pouring it into the crust. It’s an extra step, but it guarantees a silky texture.
Timing is also crucial. Every oven is different. Your oven might run hot or cold. Use the “jiggle test” rather than relying solely on the clock. If the center looks set but wobbles like gelatin, pull it out. If it’s liquid, give it 10 more minutes. If it’s firm and doesn’t move at all, it’s already overbaked and will likely crack as it cools. I’ve ruined several pies by waiting too long, so learn to trust your eyes.
Also, consider the altitude. If you live at a high altitude, you may need to increase the oven temperature by 25°F and reduce the sugar slightly. The lower air pressure affects how the custard sets. For most of us, though, the standard recipe works fine. Just keep an eye on it.
Finally, don’t rush the cooling process. I know it’s tempting to dig in. But the structure of the pie is fragile when hot. Letting it cool completely allows the proteins to relax and the fats to stabilize. This results in cleaner slices and a better texture. It’s worth the wait.
Variations & Adaptations
While the classic version is my favorite, there are plenty of ways to tweak this recipe to suit your taste or dietary needs. Here are a few ideas:
- Gluten-Free Option: Swap the traditional pie crust for a gluten-free blend. I recommend an almond flour crust or a crust made from gluten-free oats and butter. Just be careful not to overbake the crust, as gluten-free flours can dry out quickly.
- Dairy-Free Version: Replace the heavy cream with full-fat coconut milk or cashew cream. Coconut milk will add a subtle coconut flavor that pairs well with the spices. Cashew cream is more neutral and provides a similar richness to dairy cream.
- Less Sweet: Reduce the sugar to 1/2 cup. This is great if you prefer a more savory, spice-forward pie. You can also swap half the sugar for a sugar substitute like erythritol, though this may affect the texture slightly.
- Maple Pecan Twist: Stir 1/2 cup of chopped pecans into the filling before baking. This adds a crunchy texture and pairs beautifully with the maple notes in the spices. It’s similar to the flavor profile of a bourbon pecan chocolate cake, but in a pie form.
- Spice It Up: Add a pinch of cayenne pepper or smoked paprika to the filling. This adds a subtle heat that contrasts with the sweetness. It’s a great option if you want something with a bit more kick.
I once tried adding a swirl of maple syrup into the filling before baking, creating a marbled effect. It was pretty, but the syrup pooled at the bottom. Next time, I’d mix it in thoroughly instead. Experimentation is part of the fun, but stick to the base ratios for the best results.
Serving & Storage Suggestions
This pie is best served at room temperature or slightly chilled. Cold pie has a firmer texture, which makes slicing easier. Serve it with a dollop of whipped cream, preferably homemade. If you’re looking for a twist, try creamy homemade vanilla ice cream on top. The cold cream contrasts nicely with the spiced pie.
For storage, keep the pie covered in the refrigerator for up to 4 days. You can also freeze it. Wrap the whole pie tightly in plastic wrap and then in aluminum foil. It will last for up to 2 months. Thaw it in the refrigerator overnight before serving. Do not freeze a pie that has already been sliced, as the exposed edges will dry out.
When reheating, if you prefer warm pie, microwave a slice for 30 seconds. Or, place the whole pie in a 300°F oven for 15 minutes. Avoid high heat, as it can cause the crust to become soggy or the filling to separate.
The flavors actually deepen over the first 24 hours. The spices meld with the cream, creating a more complex flavor profile. So, if you can wait, let it sit. It’s worth the extra time.
Nutritional Information & Benefits
While pumpkin pie is a dessert, pumpkin itself is quite nutritious. It is rich in Vitamin A, which is great for eye health, and high in fiber, which aids digestion. The spices, particularly cinnamon and ginger, have anti-inflammatory properties and can help regulate blood sugar levels. However, this recipe does contain sugar and saturated fat from the cream and eggs, so it should be enjoyed in moderation.
Each slice (1/8 of the pie) contains approximately 350 calories, 15g of fat, 45g of carbohydrates, and 5g of protein. If you make the dairy-free version, the fat content will be similar, but the type of fat will change. For those with dietary restrictions, the gluten-free option is safe, but always check your spice blends for hidden gluten.
From a personal wellness perspective, I find that this pie is satisfying without being overly heavy. The fiber from the pumpkin helps curb cravings, and the spices provide a sensory experience that feels indulgent. It’s a treat that feels good to eat, not just because of the taste, but because of the ingredients behind it.
Conclusion
This creamy homemade pumpkin pie from scratch is more than just a dessert. It’s a ritual. It’s a way to slow down and appreciate the simple act of cooking. The ingredients are few, but the result is profound. It’s a testament to the power of patience and quality. I hope you try this recipe and find your own quiet moments in the kitchen with it.
Feel free to customize it with your favorite spices or toppings. Make it your own. And if you do, I’d love to hear how it turned out. Leave a comment below, share your variations, or just tell me about your morning. Cooking is better when shared.
So, preheat that oven. Whisk those eggs. And let the house fill with the smell of pumpkin and spice. It’s going to be good.
FAQs
Can I use canned pumpkin puree for this recipe?
Yes, canned pumpkin puree works perfectly and is actually recommended for consistency. Just make sure it’s 100% pure pumpkin, not pumpkin pie mix, which already contains sugar and spices.
Why did my pumpkin pie crack?
Cracks usually happen from overbaking or cooling too quickly. Make sure to remove the pie when the center still jiggles slightly. Also, avoid placing the hot pie in a drafty area or the fridge immediately. Let it cool gradually on a rack.
Can I make this pie ahead of time?
Absolutely. This pie actually tastes better the next day. You can make it 1-2 days in advance. Just store it covered in the refrigerator. It will hold its shape well and the flavors will meld.
What is the best way to slice pumpkin pie?
Use a sharp knife and wipe it clean between cuts. For cleaner slices, you can dip the knife in hot water and dry it before each cut. This helps the knife glide through the custard without dragging.
Can I freeze pumpkin pie?
Yes, you can freeze unbaked or baked pumpkin pie. For baked pie, wrap it tightly in plastic and foil. It will last for up to 2 months. Thaw in the refrigerator overnight before serving.
Pin This Recipe!
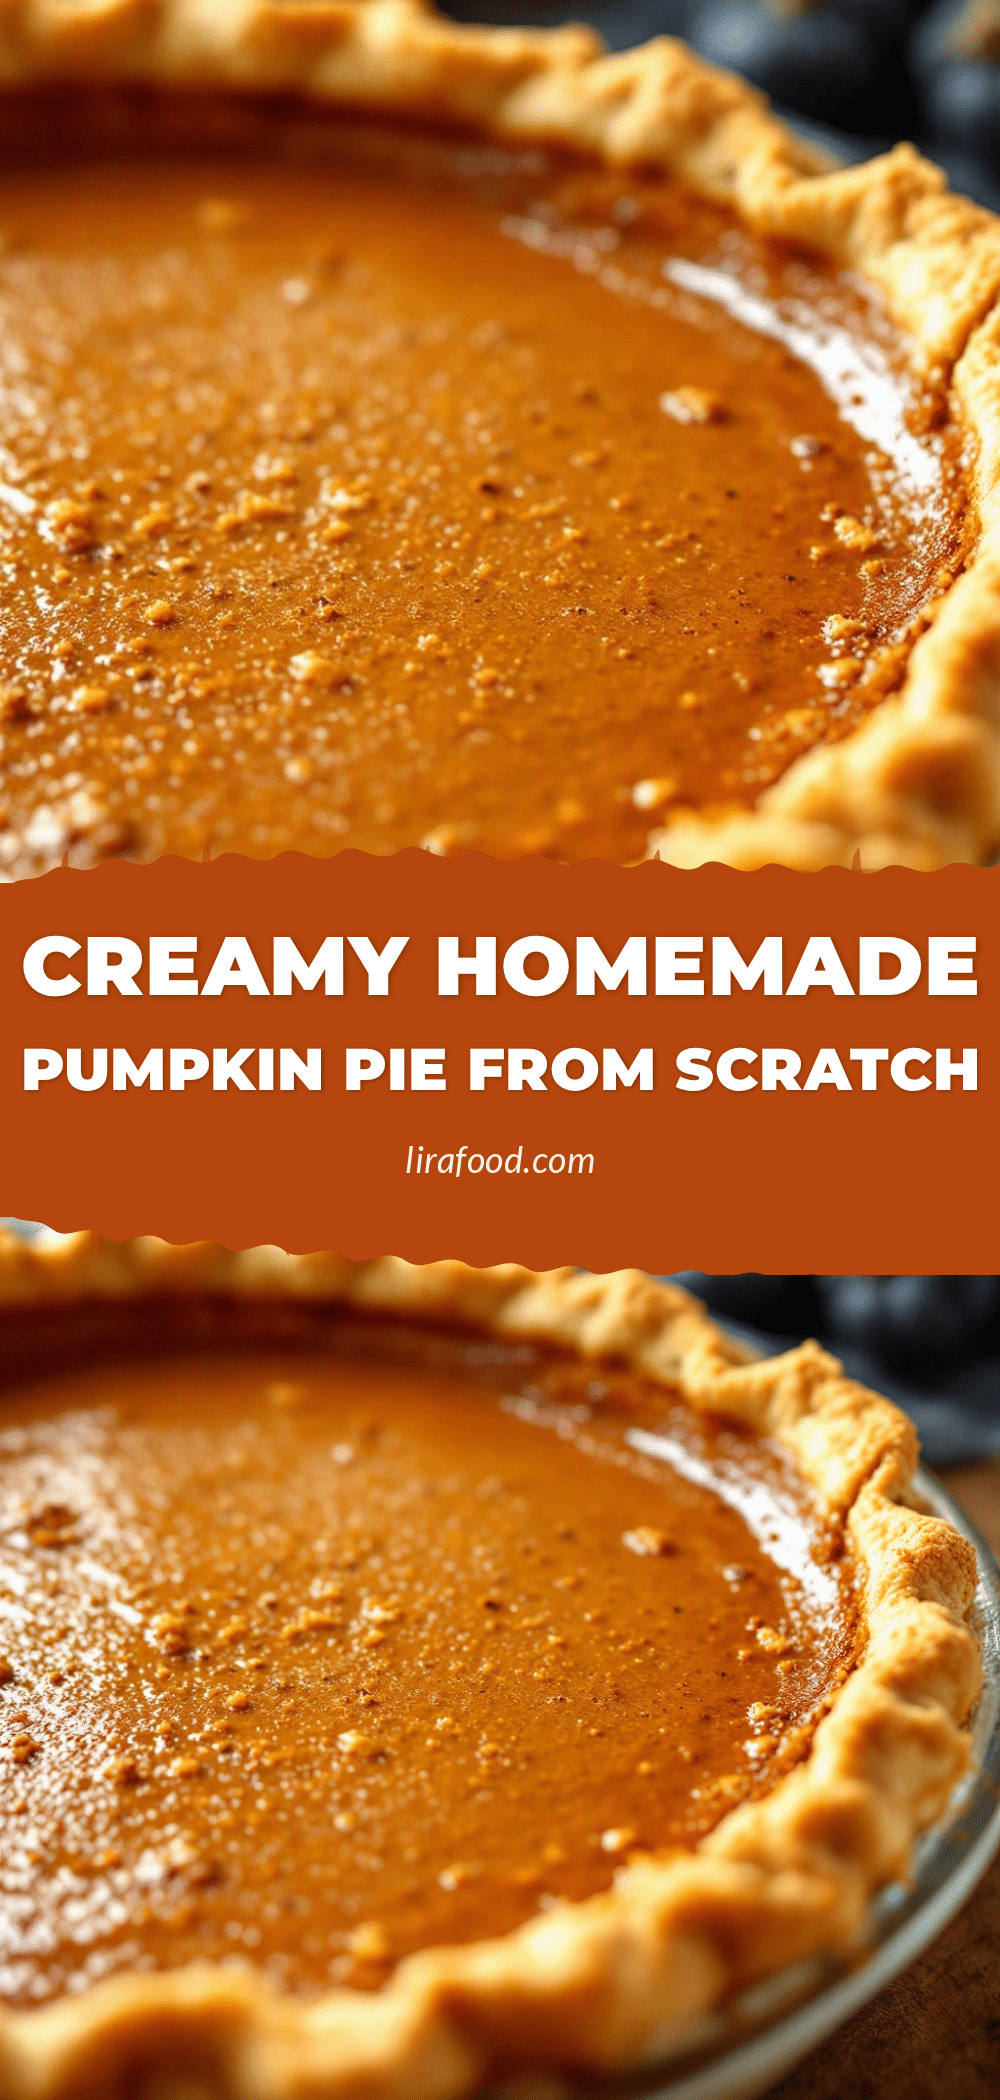
Creamy Homemade Pumpkin Pie from Scratch: Best 5-Ingredient Recipe
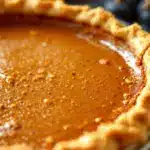
A simple, creamy pumpkin pie made with just five core ingredients. This recipe focuses on quality over complexity, resulting in a smooth, custard-like dessert perfect for quiet mornings or holiday gatherings.
- Prep Time: 20 minutes
- Cook Time: 60 minutes
- Total Time: 80 minutes
- Yield: 8 servings 1x
- Category: Dessert
- Cuisine: American
Ingredients
- 1 can (15 oz) pure pumpkin puree
- 1 cup heavy cream
- 3 large eggs, room temperature
- 3/4 cup granulated sugar
- 2 teaspoons pumpkin pie spice
- 1/2 teaspoon salt
- 1 teaspoon vanilla extract
- 1 store-bought or homemade 9-inch pie crust
Instructions
- Preheat oven to 425°F (220°C). Fit the pie crust into a 9-inch pie dish, trim edges, and prick the bottom with a fork. Place the empty crust in the oven for the first 10 minutes to pre-bake.
- In a large mixing bowl, whisk together the granulated sugar, pumpkin pie spice, and salt to distribute spices evenly.
- Add the pumpkin puree and vanilla extract to the dry ingredients. Whisk until the mixture is smooth and lump-free.
- In a separate bowl, whisk the eggs until uniform. Slowly pour in the heavy cream while whisking. Gradually stream this egg-cream mixture into the pumpkin mixture, whisking gently to avoid incorporating too much air.
- Remove the pre-baked crust from the oven and reduce oven temperature to 350°F (175°C). Pour the filling into the hot crust, filling to just below the rim.
- Bake at 350°F (175°C) for 50-60 minutes. The pie is done when the edges are set but the center still jiggles slightly like Jell-O. Cover edges with foil if they brown too quickly.
- Remove from oven and place on a cooling rack. Cool completely for at least 2-3 hours before slicing to allow the custard to set.
Notes
Ensure eggs and cream are at room temperature for better emulsification. Do not overmix the batter to prevent cracks. The pie must cool completely before slicing to set properly. It tastes better the next day. For a gluten-free option, use an almond flour crust. For dairy-free, substitute heavy cream with full-fat coconut cream.
Nutrition
- Serving Size: 1 slice (1/8 of pie)
- Calories: 350
- Sugar: 30
- Sodium: 250
- Fat: 15
- Saturated Fat: 8
- Carbohydrates: 45
- Fiber: 2
- Protein: 5
Keywords: pumpkin pie, homemade pumpkin pie, easy dessert, fall recipes, gluten-free dessert, dairy-free dessert, comfort food, baking