Love this? Save it for later!
Share the inspiration with your friends
My grandmother had a strange rule about pumpkin seeds. They couldn’t be wasted, obviously, but she also refused to let anyone eat them plain. “They need something,” she’d say, shaking her head at a bowl of salted, roasted seeds. “They need a reason to be eaten.” For years, I just accepted that pumpkin seeds were going to be a little boring. A little one-note. Something you picked at while waiting for the pie. I had been looking for a version of crispy maple roasted pumpkin seeds that actually tasted like a treat, not an afterthought. Something that made you reach for them instead of the candy bowl.
The first time I tried adding maple syrup to the mix, I made a mess. Sticky, burned sugar on the pan, seeds that clumped together into an unbreakable brick. My grandmother would have laughed. But I kept at it, because the idea felt right. That sweet, woodsy maple against the earthy, nutty seed. It just made sense. The trick, I eventually learned, was timing and temperature. You can’t just dump maple syrup on raw seeds and hope for the best. You have to coax the flavor in, let it caramelize without burning, and finish with a flurry of sea salt that cuts through the sweetness. It took a few ruined batches, but I finally landed on a method that works every time. Now, these seeds are the first thing to disappear from the snack table. Honestly, I think my grandmother would approve.
Why You’ll Love This Recipe
This isn’t your average pumpkin seed recipe. It’s the one that converts people who swear they don’t like pumpkin seeds. Here’s why it works so well.
- Quick & Easy : From start to finish, you’re looking at about 20 minutes. That includes the time it takes to clean the seeds. Perfect for when you’re carving pumpkins and need a snack fast.
- Simple Ingredients : You probably already have everything you need. Pumpkin seeds, maple syrup, butter or oil, and good sea salt. No fancy grocery trips required.
- Perfect for Fall Gatherings : These are great for Halloween parties, Thanksgiving snacking, or just cozy movie nights. They feel festive without being fussy.
- Crowd-Pleaser : Kids love the sweet crunch. Adults love the salty-sweet balance. They always get rave reviews.
- Unbelievably Delicious : The texture is the real star. Crispy, crunchy, with a caramelized coating that shatters when you bite into it. It’s next-level snacking.
What makes this recipe different from all the others? It’s the technique. Most recipes either burn the sugar or leave the seeds chewy. I figured out that par-cooking the seeds first, then adding the maple glaze at the very end, gives you that perfect crunch without the sticky mess. This isn’t just another version of roasted pumpkin seeds. It’s the best version, and I’ve tested it more times than I care to admit.
This recipe is the kind that makes you close your eyes after the first bite. It’s comfort food reimagined—healthier, faster, but with the same soul-soothing satisfaction. Perfect for impressing guests without stress, or turning a simple snack into something memorable.
What Ingredients You Will Need
This recipe uses simple, wholesome ingredients to deliver bold flavor and satisfying crunch without the fuss. Most of these are pantry staples, especially if you’ve just carved a pumpkin.
- Fresh Pumpkin Seeds – about 1 ½ cups, cleaned and patted dry. You can use seeds from any pumpkin variety. I prefer sugar pumpkins for smaller, more tender seeds, but standard carving pumpkins work fine too. Just make sure you get all the stringy pulp off.
- Pure Maple Syrup – 3 tablespoons. Use the real stuff, not pancake syrup. Grade A dark amber gives a richer flavor that stands up to the salt. I’ve tried this with honey, and it’s good, but maple is better.
- Unsalted Butter – 2 tablespoons, melted. This helps the maple syrup spread evenly and adds a little richness. You can substitute coconut oil or avocado oil for a dairy-free version.
- Sea Salt Flakes – 1 teaspoon, plus more for finishing. I like Maldon or another flaky sea salt here. The flakes give you little bursts of salt that contrast beautifully with the sweet coating. Regular table salt will work, but use less and grind it finer.
- Cinnamon – ½ teaspoon (optional). I add this about half the time. It gives the seeds a warm, cozy flavor that pairs perfectly with maple. If you’re feeling adventurous, a pinch of cayenne or smoked paprika is also fantastic.
That’s it. Five ingredients, and you’re on your way to the best pumpkin seeds you’ve ever eaten. The key is using good quality maple syrup and not skimping on the salt. Trust me on that.
Equipment Needed
You don’t need much for this recipe, which is part of its charm. Here’s what you’ll need.
- Baking Sheet – A rimmed baking sheet works best. The rim keeps the seeds from sliding off, and it gives you room to spread them out in a single layer.
- Parchment Paper or Silicone Mat – This is essential. Without it, the maple syrup will stick to the pan and make cleanup a nightmare. I’ve learned this the hard way.
- Mixing Bowl – Any medium bowl will do. You just need space to toss the seeds with the glaze.
- Spatula – For stirring and spreading the seeds on the baking sheet. A silicone spatula is ideal because it won’t scratch your pans.
- Colander – For rinsing and draining the seeds after you scoop them out of the pumpkin.
- Paper Towels or Clean Kitchen Towel – For patting the seeds dry. This step is more important than you think. Wet seeds won’t crisp up properly.
If you don’t have a silicone mat, parchment paper works just fine. I’ve used both, and the results are identical. Just make sure whatever you use is oven-safe up to 400°F.
Preparation Method
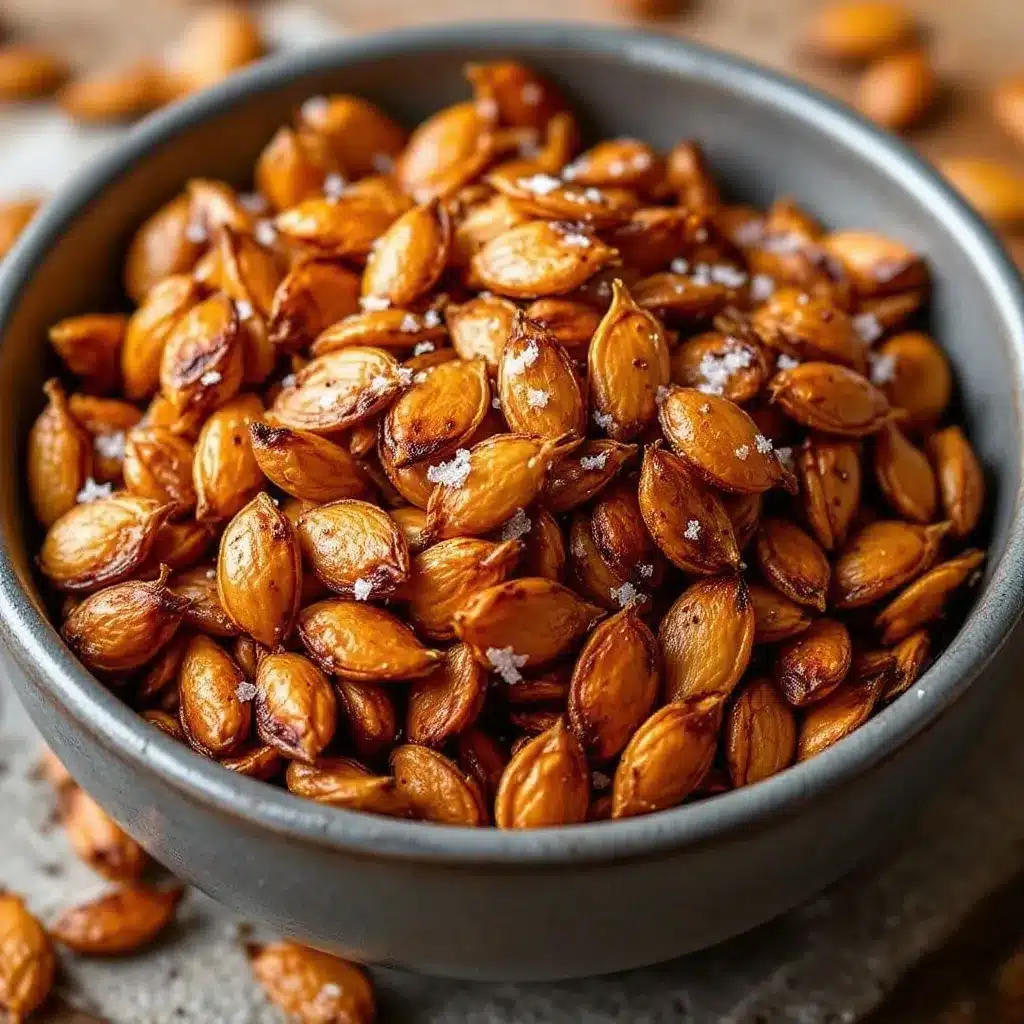
This method is foolproof, but only if you follow the steps in order. I’ve tried skipping steps, and it never ends well. Trust the process.
- Preheat your oven to 350°F (175°C). Line a rimmed baking sheet with parchment paper or a silicone mat. Set it aside for now.
- Clean the pumpkin seeds. Separate the seeds from the pumpkin guts. Place them in a colander and rinse under cold water, using your fingers to remove any clinging pulp. This takes a few minutes, but it’s worth doing thoroughly. Any leftover pulp will burn in the oven.
- Dry the seeds completely. Spread the rinsed seeds on a clean kitchen towel or paper towels. Pat them dry, then let them air dry for about 5 minutes. This step is crucial. Wet seeds will steam instead of roast, and you’ll end up with chewy, sad seeds.
- Par-roast the seeds. Spread the dried seeds in a single layer on the prepared baking sheet. Roast for 8 minutes, stirring halfway through. They should be just starting to turn golden and smell nutty. This par-roasting step is what gives them that shatteringly crisp texture later.
- Make the maple glaze. While the seeds are roasting, combine the melted butter (or oil), maple syrup, and cinnamon (if using) in a medium mixing bowl. Whisk until smooth. The mixture should be thick but pourable.
- Coat the seeds. Remove the par-roasted seeds from the oven. Immediately transfer them to the bowl with the maple glaze. Toss well with a spatula until every seed is coated. Work quickly, because the residual heat from the seeds will help the glaze stick.
- Spread and season. Return the glazed seeds to the baking sheet, spreading them into a single even layer. Sprinkle with half of the sea salt flakes. Don’t crowd them too much, or they’ll steam instead of getting crispy.
- Roast to perfection. Bake for another 8-10 minutes, stirring once halfway through. Watch them carefully toward the end. The maple syrup can go from golden to burnt very quickly. You want them deep amber and bubbling slightly.
- Cool completely. Remove from the oven and sprinkle with the remaining sea salt. Let the seeds cool on the baking sheet for at least 10 minutes. They will continue to crisp up as they cool. Don’t touch them yet. I know it’s hard.
- Break apart any clumps. Once cooled, use your hands or a spatula to break apart any clusters that formed. Some clumping is normal, and those little clusters are actually the best part.
That’s it. Ten steps, about 20 minutes of active time, and you have the best snack of the season.
Cooking Tips & Techniques
I’ve made this recipe more times than I can count, and I’ve made every mistake in the book. Here’s what I’ve learned so you don’t have to learn the hard way.
Dry your seeds like your life depends on it. The number one mistake people make is not drying the seeds thoroughly enough. Any moisture left on the seeds will turn into steam in the oven, and steam is the enemy of crispiness. After rinsing, spread them on a towel and let them sit for a good 5-10 minutes. Pat them dry again before roasting. It makes a huge difference.
Don’t skip the par-roast. I know it seems like an extra step, but it’s the secret to that perfectly crunchy texture. Roasting the seeds dry for a few minutes before adding the glaze allows the seeds to start crisping up from the inside. If you add the glaze too early, the seeds will absorb the moisture and stay chewy. Trust me on this one.
Watch the oven like a hawk. Maple syrup has a low smoke point. It can go from perfectly caramelized to burnt in about 30 seconds. Set a timer for 8 minutes, then check every minute after that. Your oven might run hot or cold, so adjust accordingly. The seeds are done when they’re deep golden brown and the glaze is bubbling.
Let them cool completely before eating. I know it’s tempting to grab a handful right out of the oven, but they won’t be crispy yet. The cooling process is when the glaze hardens and the seeds reach their final crunch. Give them at least 10 minutes. Use that time to clean up your kitchen or slice the pie.
Double the batch. Seriously. These disappear fast. If you’re making them for a party or a holiday gathering, make at least twice what you think you need. They’re also great for gifting—just put them in a mason jar with a ribbon.
Variations & Adaptations
This recipe is a great base for experimentation. Here are a few variations I’ve tried and loved.
- Spicy Maple Seeds : Add ¼ teaspoon of cayenne pepper or smoked paprika to the maple glaze. The heat balances beautifully with the sweetness and salt. I made these for a football party, and they were gone in minutes.
- Pumpkin Pie Spice Seeds : Replace the cinnamon with 1 teaspoon of pumpkin pie spice. This gives the seeds a warm, holiday flavor that’s perfect for Thanksgiving snacking. I like to serve these alongside a slice of fresh cherry pie for a seasonal dessert board.
- Savory Herb Seeds : Skip the maple syrup and cinnamon. Toss the par-roasted seeds with 2 tablespoons of melted butter, 1 teaspoon of garlic powder, 1 teaspoon of dried rosemary, and salt. Roast until golden. These are amazing on salads or just eaten by the handful.
- Dairy-Free Version : Substitute the butter with coconut oil or avocado oil. The flavor changes slightly, but the texture stays the same. I’ve made this version for friends with dairy sensitivities, and they loved it.
- Sweet and Smoky : Add ½ teaspoon of smoked paprika and a pinch of brown sugar to the maple glaze. The smoky flavor adds depth and makes the seeds taste almost like bacon. Try these alongside a maple bacon donut for the ultimate sweet-savory breakfast.
My personal favorite variation is the spicy maple version. I made it on a whim one afternoon, and now I can’t go back to plain. The heat sneaks up on you, and the salt keeps you coming back for more. It’s dangerous, honestly.
Serving & Storage Suggestions
These seeds are best served at room temperature, right after they’ve cooled. They’re perfect for snacking straight from the bowl, but they also work great as a topping for salads, soups, or even oatmeal.
Serving Ideas : Sprinkle them over a bowl of cold cucumber soup for a crunchy contrast. Toss them into a Waldorf salad for extra texture. Or just set them out in a bowl next to some cheese and fruit for an easy appetizer. They’re incredibly versatile.
Storage Instructions : Store the cooled seeds in an airtight container at room temperature. They will stay crispy for up to 5 days. If they start to lose their crunch, you can refresh them in a 300°F oven for 3-4 minutes. Let them cool again before serving.
Freezer Tips : You can freeze these seeds for up to 3 months. Place them in a freezer-safe bag or container, and squeeze out as much air as possible. To serve, let them thaw at room temperature for about 15 minutes. If they seem soft, pop them in a 300°F oven for 5 minutes to re-crisp.
Flavor Development : Honestly, these seeds are best the day they’re made. The glaze is at its peak crunchiness right after cooling. But they’re still delicious for several days after, even if they lose a tiny bit of their initial shatter. I’ve never had a batch last longer than three days in my house, so it’s rarely an issue.
Nutritional Information & Benefits
Pumpkin seeds are a nutritional powerhouse, and this recipe keeps them relatively healthy despite the sweet glaze. Here’s a rough breakdown per serving (about ¼ cup).
- Calories : Approximately 180-200 calories per serving.
- Protein : 8-10 grams. Pumpkin seeds are an excellent plant-based protein source.
- Healthy Fats : 15 grams, mostly from the seeds themselves and a small amount from the butter. These are mostly unsaturated fats, which are good for heart health.
- Fiber : 3 grams per serving. Great for digestion and keeping you full.
- Magnesium : Pumpkin seeds are one of the best natural sources of magnesium, which supports muscle function, sleep, and bone health.
- Zinc : Also high in zinc, which is important for immune function and skin health.
Dietary Considerations : This recipe is naturally gluten-free and can be made dairy-free with a simple substitution. It is not low-carb due to the maple syrup, but the sugar content is moderate compared to most desserts. If you’re watching your sugar intake, you can reduce the maple syrup to 2 tablespoons, but the glaze won’t be as thick and crunchy.
Potential Allergens : Contains dairy (butter) unless substituted. Pumpkin seeds themselves are not a common allergen, but they are seeds, so anyone with seed allergies should avoid them.
I love that this snack feels indulgent but is actually packed with nutrients. It’s the kind of treat you can feel good about eating, and even better about sharing.
Conclusion
This crispy maple roasted pumpkin seeds recipe is the snack you didn’t know you needed. It’s sweet, salty, crunchy, and incredibly easy to make. Whether you’re carving pumpkins for Halloween, hosting a Thanksgiving gathering, or just craving something cozy and delicious, these seeds deliver every time.
Don’t be afraid to experiment with the variations. Make them spicy, make them herby, or keep them classic. The recipe is forgiving, and the results are always rewarding. I’ve been making these for years, and they never get old. There’s something about that first crunch, the way the maple and salt hit your tongue at the same time. It’s simple, but it’s perfect.
I’d love to hear how yours turn out. Leave a comment below and let me know which variation you tried. Did you add cayenne? Did you double the batch? Share your ideas and tag me in your photos. Happy snacking, and don’t forget to save a few for the pie.
Frequently Asked Questions
Can I use store-bought pumpkin seeds for this recipe?
Absolutely. If you don’t have a pumpkin to carve, you can use raw, unsalted pumpkin seeds from the store. Just skip the cleaning and drying steps, and start with the par-roast. The rest of the recipe stays the same.
Why did my seeds turn out chewy instead of crispy?
This usually happens for one of two reasons. Either the seeds weren’t dried thoroughly before roasting, or they were overcrowded on the baking sheet. Make sure you pat them dry completely and spread them in a single layer with space between them. Steam is the enemy of crispiness.
Can I make this recipe in an air fryer?
Yes, you can! Preheat your air fryer to 300°F. Par-roast the seeds for 5 minutes, then toss with the glaze. Return to the air fryer for another 5-7 minutes, shaking the basket halfway through. Watch them closely, as air fryers cook faster than ovens.
How do I prevent the seeds from clumping together?
Some clumping is normal and actually delicious. But if you want mostly individual seeds, make sure you spread them in a very thin, even layer on the baking sheet. Stir them halfway through roasting. After they cool, you can break apart any large clumps with your hands.
Can I use a different sweetener instead of maple syrup?
You can substitute honey or agave nectar, but the flavor and texture will change slightly. Honey will give a floral sweetness, and agave is milder. Maple syrup has a unique flavor that pairs perfectly with pumpkin seeds, so I recommend sticking with it if you can.
Pin This Recipe!
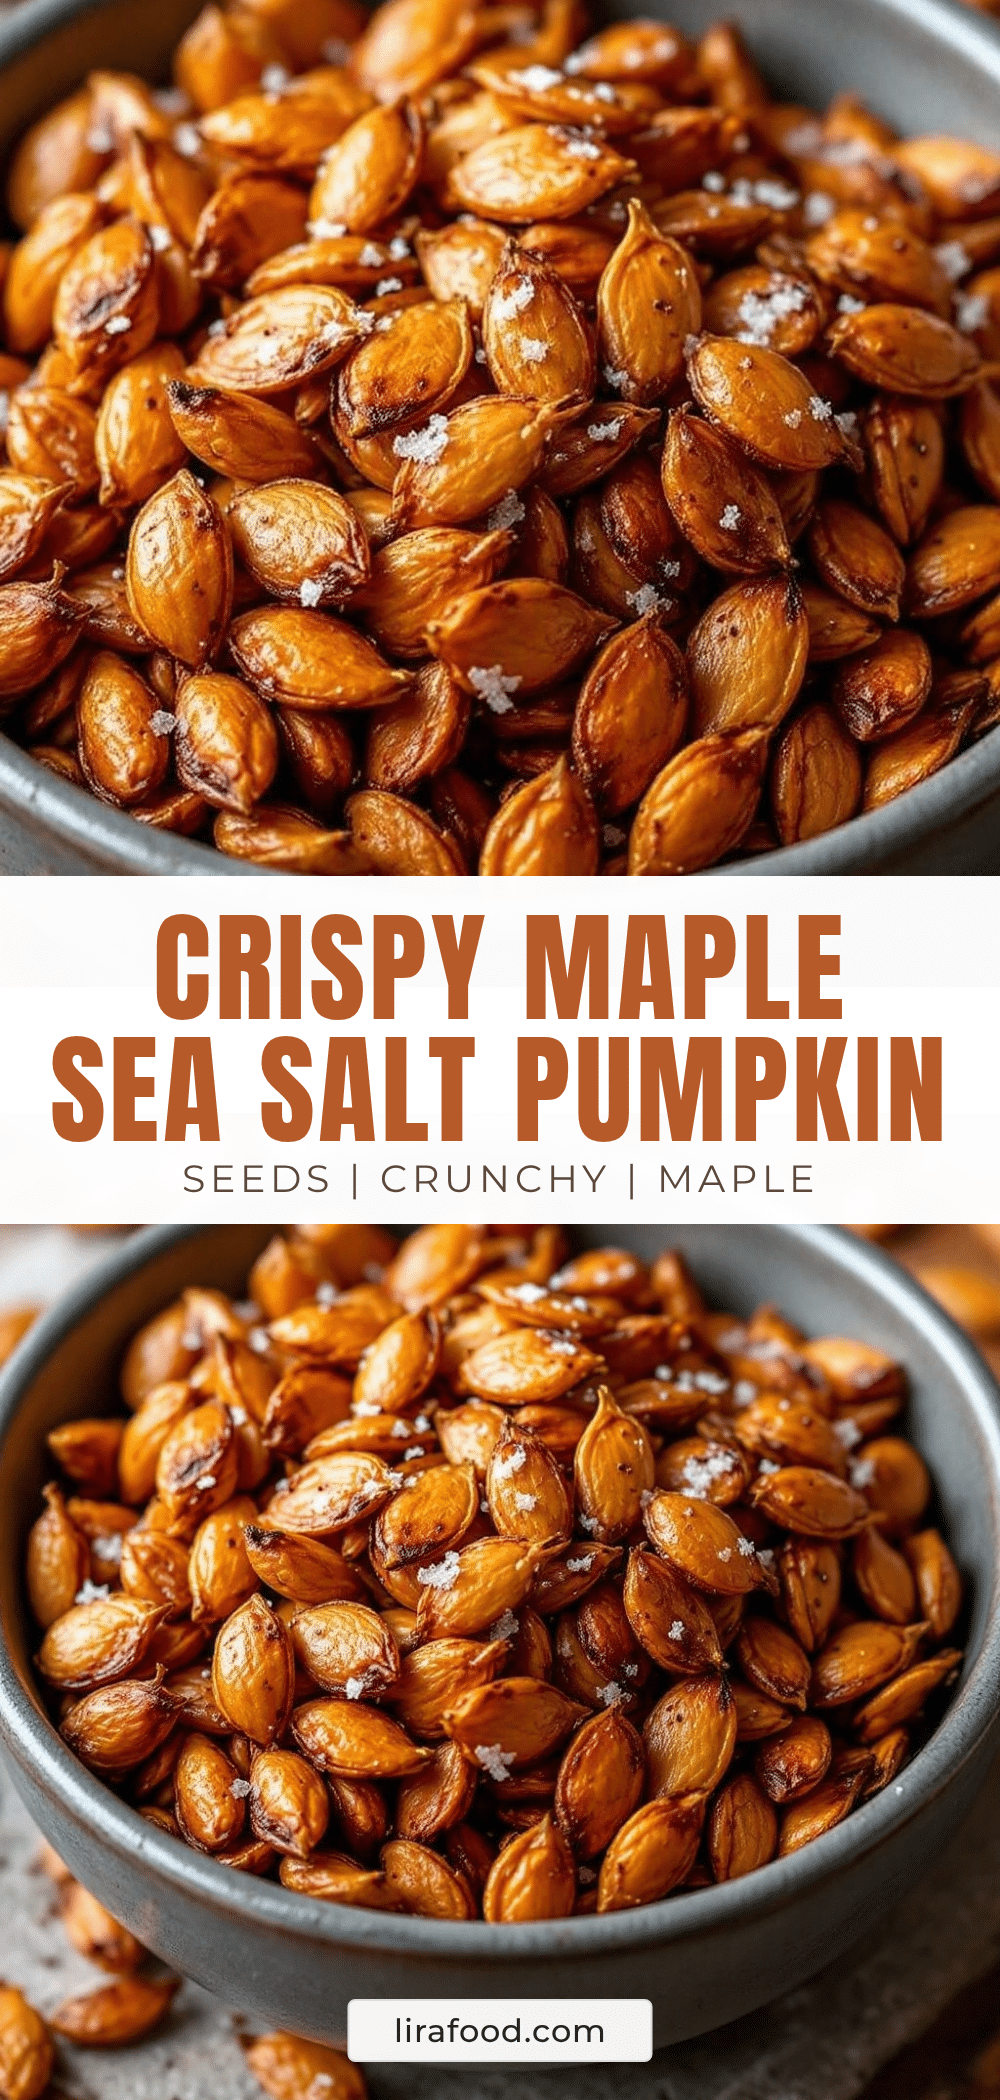
Crispy Maple Roasted Pumpkin Seeds: Easy 20-Minute Recipe
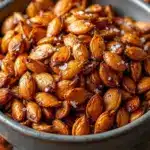
These crispy maple roasted pumpkin seeds are a sweet and salty snack that’s quick and easy to make. Perfect for fall gatherings, they offer a shatteringly crunchy texture with a caramelized maple glaze.
- Prep Time: 10 minutes
- Cook Time: 18 minutes
- Total Time: 28 minutes
- Yield: 4 servings 1x
- Category: Snack
- Cuisine: American
Ingredients
- 1 ½ cups fresh pumpkin seeds, cleaned and patted dry
- 3 tablespoons pure maple syrup (Grade A dark amber preferred)
- 2 tablespoons unsalted butter, melted (or coconut oil/avocado oil for dairy-free)
- 1 teaspoon sea salt flakes (plus more for finishing)
- ½ teaspoon cinnamon (optional)
Instructions
- Preheat your oven to 350°F (175°C). Line a rimmed baking sheet with parchment paper or a silicone mat.
- Clean the pumpkin seeds: Separate seeds from pumpkin guts, rinse in a colander under cold water, removing any clinging pulp.
- Dry the seeds completely: Spread rinsed seeds on a clean kitchen towel or paper towels, pat dry, and let air dry for about 5 minutes.
- Par-roast the seeds: Spread dried seeds in a single layer on the prepared baking sheet. Roast for 8 minutes, stirring halfway through, until just starting to turn golden and smell nutty.
- Make the maple glaze: While seeds roast, combine melted butter (or oil), maple syrup, and cinnamon (if using) in a medium mixing bowl. Whisk until smooth.
- Coat the seeds: Remove par-roasted seeds from oven. Immediately transfer to the bowl with the maple glaze. Toss well with a spatula until every seed is coated.
- Spread and season: Return glazed seeds to the baking sheet in a single even layer. Sprinkle with half of the sea salt flakes.
- Roast to perfection: Bake for another 8-10 minutes, stirring once halfway through. Watch carefully toward the end; seeds are done when deep amber and bubbling slightly.
- Cool completely: Remove from oven and sprinkle with remaining sea salt. Let cool on baking sheet for at least 10 minutes (they will continue to crisp).
- Break apart any clumps: Once cooled, use hands or a spatula to break apart any clusters.
Notes
Dry seeds thoroughly to ensure crispiness. Do not skip the par-roast step. Watch the oven closely as maple syrup can burn quickly. Let seeds cool completely before eating for maximum crunch. Double the batch for parties.
Nutrition
- Serving Size: ¼ cup
- Calories: 190
- Sugar: 8
- Sodium: 290
- Fat: 15
- Saturated Fat: 4
- Carbohydrates: 12
- Fiber: 3
- Protein: 9
Keywords: maple roasted pumpkin seeds, crispy pumpkin seeds, fall snack, Halloween snack, Thanksgiving snack, sweet and salty seeds